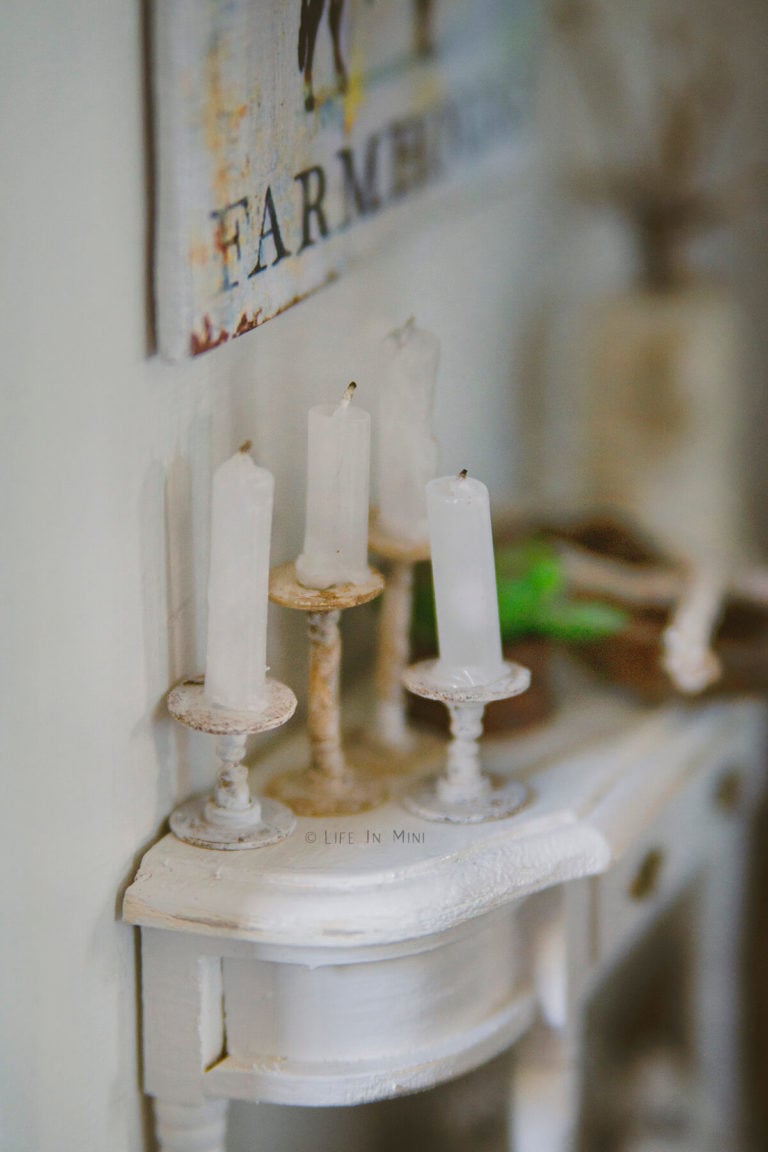
Dollhouse accessories can cost a fortune. With just a few items you probably already have at home, you can create some really cute miniature candlesticks.
Spring officially starts March 20th. This is also the first day of Persian New Year. I made a little room box to commemorate nowruz and the sofreh haft seen we set up to celebrate this holiday.
Since I wasn’t in the mood to set up a real table scape, I made one in miniature. Each item in this scene is symbolic. You can learn more about these nowruz traditions on my food blog.
I did not make miniature candles for this scene, but cut some birthday candles I found at the dollar store. Usually we use candles on candlesticks for our sofreh, but I didn’t have any and didn’t know how to make them.
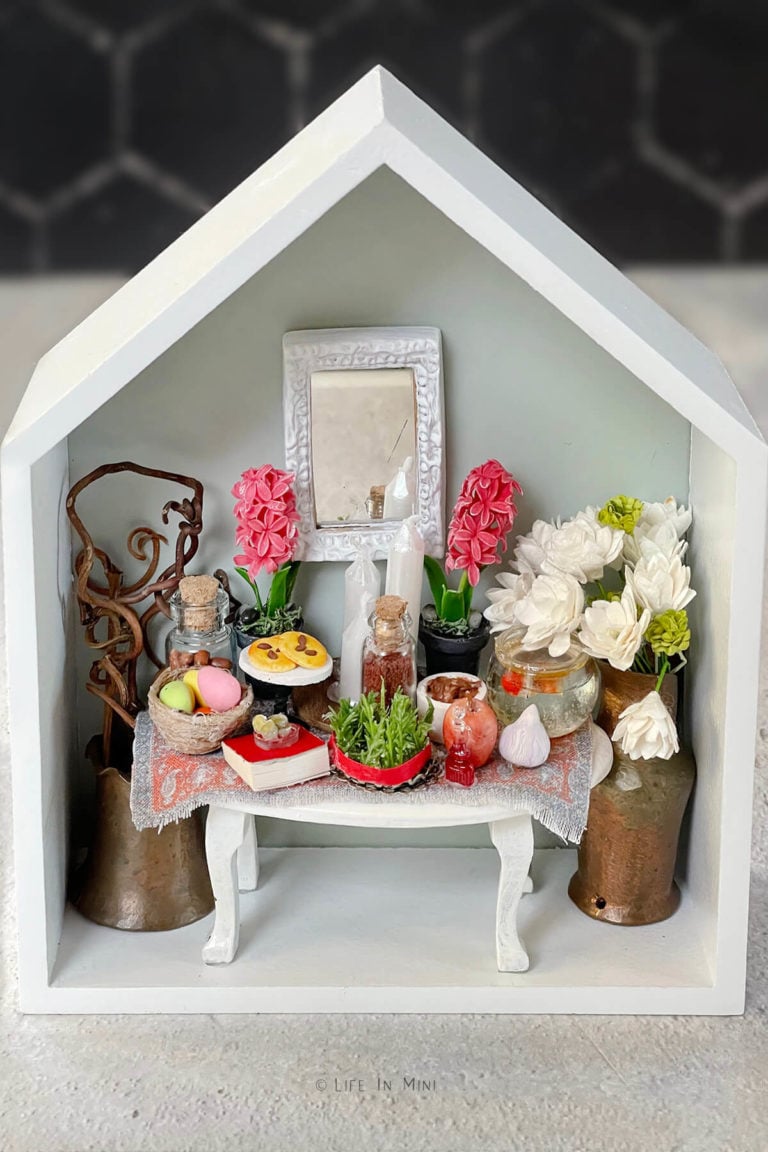
For the small pedestal holding the cookies, I couldn’t use the other miniature cake stands I had made. I needed something smaller and thinner. I used an earring back for the base and glued a small wood circle for the plate.
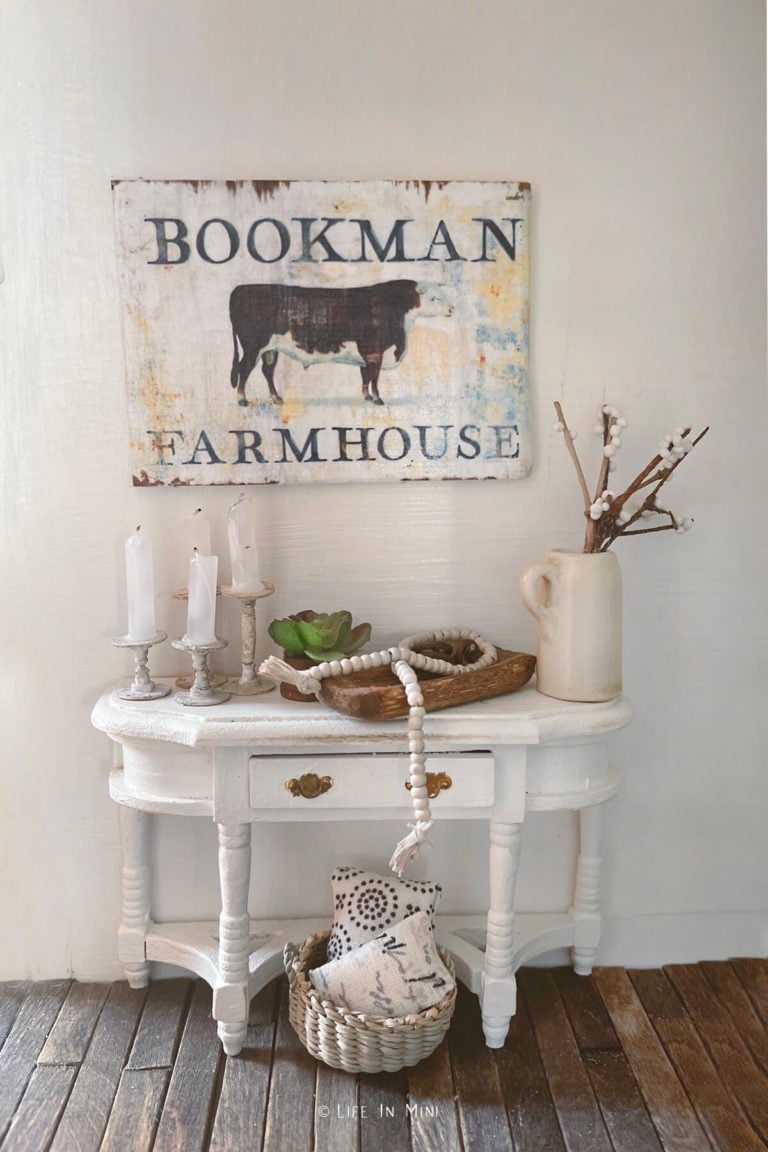
Then after, the scene was done and everything was glued down, I finally figured out how to make some cute miniature candlesticks. I just needed to modify the miniature cake stand I made with earring backs.
Supplies you need
This post contains some affiliate links for your convenience (which means if you make a purchase after clicking a link I will earn a small commission but it won’t cost you a penny more)! Read my full disclosure policy.
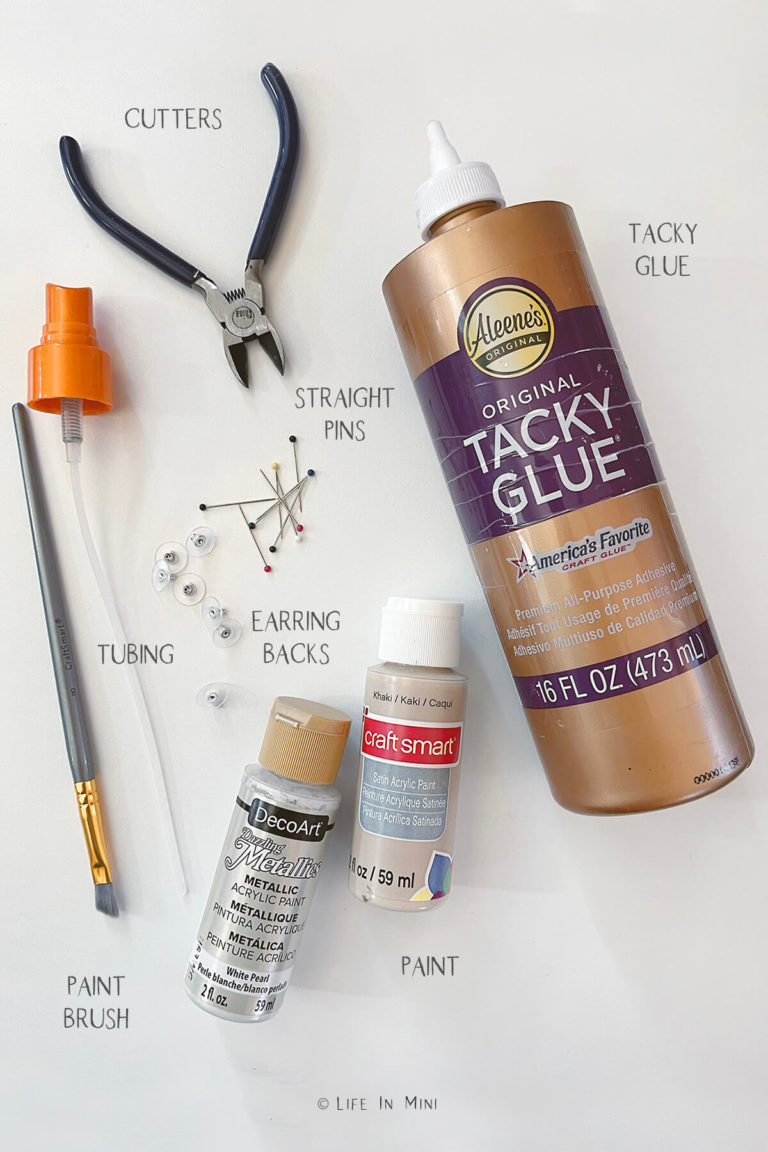
- Earring backs: You want the bullet earring backs WITH the plastic disc behind it. If you don’t have the plastic discs, you can cut out rounds or use small precut wooden rounds.
- Straight pins: You need pins thin enough to pass through the earring backs. I used regular sewing pins. If your needle has a ball top, you need to cut this off. If you use the ones with the flat top, no cutting is needed.
- Glue: I used my all purpose Aleen’s tacky glue. If you don’t have this, use a glue that can be painted when dry.
- Small cylinder tubing: I pulled my tubing from the spray attachment of my hair curling spray. They come in various thickness.
- Paint: You can paint your candlesticks anyway you want from white, black to colors and metallics. I have used acrylic paints and enamel, so use what you have.
- Other tools: wire cutters and paint brush.
Step-by-step directions
1. Pass the straight pin through one of the earrings, making sure the round disc is on the bottom. You want to pass the pin all the way through so that the earring can sit flat on your surface.
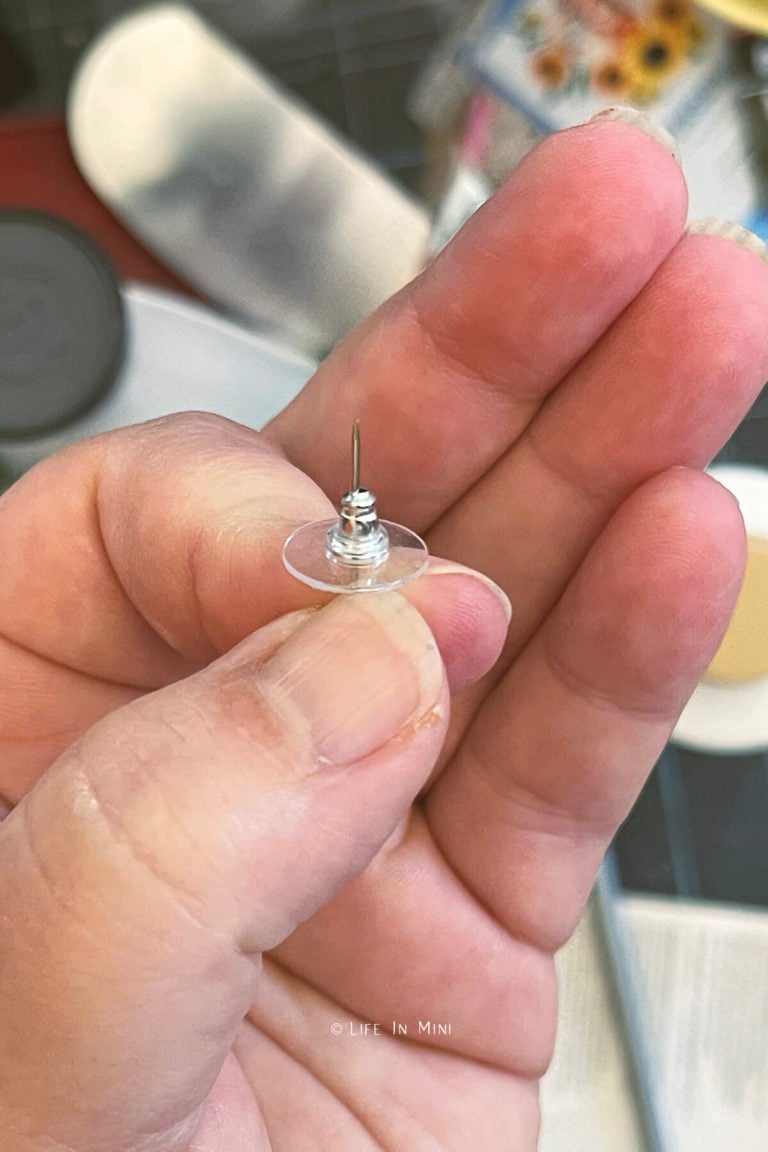
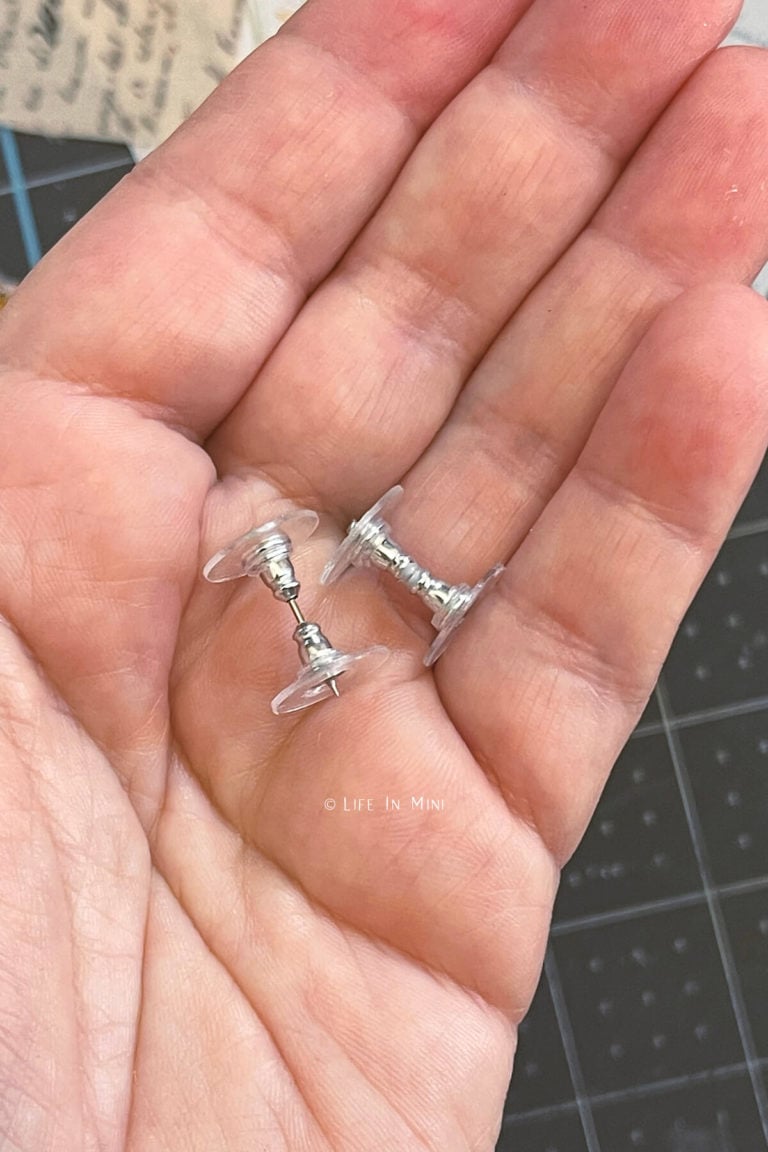
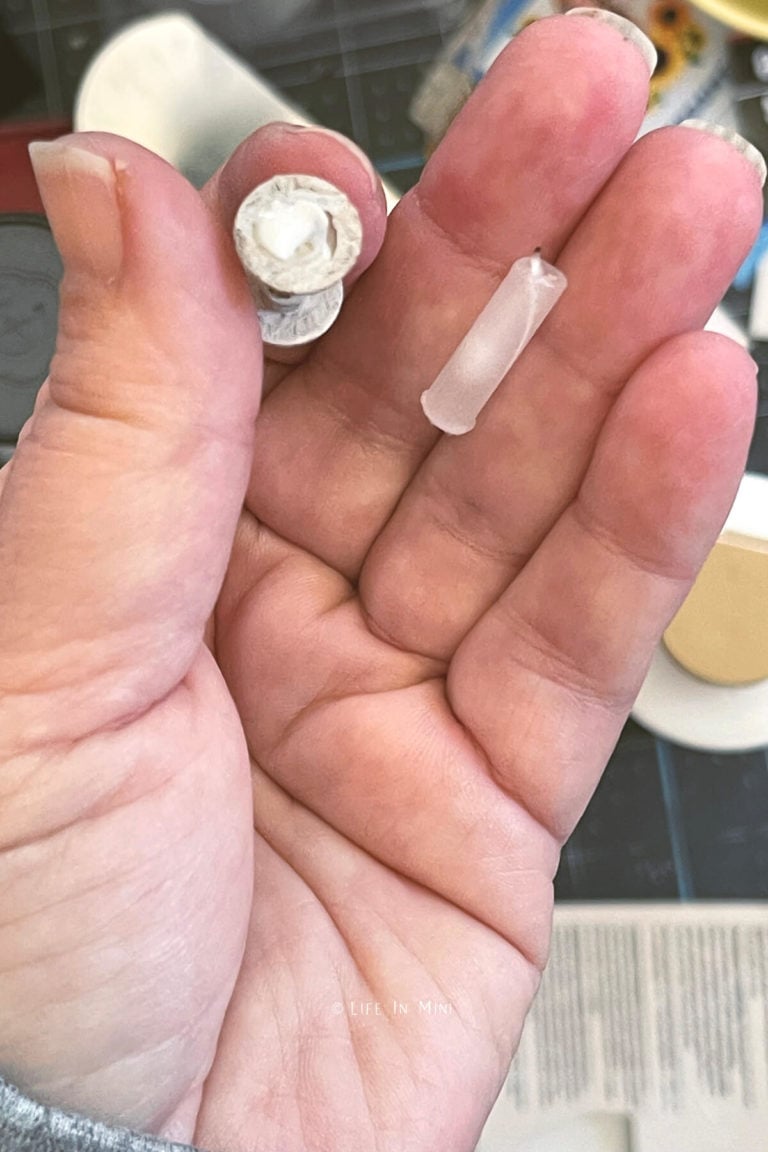
2. For short candlesticks, place another earring back over the first but pass the pin through the cone side first (the round disc will be on top). It is ok for the pin to stick out of the top because this is where the candle will sit. Secure everything with glue.
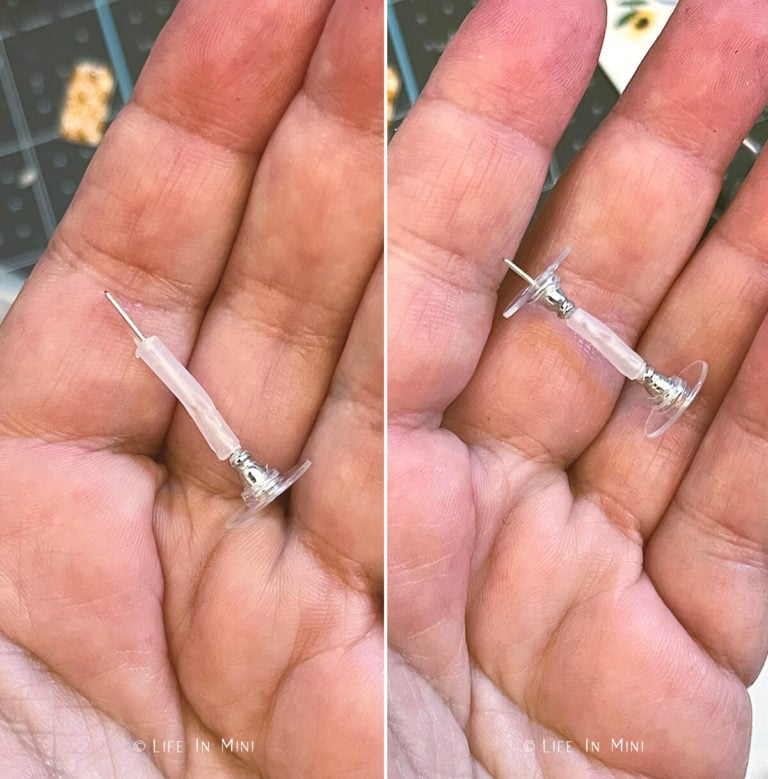
3. For taller candlesticks, cut some of the tubing and pass that through the pin and then place the second earring back on top. Secure everything with glue.
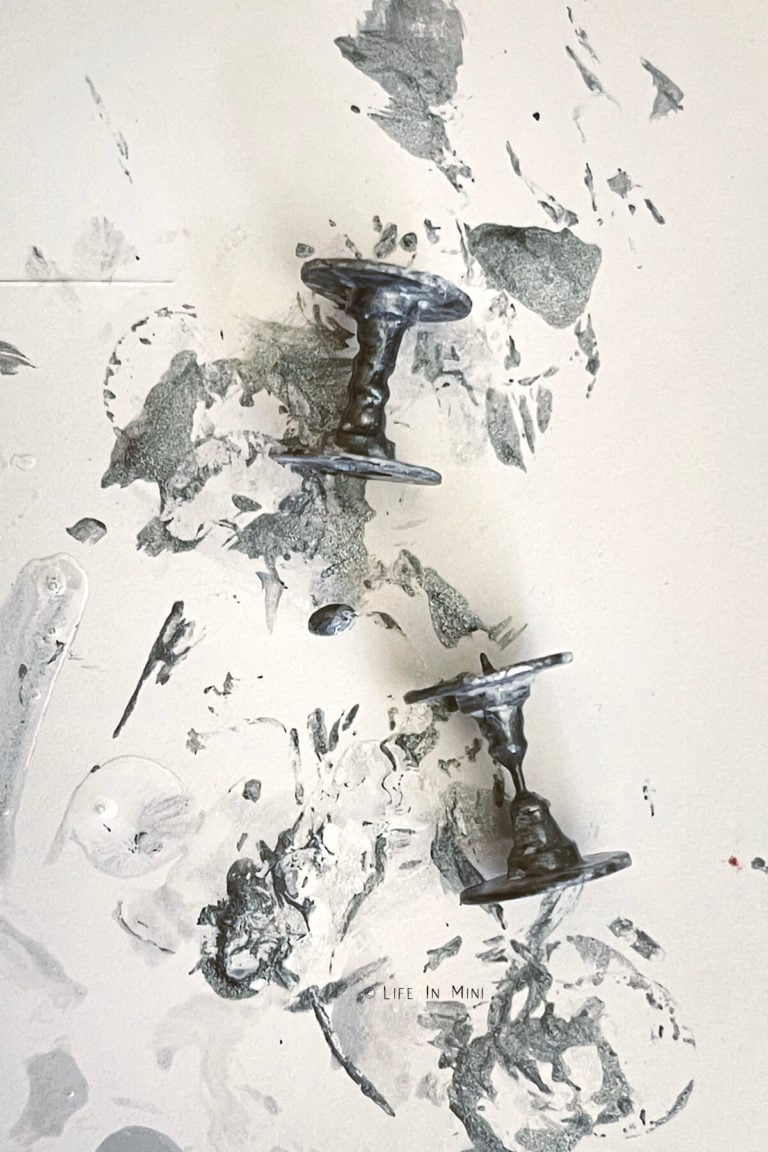
3. Once the glue has dried, paint your candlesticks whatever color you want.
4. When the glue has dried, you can pierce your wax candles through the pin. You can also glue your candles in place.
Project tips and FAQs
You can use acrylic paints or enamel paints. Add several layers of paint (I used tan, white and brown stain) to give it a rustic look. I also made some with silver metallic paint and they look like antique pewter candlesticks.
If you are using fake candles, made of polymer clay or wood, you will not want the pin to be exposed at the top. So go ahead and clip any excess off. I found it easier to have the pin for my wax candles.
As I mentioned before, you can use the earring backs for the base of a small cake stand or pedestal. I kept the plastic circle and glued a wood circle on top for the cake tray.
If you are enjoying my blog, why not sign up for my newsletter so you won’t miss out on the mini adventures!
How to Make Miniature Candlesticks
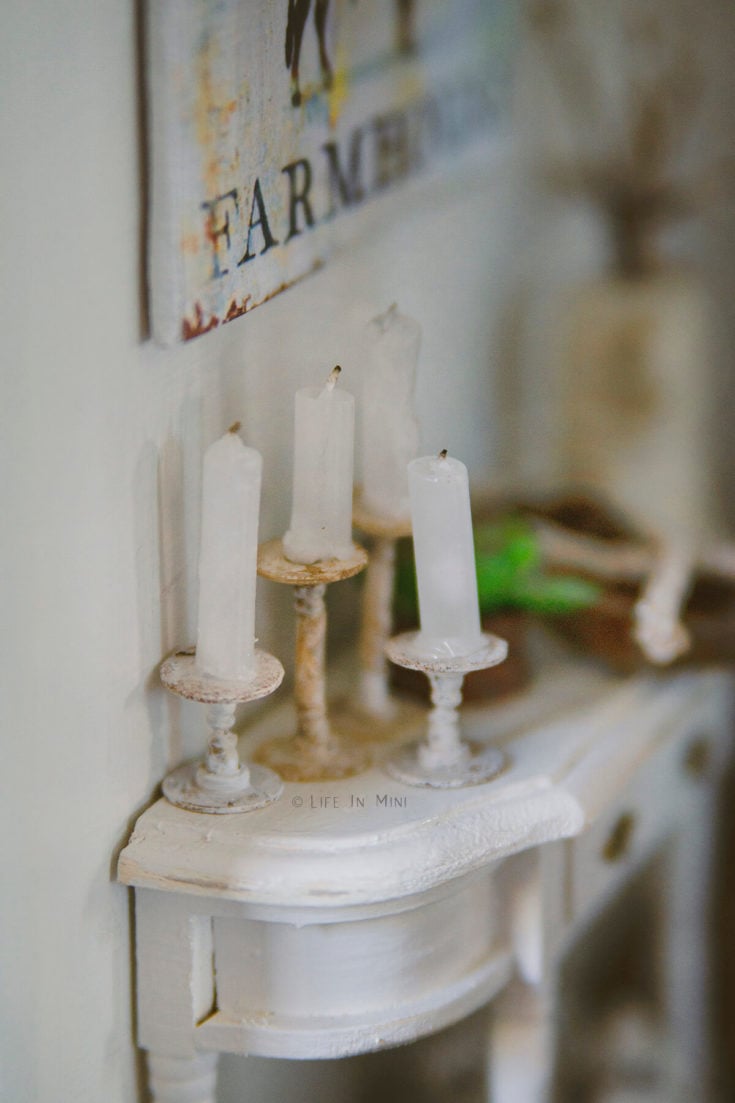
Dollhouse accessories can cost a fortune. With just a few items you probably already have at home, you can create some really cute miniature candlesticks.
Materials
- Bullet earring backs with plastic disc
- Straight pins
- Tacky glue
- Small cylinder tubing
- Paint
Tools
- Wire cutters
- Paint brush
Instructions
- Pass a straight pin through one of the earrings, making sure the round plastic disc is on the bottom. You want to pass the pin all the way through so that the earring can sit flat on your surface.
- For short candlesticks, place another earring back over the first but pass the pin through the cone side first (the round disc will be on top). It is ok for the pin to stick out of the top because this is where the candle will sit. Secure everything with glue.
- For taller candlesticks, cut some of the tubing and pass that through the pin and then place the second earring back on top. Secure everything with glue.
- Once the glue has dried, paint your candlesticks whatever color you want.
- When the glue has dried, you can pierce your wax candles through the pin. You can also glue your candles in place.
Notes
These earring backs also make great pedestal bases for small cake stands.
PS If you try this craft, why not leave a star rating in the direction card right below and/or a review in the comment section further down the page? I always appreciate your feedback.
You can also follow me on Pinterest, Facebook or Instagram. Sign up for my eMail list, too!

Yamilett says
Todo es un espectáculo, maravilloso, te respeto y admiro tú creatividad, excelente
Joan Perry says
Oh, they worked so nicely! Thank you so much for sharing your tips and tricks!
Laura says
Hi Joan-
So glad they turned out nicely! Those earring backs sure are versatile!
Laura
Beth says
Wow – Laura – so creative – the haft scene and the candlesticks! I almost feel like I could do it myself and you know how “not crafty” I am!
Laura says
LOL they really are easy to make! – Laura