Create an inexpensive wood flooring for your dollhouse using wooden popsicle sticks or coffee stirrers. You can stain them, paint them or leave them natural.
The dollhouse renovation continues! I am definitely more excited about this project than my daughter. Granted, it is hard to get a 15-year old teenager excited about anything that doesn’t revolve around them…
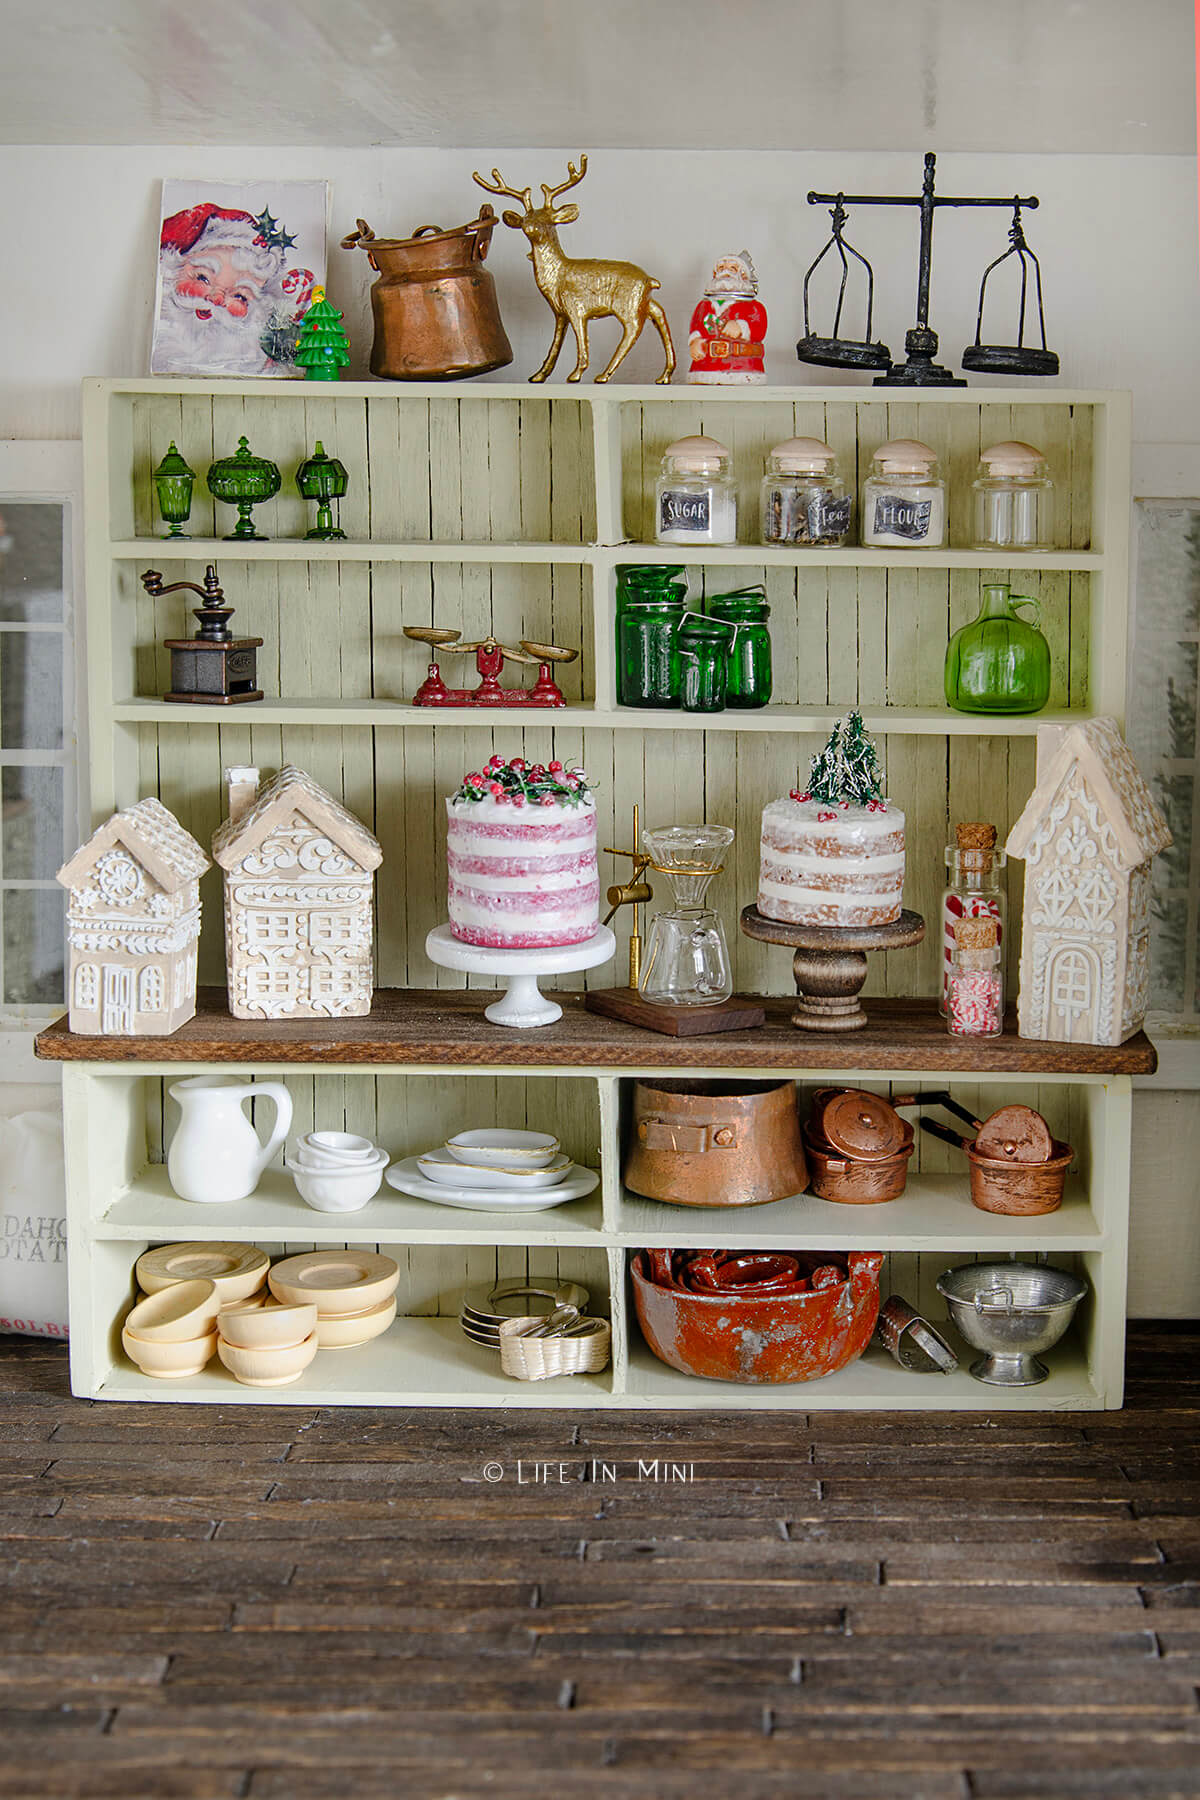
But, she did tell me that she is going to help me. So little victory dance for me. I’ll take the help! We went from a green and cream color dollhouse to a white and black color scheme. Maybe one day I will do a colorful boho miniature scene, but not now!
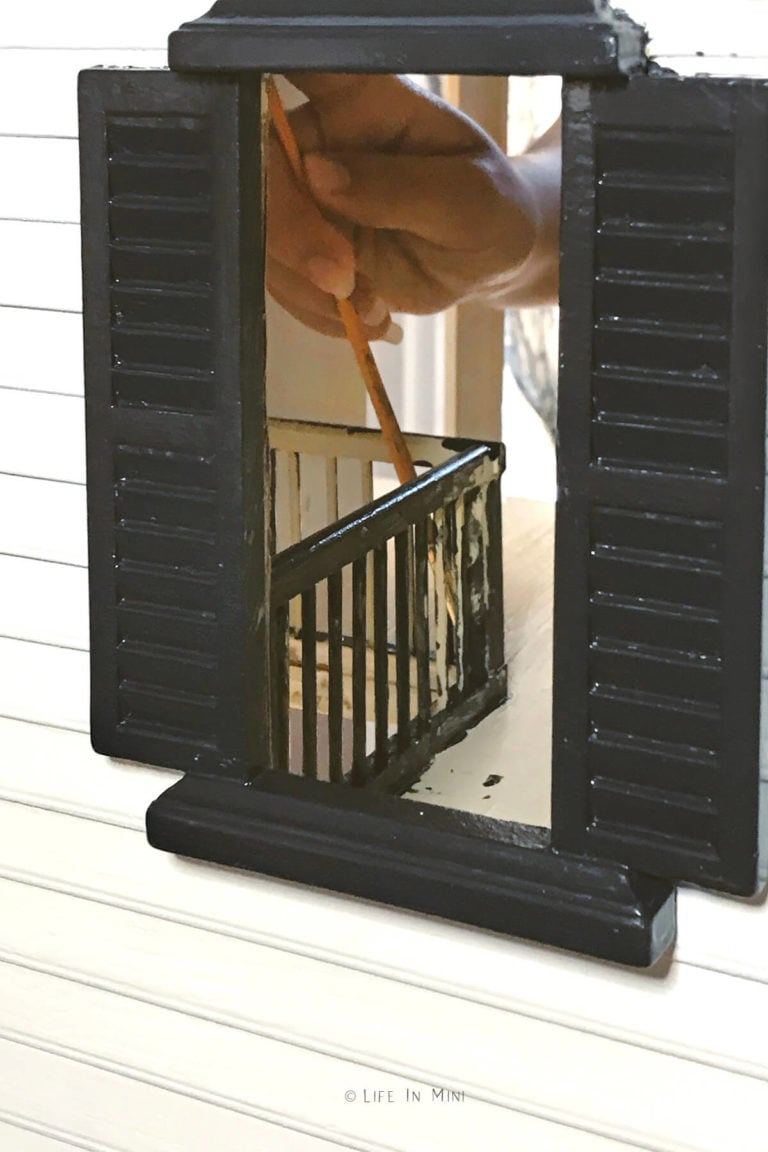
My girl has smaller (and prettier) hands than me so she was able to fit them into the tight spaces. Like trying to paint the hallways thru the windows or the back of the banister. Good thing no one can really see how it looks at these angles.
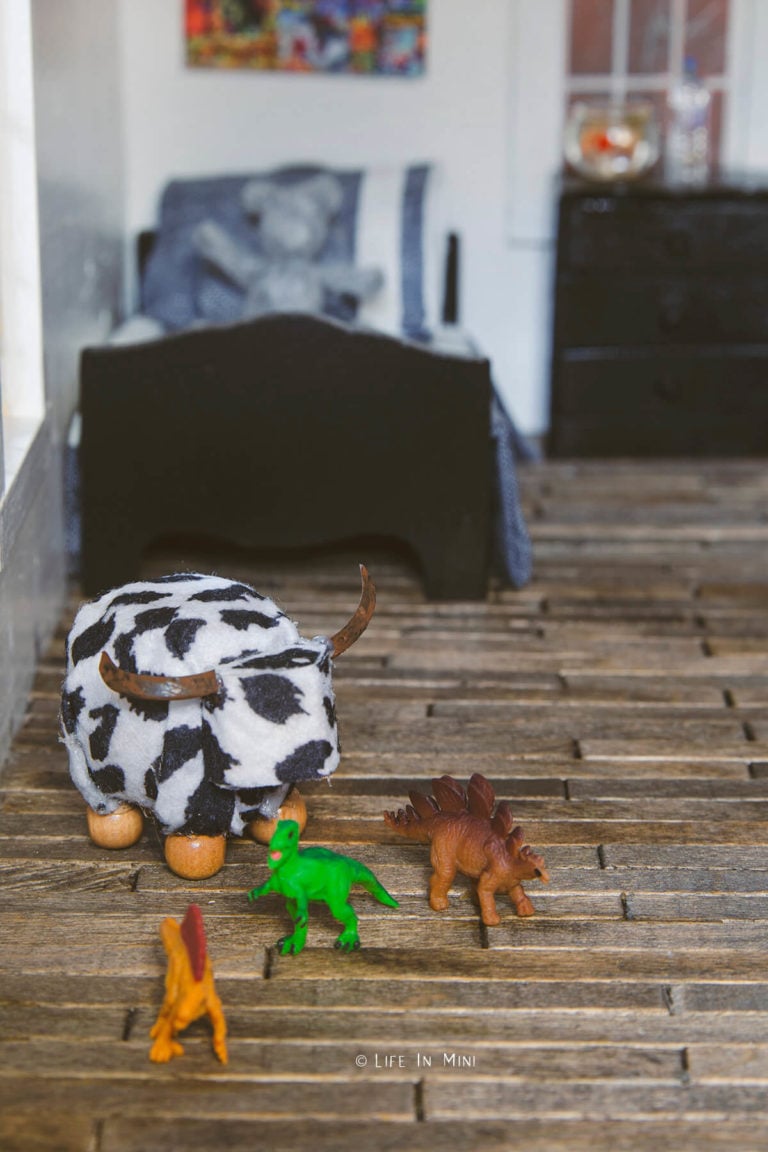
Once the interior was painted and dried, then it was time for the fun stuff: decorating inside the dollhouse. And before that, I had to address the flooring.
Dollhouse flooring options
It is definitely easier to paint, wallpaper and add flooring to a dollhouse before it is assembled. But since I was refurbishing my old one, well, it proved to be challenging.
When my daughter was little and played and made a mess with the dollhouse, I just painted the walls and floors with a sturdy gloss paint and left it at that. This made cleaning up much easier, whether it was water, juice or crayon scribbles.
But now that I was fixing the dollhouse and taking it to a new level, I wanted to add flooring. There are several options for flooring your dollhouse. You can add carpeting or purchase sheets of pre-made miniature wood flooring sheets. Then there is tile, and even that option has varieties (check out my paper tile tutorial).
For wood flooring, you can use scrapbook paper or print out wood flooring onto paper or cardstock and glue that. But I wanted a rustic and realistic wood flooring. And the cheapest options here is to do it yourself using craft popsicle sticks.
Supplies you need
This post contains some affiliate links for your convenience (which means if you make a purchase after clicking a link I will earn a small commission but it won’t cost you a penny more)! Read my full disclosure policy.
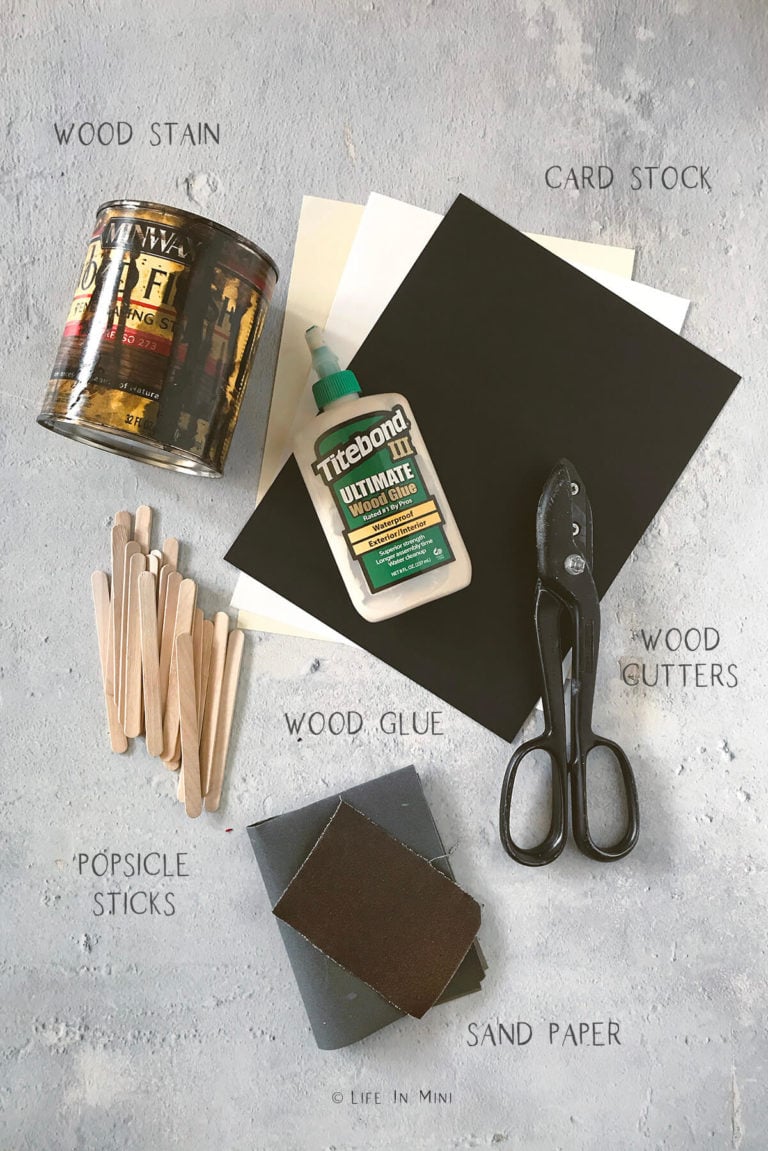
- Wood popsicle sticks: There are several different kinds of popsicle sticks out there. The traditional sticks with the rounded ends come in thin and wide varieties. There are also the thin coffee stirrer sticks. These can easily be found at dollar stores, craft stores or online.
- Wood cutters: If you are using the rounded popsicle sticks, the round ends need to be cut off. You also need to trim to fit the sticks into the space. For this, you will need shears that are strong enough to cut the wooden sticks.
- Wood stain or paint: I chose to stain my wood floor. I wanted dark flooring and used Minwax’s Espresso stain. You can also paint the wood floors white or any color for colored flooring. I will probably add white washed wood flooring for the upstairs, whenever I get around to working on that!
- Sand paper: You will need a medium grit sandpaper to sand the sticks once cut.
- Cardstock paper: Any color cardstock will do. Because I was gluing dark sticks onto the cardstock, I did not want to see what white in between the cracks so I used black cardstock.
- Wood glue: You do not want the popsicle sticks to pop off, so a strong wood glue is best to use. Do not use hot glue or regular white glue.
Step-by-step directions
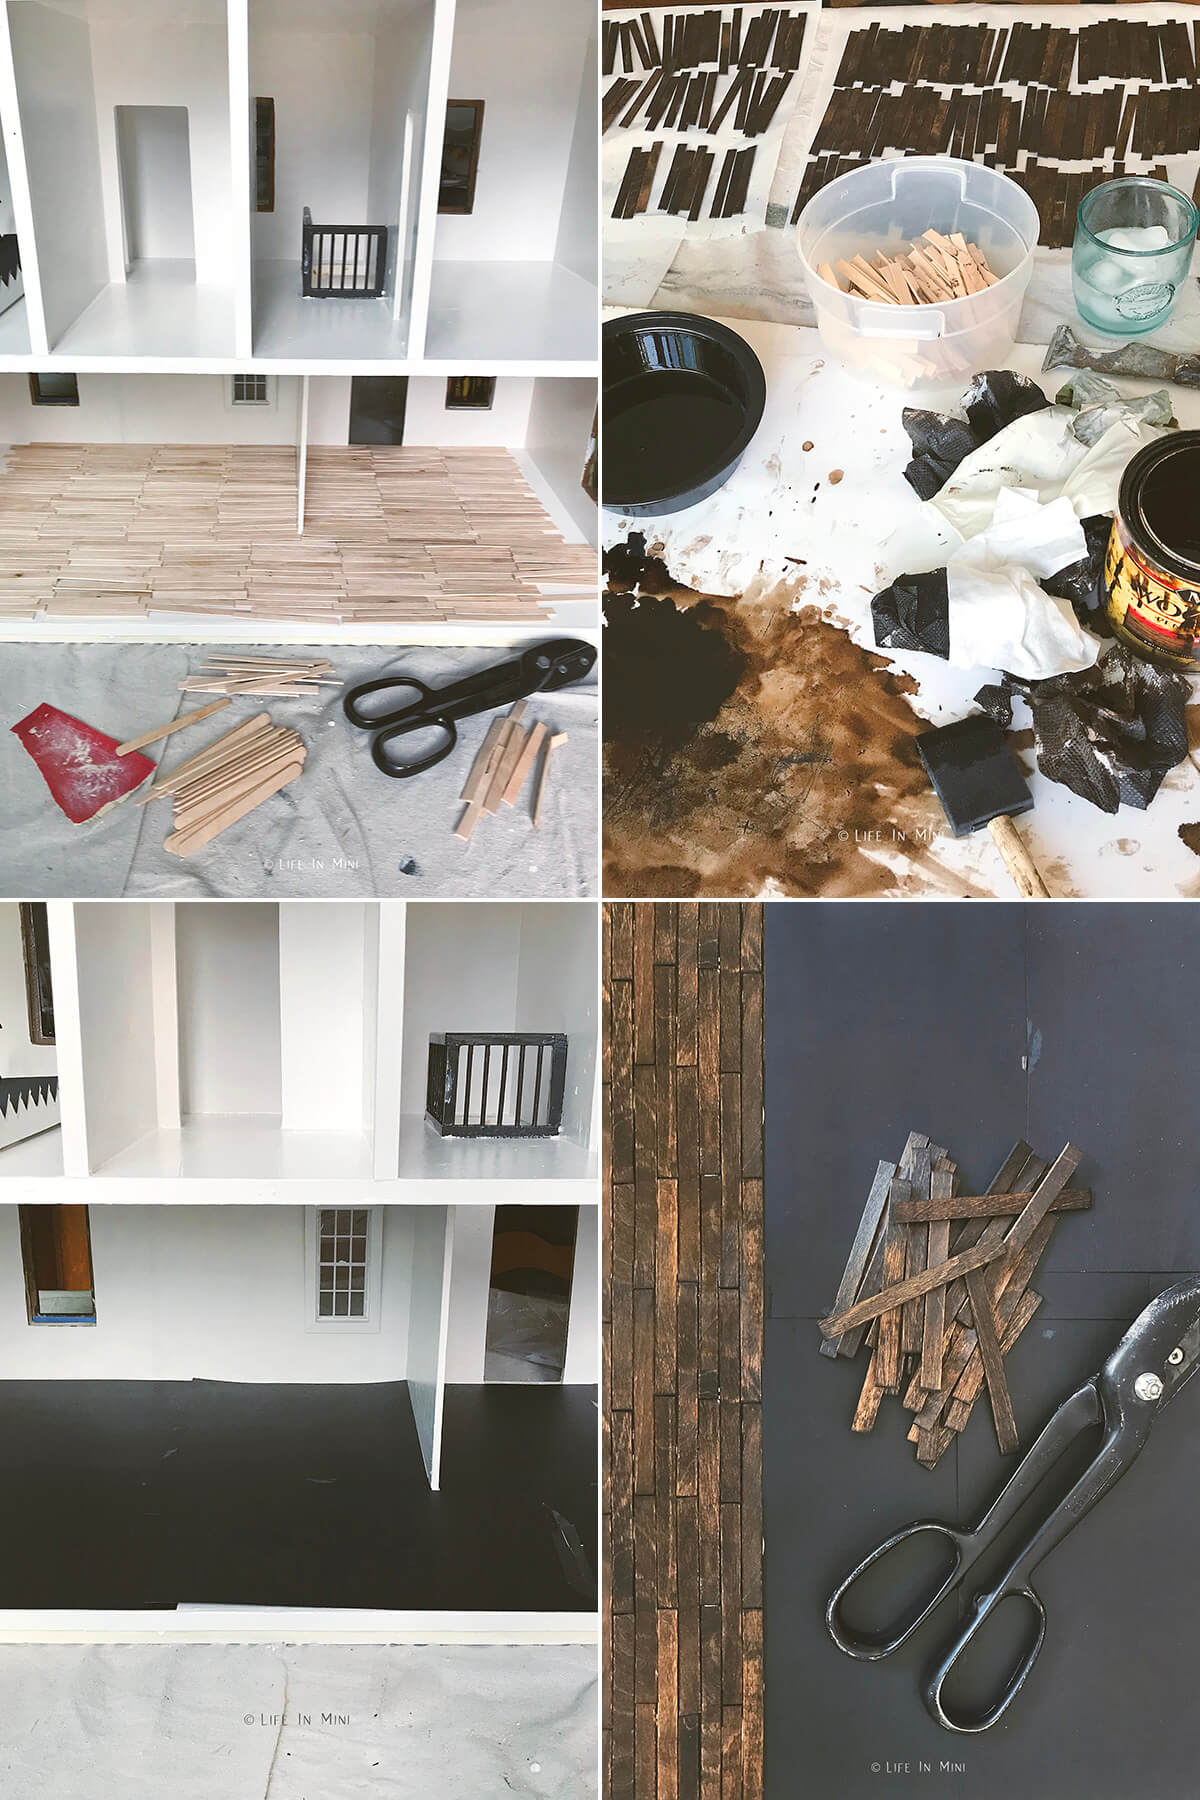
- Trim the sticks. I had the rounded ended popsicle sticks so I had to cut those round ends off. I used these shears but they killed my hand so that is why I recommended those miter shears instead. Once cut, the ends must be sanded.
- Stain the sticks. You do not want to glue the sticks and then add stain or paint them. You should always stain/paint the stick flooring before gluing because dried glue can hinder the stain from working. I started with brushing the sticks individually with stain and that took FOREVER. It was faster to dunk a batch of sticks to stain in a bowl with stain and then wipe off the excess. Then place them on parchment or wax paper to dry completely.
- Make a template. Some people glue the wooden flooring directly onto the dollhouse, but if you ever want to change the flooring out, this is tedious to remove. It is better to glue the sticks onto card stock and then glue that onto the dollhouse. So you need to create paper floor plan for you to follow. I just taped the pieces of card stock onto each other. For dark colored flooring use dark card stock.
- Glue the sticks. When the stained sticks have dried completely, it is time to glue them to the cardstock. Start from the front of the house (the open end everyone can see) and work your way back towards the walls. This way the final pieces that you have to cut and fit are not as easily visible. Make sure to stagger each row as you glue the pieces down.
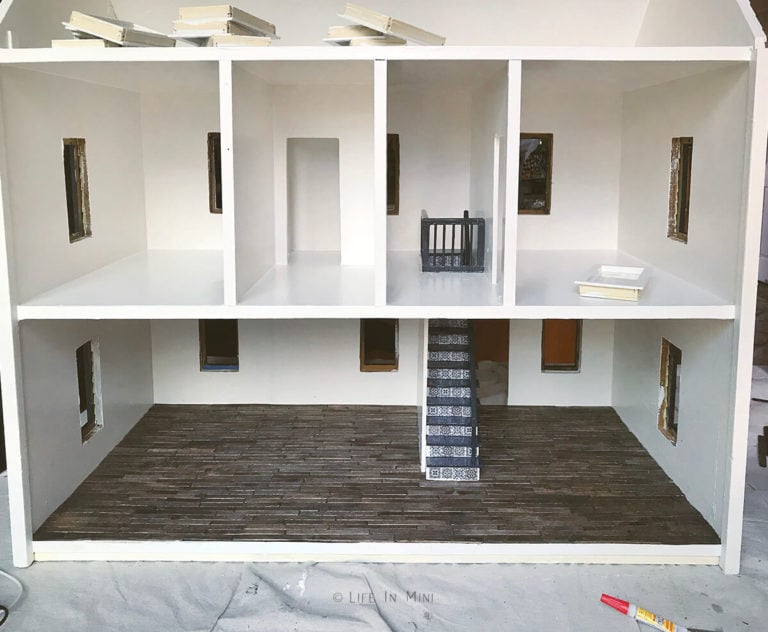
- Press flat. Once completely glued, lay heavy objects over the wood flooring and let it sit like this overnight. This keeps your wood sticks from warping while the glue dries. Then the next day, you can insert the flooring and glue the wood covered card stock onto the dollhouse, again using wood glue. And again, lay heavy objects over the flooring overnight. When my flooring was installed and the glue dried, I attached the refurbished staircase over the flooring. Six months later and my flooring is still even and flat.
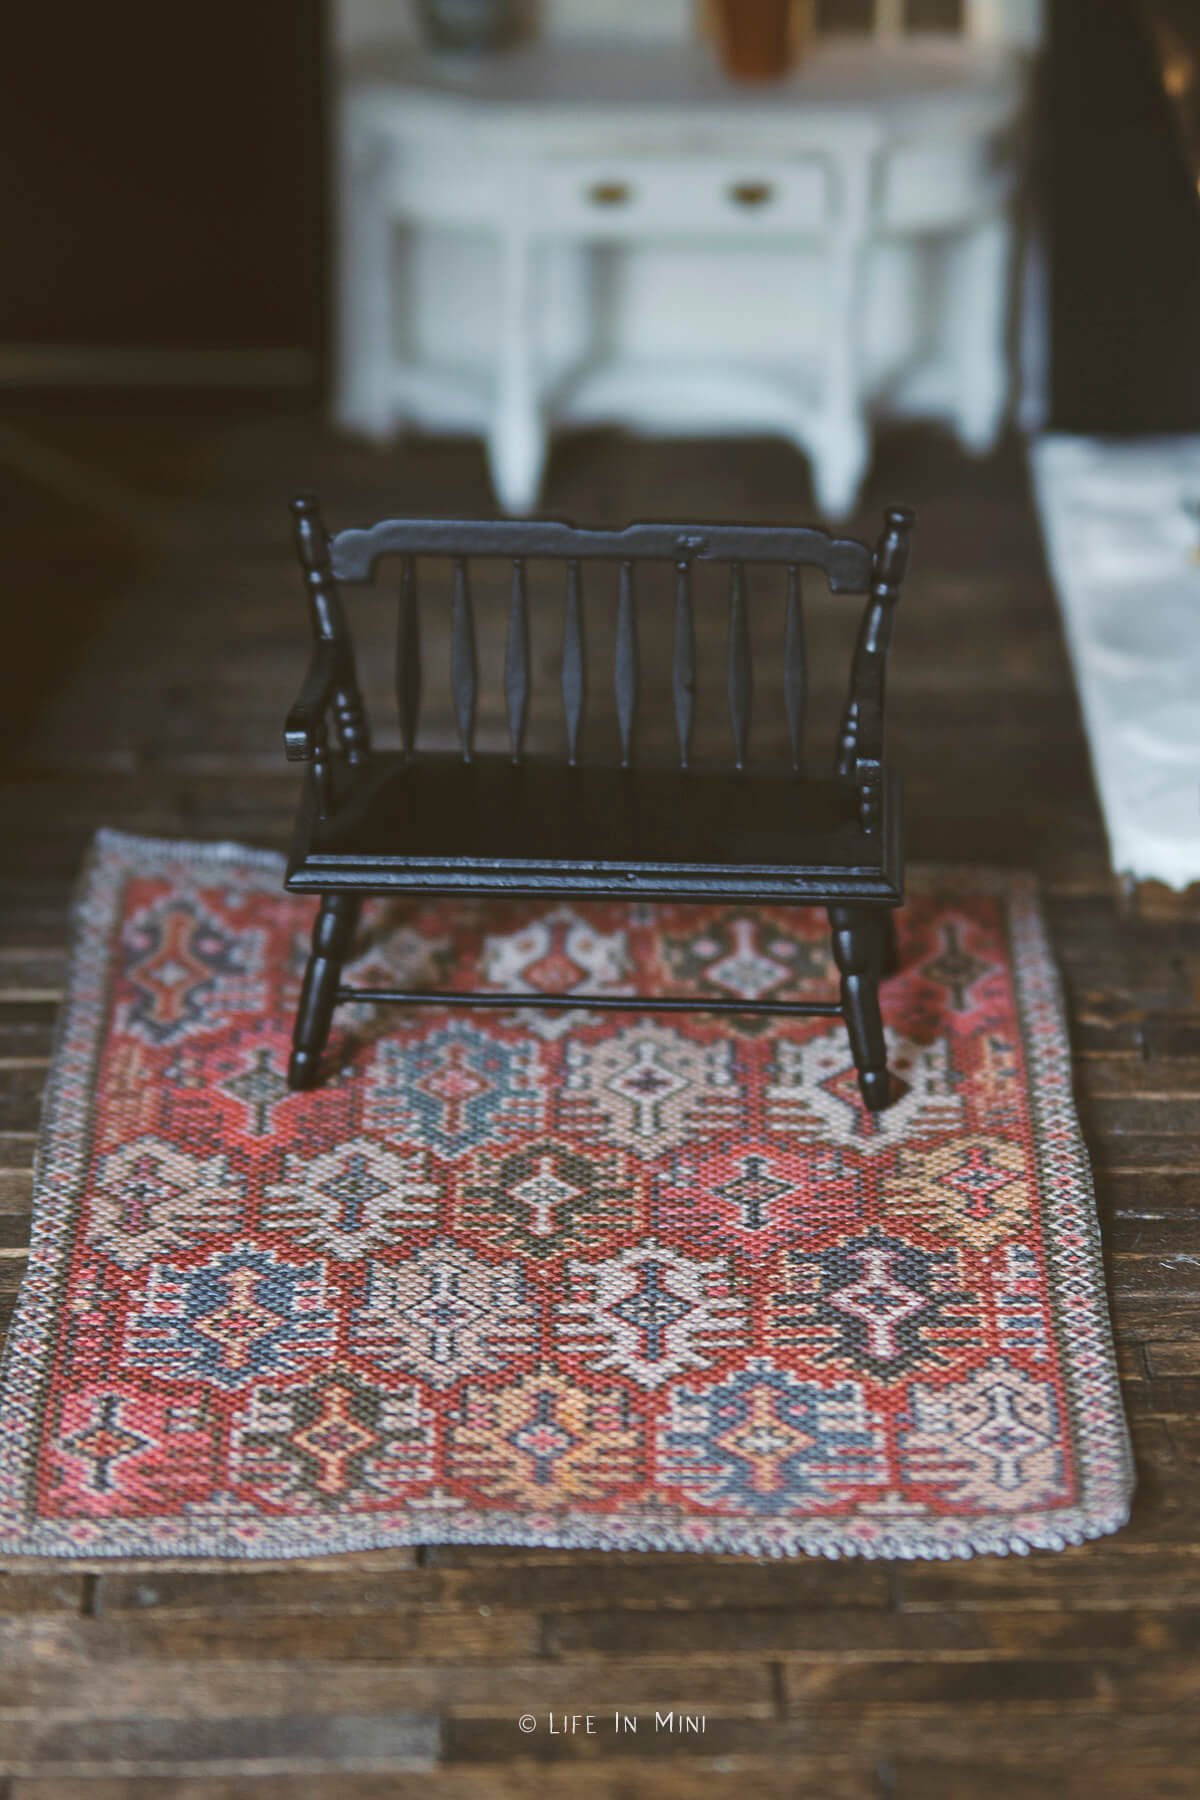
And now that my hardwood flooring is done, I can make some homemade dollhouse rugs! And no fancy skills required.

If you are enjoying my blog, why not sign up for my newsletter so you won’t miss out on the mini adventures!
Dollhouse Flooring Using Popsicle Sticks
Create an inexpensive wood flooring for your dollhouse using wooden popsicle sticks or coffee stirrers. You can stain them, paint them or leave them natural.
Materials
- Wood popsicle sticks
- Wood stain or paint
- Sand paper
- Cardstock
- Wood glue
Tools
- Wood shears
- Rags or paper towels
Instructions
- Depending on the size of the space you are trying to cover, you will need to cut out and lay the popsicle sticks on your floor to guesstimate how many you need to cut, sand and stain.
- If you are using rounded popsicle sticks, these ends need to be cut off. Once cut, the ends have to be sanded smooth.
- Pour the stain in a bowl and add a batch of sticks to stain at once. Use tongs or gloved hands to remove from the stain. Using a rag or paper towels wipe off excess stain.
- Place the stained sticks on top of parchment or wax paper to dry completely.
- Lay pieces of cardstock onto the floor you want to cover to create a floor plan for you to glue the stained sticks onto. If creating dark flooring, use dark cardstock. Tape the cardstock pieces together.
- When the stained sticks have dried completely, use wood glue to adhere them to the cardstock. Start from the front side (open more visible side of the dollhouse) and work your way to the walls. This way the final pieces that you have to cut and fit are not as easily visible. Make sure to stagger each row as you glue the pieces down.
- Once completely glued, lay heavy objects over the wood flooring and let it sit like this overnight. This keeps your flooring from warping while the glue dries.
- The next day, insert and glue the wood covered cardstock onto the dollhouse, again using wood glue. Again, lay heavy objects over the flooring overnight.
PS If you try this craft, why not leave a star rating in the direction card right below and/or a review in the comment section further down the page? I always appreciate your feedback.
You can also follow me on Pinterest, Facebook or Instagram. Sign up for my eMail list, too!
Written by Laura Bashar
I’m a food blogger and cookbook author that loves miniatures and crafting. I started this blog to share my passion for minis, including tutorials and free printables.
Dee Trychel says
Great job! Love it!
Laura says
Hi Dee-
Thank you! I hope this helps you.
Laura