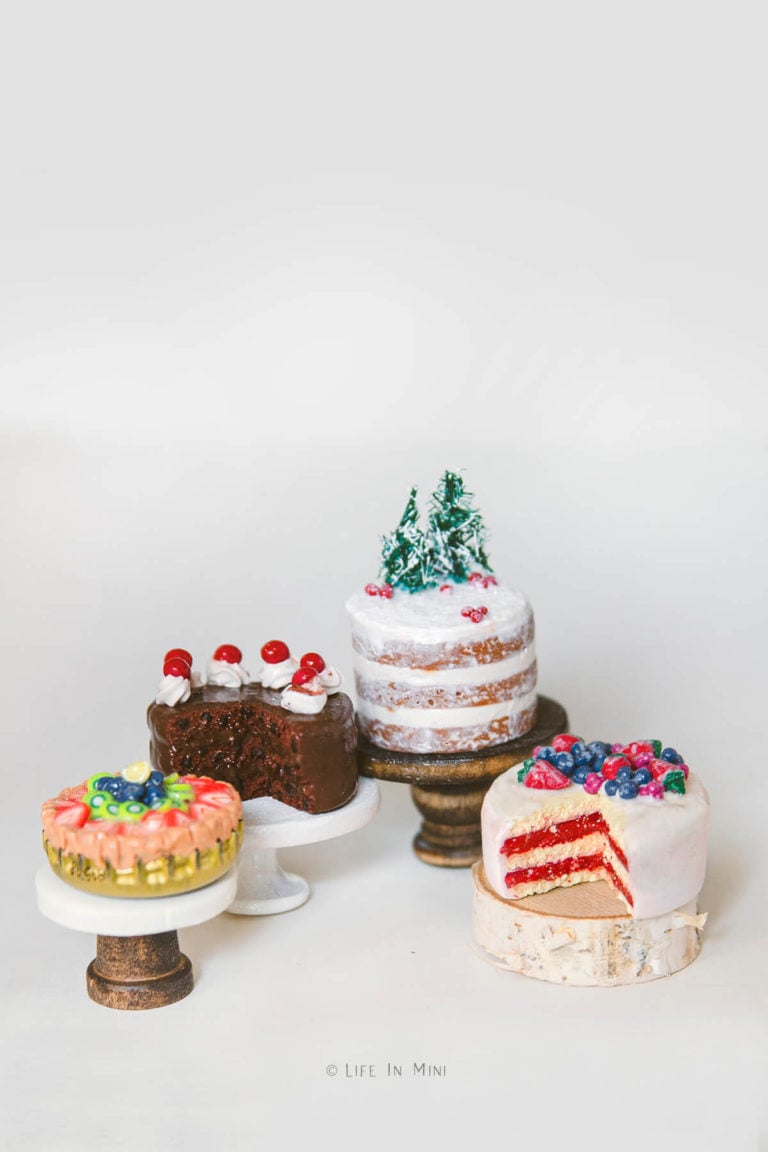
Whether you go rustic or full color, show off your miniature cakes with these easy and unique cake stands. Most of these items are very inexpensive and easy to find.
My real house has been topsy turvy these past few months. My college boy came home and wants to transfer to a local university. He usually shares a room with his almost college ready brother.
The result? I lost my office. Well, it had become a storage room. It took a few months to clear, reorganize and donate, but my eldest is home and enjoying his own room. All of my craft stuff went upstairs to the now abandoned play room.
All this means that I have not been able to make much these past few months. Luckily, that is all changing and I am getting back to crafting and my dollhouse.
We all know that accessorizing our miniature worlds can be expensive. So mini makers are known for their creativity in using what we have on hand and transforming these items into beautiful miniatures.
I do not consider myself one of these mini magicians, but I am getting better at it. And today I am sharing how to easily create mini cake pedestals to go for those mini cakes and treats I have been making.
This post contains some affiliate links for your convenience (which means if you make a purchase after clicking a link I will earn a small commission but it won’t cost you a penny more)! Read my full disclosure policy.
Supplies you need
- Push pins: The regular sized plastic push pins aren’t wide enough to provide a stable base for heavy polymer clay cakes. I found these extra wide push pins that work perfectly!
- Mini wooden spools or flower pots: These mini wooden thread spools also make a great base for your cake stand, although they are a bit tall. You can always cut them down in size. You can find them at craft stores or online. The mini flower pots also make bases for cake stands. I didn’t see the right size on Amazon, but you can easily find them at craft stores, too.
- Mini wooden pegs: These mini wood pegs also make a beautiful stand. The round tops just need sanding down. You can also use wooden dowel caps like this round one and this acorn one. You can find these very cheap at craft stores and even dollar stores.
- Small wood rounds: For the platter of the cake stand, you can use these small wooden rounds. They are about 1-inch in diameter.
- Birch rounds: If you like a rustic touch, you can use this mini birch rounds.
- Polymer clay: You can also make rounds using white polymer clay and round cutters.
- Craft glue: I like to use Aleen’s Tacky Glue for these kinds of projects. If you are gluing baked clay with wood, then use Sculpey’s Bake and Bond.
- Wood stain: If you like a natural look, apply wood stain to your wood pieces.
- Paint: You can also paint your pieces. This is important if you are using plastic push pins. Spray paint works best for an even coat. I like to use a high gloss paint for these cake stands.
- Sand paper: Sanding the wooden pieces is necessary before painting to insure a smooth finish.
- Wire clippers: If you are using push pins, you will wire clippers to cut or pull out the sharp pin.
Step-by-step directions
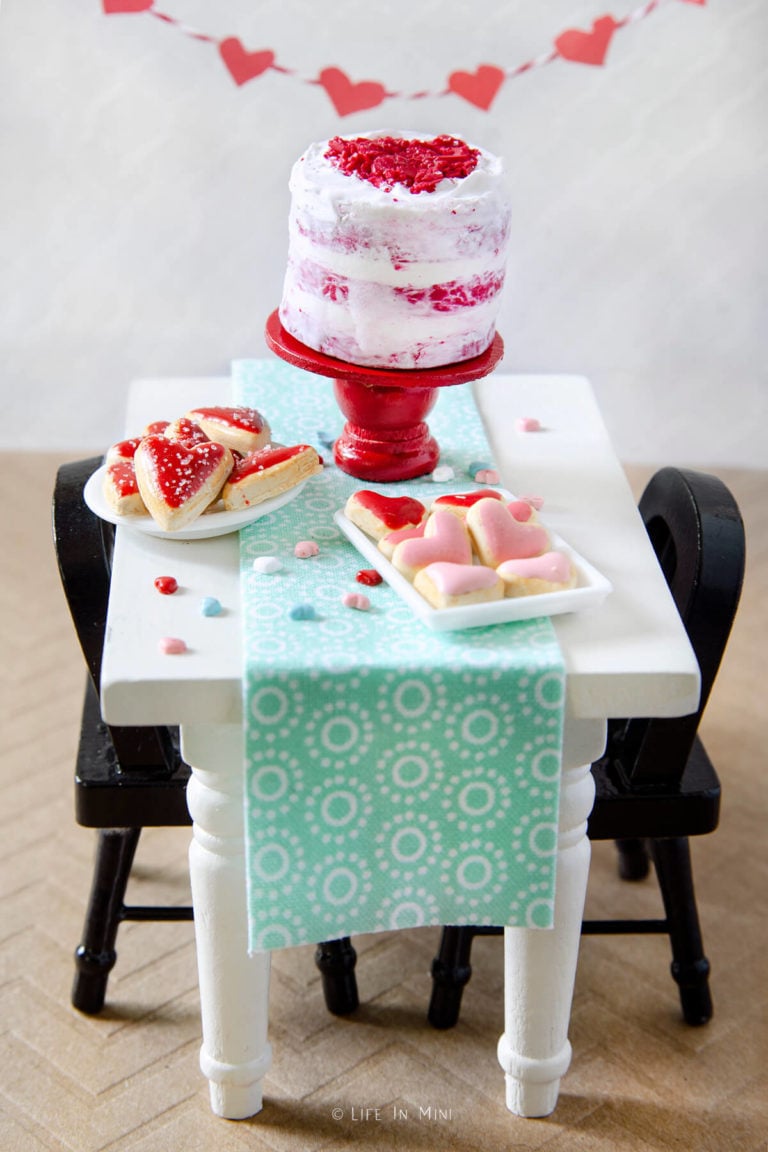
1. This miniature cake stand is made with a mini wooden dowel cap that I sanded the top flat. Sand the wooden round circle and glue it to the sanded dowel cap. Once the glue is dry, I painted it with a high gloss red spray paint.
Check out my tutorial to make the valentine miniature cake pictured below!
2. Below you can see how a birch round looks with a cake. I didn’t bother with stand for it and just used the round by itself. You could also slice it in half, so it would not be so thick and then attach any bottom pedestal for it.
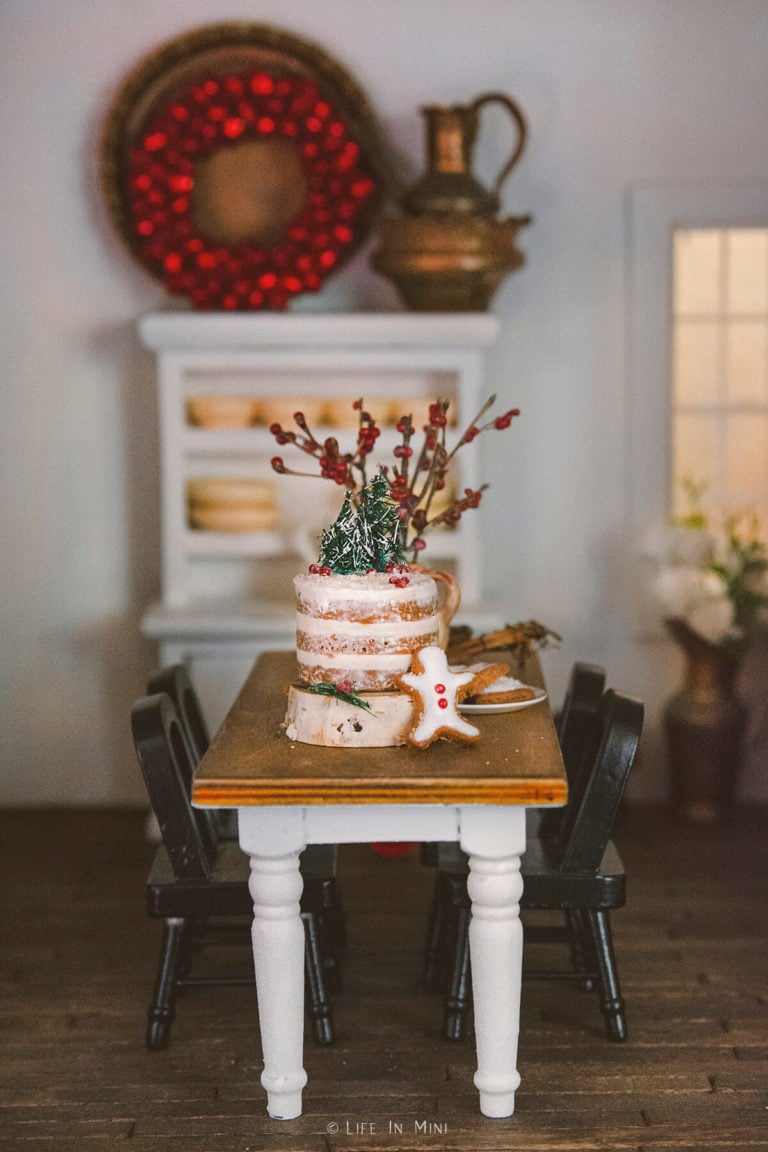
3. This mini cake stand is made with the same items as the first stand I showed: a mini wooden dowel cap and a wooden round circle. This circle is a little thicker than ones I previously used. You can find thicker and thinner wooden circles at the craft store. For this cake stand, be sure to STAIN FIRST and then glue together. Stain does not stick to a surface with glue splotches.
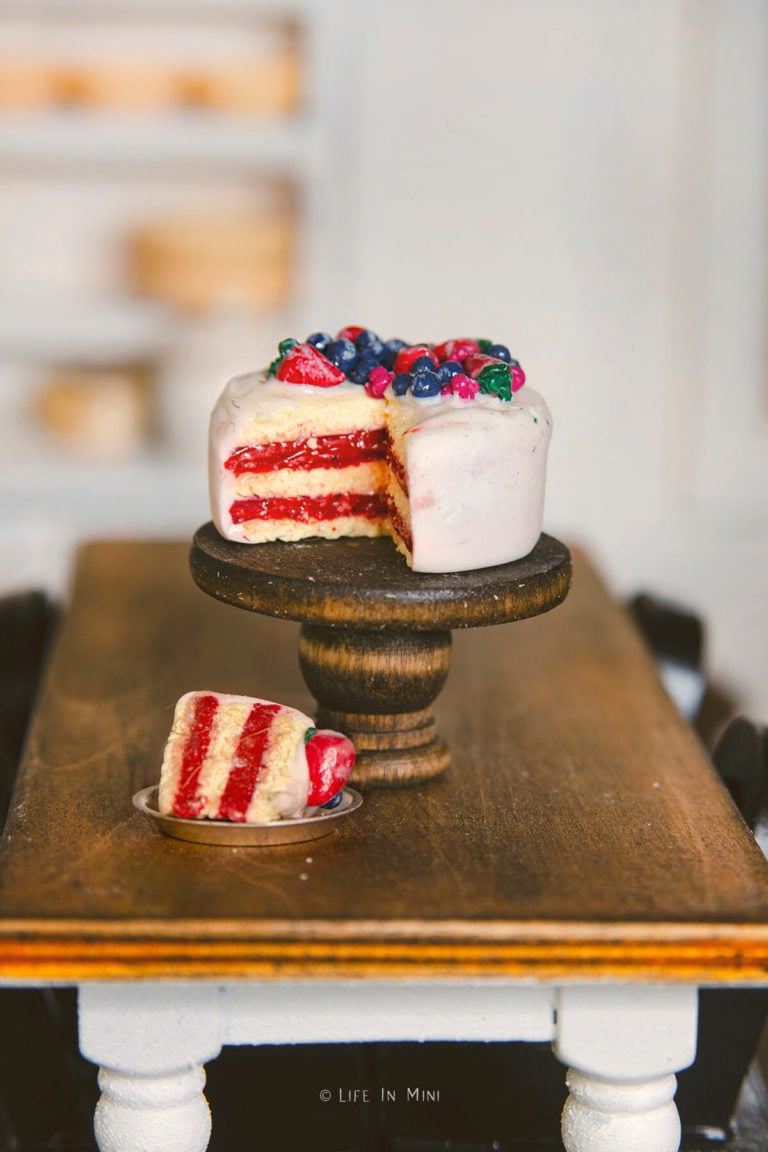
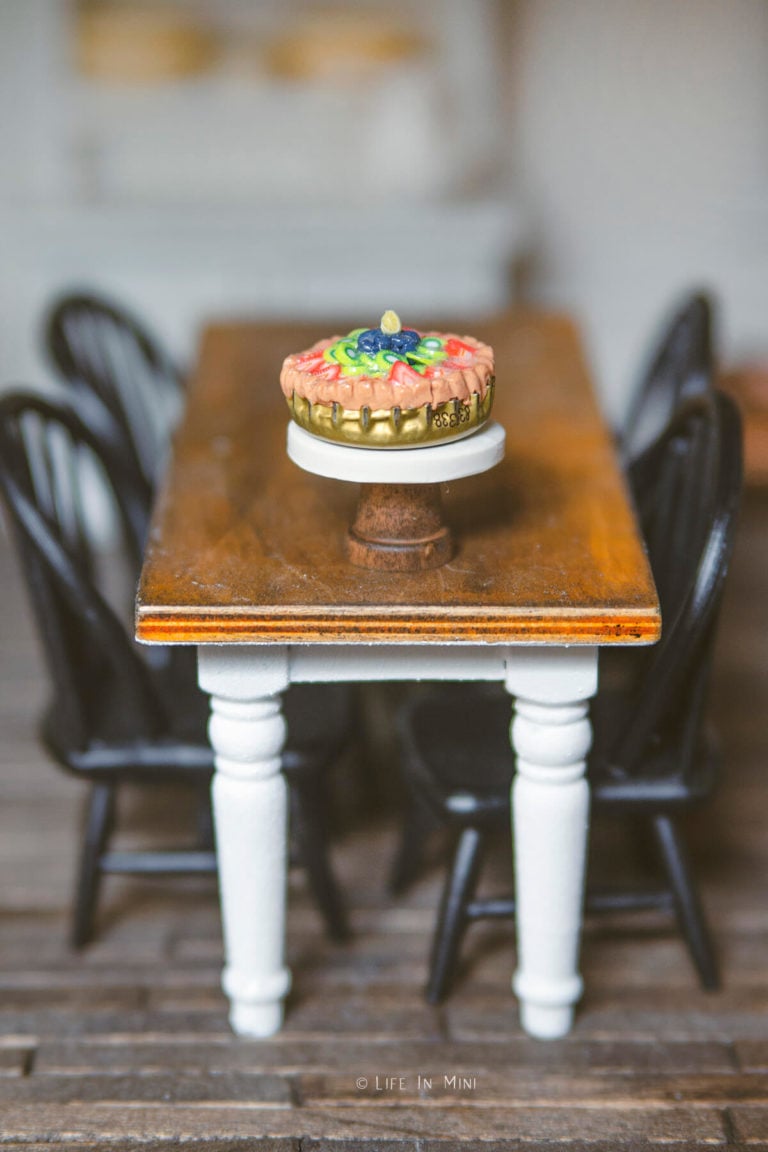
4. This cake stand uses a wooden circle and a wide push pin. Sand the wood round and push pin. If you can, remove the pin from the plastic push pin. Some come out with brute force and pliers, some do not. This one did not, so I clipped it as short as I could. Add some glue to the thin end of the push pin and glue to your wooden circle. If you have a tiny bit of the pin left, push it into the wood. Once the glue is dried, spray paint it any color you want.
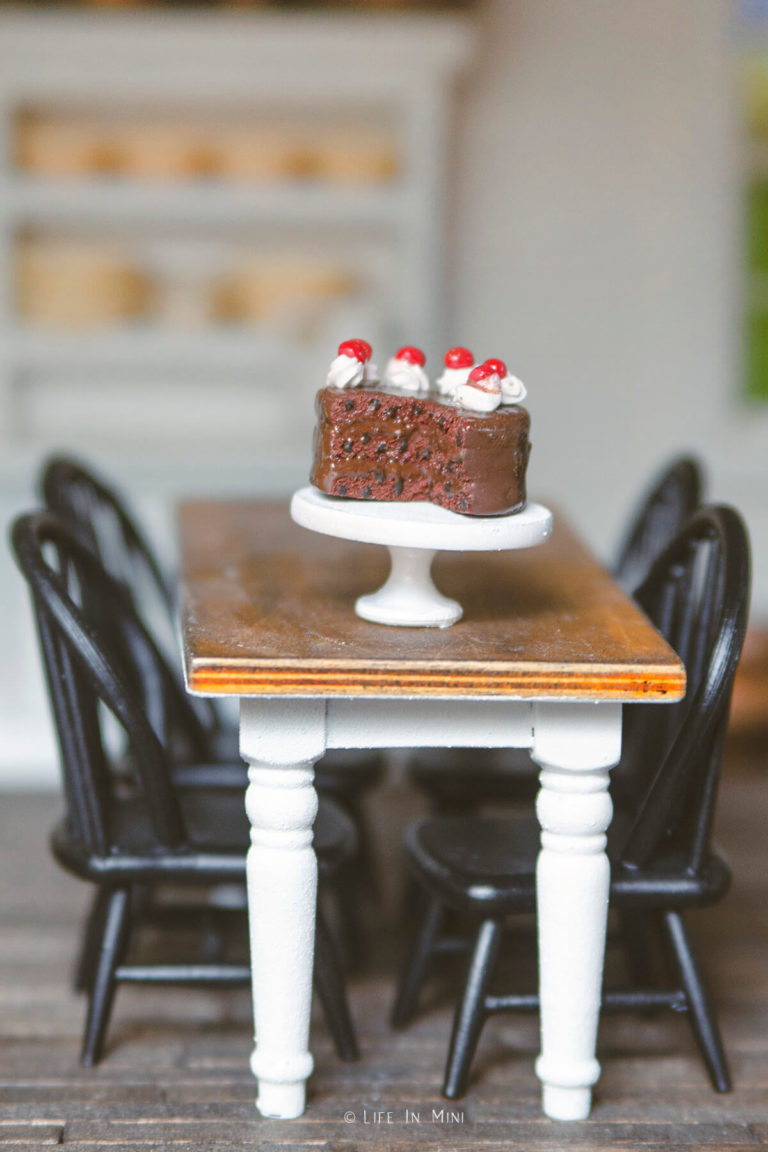
5. This is one of my favorite pedestal cake stands. I made the circle with white polymer clay. Once baked you can decide if you want it glazed or not. For the pedestal, I used a small wooden pot stained brown. The pot is inverted so its “bottom” is glued to the clay. I used Sculpey’s Bake and Bond to glue the pieces together. If using clay, I suggest gluing clay to wood and not plastic as you shouldn’t bake these push pins in the oven.
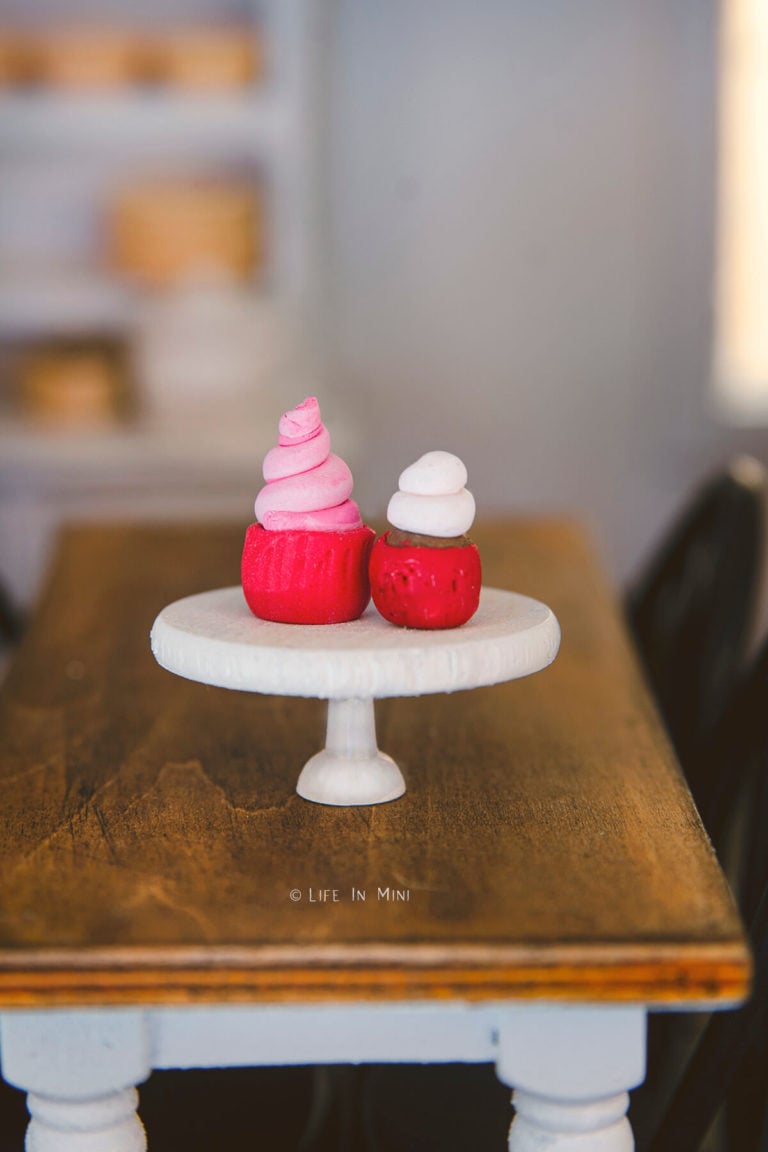
6. This is an example of the regular small push pins used as a base to a cake stand. My polymer cakes made them a bit wobbly, but they were great for these clay cupcakes.
If you are enjoying my blog, why not sign up for my newsletter so you won’t miss out on the mini adventures!
How to make miniature cake stands (1:12)
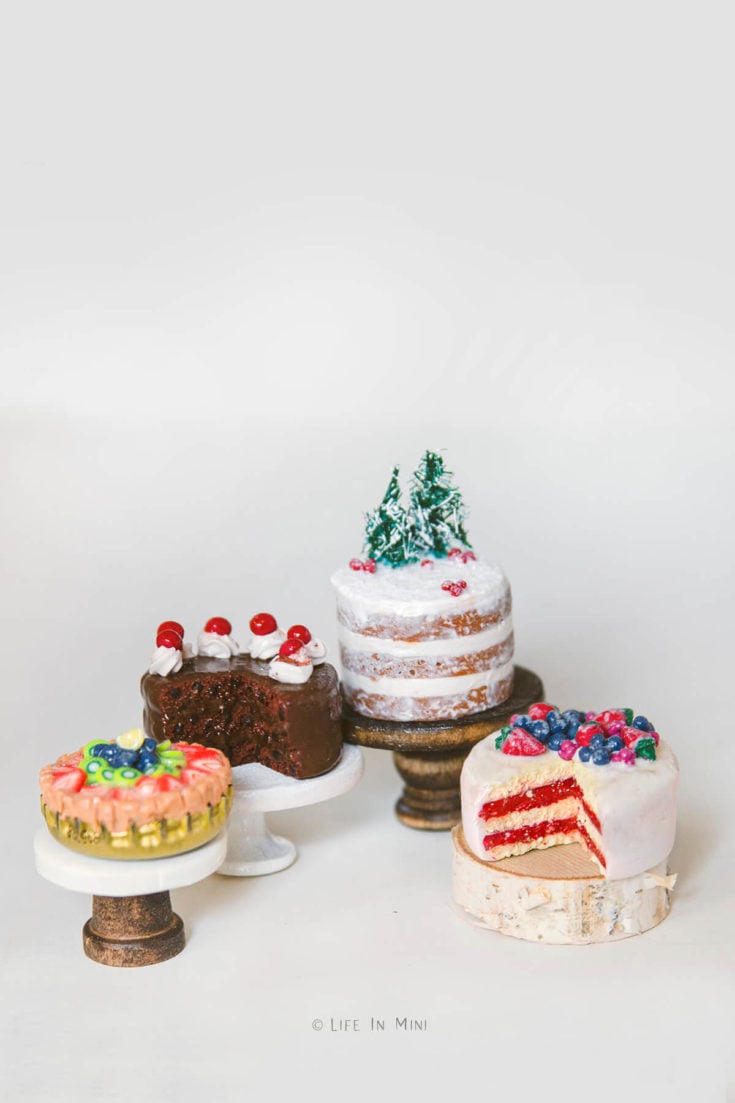
Whether you go rustic or full color, show off your miniature dollhouse cakes with these easy and unique cake stands. Most of these items are very inexpensive and easy to find.
Materials
- Push pins
- Mini wooden spools or flower pots
- Mini wooden pegs or dowel caps
- Small wood rounds
- Birch rounds
- Polymer clay
- Craft glue
- Sculpey's bake and bond
- Wood stain
- High gloss spray paint
Tools
- Sand paper (for wood)
- Wire clippers (for push pins)
- Small rolling pin (for clay)
- Round cutters (for clay)
Instructions
Using dowel caps and paint: Sand the round top flat. Sand the wooden round circle and use craft glue it secure it to the sanded dowel cap. Once the glue is dry, coat with high gloss spray paint.
Using dowel caps and stain: Sand the round top flat. Sand the wooden round circle. Stain both pieces with wood stain. Once dry, use craft glue it secure pieces together.
Using birch rounds: This requires no extra work and use as is.
Using push pins: Sand the wood round and push pin. If you can, remove the pin from the plastic push pin. If you cannot remove the pin, use clippers to cut it as short as possible. Add some glue to the end of the push pin where the pin came out and glue to your wooden circle. If you have a tiny bit of the pin left, push it into the wood. Once the glue is dried, spray paint it any color you want.
Using polymer clay: Roll out the clay to desired thickness. Using round cutters, cut out a circle then bake it per package directions. While clay is baking, sand wood object you are using as the base. In picture above, I used a small wood flower pot. Stain wood with wood stain then let it dry completely. Once wood is dried and clay is cooled, use Sculpey Bake and Bond to secure clay to wood base. Bake per glue directions, then let it cool completely.
Notes
You can use a variety of different wood rounds of different thicknesses. These cake stands offer a variety of different looks and can be painted any color you want.
PS If you try this craft, why not leave a star rating in the direction card right below and/or a review in the comment section further down the page? I always appreciate your feedback.
You can also follow me on Pinterest, Facebook or Instagram. Sign up for my eMail list, too!

Leave a Reply