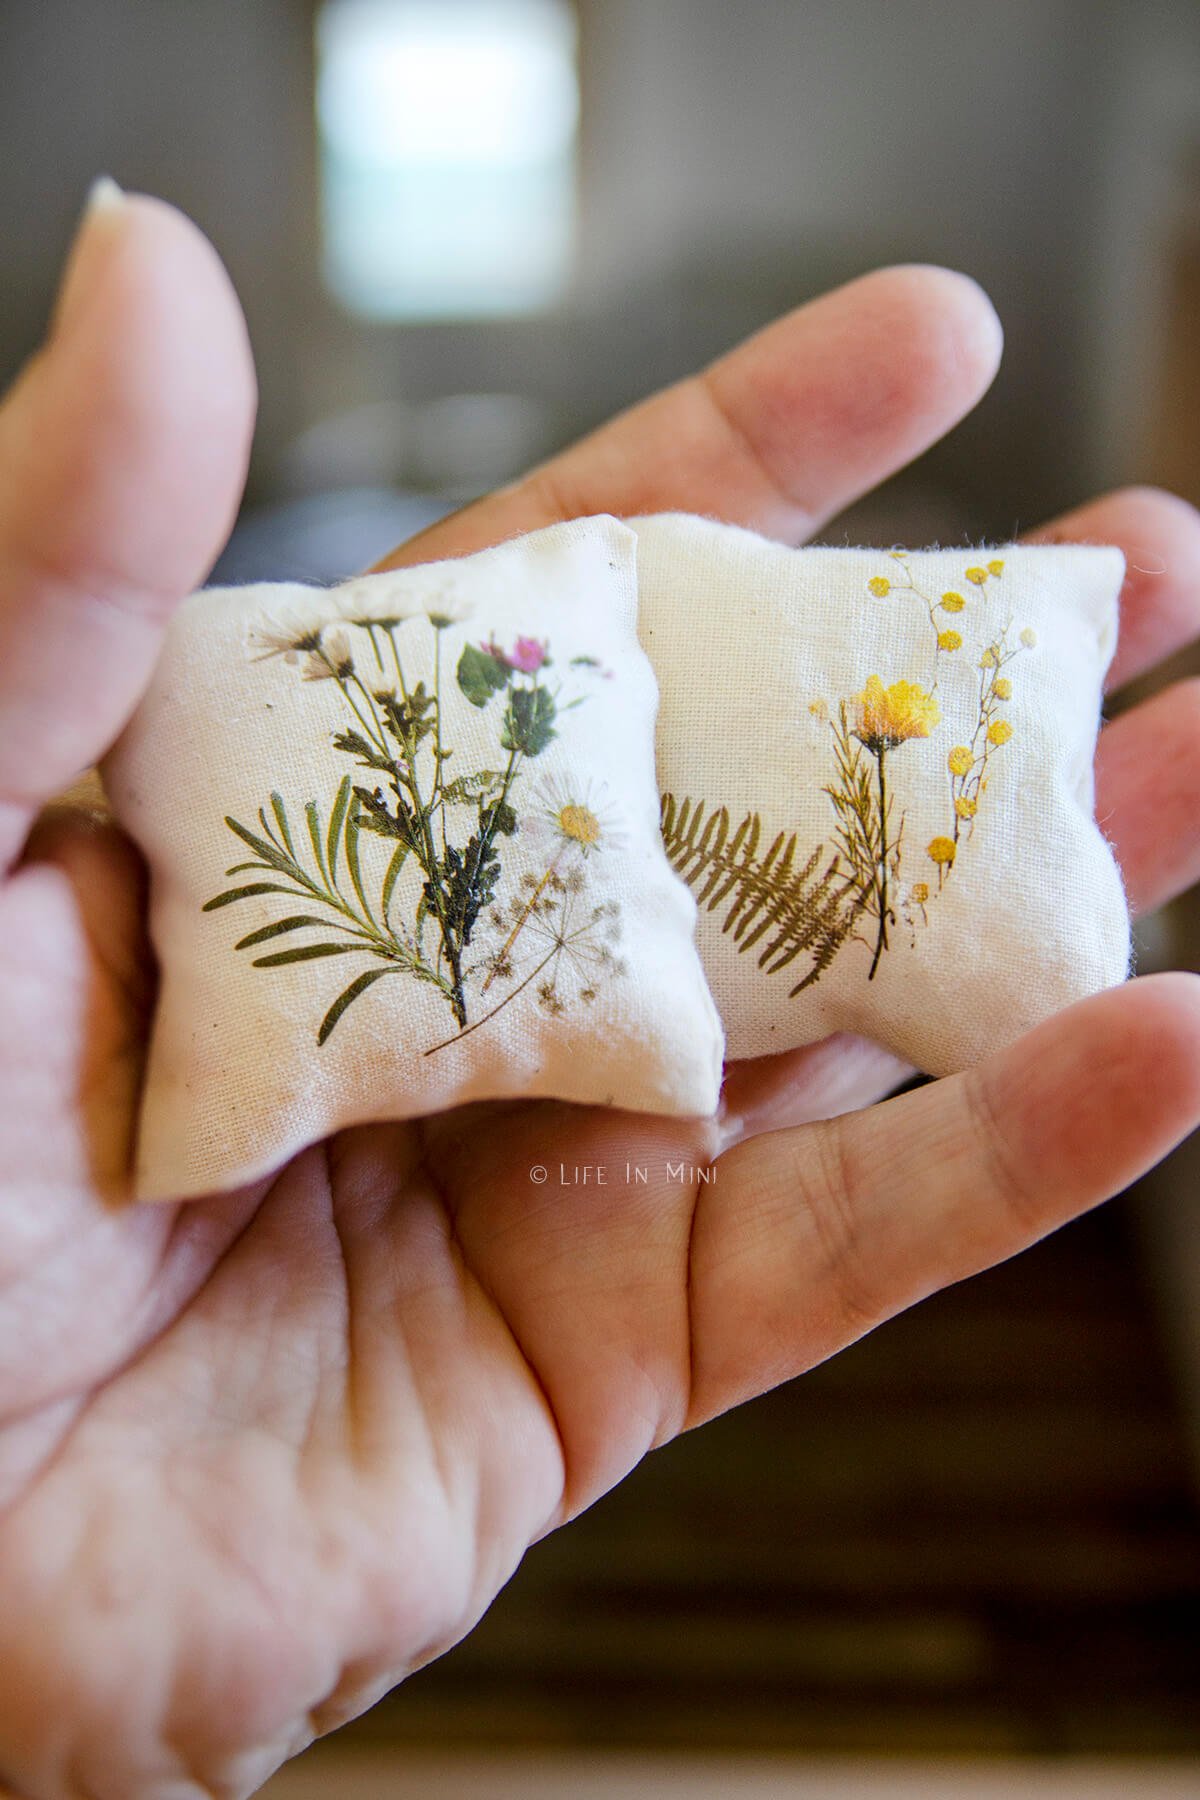
Rub on transfers are a great way to customize practically anything! And if you can find small image transfers, you can use them in your miniatures and make beautiful dollhouse accessories, like these mini pillows.
I apologize for not posting more often as I am in the process of selling my house – my big house, that is. It has been a rather stressful process. Plus, to prepare for all of these open houses, I had to clean up my craft area and pack up most of my supplies.
It has been a rather long and bumpy road thanks to the interest rate hikes and I found myself missing my minis and my dollhouse projects. So I ran out and purchased a few small supplies and air dry clay to destress and keep me creating.
I find working on my minis to be incredibly relaxing and therapeutic. So although I am not working on the dollhouse often these days, I did find myself needing to work on it.
Since google and the bots watch what we do on the internet, one night I found myself watching a video ad showing these beautiful floral rub on transfers adhering easily onto fabric. I quickly found myself happily jumping down a rabbit hole.
I ended up purchasing those pretty rub on transfers and stuck them in a bin for some future dollhouse projects. After a rough week recently, I scurried to my bins and pulled them out.
It was time to makes something with these beauties.
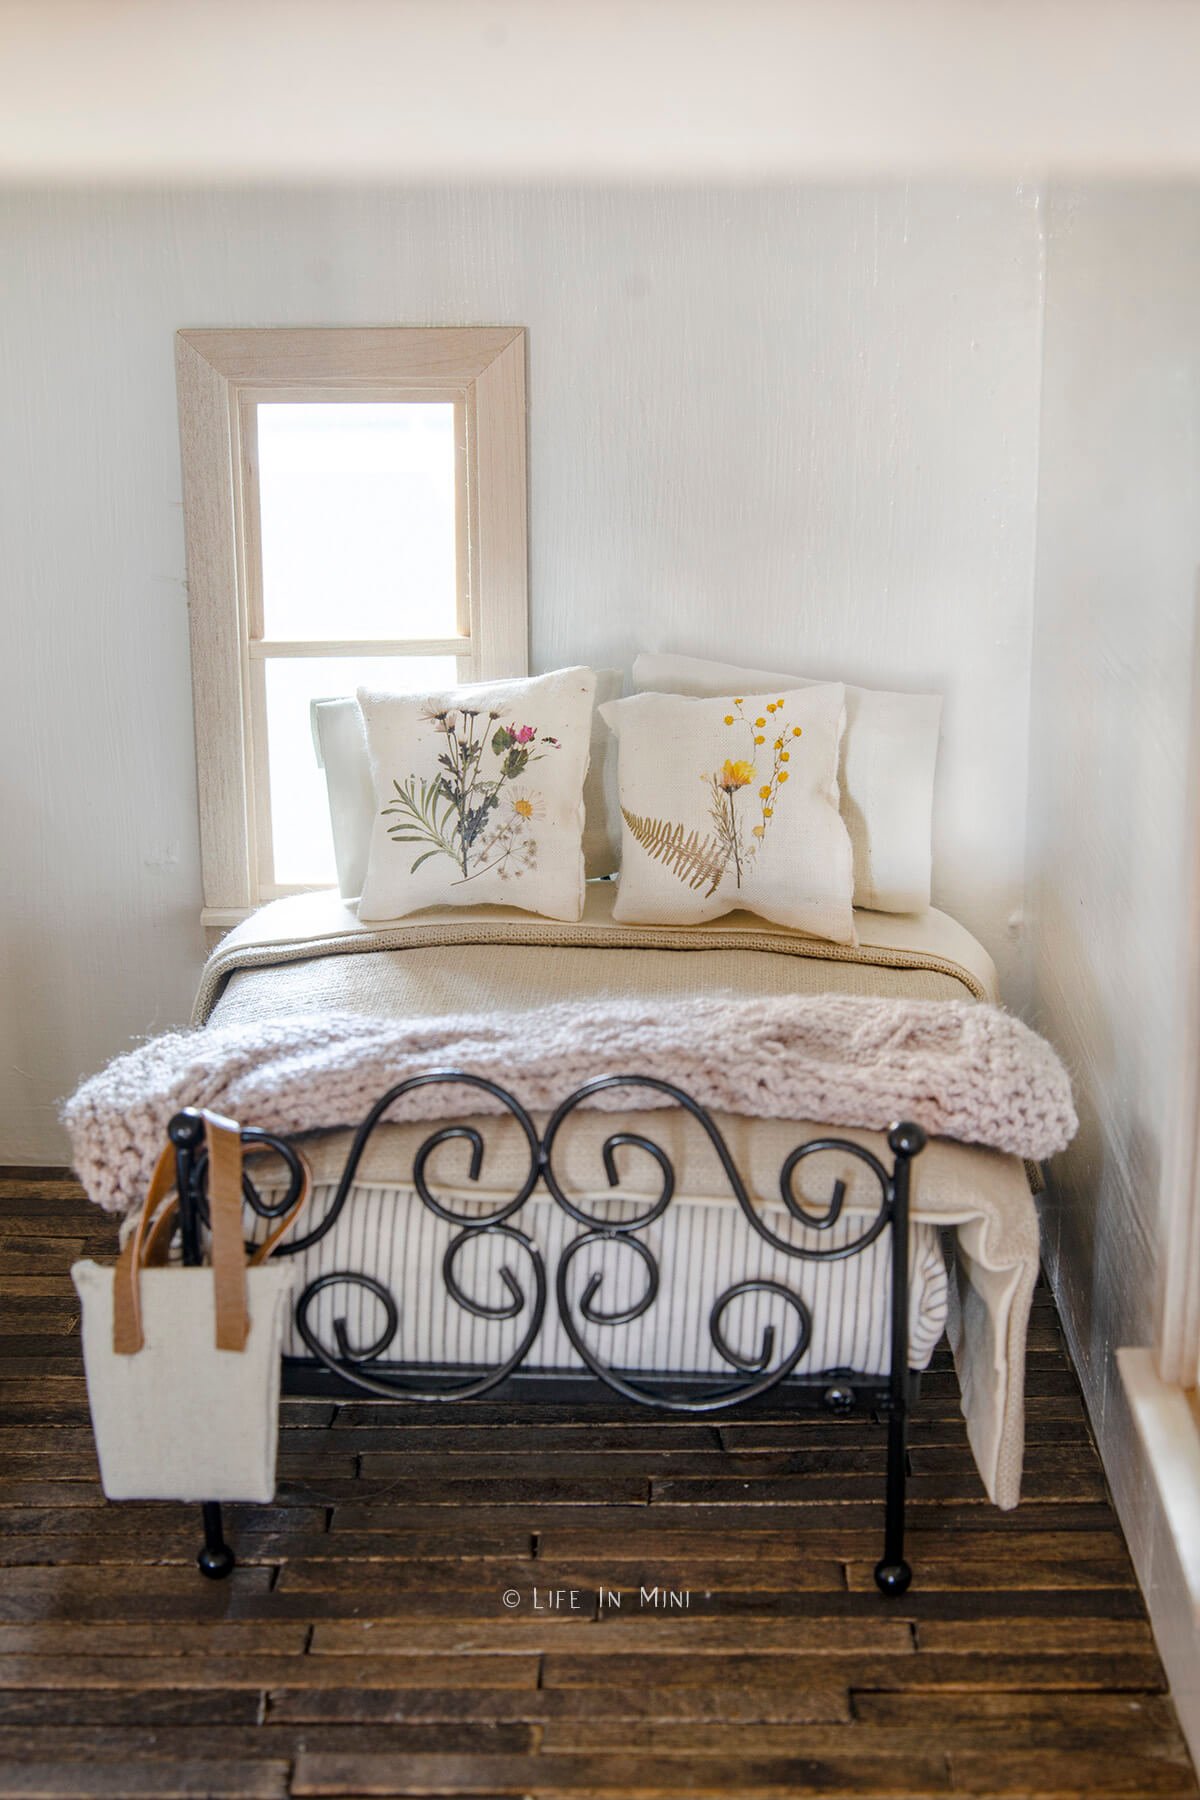
To keep things simple, I decided to start with some mini pillows, using my no-sew dollhouse bedding method (ha ha I use glue). The pillows turned out so cute that I decided to remake the bedding so that everything would match.
Now I wish I had this for my real bed.
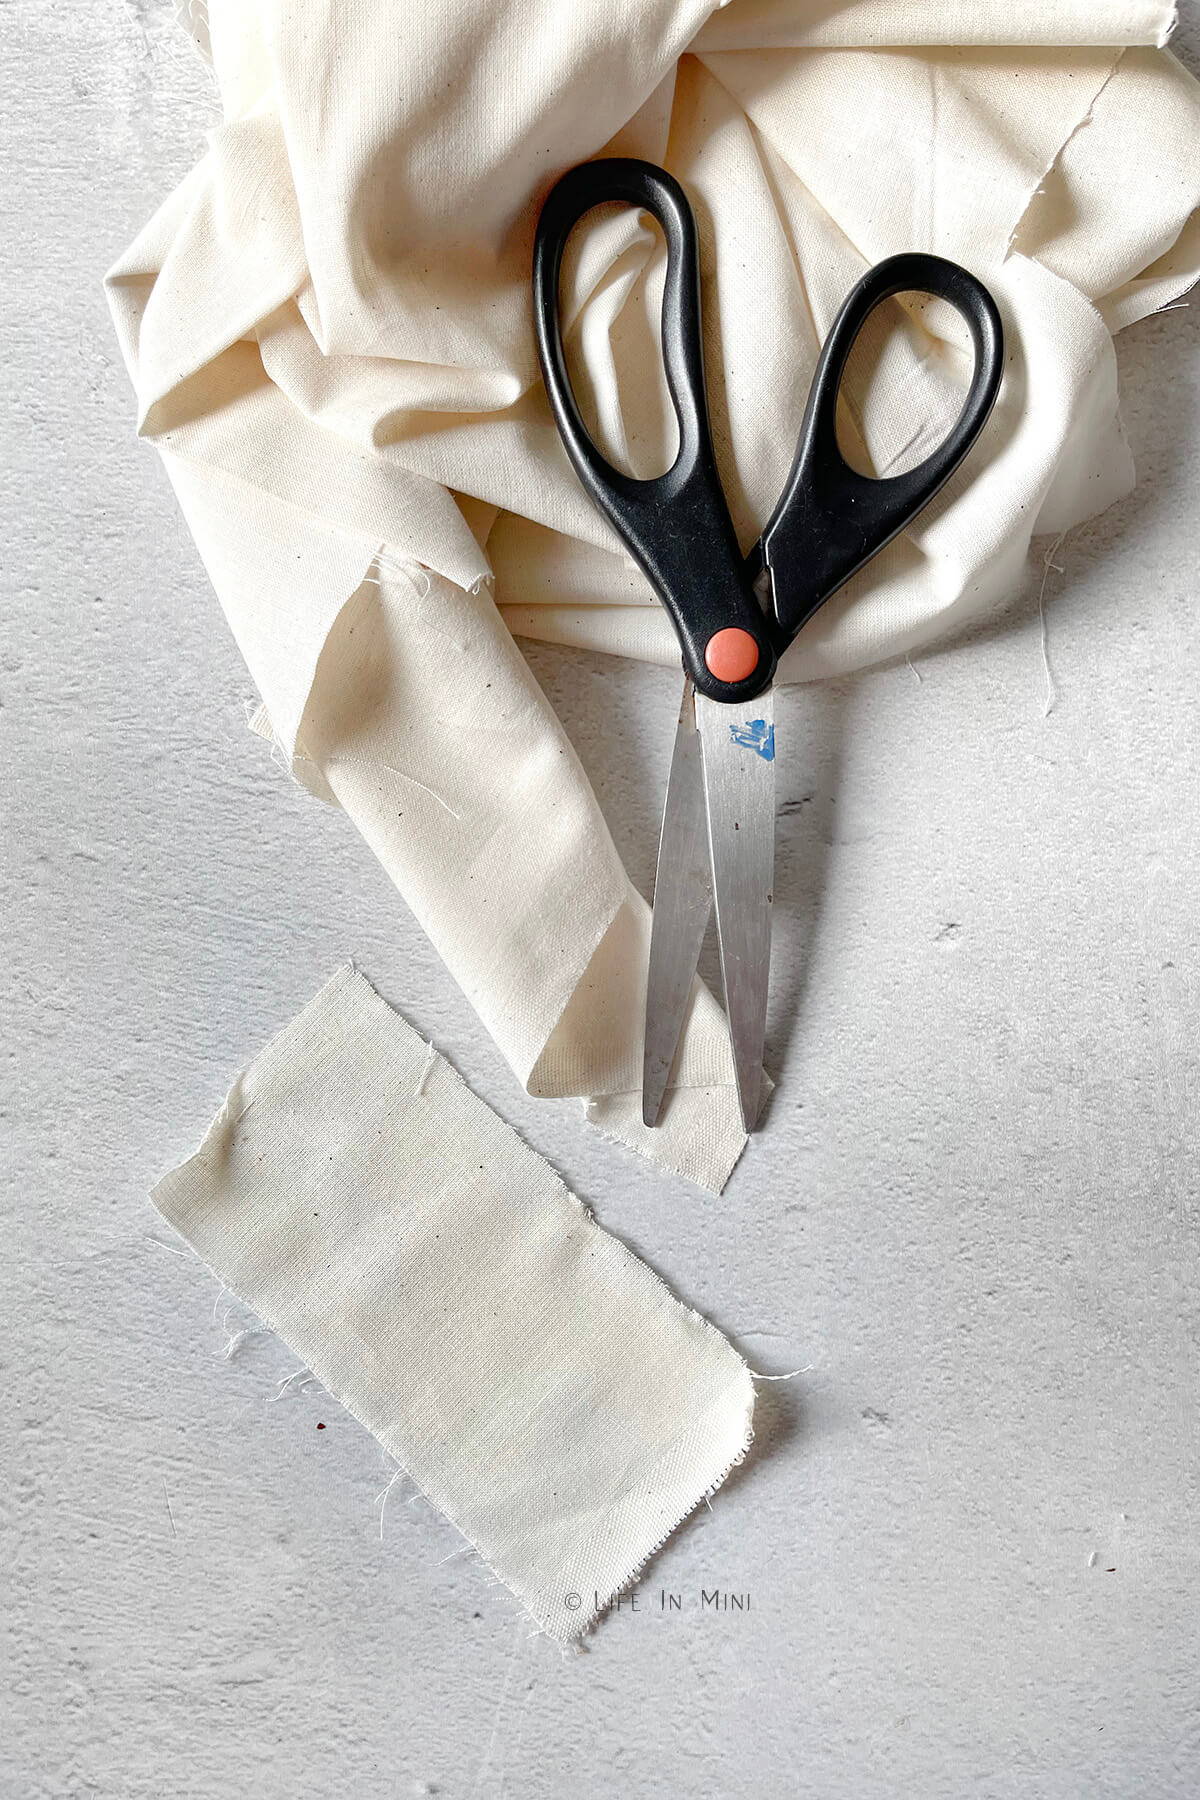
And I really wish I didn’t pack up my fabric scissors! DOH!
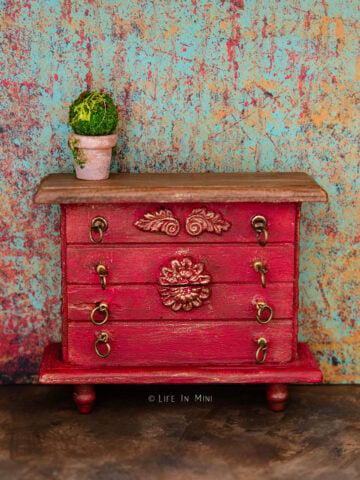
Want to learn more ways to use rub-on transfers? I decorated a dollhouse dresser with them!!
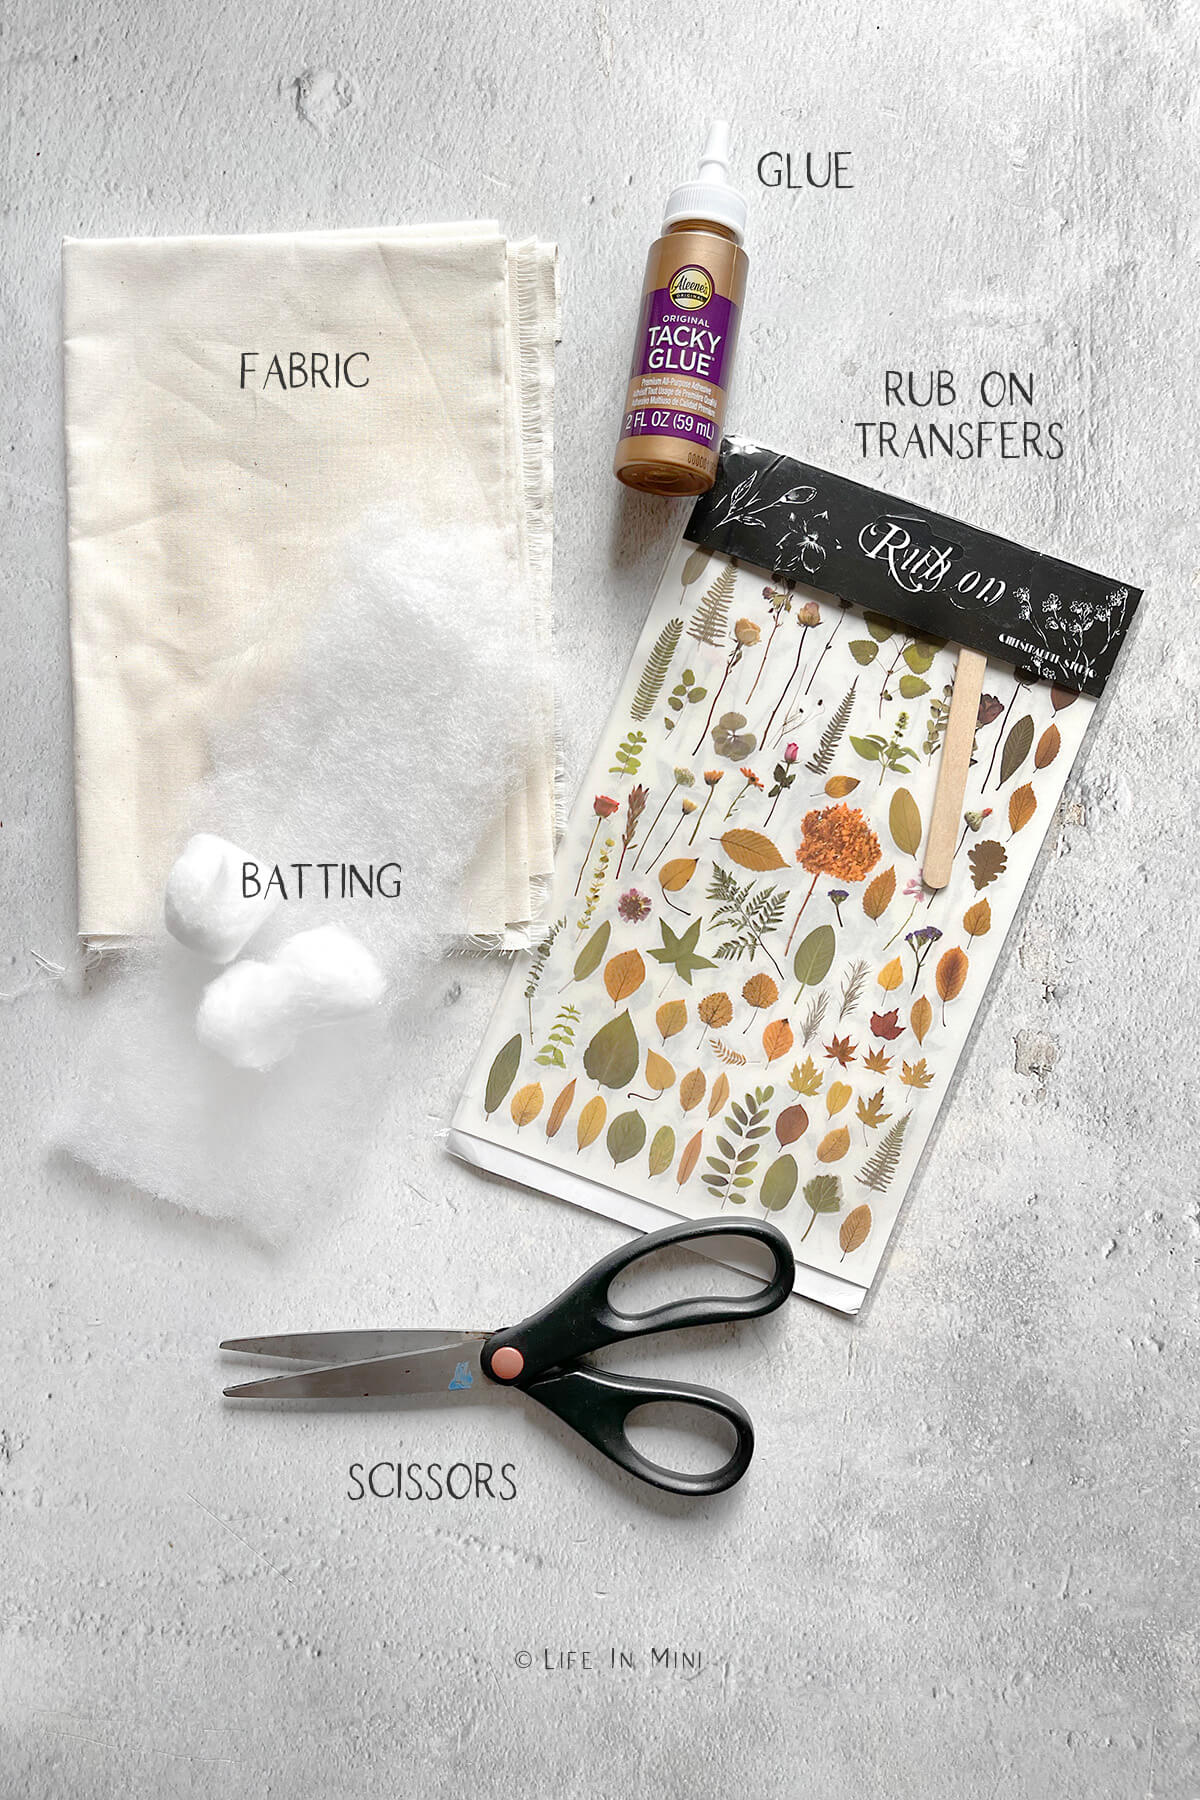
Supplies you need
This post contains some affiliate links for your convenience (which means if you make a purchase after clicking a link I will earn a small commission but it won’t cost you a penny more)! Read my full disclosure policy.
- Rub on transfers: Look for small designs in whatever theme and colors you like. I purchased these rub on transfers from Taperology, but you can also find other varieties on Amazon, too. You can also find rub on transfers at craft stores and even at The Dollar Tree or 99¢ Stores. Happy rummaging!
- Popsicle stick: This is used to rub the design onto your fabric. My rub ons came with a stick so if yours doesn’t, be sure to grab one.
- Fabric: For miniature pillows, you don’t need much fabric. If wrinkled, give it a quick ironing so your transfer won’t turn out wrinkly. I used muslin fabric in this demo.
- Glue: I made my pillows using my favorite all purpose Aleen’s tacky glue. You can also use fabric glue or if you prefer to sew, needle and thread.
- Stuffing for pillow: You can use batting, craft foam or even cotton balls.
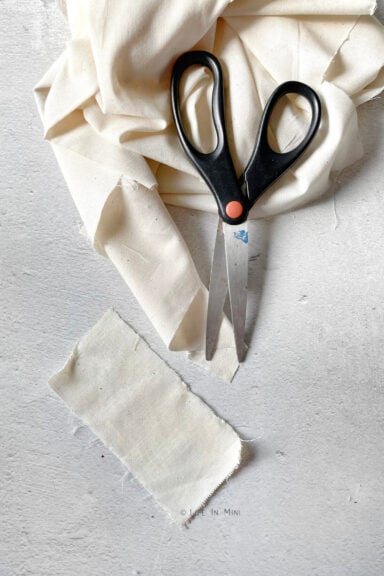
- Scissors: You will need to cut the transfer images you want to use from the sheets they come in. You can use regular scissors or an x-acto knife. You will also need to cut your fabric. I find that fabric scissors are a MUST for smoother cuts -which is why I was really missing my fabric scissors on this project!
Step-by-step directions
1. Cut fabric to size for your miniature pillows. I made larger bed pillows to fit a larger floral design.
2. Cut out the transfer images you want to use.
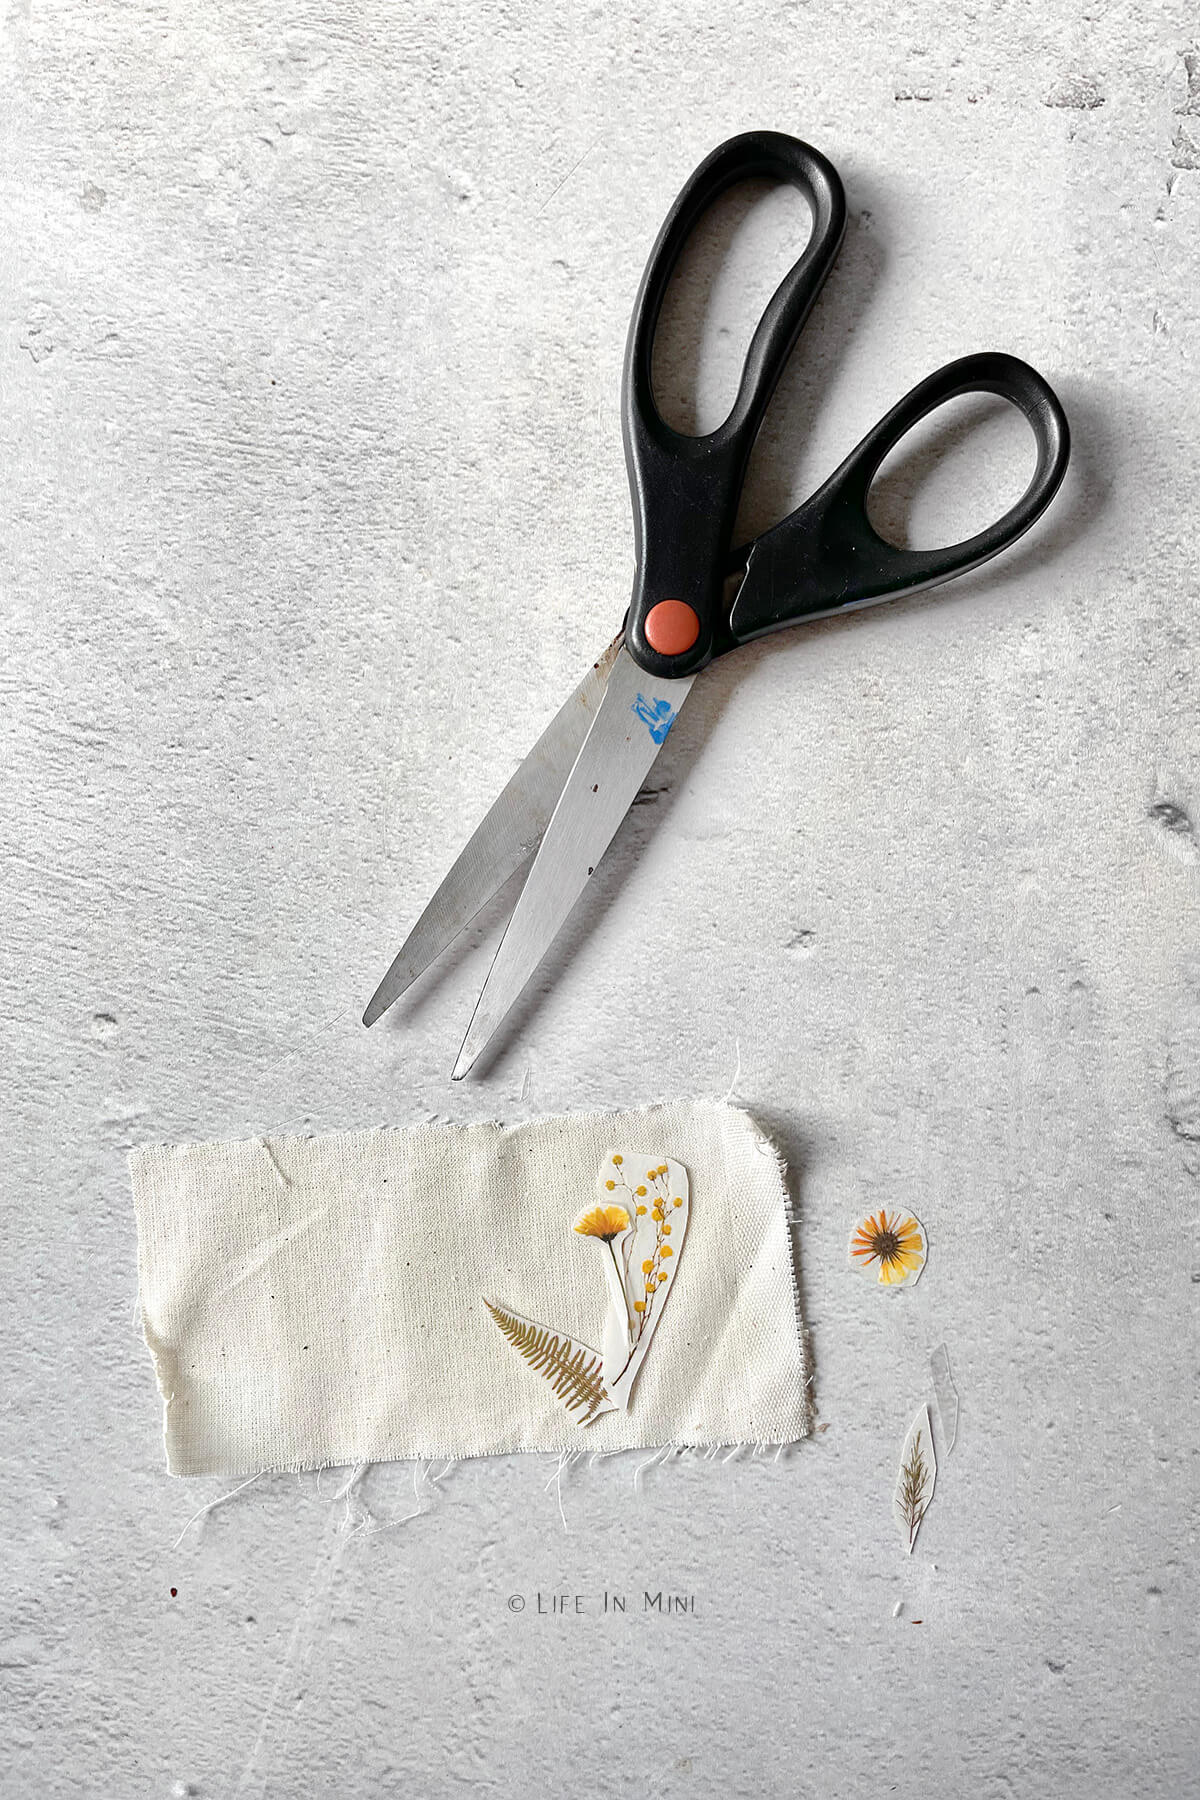
3. Arrange the pieces and make sure it fits on your fabric. Remember that you will need space along the fabric edges for the glue/hem to seal your pillow.
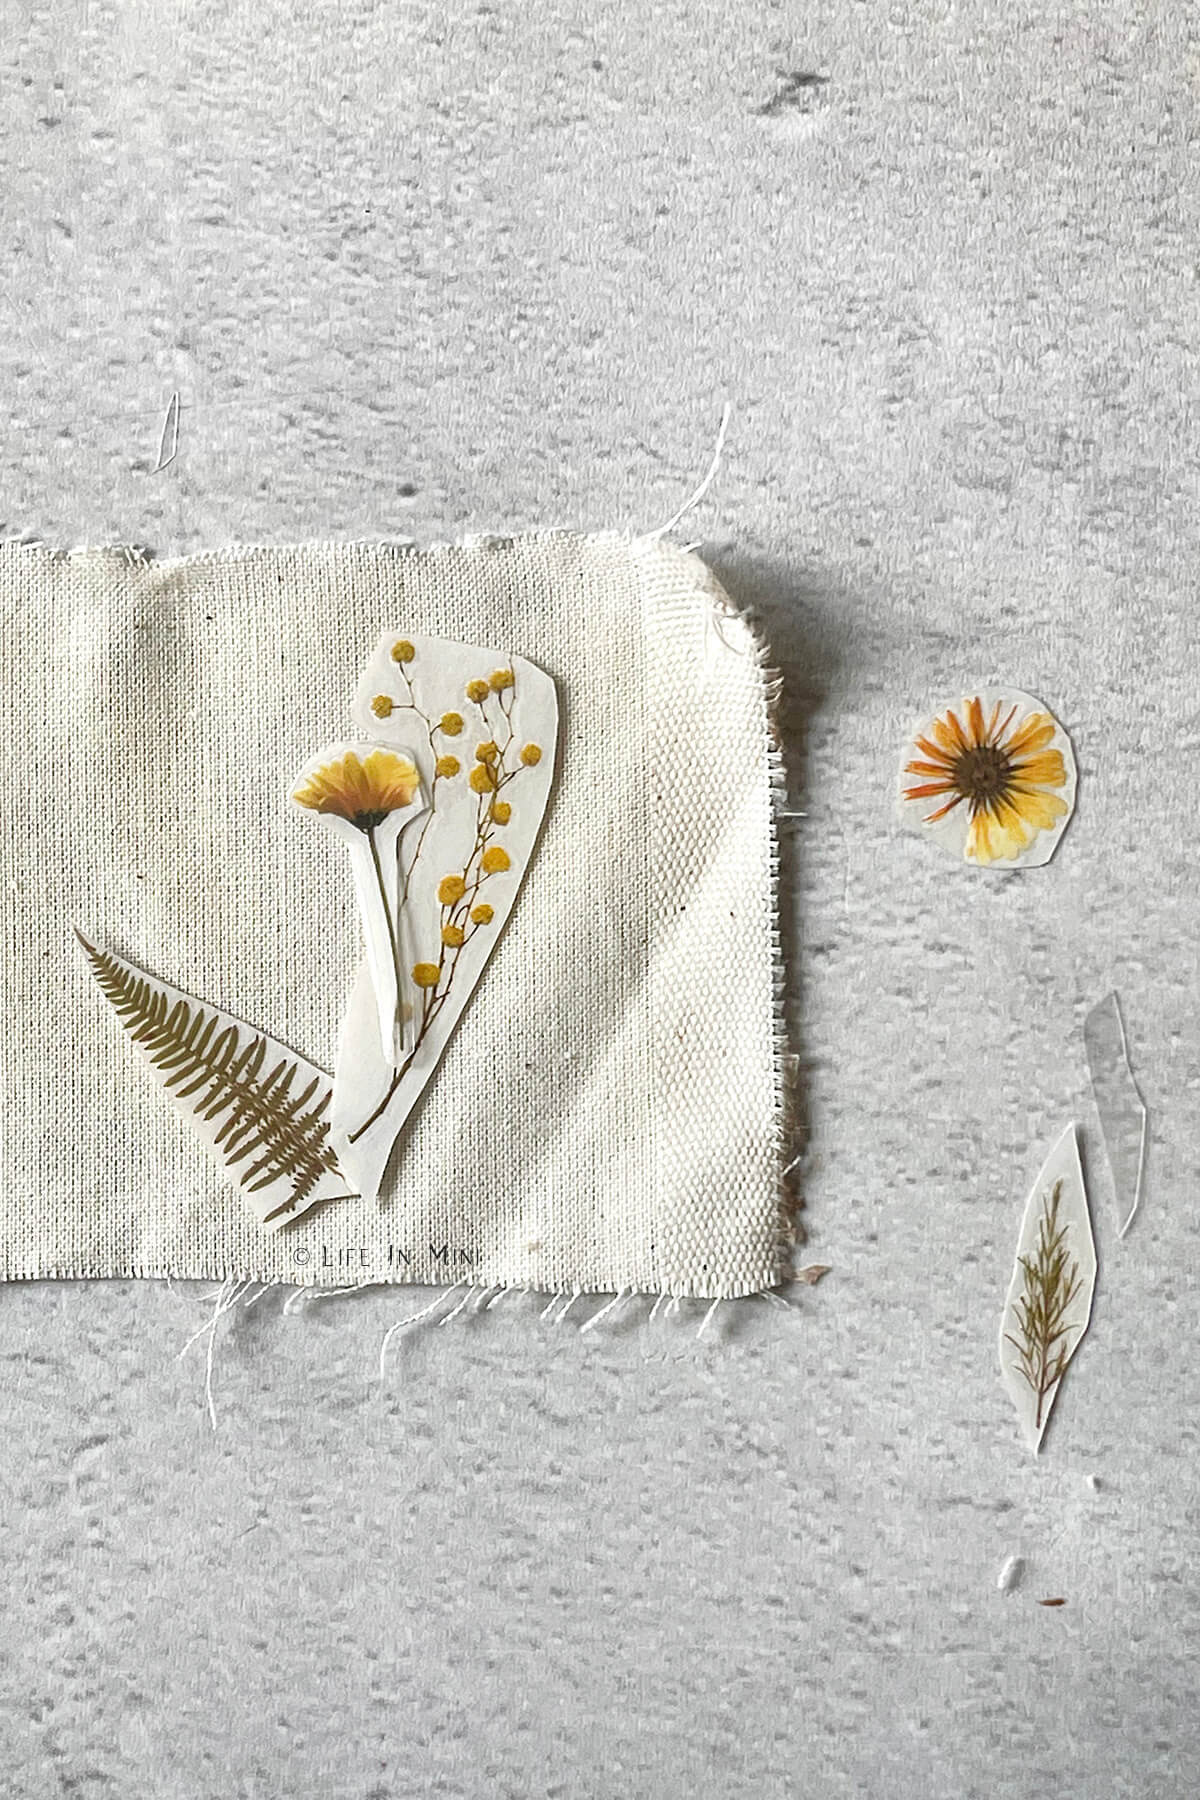
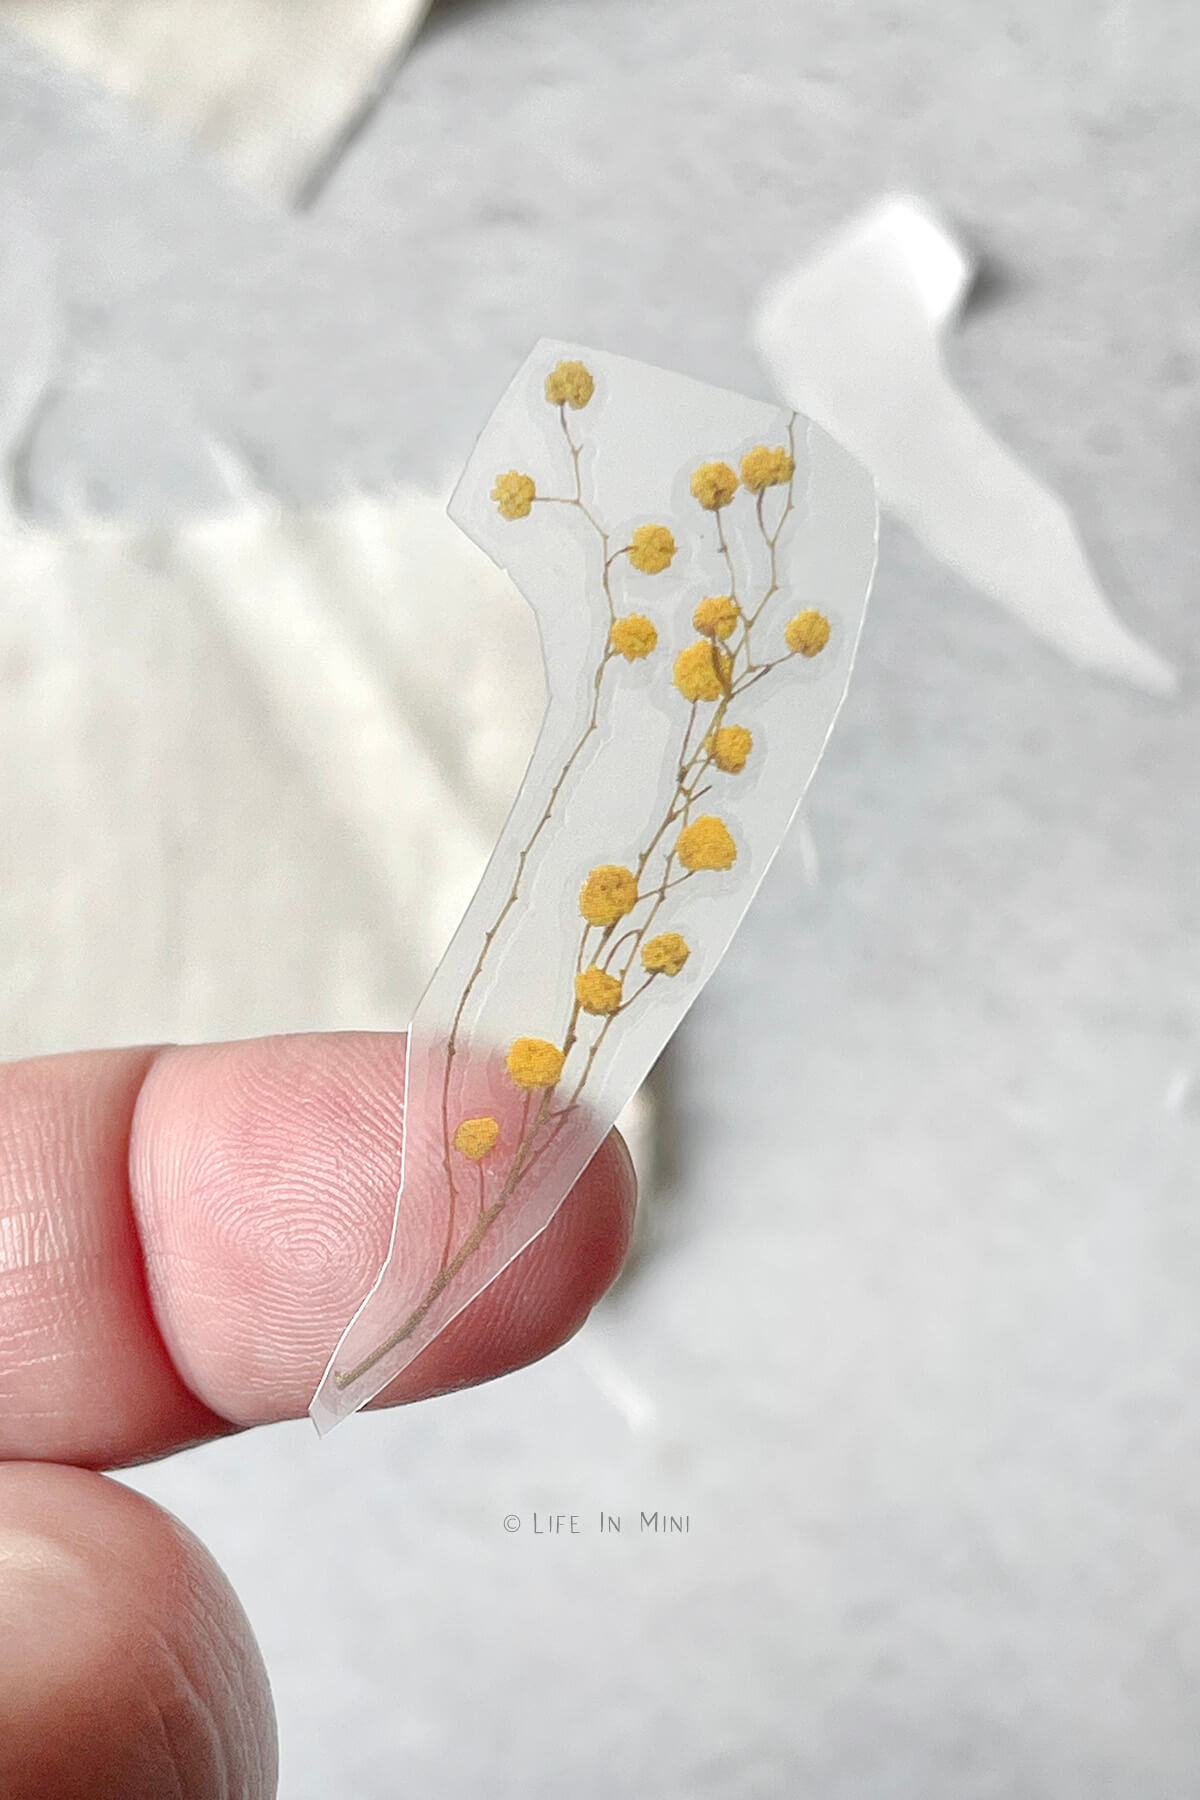
4. If you are using multiple pieces, start with the pieces that will be on the bottom first. Peel the paper backing from your transfer. You can see where it is you need to rub by looking at the edges of the image.
5. Place your transfer onto the fabric (sticky side down) and using your popsicle stick, start rubbing all over the image, especially the edges. PRESS HARD!!!
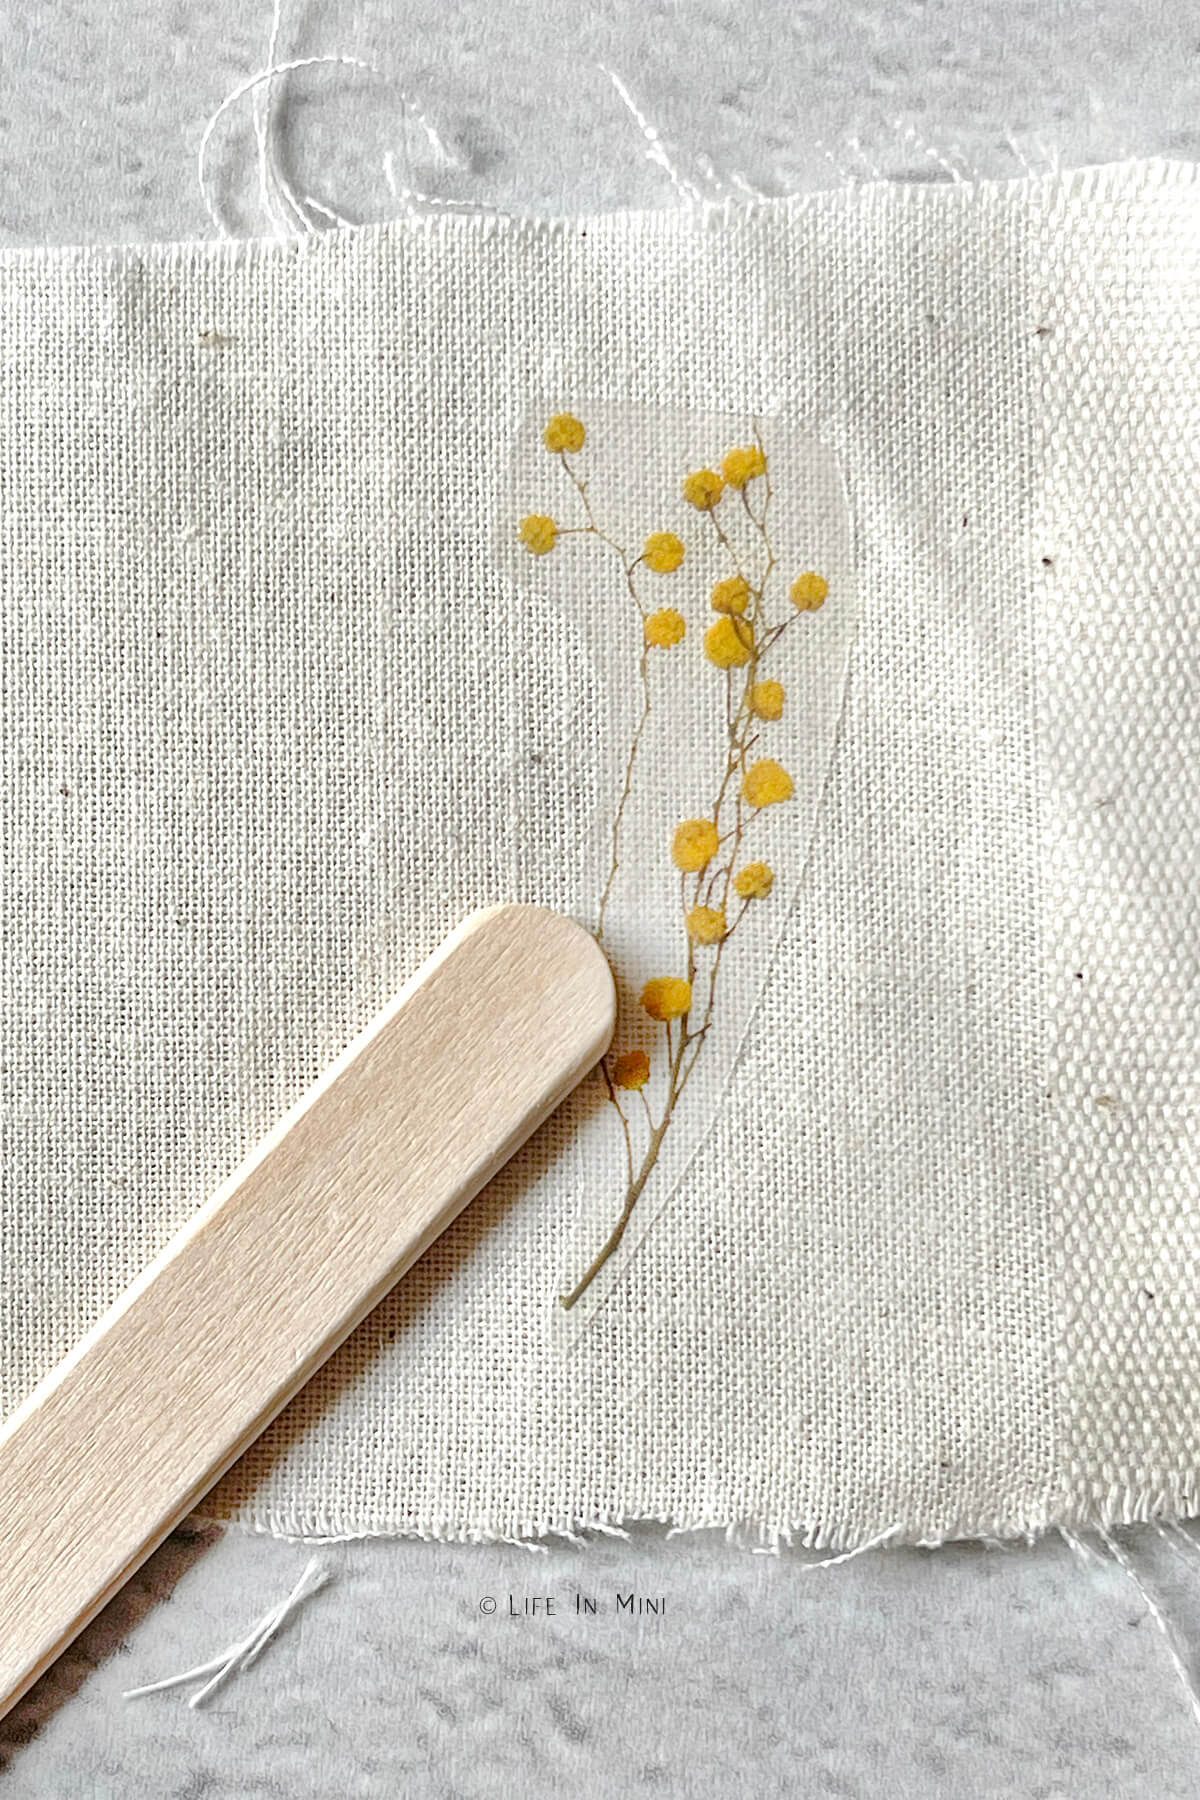
6. Peel the clear acetate off carefully at first, to make sure the image has transferred. If not, put it back down and keep rubbing! When image is transferred, remove the acetate.
Sometimes not everything gets transferred no matter how hard you try. I was a little disappointed when this happened, but I still loved how the pillow turned out.
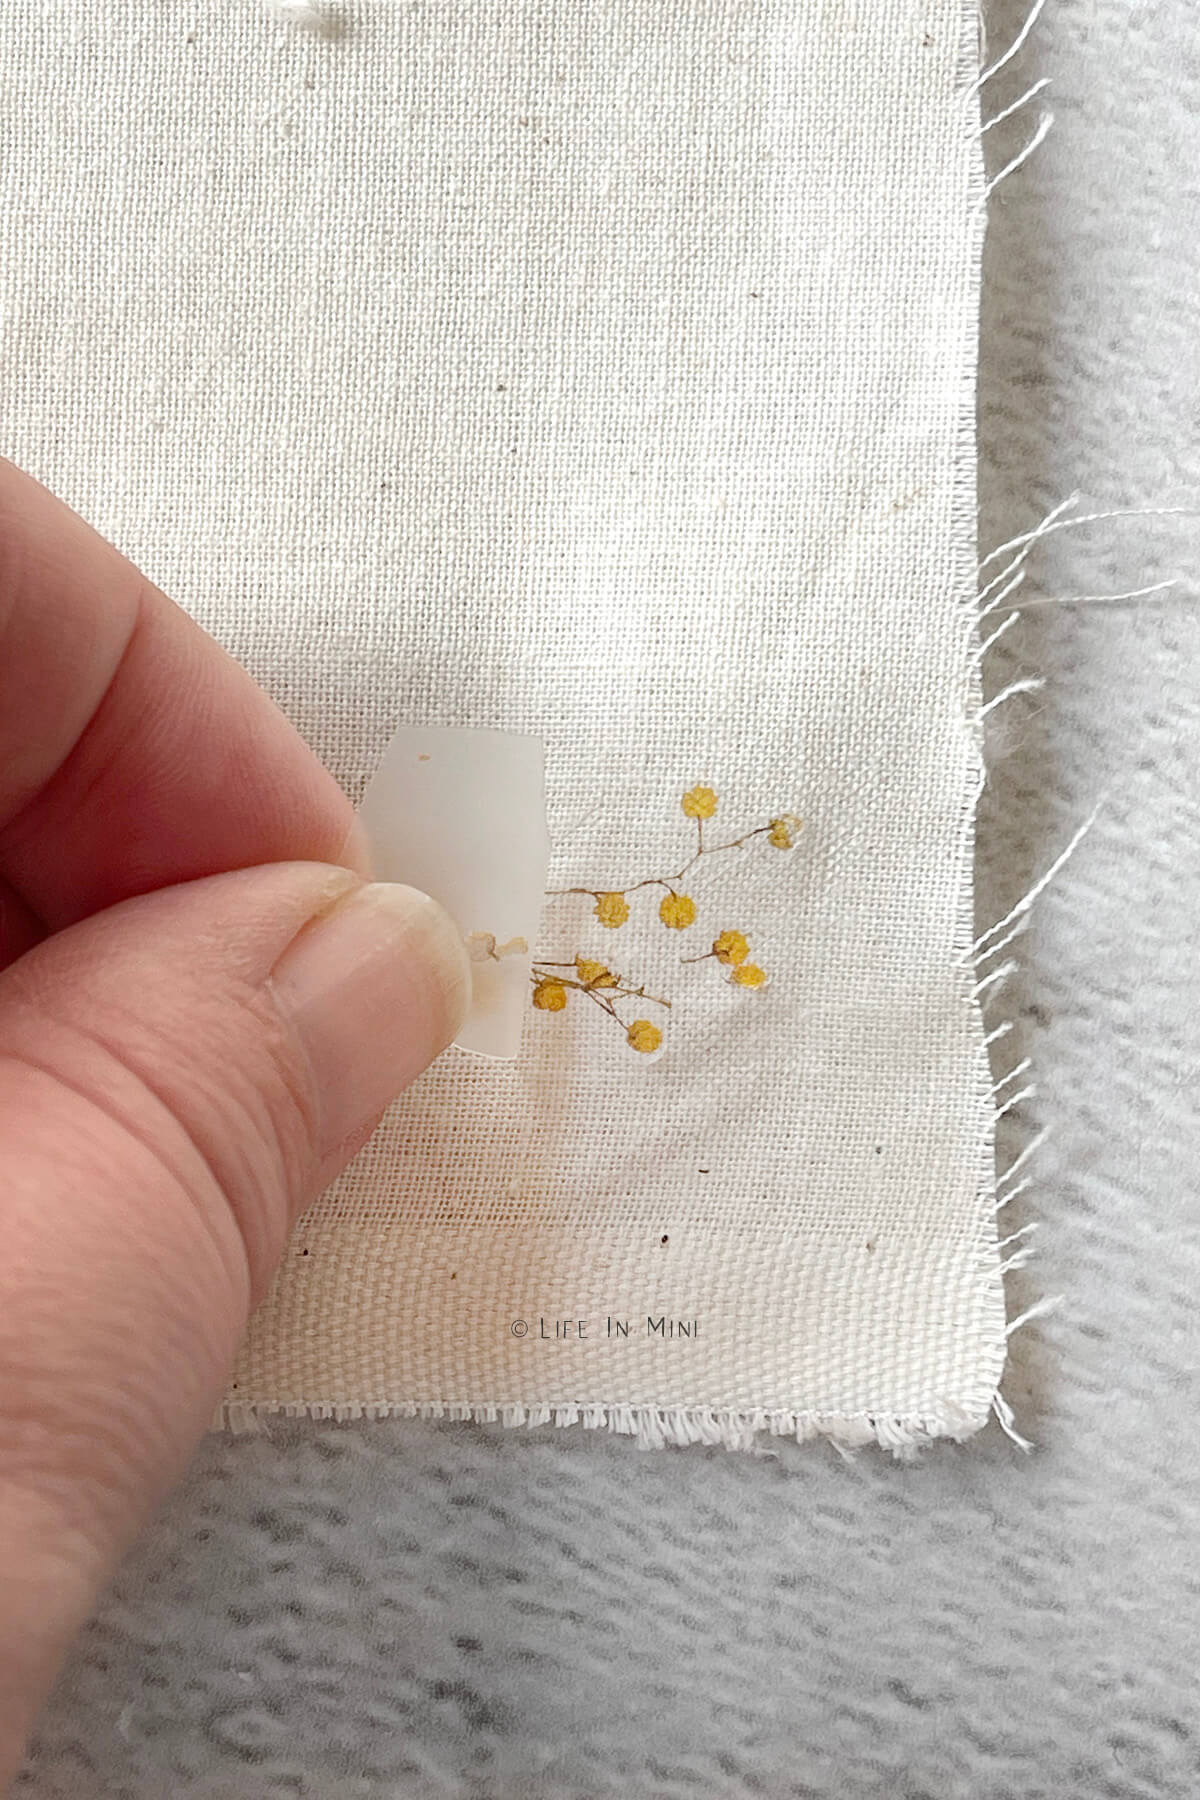
7. Place the next transfer images in place and rub them onto your fabric one by one until they are all attached to your fabric.
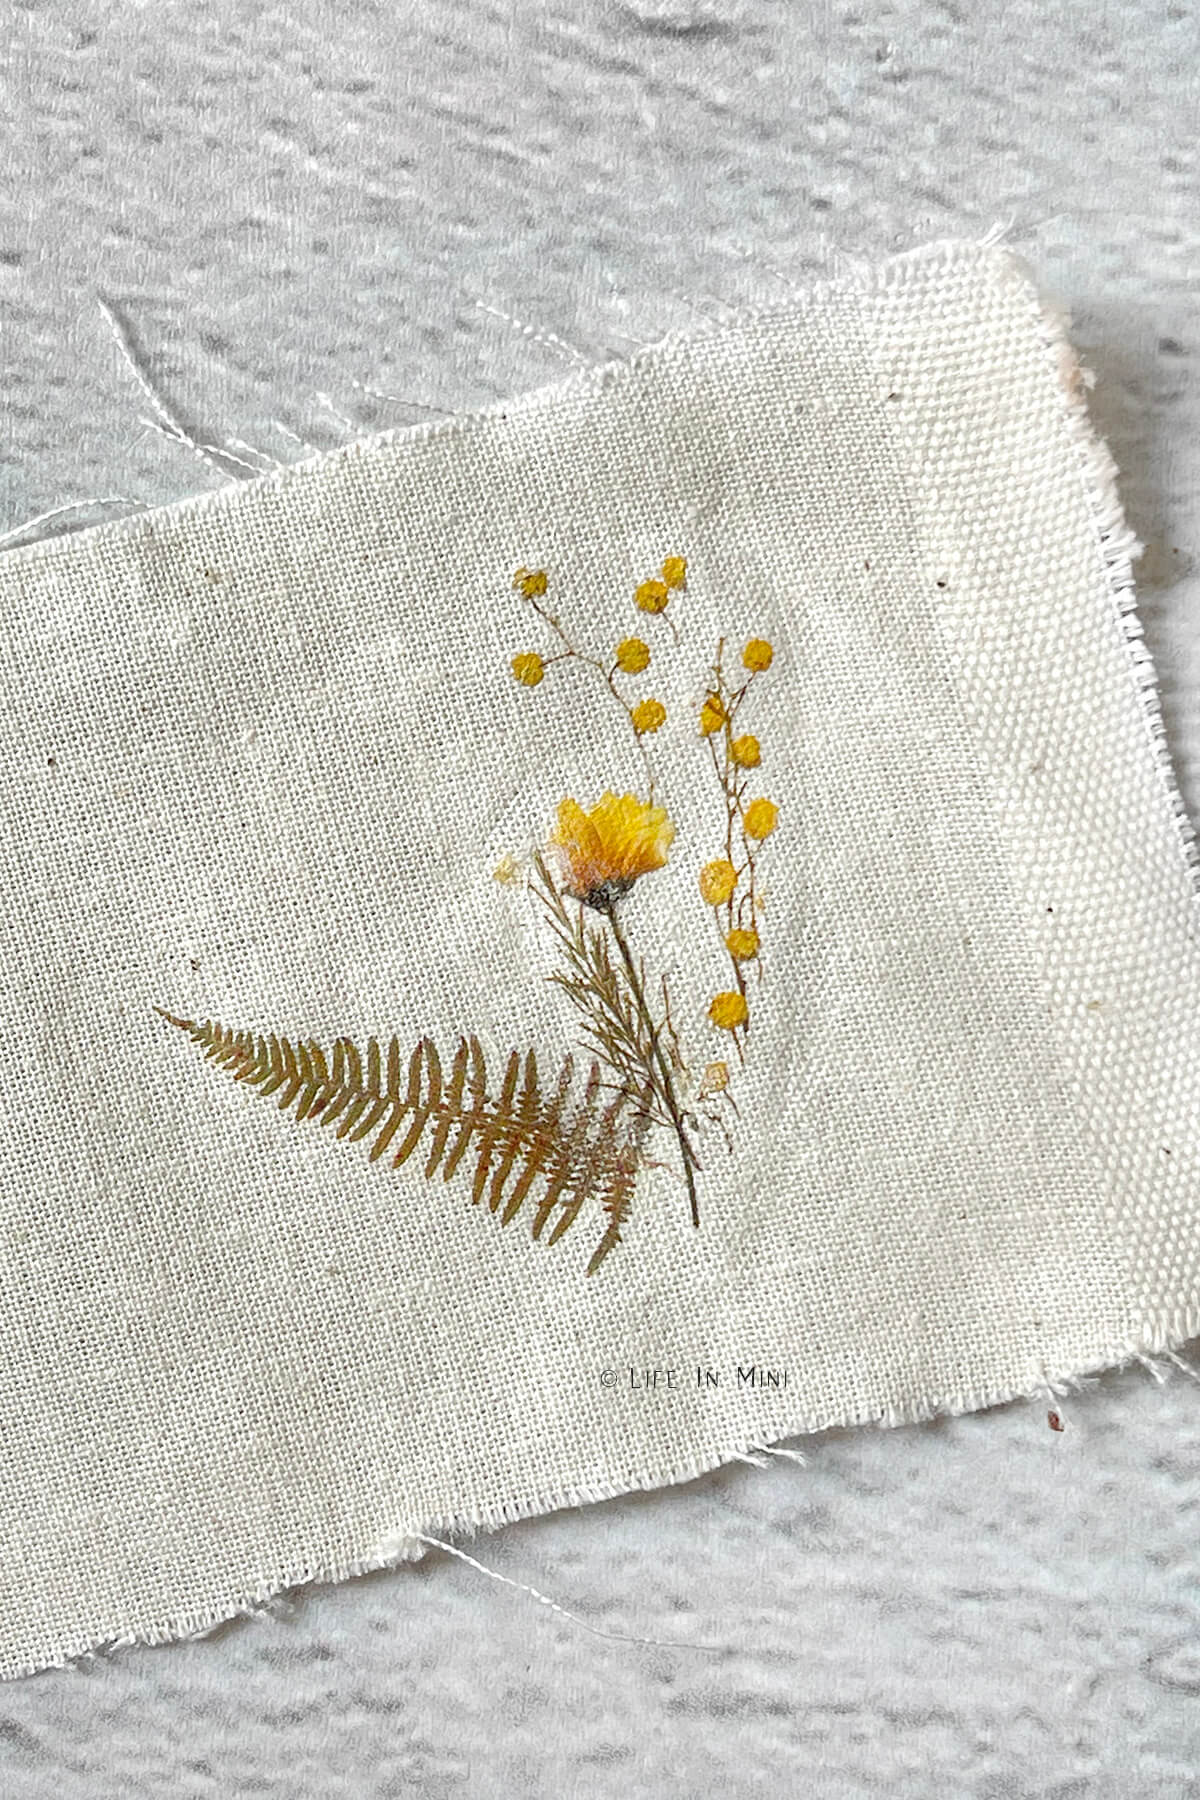
8. Once you are satisfied with your transfers, it is time to make your pillow. Add a line of glue along the top and bottom edges of the pillow. You will add glue on the nice side of pillow and then turn it inside out when dry. You can also sew this, if you prefer.
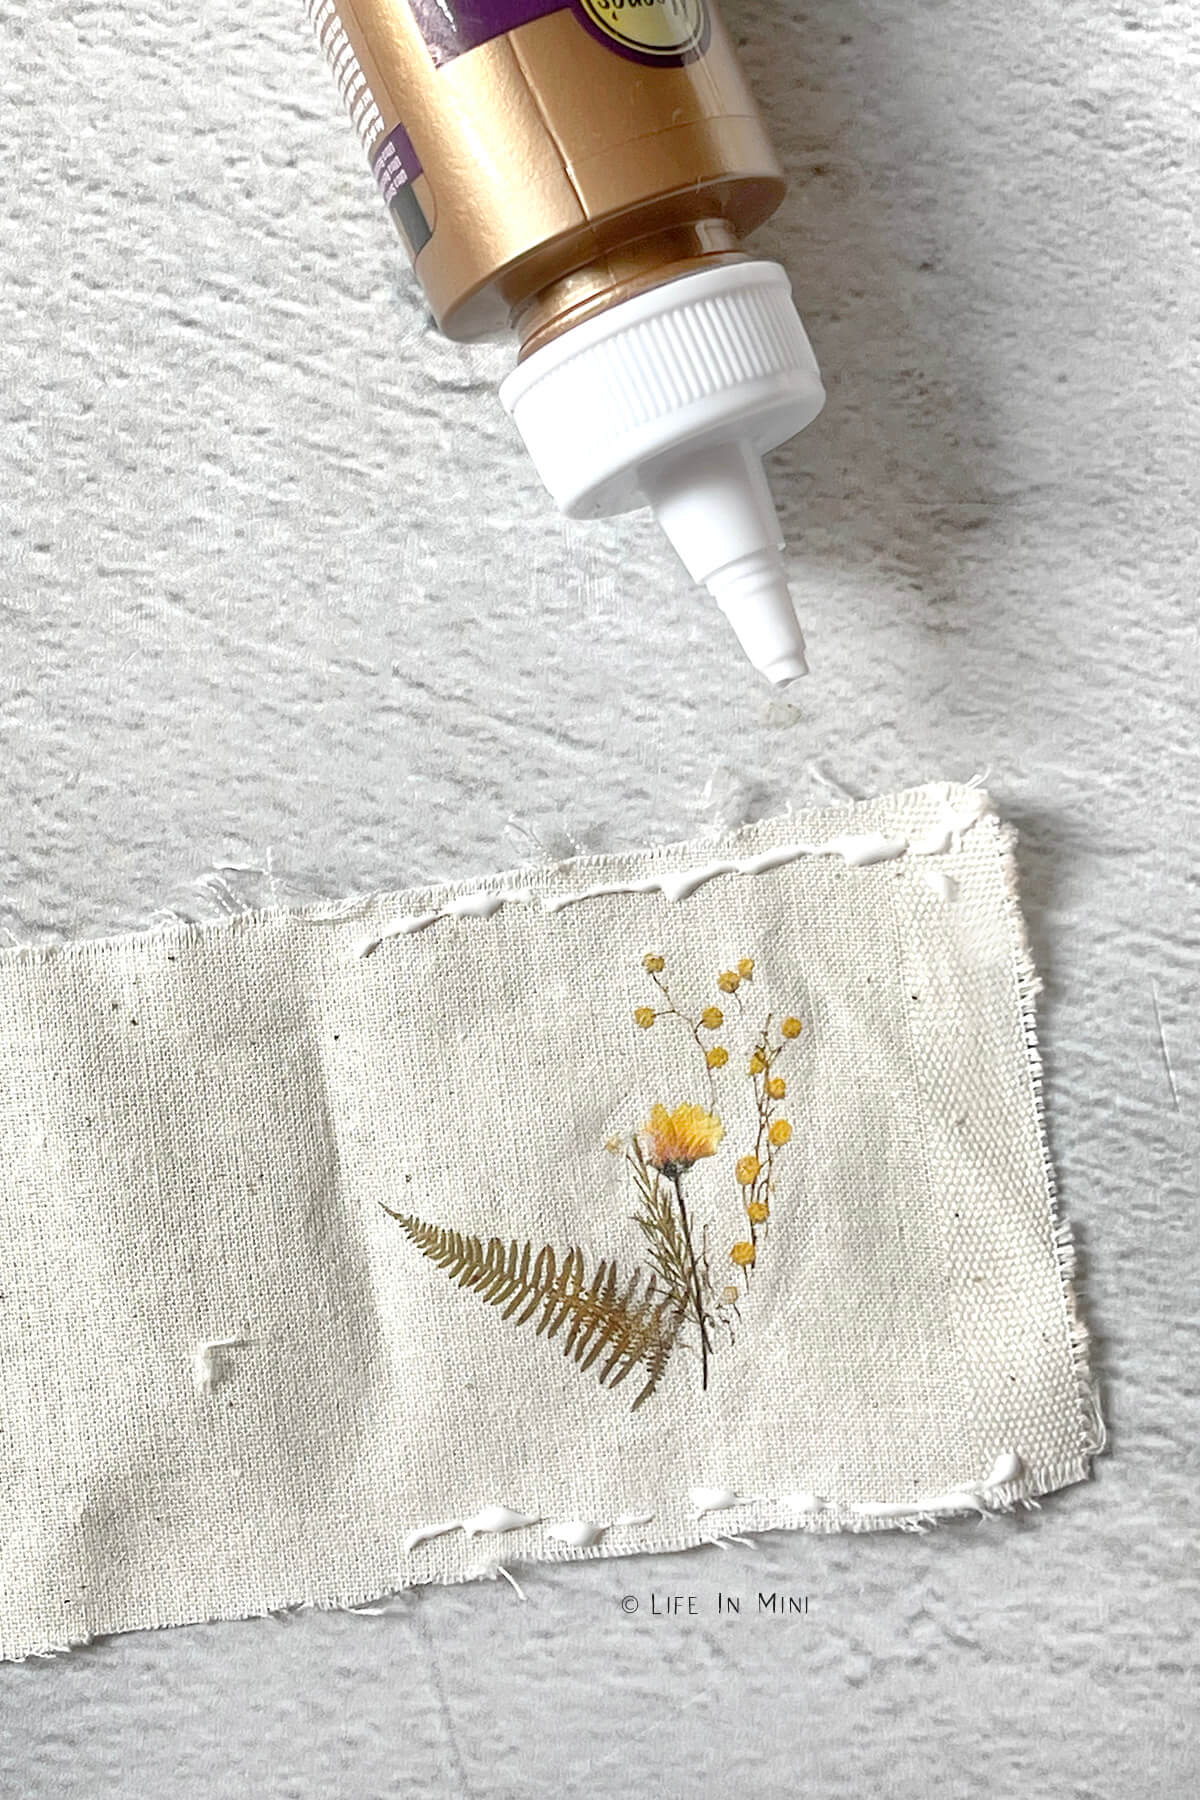
9. Wait for the glue to completely dry before turning your pillow inside out. Use a pencil or bamboo stick to poke the corners out.
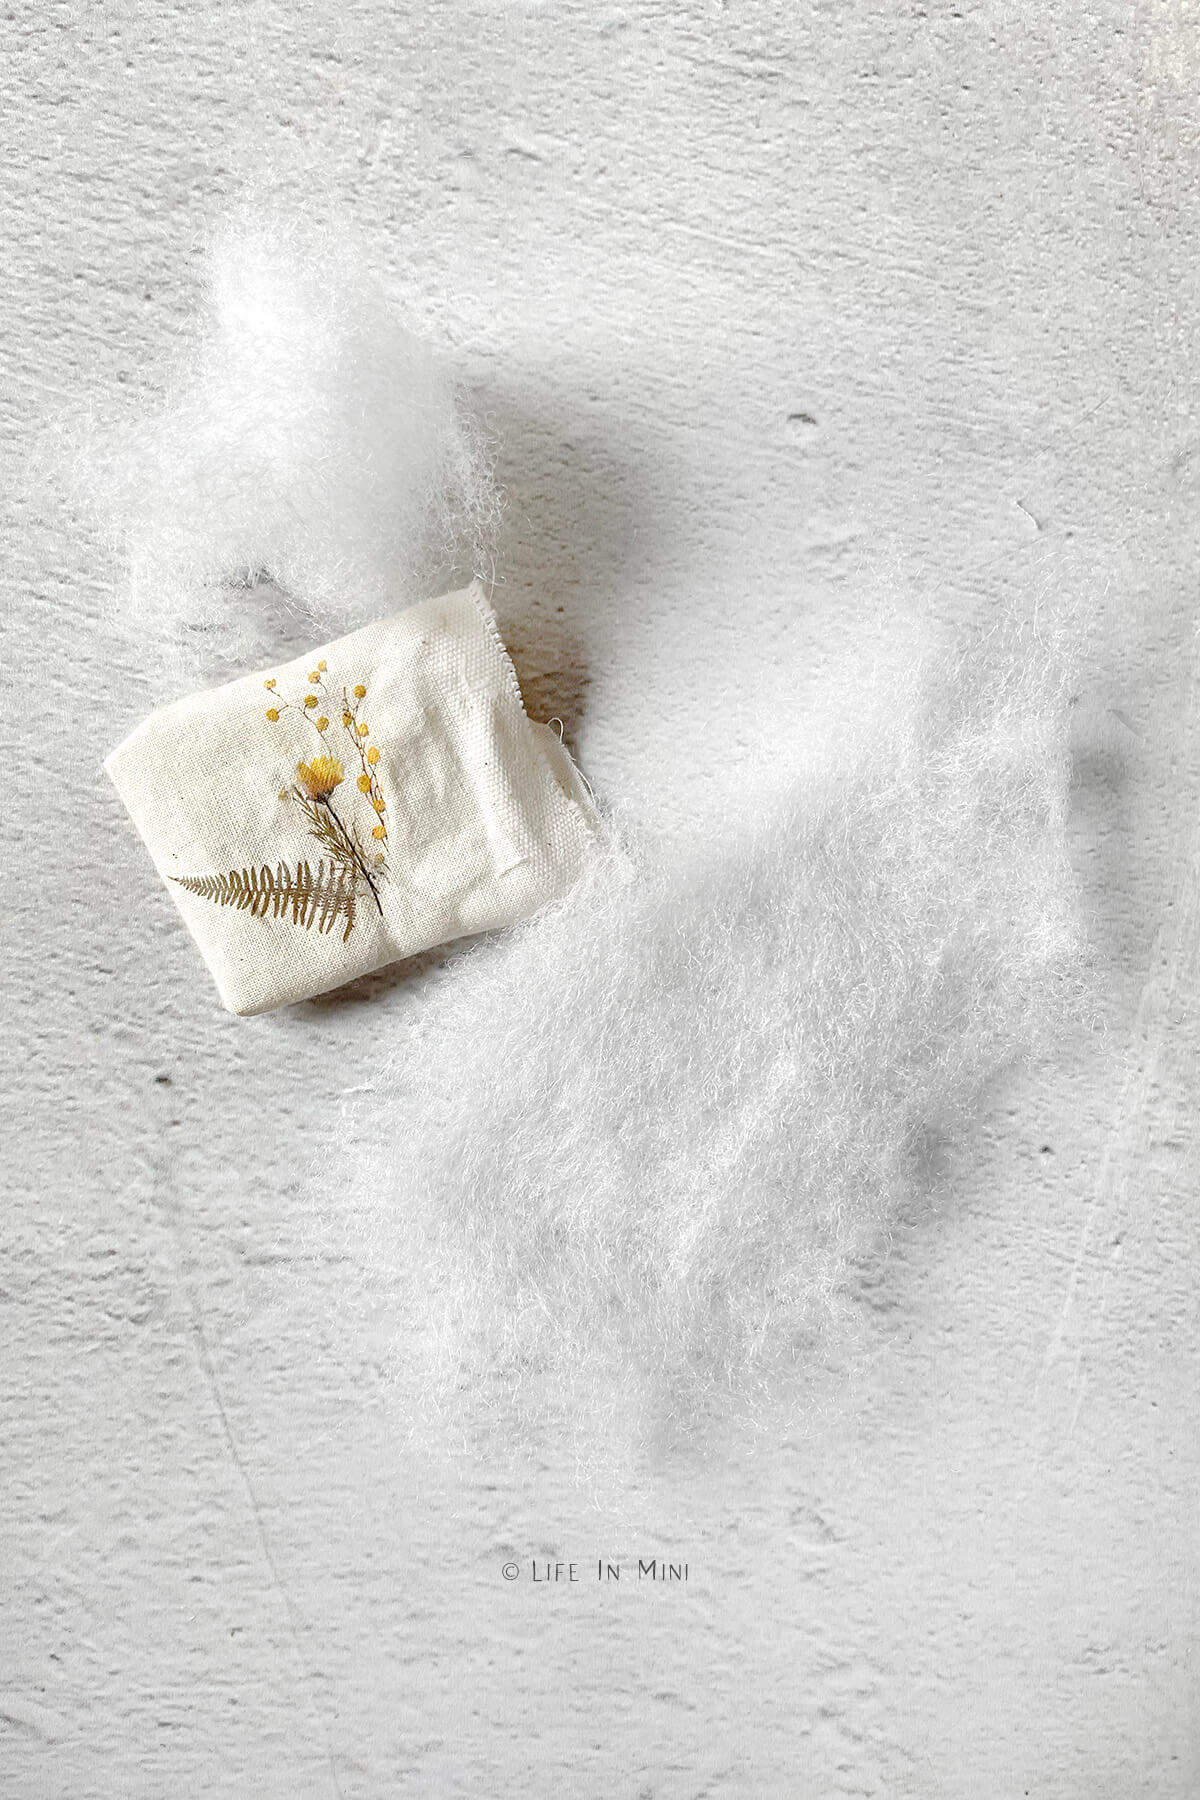
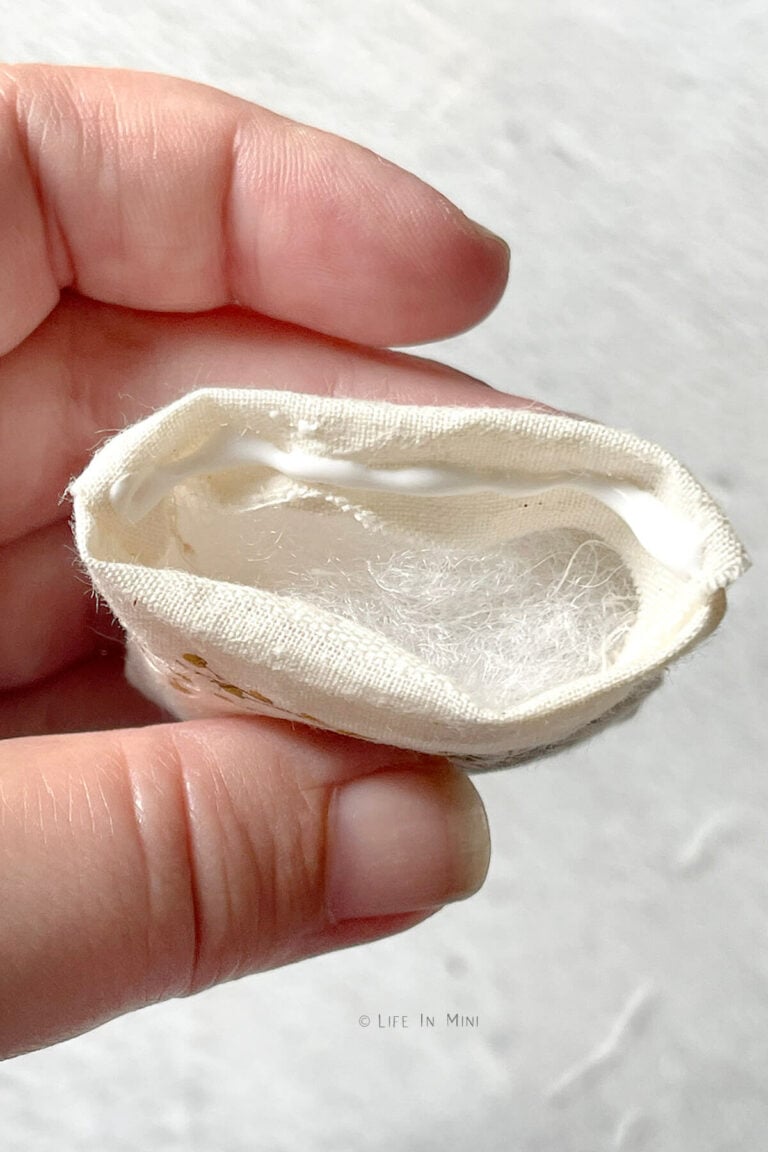
10. Stuff your pillow with batting, or you can separate and fluff a cotton ball and use that. You will want to overstuff your pillow rather than under stuff it. Fold the pillow opening into the batting, then add glue to seal the pillow.
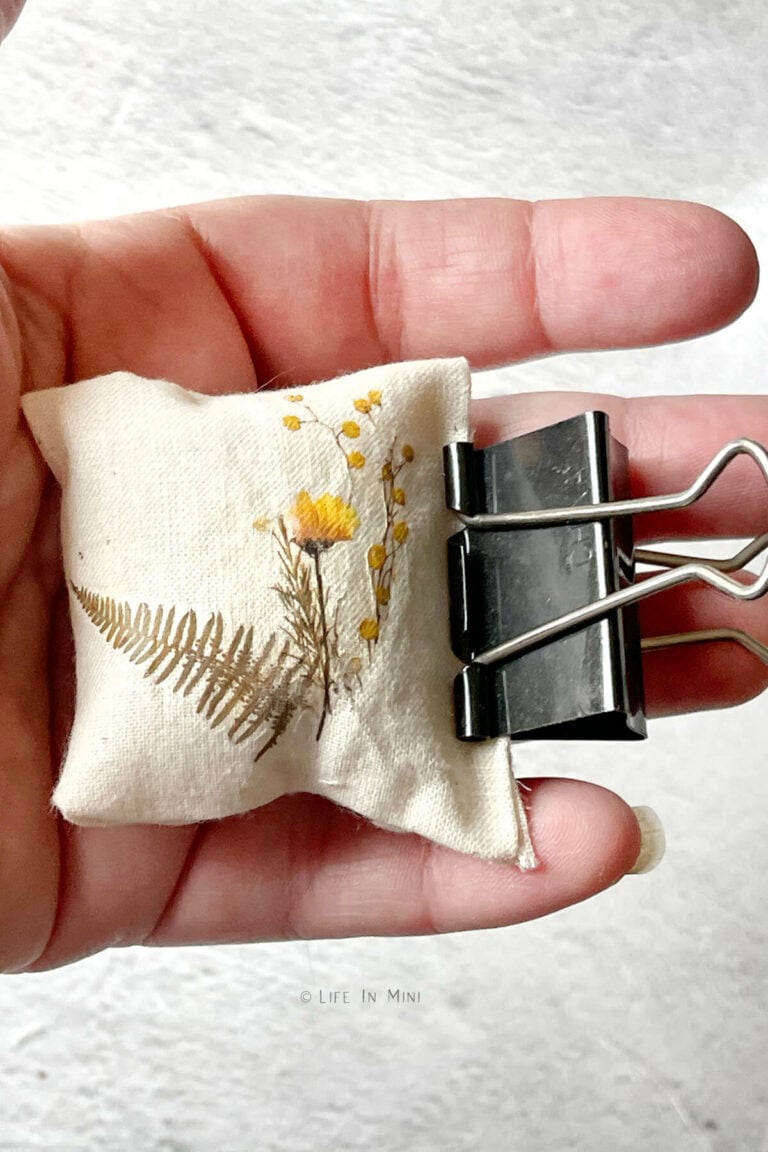
11. Press the pillow shut and hold it. I like to use a binder clip to help close the seal. You only need to clip it for like a minute. Then remove the clip and let the glue dry completely.
Project tips and FAQs
I really loved how these pillows turned out and now I have other project ideas that can use those cute rub on transfers. But, I will save those projects for later. ‘Cuz I’m supposedly moving.
But then again, I might work on a mini project or two until that happens.
These transfers are pretty great quality. They don’t look like the old rub ons from my childhood and they certainly don’t come off easily like those old rub ons would. I scratched these with my nail and they stayed on the fabric, even when I was really trying to get a piece off!
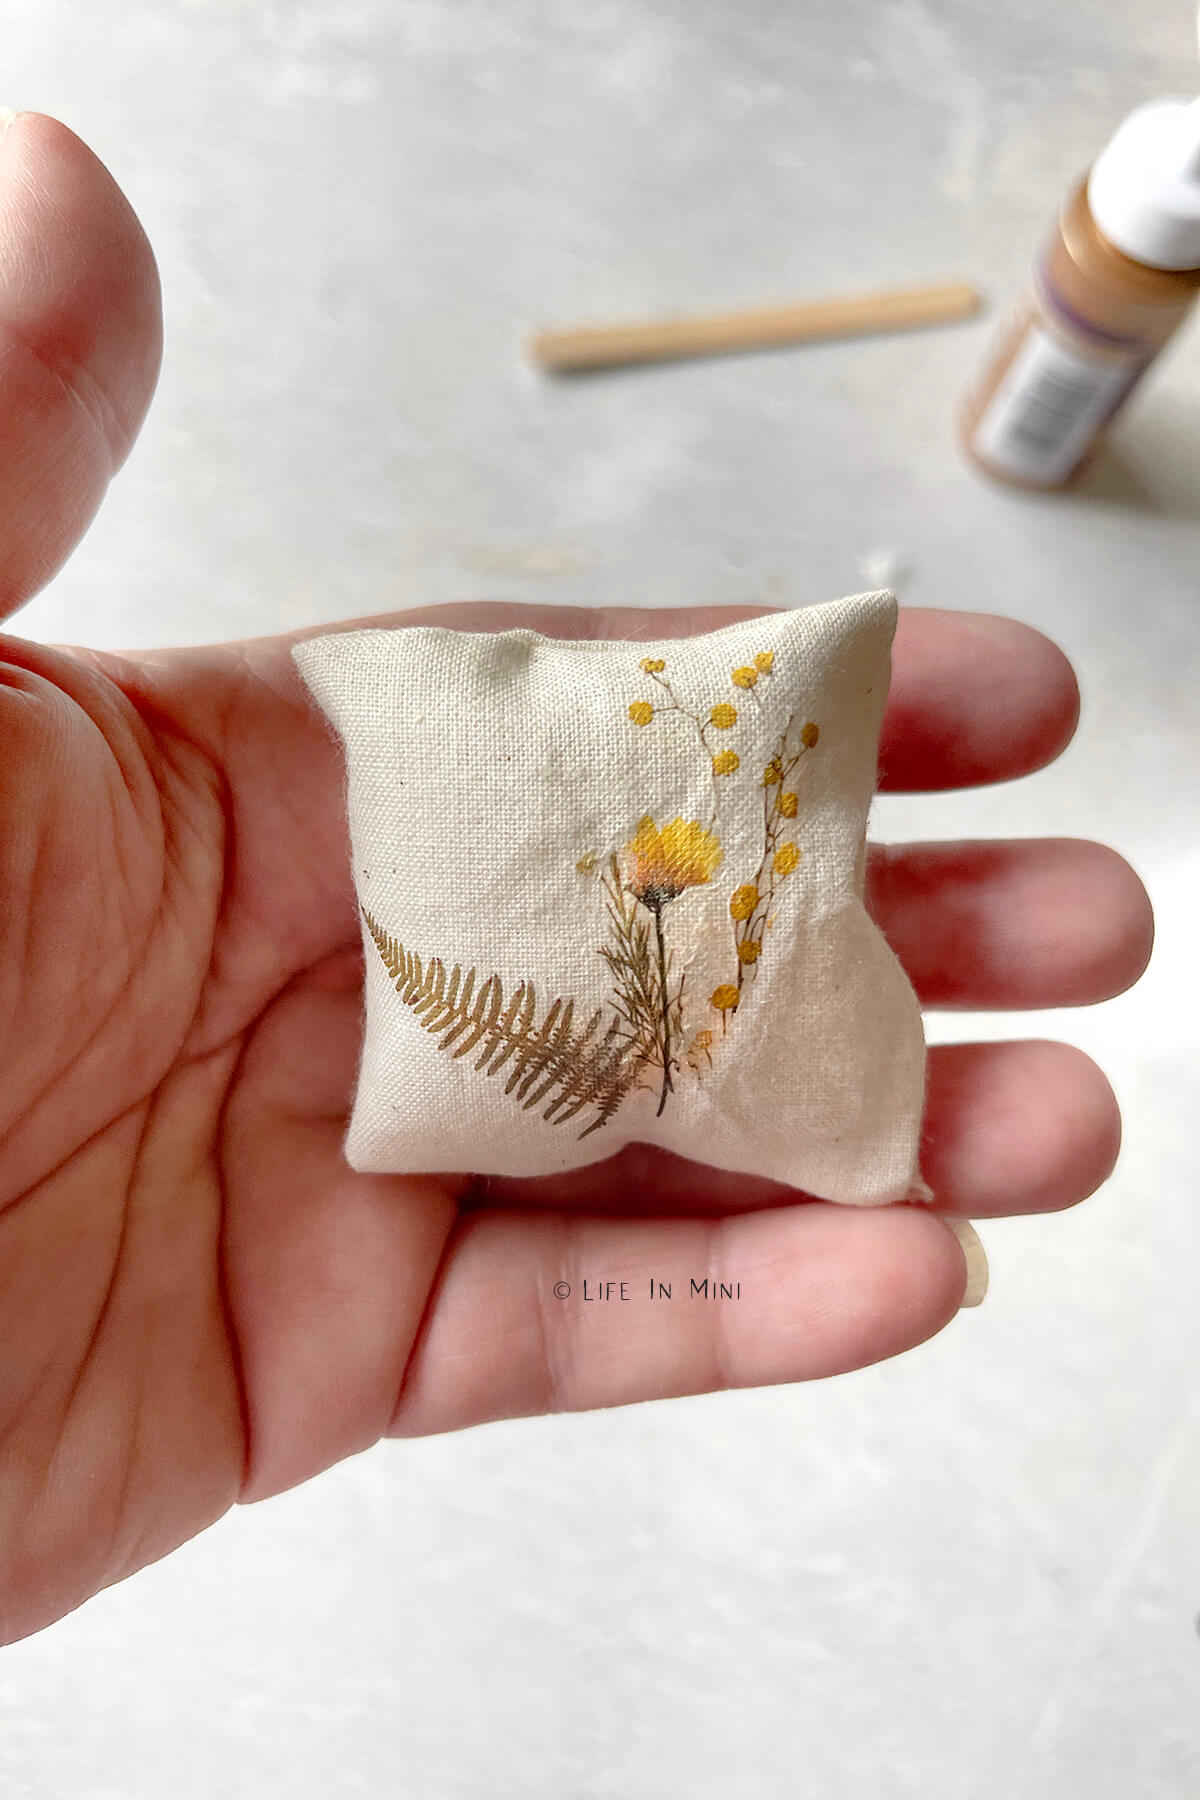
The colors are bright and they take on the texture of the fabric you are using, so it blends in very nicely. You don’t need any special coating over them, since they are on fabric.
When using new rub on transfers be sure to sample one on a test piece of fabric to see the quality of your transfer and to make sure you like how it looks. I chose to use plain fabric, but you could easily use a colored fabric as the transfer goes ON TOP of the fabric.
And of course, you can assemble your pillow, up until you stuff it, and then add the rub on transfers. I prefer to do the transfers first in case there’s a big screw up and I didn’t waste time with the hems of the pillow. It’s totally up to you.
Laura’s Top Pick:
Muslin fabric is so versatile for miniatures. It’s soft, smooth and has a small weave. The surface is perfect to print designs on, as well as for rub-on transfers.
Because I was transferring these images onto fabric, I did not seal the rub on transfers. This was a high quality transfer that didn’t come off when I scratched it with my nail. Plus, these pillows aren’t actually getting slept on! But for other projects like canvas, wood or metal, I would definitely apply a sealant or a little Mod Podge.
Yes! Most rub on transfers will adhere to any surface like fabrics, wood, metal, plastic and glass. Be sure to read the directions on the transfers for more information and always test it first to see how well it adheres.
If you are enjoying my blog, why not sign up for my newsletter so you won’t miss out on the mini adventures!
Dollhouse Pillows Using Rub On Transfers
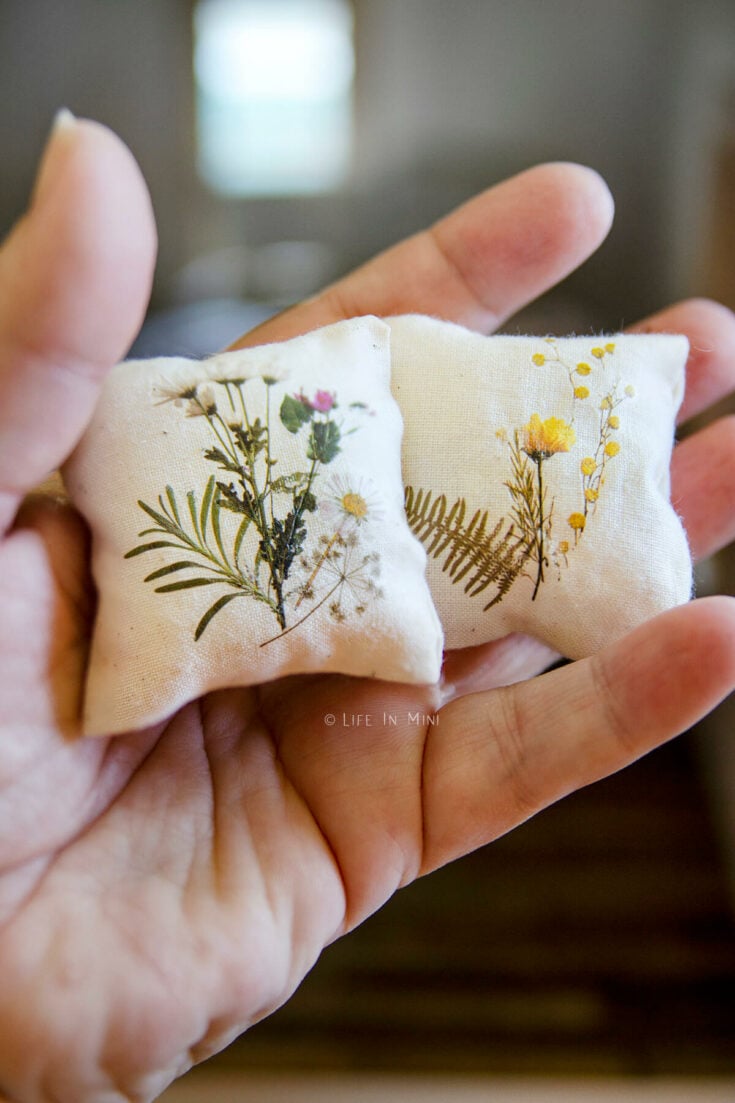
Rub on transfers are a great way to customize practically anything! And if you can find small image transfer, you can use them in your miniatures and make beautiful dollhouse accessories, like these mini pillows.
Materials
- Rub on transfers
- Fabric
- Batting or cotton balls
Tools
- Popsicle stick
- Scissors
- White glue
Instructions
- Cut fabric to size for your miniature pillows.
- Cut out the transfer images you want to use. Try to trim close to the image.
- Arrange the pieces and make sure it fits on your fabric. Remember that you will need space along the fabric edges for the glue/hem to seal your pillow.
- If you are using multiple pieces, start with the pieces that will be on the bottom first. Peel the paper backing from your transfer.
- Place your transfer onto the fabric (sticky side down) and using your popsicle stick, start rubbing all over the image, especially the edges. Press hard.
- Peel the clear acetate off carefully at first, to make sure the image has transferred. If not, keep rubbing! Remove the acetate. Sometimes not everything gets transferred no matter how hard you try.
- Place the next transfer images in place and rub them onto your fabric one by one until attached to your fabric.
- Once you satisfied with your transfers, it is time to make your pillow. Add a line of glue along the top and bottom edges of the pillow. You will add glue on the nice side of pillow and then turn it inside out when dry. You can also sew this, if you prefer.
- Wait for the glue to completely dry before turning your pillow inside out. Use a pencil or bamboo stick to poke the corners out.
- Stuff your pillow with batting, or you can separate and fluff a cotton ball and use that. You will want to overstuff your pillow rather than under stuff it.
- Fold the pillow opening into the batting, then add glue to seal the pillow.
- Press the pillow shut and hold it. I like to use a binder clip to help close the seal. You only need to clip it for like a minute. Then remove the clip and let the glue dry completely.
PS If you try this craft, why not leave a star rating in the direction card right below and/or a review in the comment section further down the page? I always appreciate your feedback.
You can also follow me on Pinterest, Facebook or Instagram. Sign up for my eMail list, too!

Leave a Reply