You don’t need fancy sewing skills or expensive fabrics to make your own custom dollhouse bedding. With these tips, you can create a beautiful look that is catalog ready!
Now that all of the dollhouse flooring is installed, I feel like a weight has been lifted off my shoulders. Part of what held me back was thinking about electricity, but I decided against wiring the dollhouse and opted for using battery operated LED lights.
No carving into the walls, floors or ceilings.
One of the first things I did after the wood glue dried, was rethinking the bedrooms, from furniture to bedding. And a great way to give a bedroom a facelift, is to make your own dollhouse bedding.
Some people design their mini dwellings with a full color palette decided from day one. I work a bit more haphazardly in my design process. I get ideas from pinterest to homes I have visited in real life to instagram and well, anywhere!
Choosing your colors
When creating your dollhouse bedding, you definitely should start with some sort of color scheme in mind. It can be your personal favorite colors, the color fabrics you have on hand or you can create your color combination.
One website that I have found incredibly useful in both my personal projects as well as professional is the website design-seeds. You can find a huge variety of beautiful color palettes from soft to vibrant to colors you find in nature.
You might like the color blue, but what other accent colors do you want to bring into your mini room? This website is awesome in helping you find your new favorite color combinations.
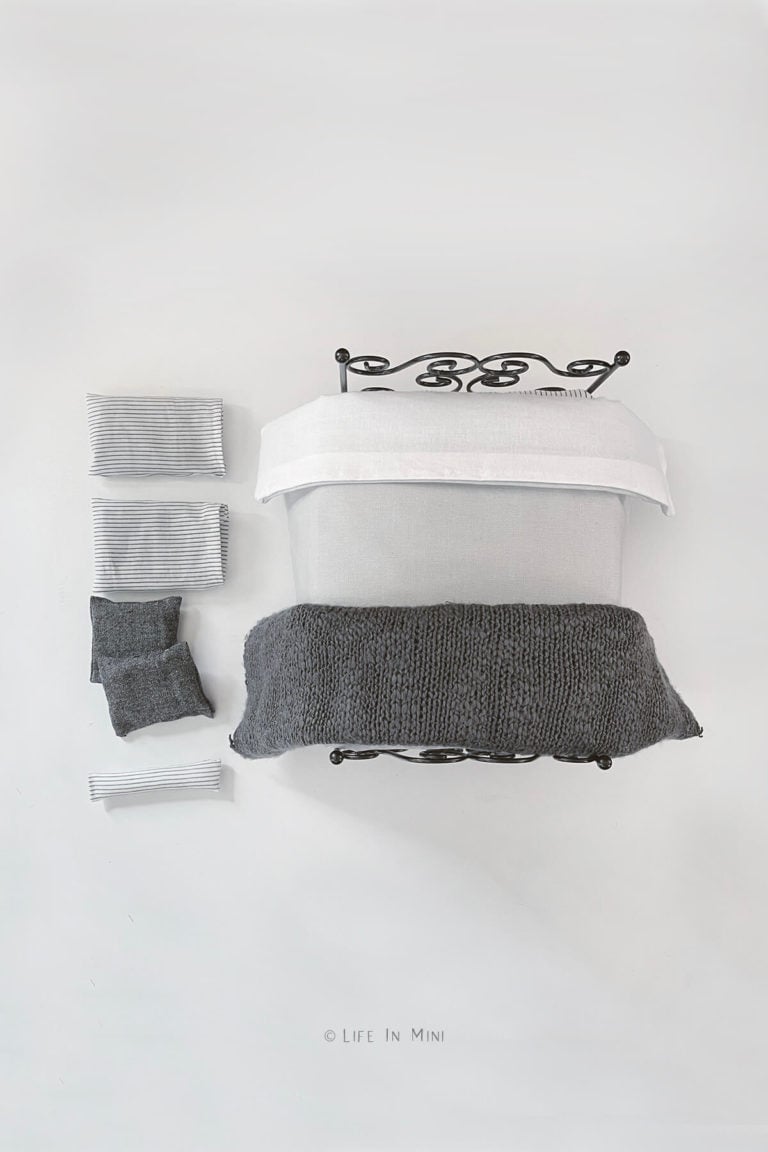
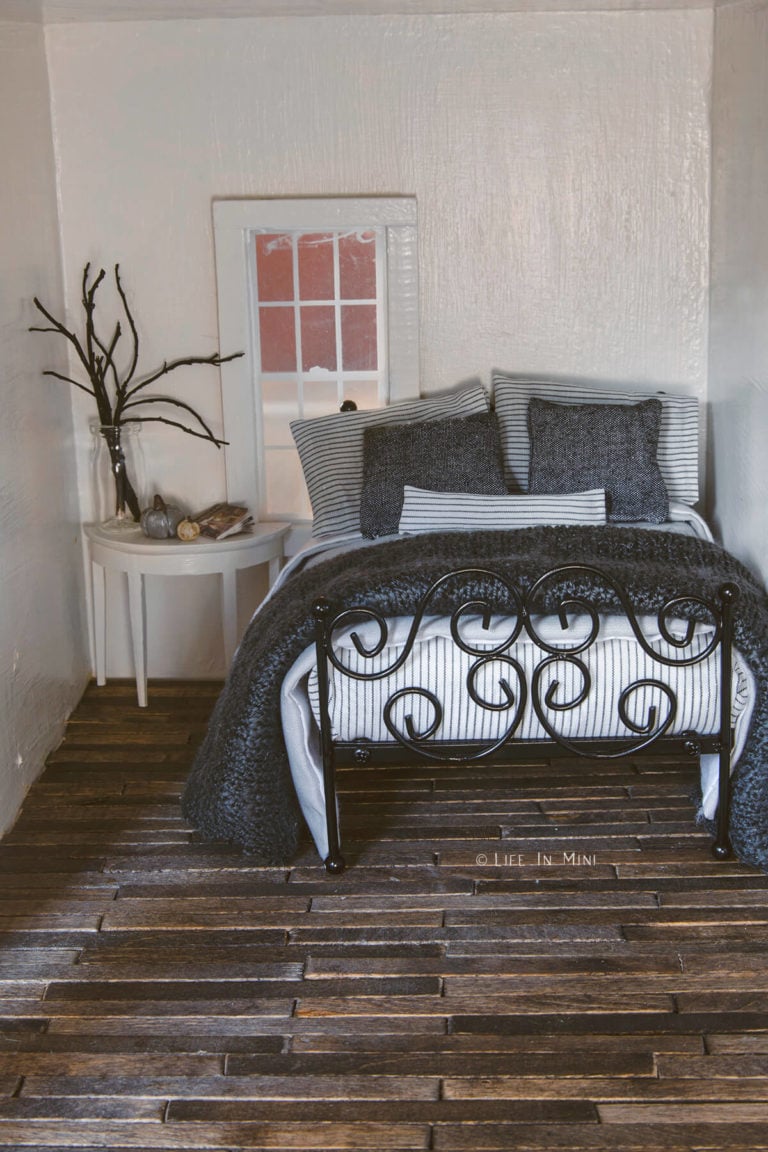
For my dollhouse, I wanted to go with more neutral subdued colors, after having used vibrant colors when my daughter was playing with the miniatures. The master bedroom used grey linen for the bedspread accented with white fabric with black stripes and dark charcoal. I still have to pick an accent color for this room.
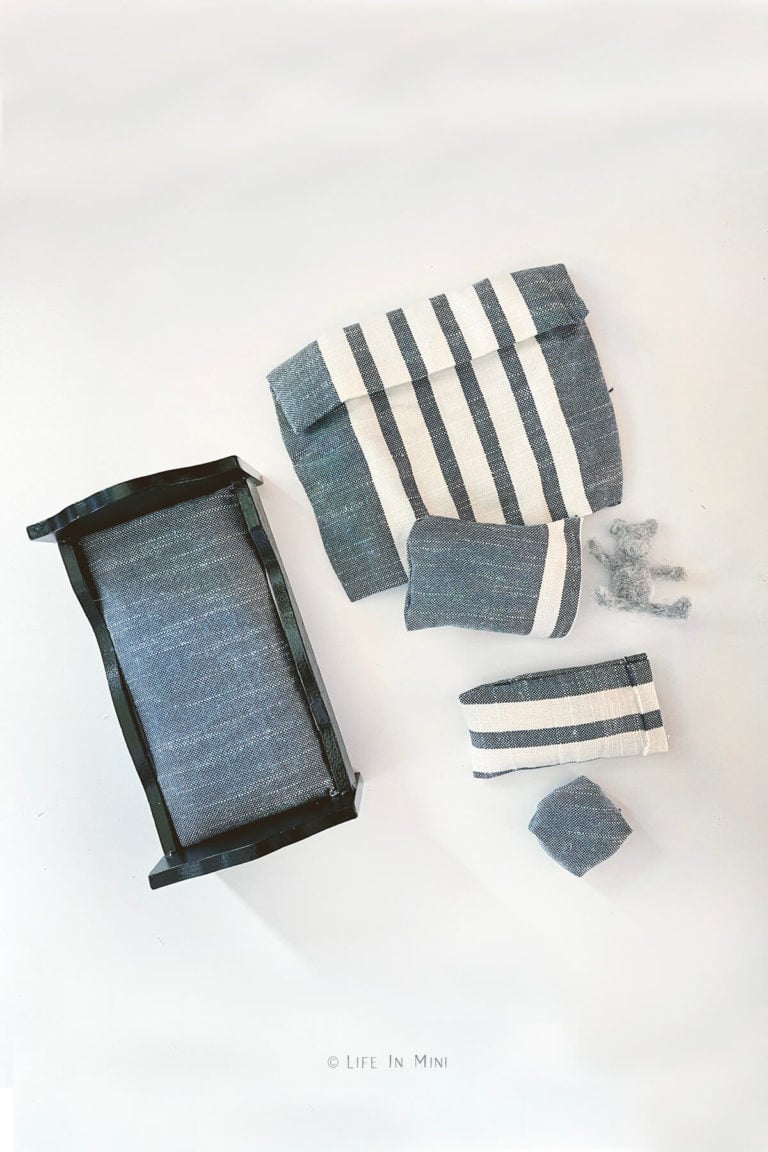
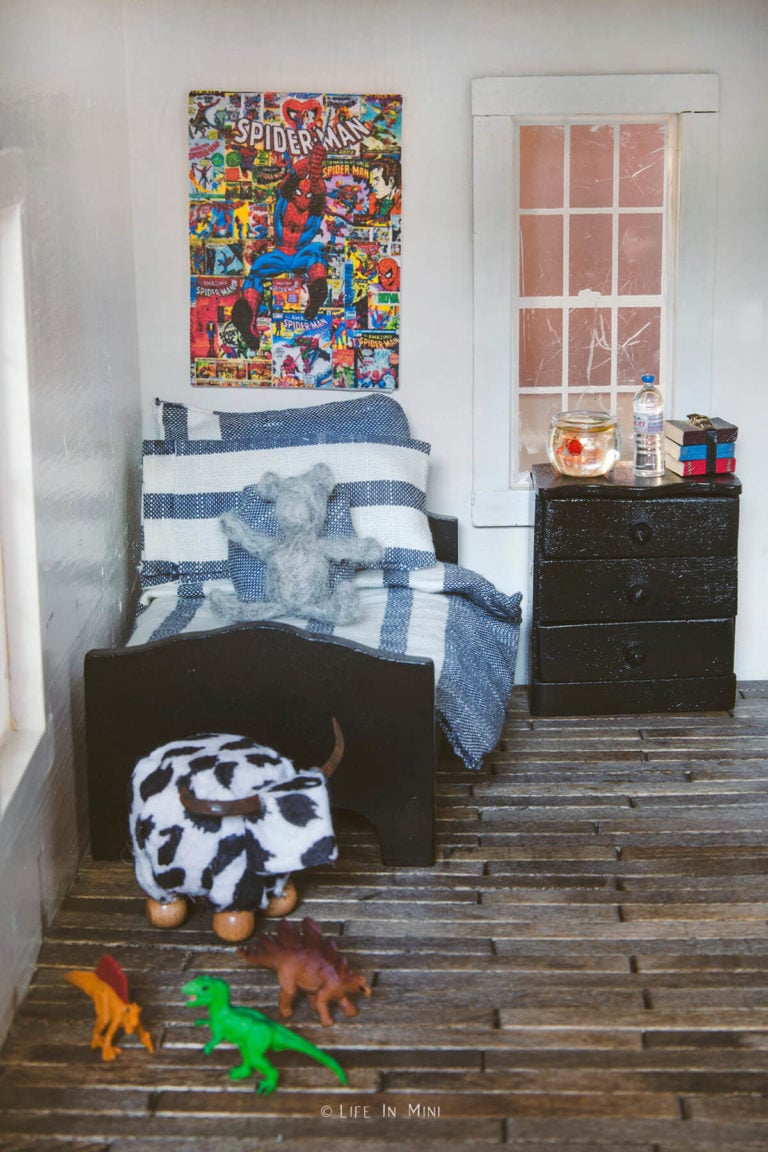
I had this great navy blue and white striped fabric napkin that I used for the boy’s room. All the toys in the room are the accent colors here – ha ha ha!
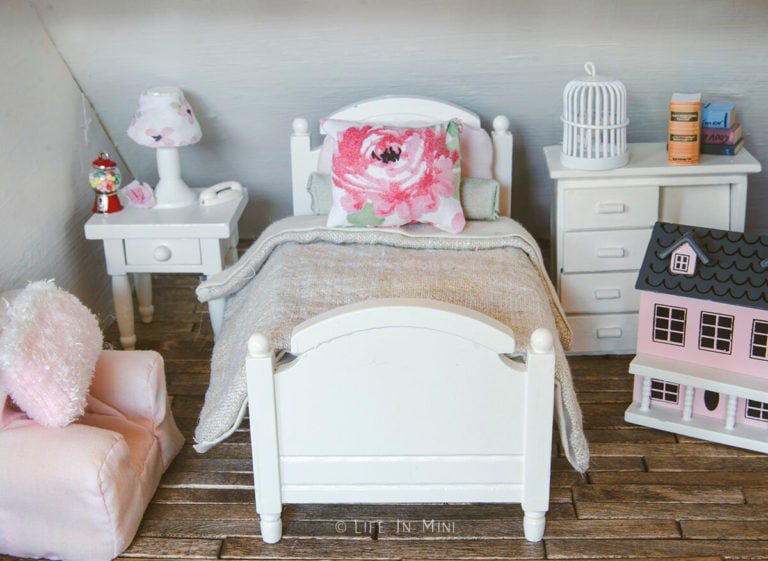
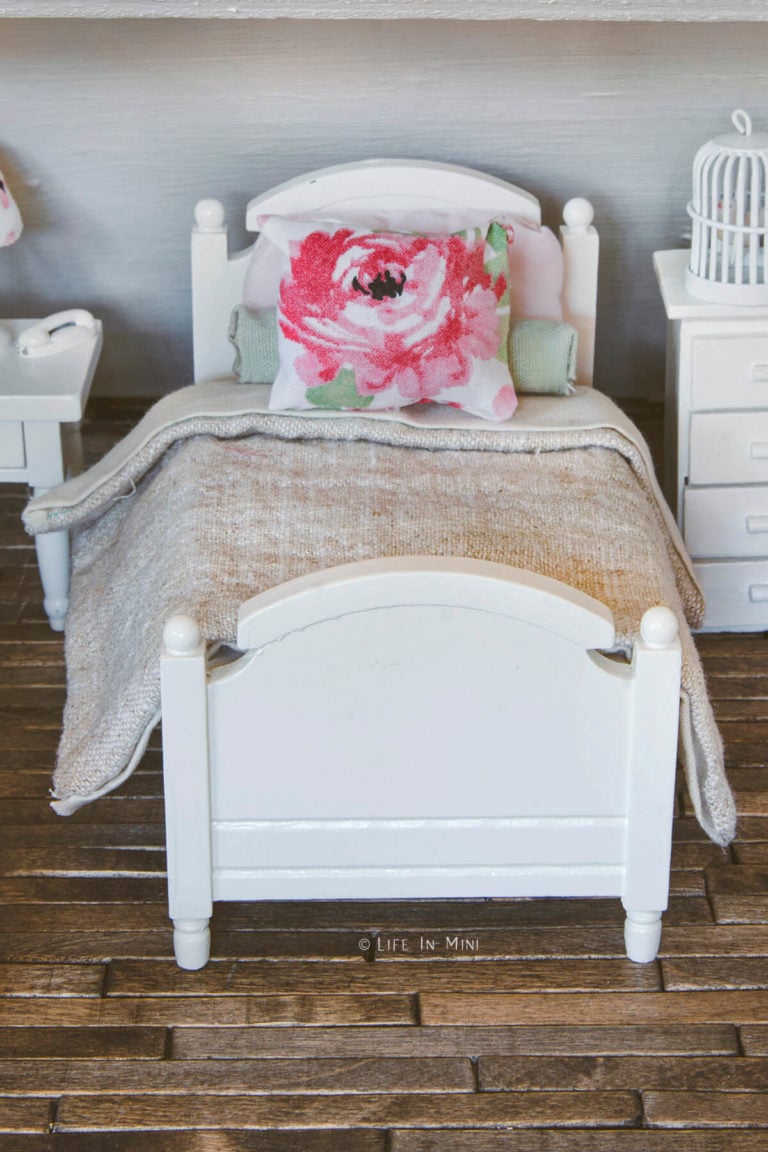
As in real life, the girl’s room was my favorite to decorate. Just like when I was nesting during my daughter’s pregnancy, I chose to use pinks and roses as my inspiration. The comforter was tan linen and I accented with pink and sage green pillows.
Choosing your fabrics
I have amassed a rather large collection of random fabrics of different colors. These have been used mostly for my food blog, Family Spice. Many of these tea towels and fabric swatches have made it to my craft room, as well!
When choosing fabrics, find textures and patterns that work well together. Don’t overdue it with too much pattern or else you will have a dizzying bed set. Of course, that could be what you are going for, so why not?!
The beauty of miniatures is that you do not need much fabric. So you can make your dollhouse bedding using from a number of different items:
- fabric swatches
- tea towels
- old shirts
- baby clothes
- cheese cloth
You can purchase these fabrics new from discount stores, fabric stores, thrift stores or online. Or you can shop in your own house and closets and see what the kids have outgrown or use torn shirts or even mismatched socks.
I had one fuzzy pink baby sock that I cut and made into a small pillow. Want a small throw blanket, but you don’t knit? I cut up a very ill fitting sweater that I never wore, added some watered white glue to the edges to keep it from fraying and there’s my blanket.
Assembling your bedding
Many miniaturists are incredibly talented sewers. I am not. I learned how to use my sewing machine when I was in my 20s and gave up on it in my 30s. I prefer to make my bedding with glue.
You can glue the seams with white glue or use a hot glue gun. I like my fine tip low heat hot glue gun. It does not burn the fabric nor does it pile on gobs and gobs of hot glue.
The process is simple. Cut two pieces of fabric to size, allowing ¼-inch seam allowance all around. The fabric can be the same or two complimentary colors.
Place the fabric pieces good side facing inside. Glue 3 out of 4 sides together. Once glue is dried, turn it inside out.
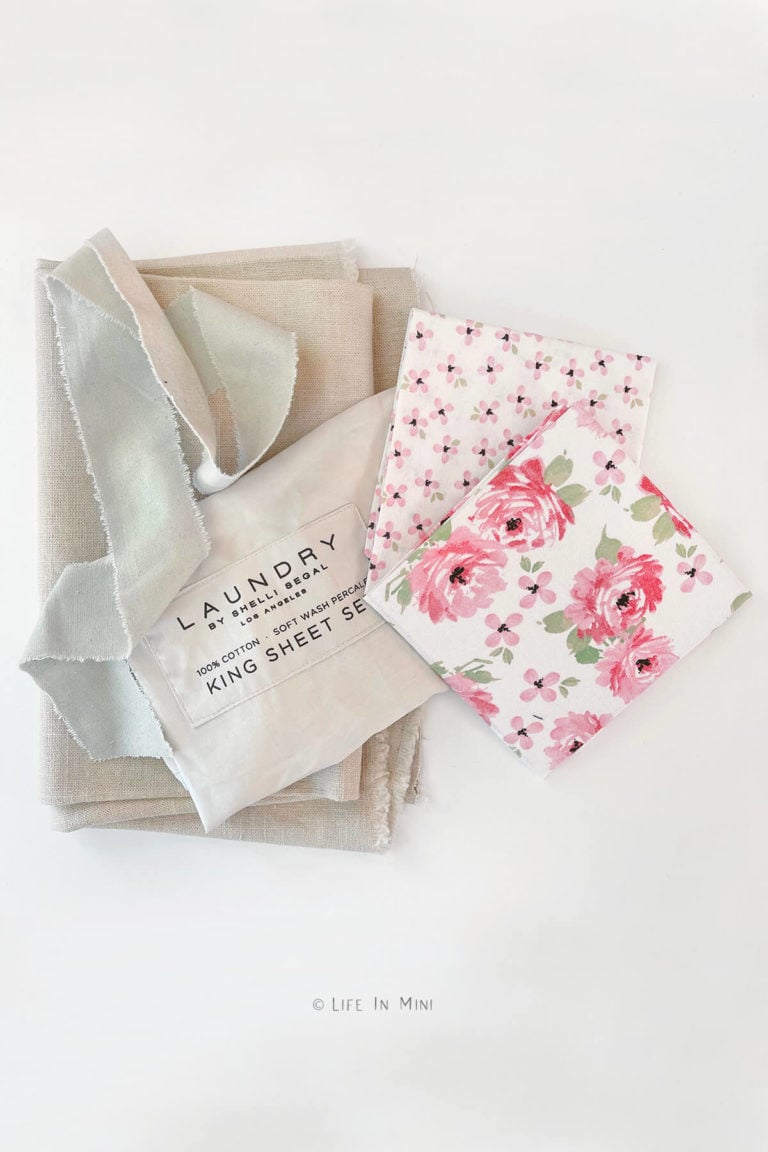
For pillow filling you can use batting, craft foam or even cotton balls. Save that foam that your electronics are packed in. They are great for projects where you want clean sharp lines. Some people use those moisture absorbing packets for their pillow inserts.
Once the mini comforter is turned inside out, use a dull pencil to poke out the corners. To give the comforter body and volume, stuff a square piece of batting inside. Without some filling inside, the blankets are rather flat.
Fold the open ends of your fabric in. You can press this with an iron, if you want. Glue the ends together to seal the comforter shut.
When it comes to the mattresses, I just pin the fabric to the foam. I personally like to change the bedding periodically and this makes it quick and easy.
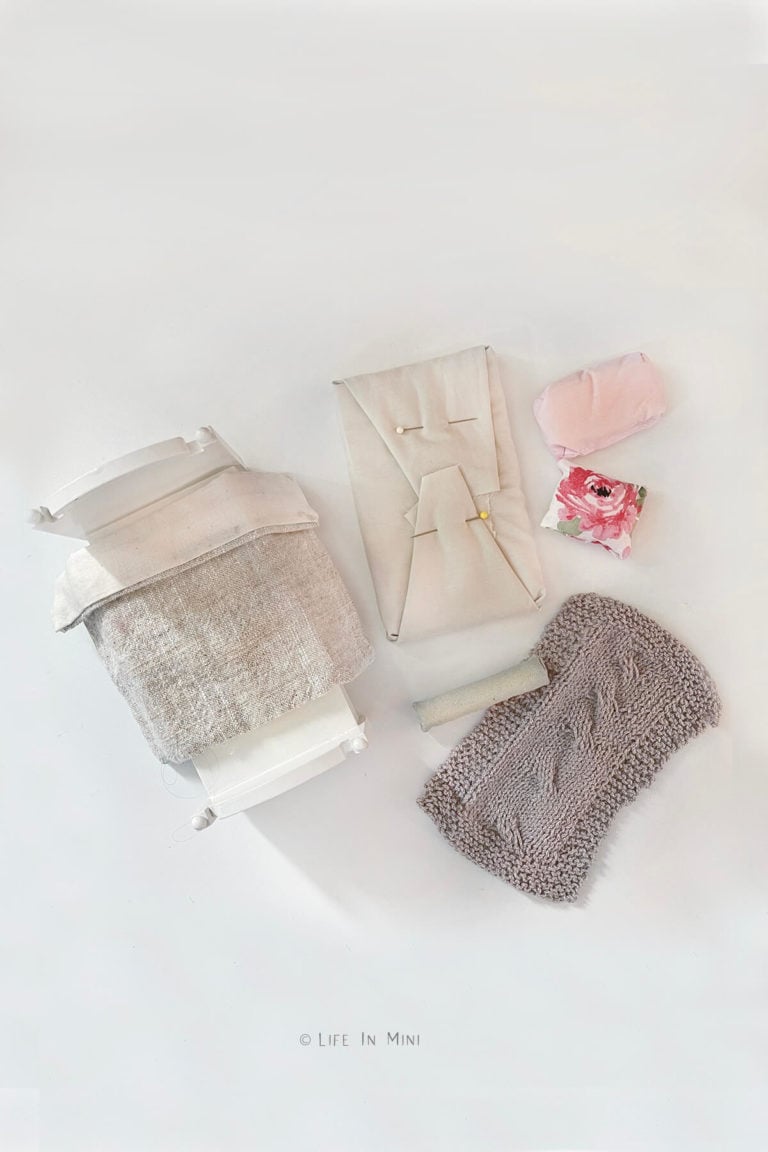
I gently iron some folds in my blankets so it will fit the bed more snugly. Don’t iron too much or you will flatten out the batting inside your comforters.
I used the accent colors and patterns for the pillows. This way, I can easily change them out. I made the pillows the same way I made the comforter, with my glue gun.
For pillows, I also used different shapes. Some were squares others mini bolster pillows. Choose a variety and have fun with it.
If you are enjoying my blog, why not sign up for my newsletter so you won’t miss out on the mini adventures!
No Sew Dollhouse Bedding
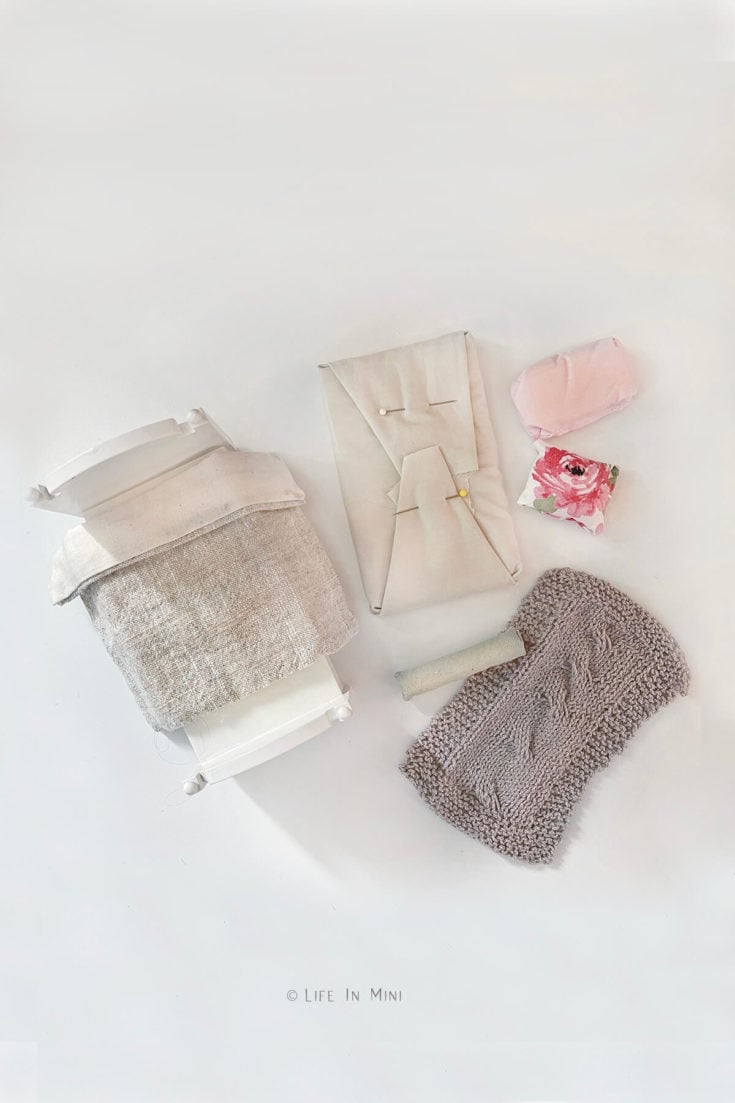
You don't need fancy sewing skills or expensive fabrics to make your own custom dollhouse bedding. With these tips, you can create a beautiful look that is catalog ready!
Materials
- Assorted fabrics of different colors and textures
- Batting
Tools
- Low temperature fine tip hot glue gun
- Scissors
- Sewing pins
Instructions
- To make the comforter, cut two pieces of fabric to size, allowing ¼-inch seam allowance all around. The fabric can be the same or two complimentary colors.
- Place the fabric pieces good side facing inside. Glue 3 out of 4 sides together. Once glue is dried, turn it inside out. Use a dull pencil to poke out the corners.
- To give the comforter body and volume, stuff a square piece of batting inside. Without some filling inside, the blankets are rather flat.
- Fold the open ends of your fabric in. You can press this with an iron, if you want. Glue the ends together to seal the comforter shut.
- I gently iron some folds in my blankets so it will fit the bed more snugly. Don’t iron too much or you will flatten out the batting inside your comforters.
- For the mattresses, I just wrap the fabric around the foam and pin it. I personally like to change the bedding periodically and this makes it quick and easy.
- I use the same technique to make the pillows as I do with the comforter.
Notes
You don't have to buy expensive fabrics to make your dollhouse bedding. You can buy fabric swatches or remnants, tea towels, old shirts even baby clothes. For cheaper fabric choices, rummage through your closet, thrift stores or discount stores.
If you don't have batting, you can also use cotton balls of packaging foam.
PS If you try this craft, why not leave a star rating in the direction card right below and/or a review in the comment section further down the page? I always appreciate your feedback.
You can also follow me on Pinterest, Facebook or Instagram. Sign up for my eMail list, too!

Dani says
Loved reading your no sew bedding tutorial!
Laura says
Hi Dani-
I’m so glad you liked it. I am not a savvy sewer like my mom so I’m always looking for shortcuts.
Laura
Wendylee says
Hello there I just wanted to say I love your Minatures I love that I receive emails on something new you have done I’m so very happy that I signed up for these it is Awsom when I go threw my emails and when I see yours I stop make a cup a tea and enjoy the read and I have a list of all the items I will be making this spring and this last one I love love love it the mini terrariums
So thank you 🙏🏻
And good luck on the house 🏡 and all it’s a stressful time I know but it’s Awsom that you can still fit in the Minatures
Have a wonderful day
Laura says
Hi Wendy-
Your message made my day! Thank you for your sweet words. It really is the little things that make us smile. Can’t wait to see what you create!
Laura
Lori Sherry says
Thank you for the tips in the mini bedding making, great idea and I will most certainly use your GREAT ideas..also thanks for the postings, I enjoy them and also your talent
Laura says
Hi Lori-
You are so kind. I am so glad you found my tutorial useful.
Laura