The elves were busy this holiday season and I’m sharing how they created the dreamiest Dollhouse Christmas ever!
My daughter and I have been enjoying decorating our new place for the holidays, so I I took a little time this year to decorate my dollhouse for Christmas. It was ridiculously fun and relaxing!
I found myself repainting some pieces of furniture and fixing up others. I pulled out my polymer clay and made my first cane – oranges! It took several hours and four attempts before I got finally got it right.
This post isn’t a tutorial and simply me sharing what idyllic dollhouse Christmas scene. I also tried to share what I made and where I bought the miniatures featured in each picture.
This post contains some affiliate links for your convenience (which means if you make a purchase after clicking a link I will earn a small commission but it won’t cost you a penny more)! Read my full disclosure policy.
During the black Friday-cyber Monday craziness, I took advantage of a few sales and bought a some miniatures. Whoops!
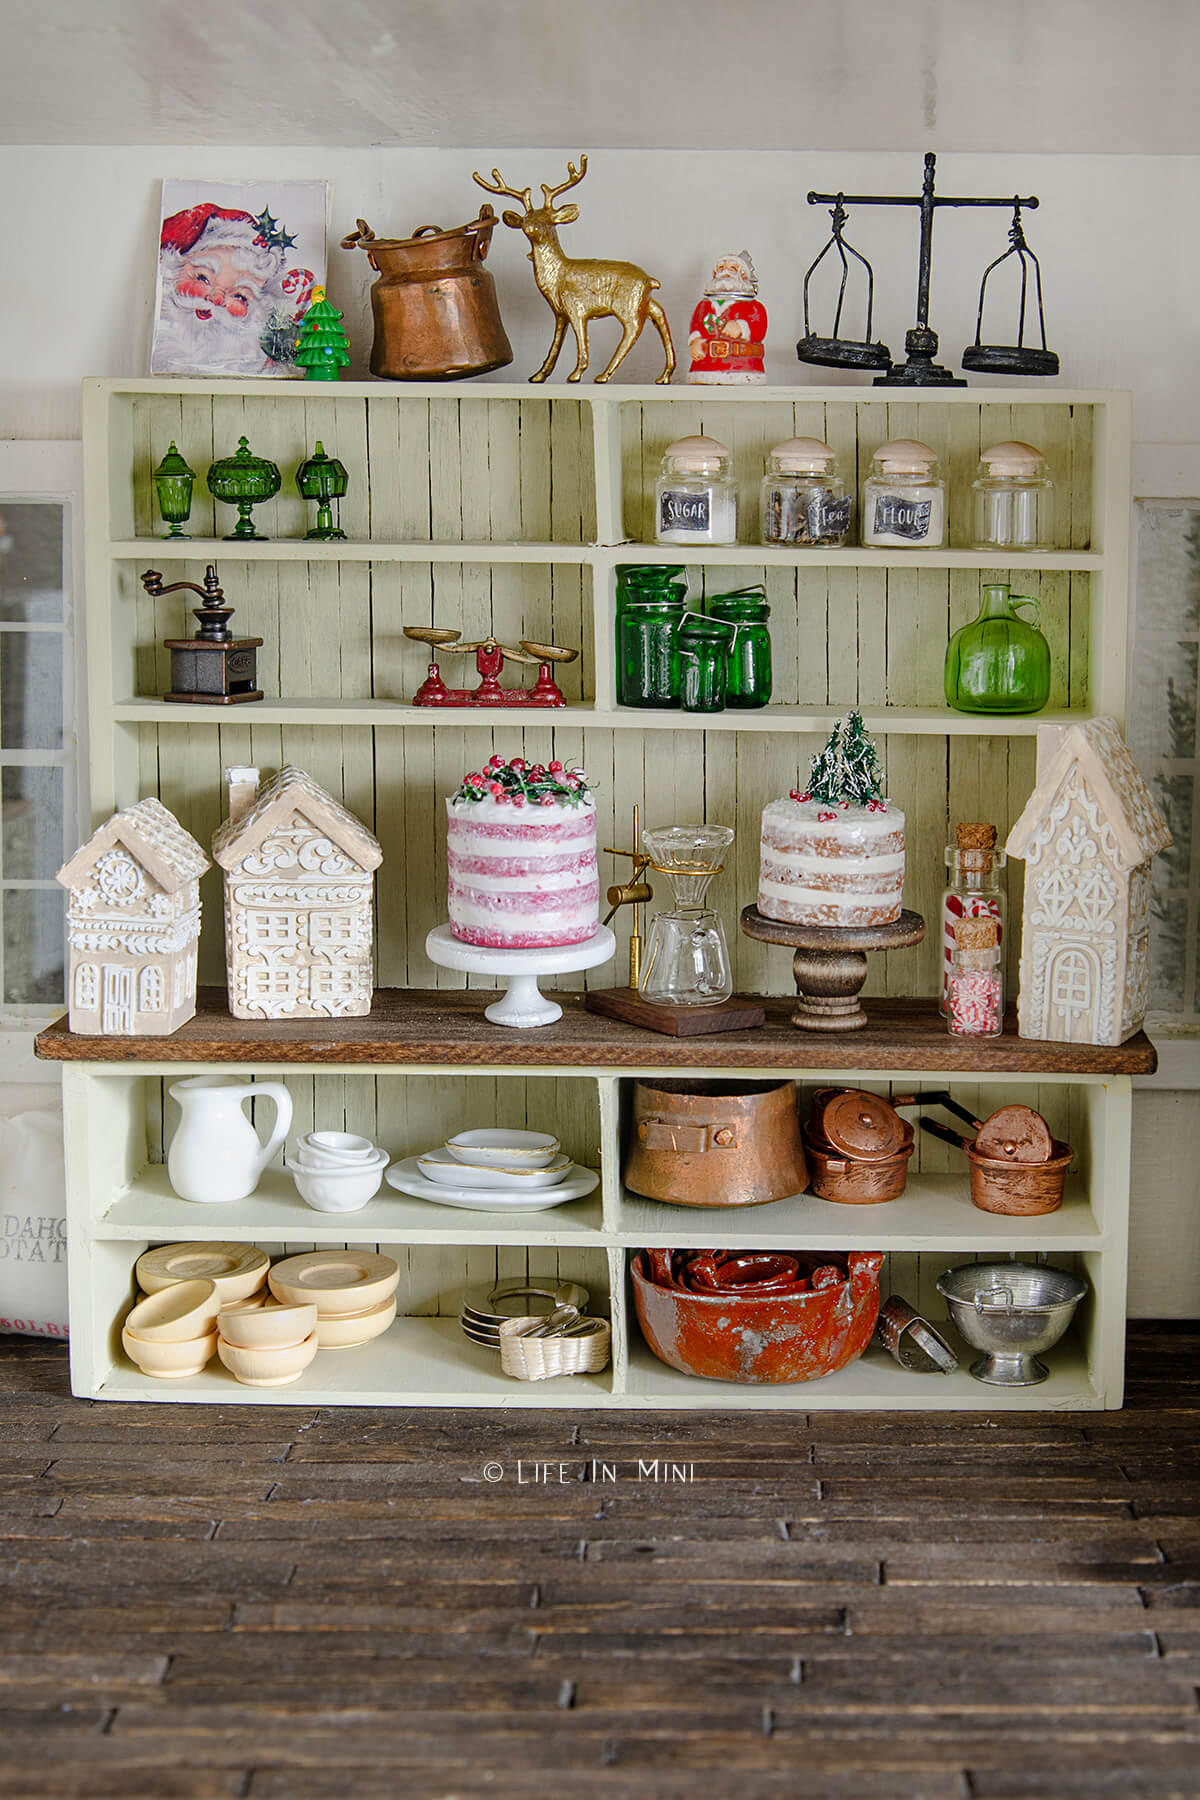
I got this shelving unit (it comes in all white and natural wood) and started making it my own as soon as I unwrapped it. I was inspired by what Velvet Rabbit Miniatures did in one of her dollhouses.
I wanted a big piece to show off all my favorite minis that I have collected over the years. I removed one of the shelves so that I could put tall things on the counter. I used the shelf that I removed to make the middle shelf dividers.
I glued coffee stir sticks to some kraft board for the backing. Everything was painted with chalk paint. I added stained wood top, using my Dremel for the first time to cut the slits in the back to get it to slide in perfectly.
I replaced a small hutch that I used to have in the dining room with this one. So much more open shelving to show off my favorite minis!
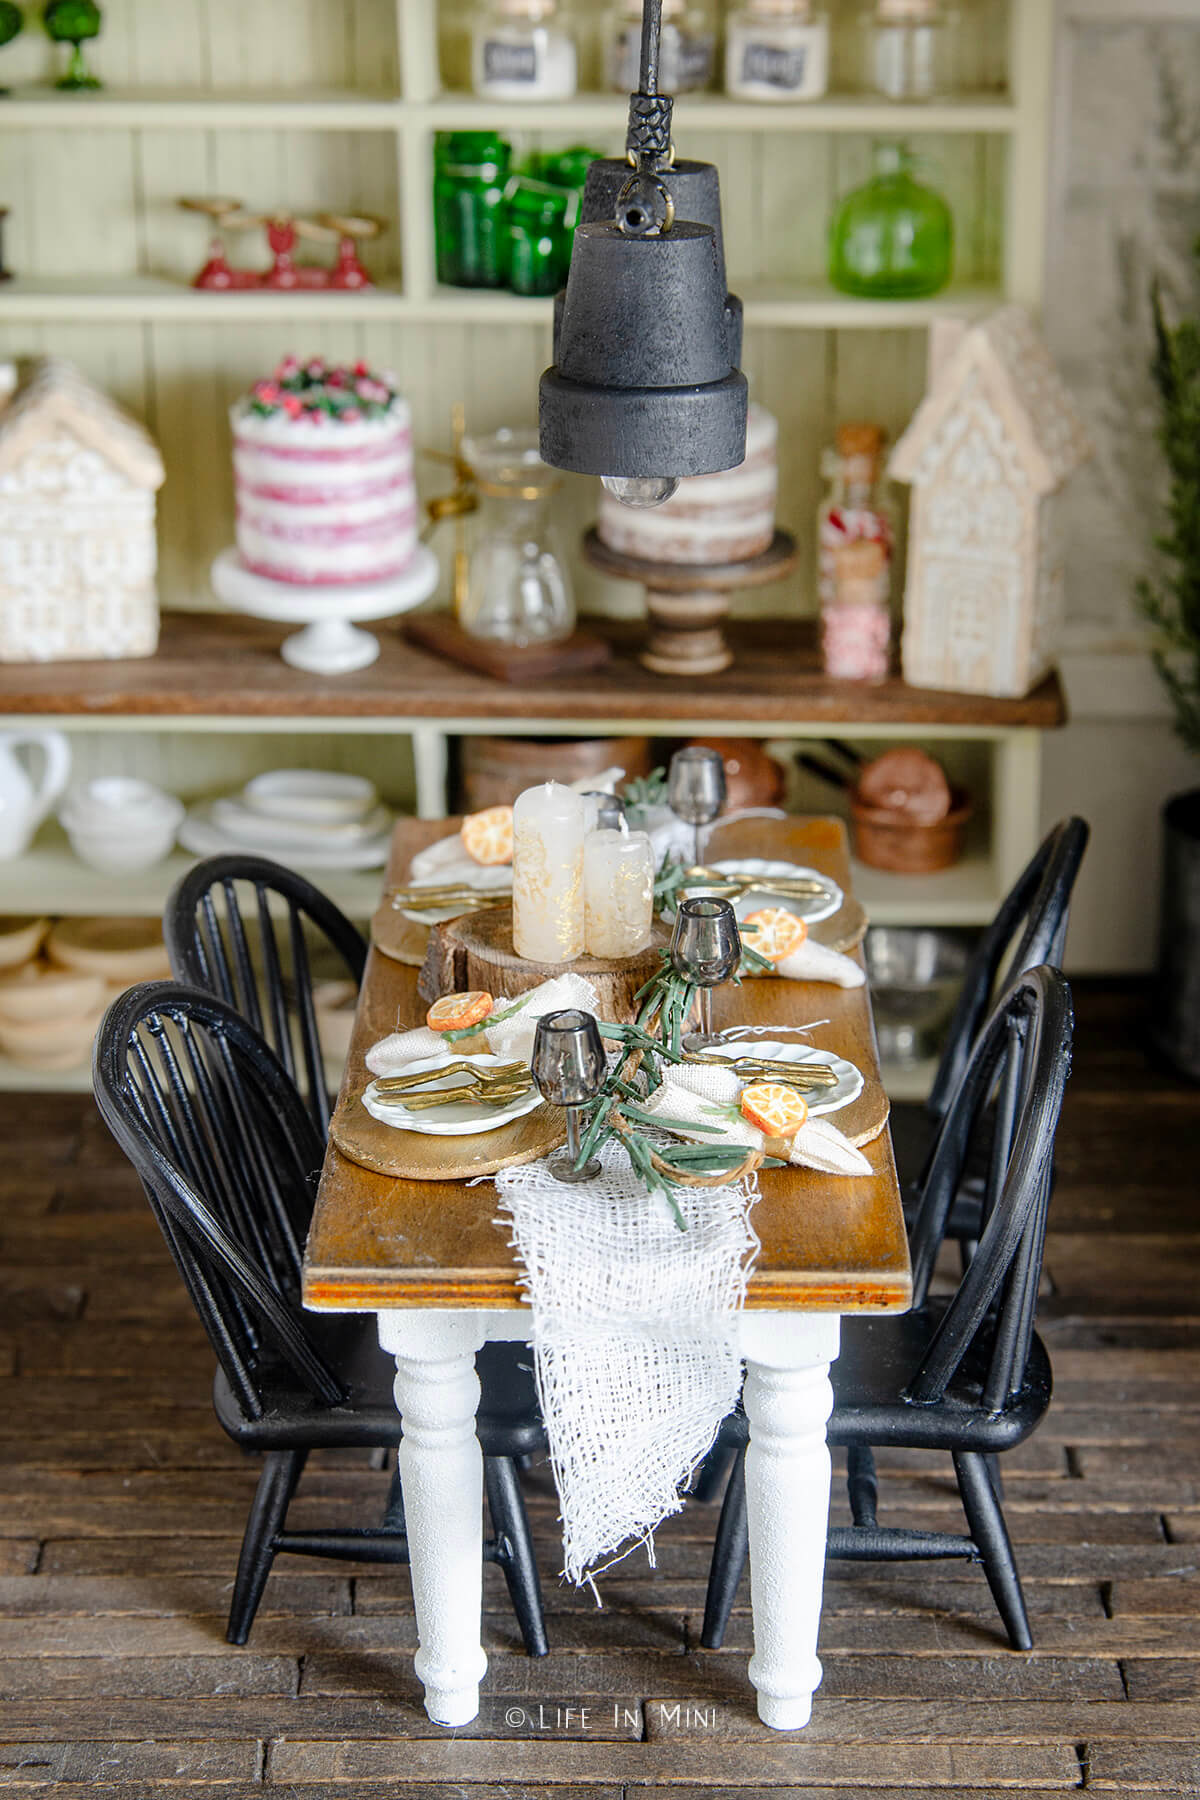
The Christmas cakes I made with polymer clay. I also made the miniature cake stands. The gingerbread houses are from Michaels and they come in all white. I used some super thin paint brushes and painted parts of it khaki to make it look like gingerbread.
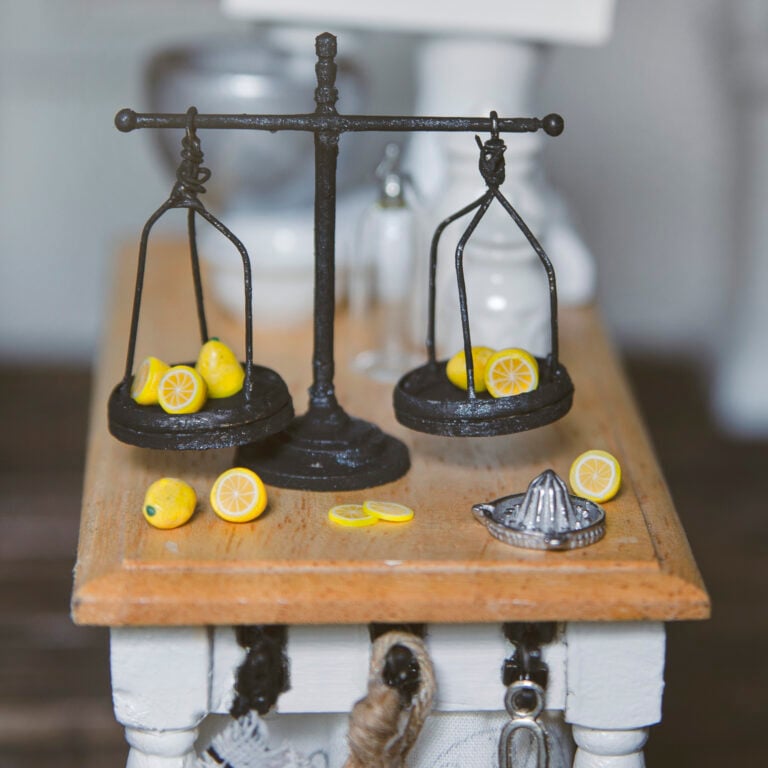
The bigger copper pieces are from Iran and a gift from my uncle. The smaller copper pots were purchased from Hobby Lobby, originally silver so I painted them copper (they also come in copper). The balance scale on the top shelf is homemade and was a HUGE pain-in-the-you-know-what to make.
The gold reindeer is a plastic deer that I had leftover from an old kids project. I painted it gold. I scoured the internet for vintage Christmas artwork and used my tutorial on high resolution printing for miniatures to print them and mod podge them on scraps of wood.
Here some of the miniatures featured on the shelf and where you can purchase them (starting from the top of the shelf unit):
- Santa Beer Stein
- Green Candy Dishes (you can find these on amazon or similar ones on etsy)
- Glass canisters with wood tops
- Coffee Grinder
- Red balance scale
- Green Canning Bottles
- Green Glass Jug (similar to this green one and this clear one)
- Pour Over Coffee Maker
- Ceramic Mixing Bowls
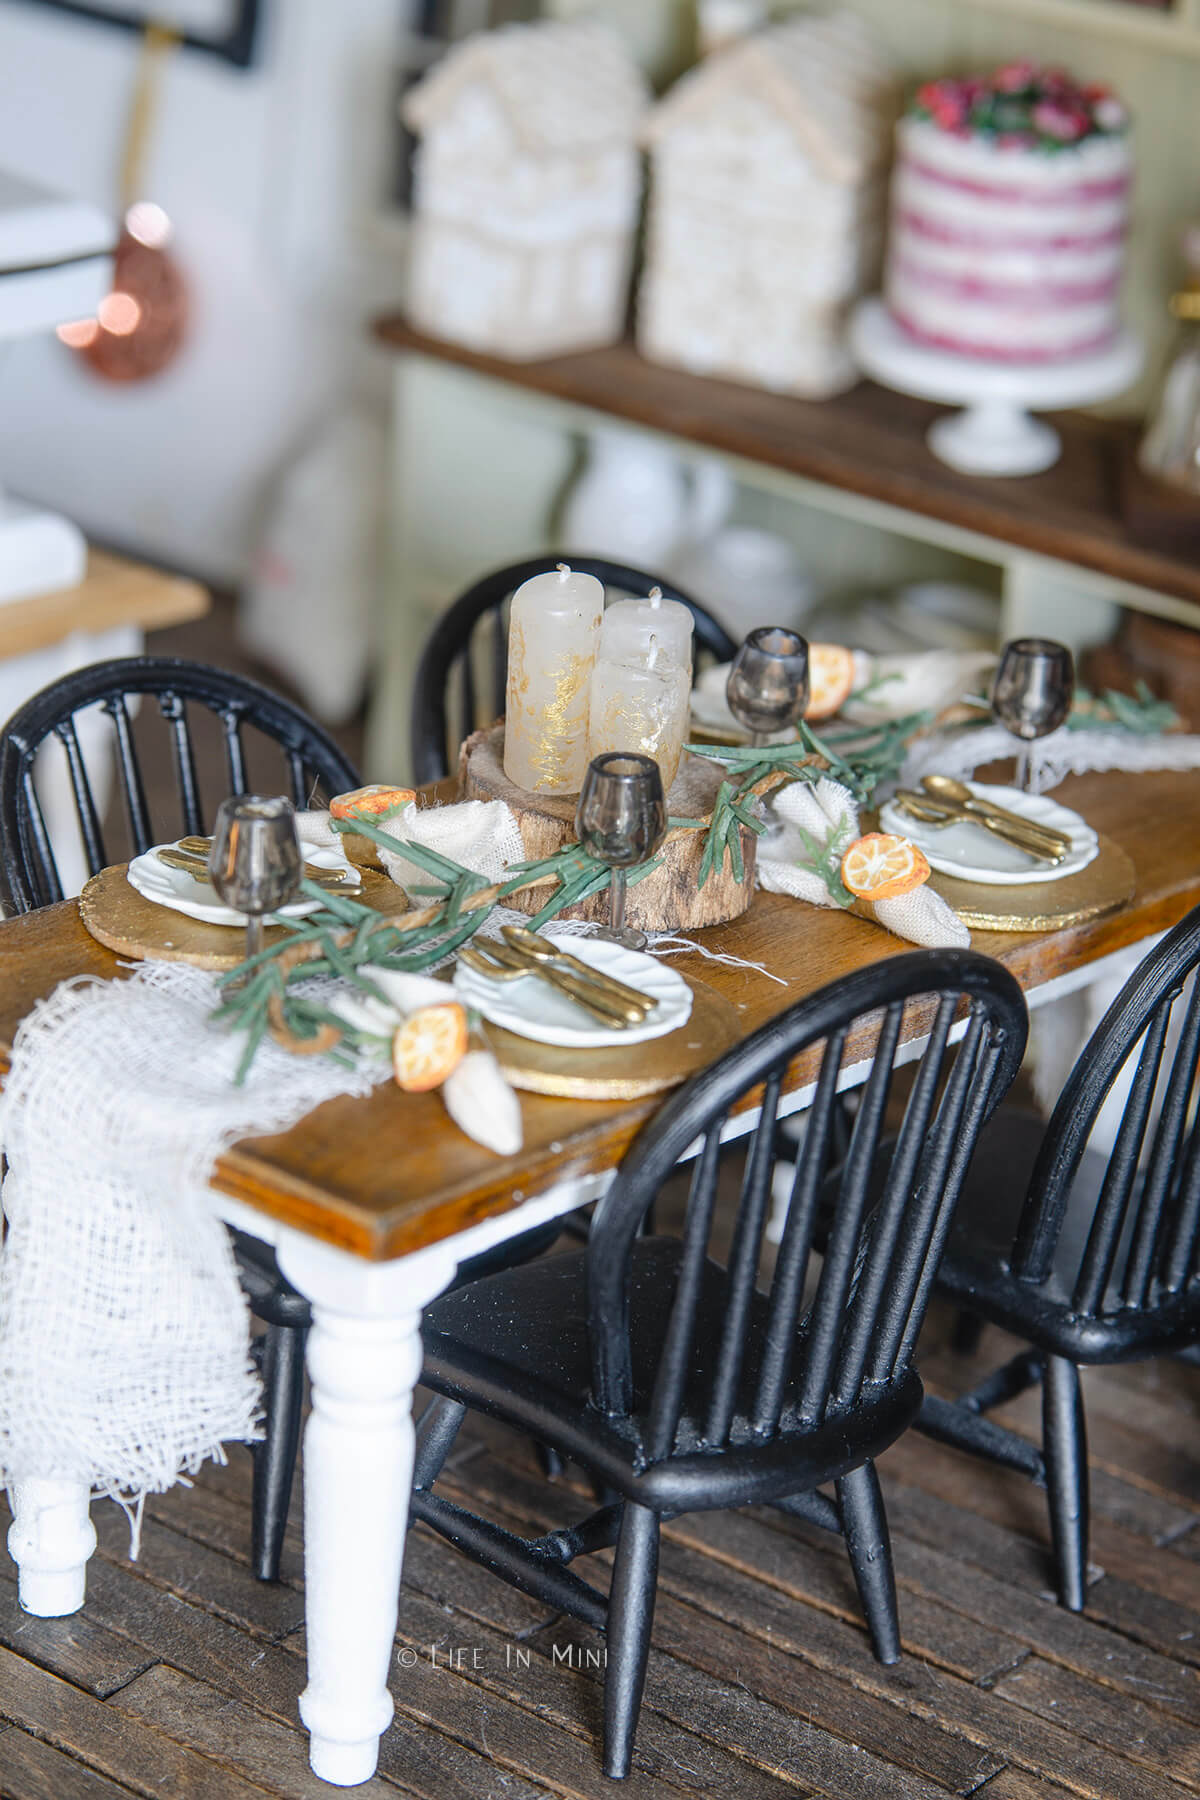
Do you set a formal table for Christmas? My mom usually hosts and she loves hosting a formal table. I learned at a young age how to set a table properly. I took some liberties with the dollhouse!
I had so much creating this miniature table setting, finding lots of inspiration on Instagram and Pinterest!
The miniature candles are homemade. I dry brushed some gold paint around them to glam them up. I made the little bit of garland (some twine with bits of my full size artificial Christmas tree glued on).
I bought the white plates from Hobby Lobby and painted some wood rounds gold for the chargers. I painted some extra dollhouse silverware gold with a touch of zinc to antique them.
You can also purchase plates and silverware together on Amazon.
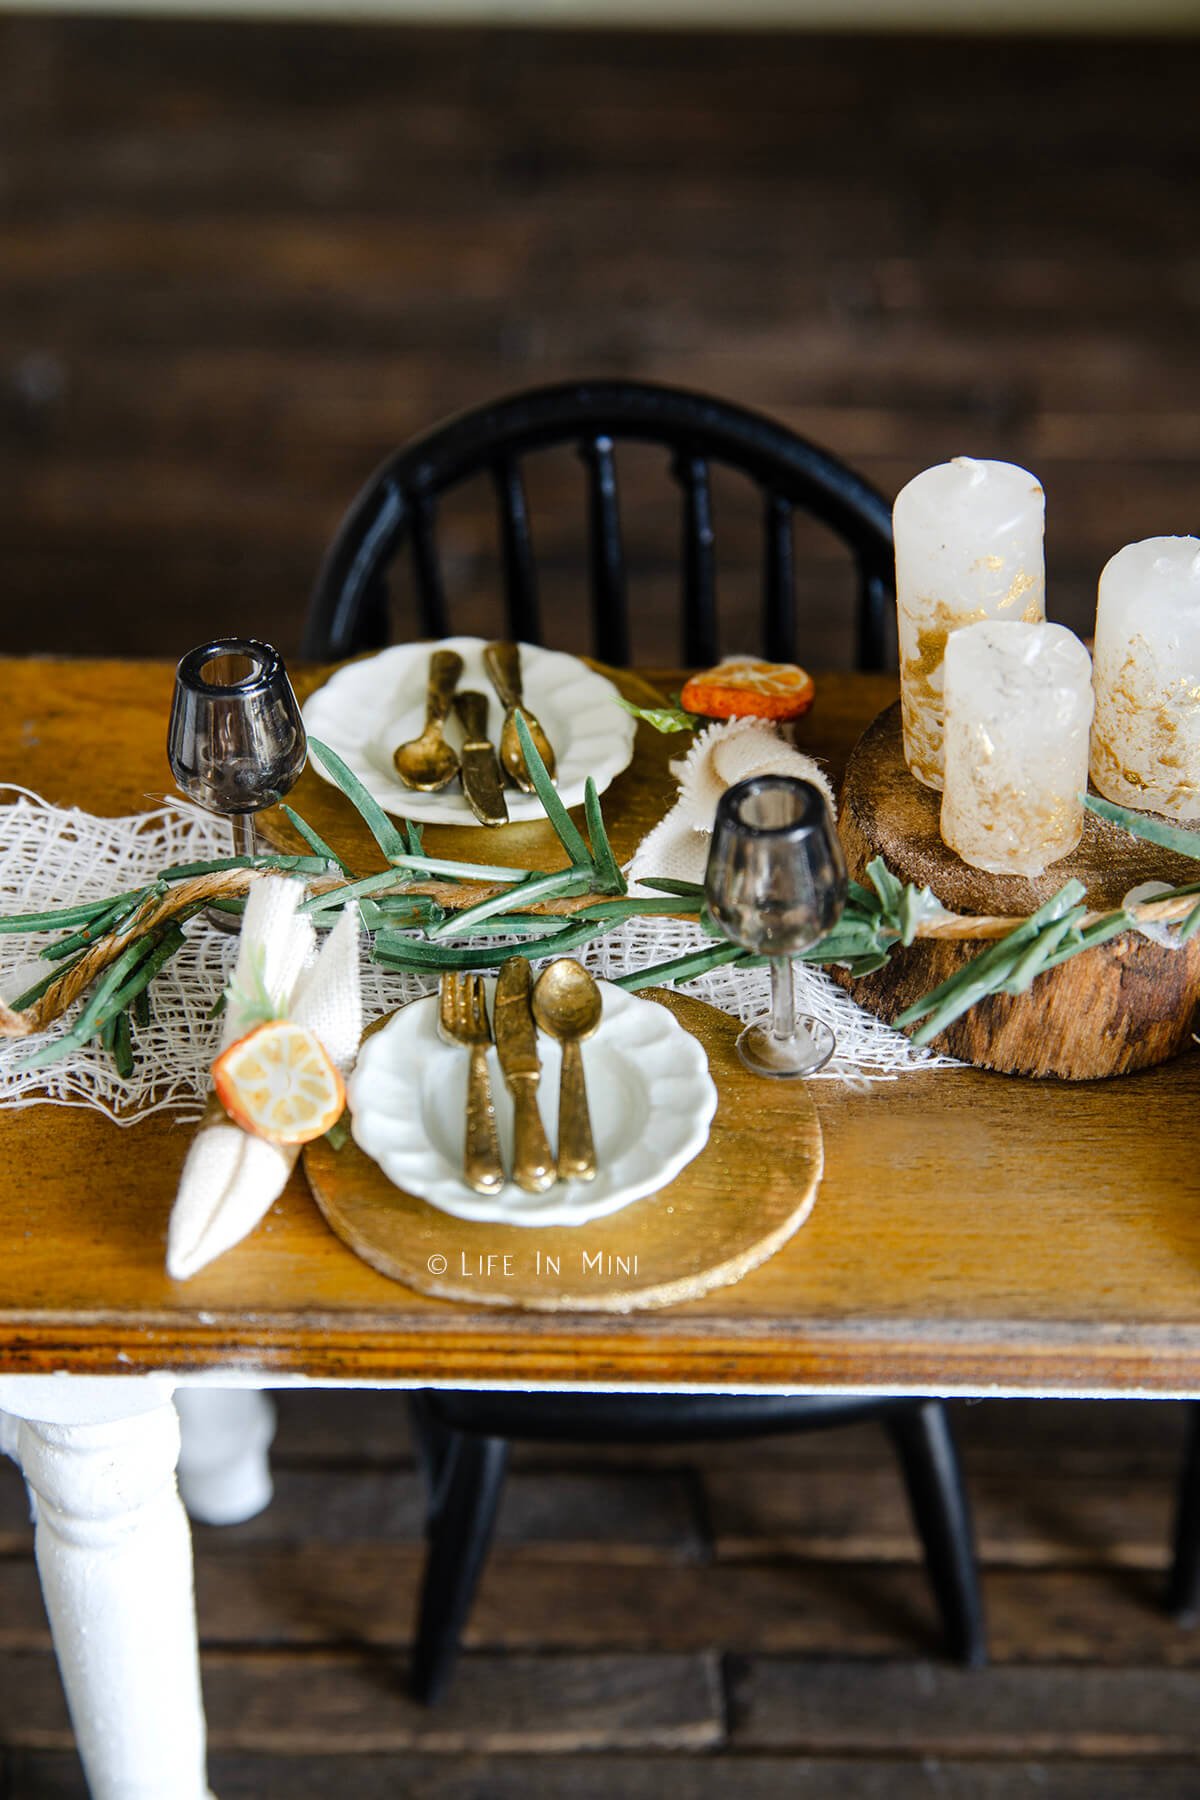
The table runner was cut from a bit of cheesecloth that I had. I cut small squares of linen fabric for the napkins. The napkin rings are cut from the plastic that was wrapped around some of my paint brushes. I painted the plastic tube gold and cut them into rings.
It seems like no garbage ever gets thrown away!
I followed this tutorial to make a polymer clay orange cane. I wanted them to look like dried orange slices so I made sure that I textured each orange segment prior to baking. I also dabbled a little brown and dark orange.
I glued an orange slice with a sprig of artificial greenery that I found onto each napkin ring. I quickly realized that I didn’t have much in glassware so I purchased these cute wine goblets.
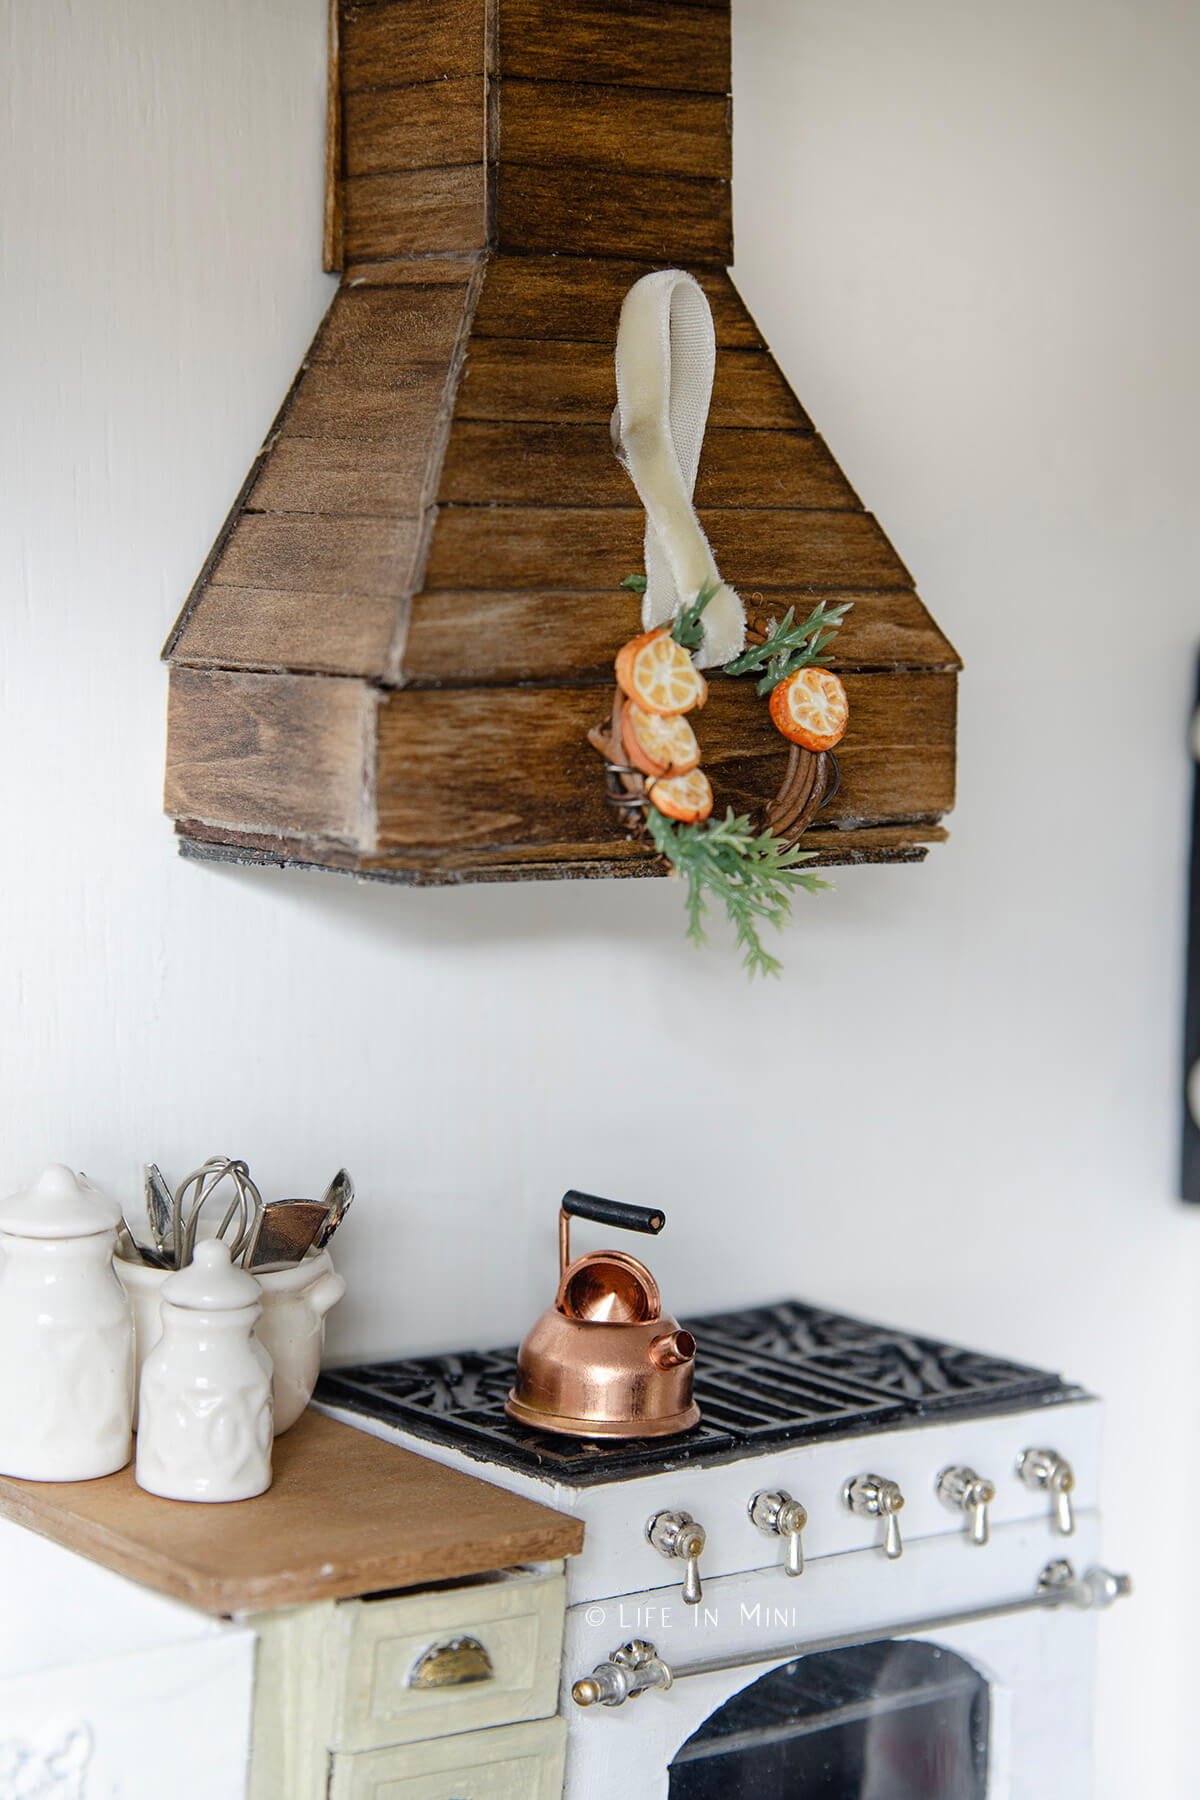
I loved the orange slices so much that I added them to a little grapevine wreath that I had. A little faux greenery and velvet ribbon and it was ready to hang!
My dollhouse kitchen is still a work in progress – what a surprise!
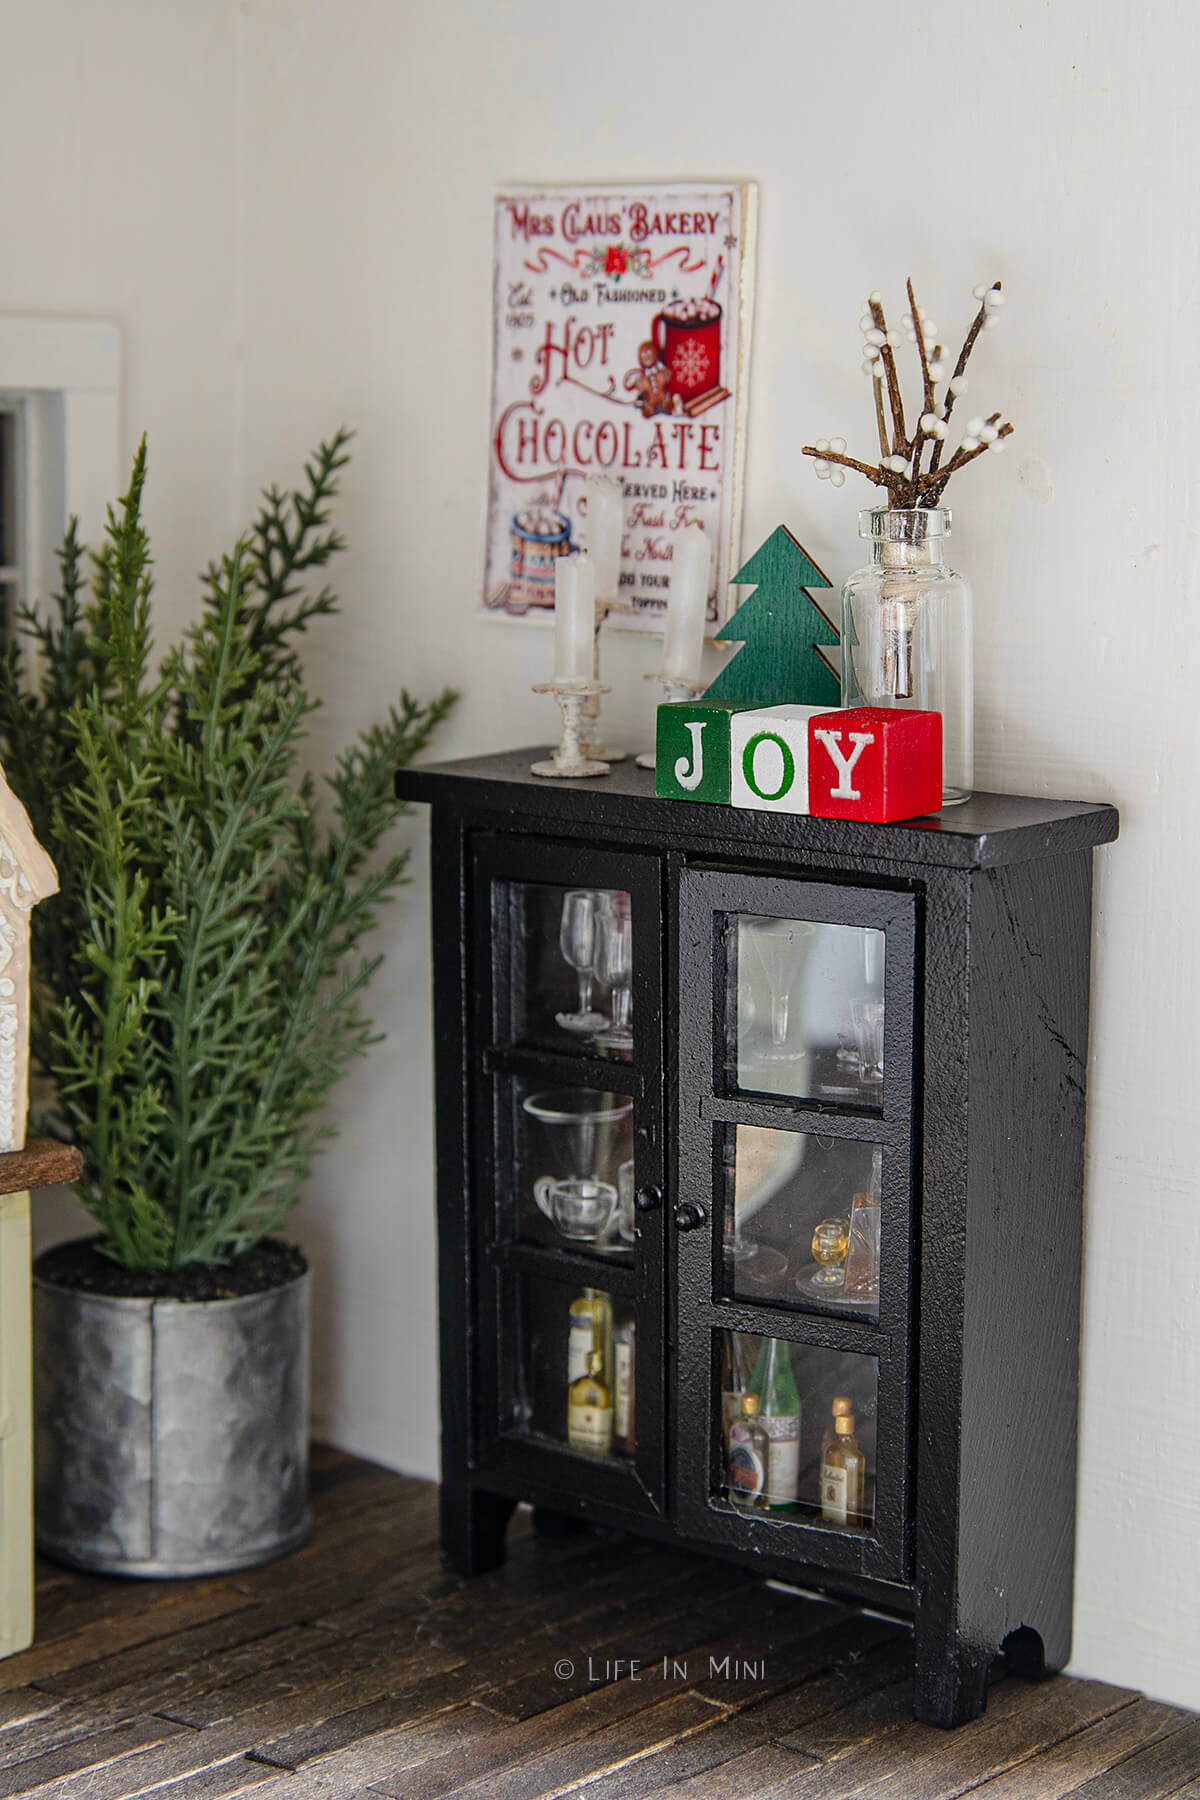
This is the miniature shaker pie cabinet you can get at Hobby Lobby. I might repaint it, but for now I remove the metal insert and replaced it with some acrylic sheets that I cut from some packaging.
I made it into a liquor cabinet and secure everything in the cabinet with double stickies. I don’t usually secure things permanently in my dollhouse. I like to use a little museum wax or these clear double-sided adhesive gels for light things that get knocked down easily.
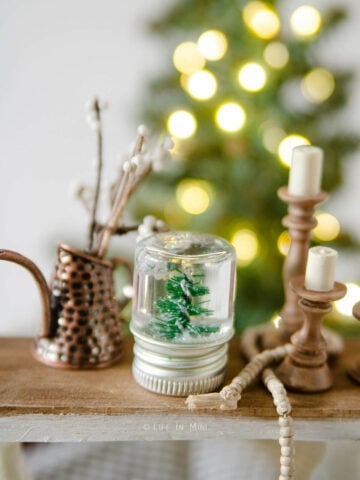
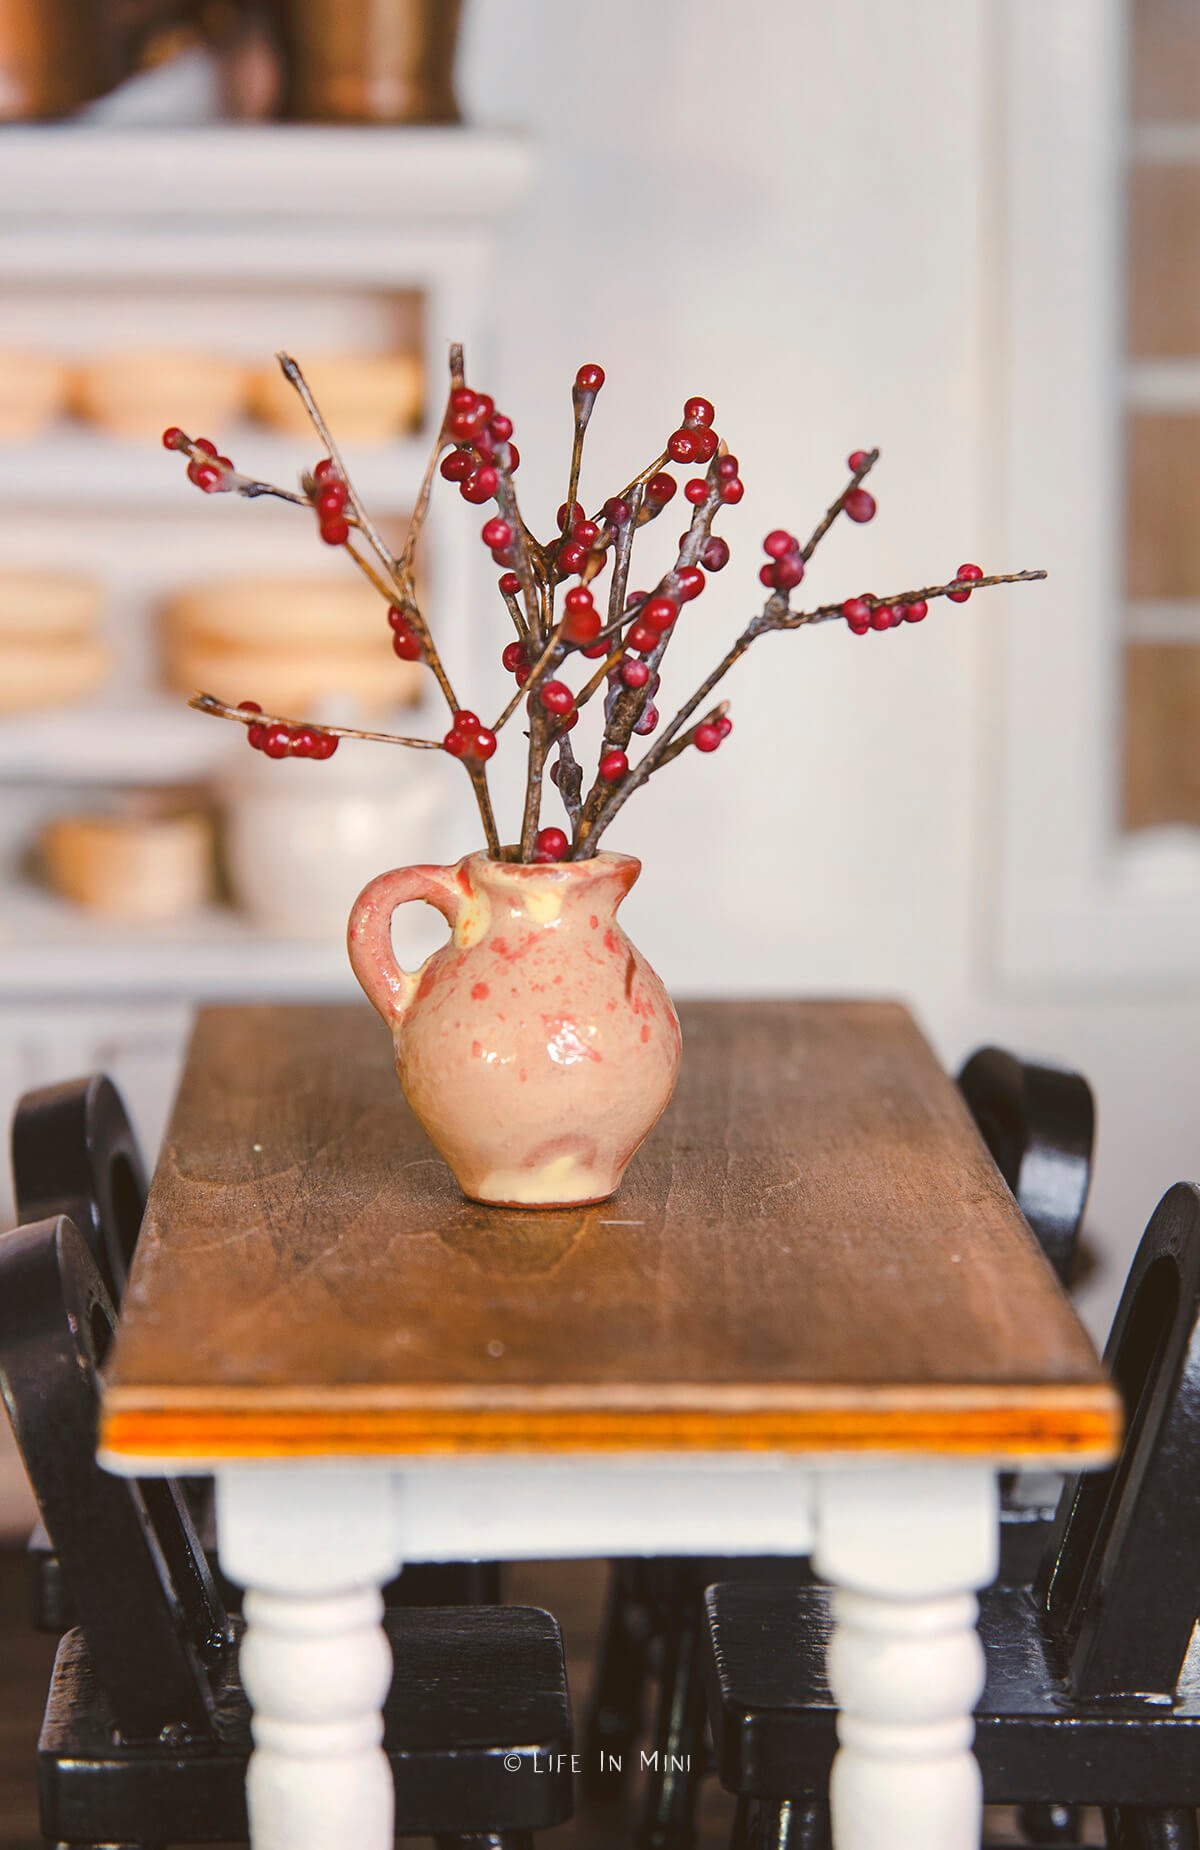
On top of the cabinet, I made the candles and miniature candlesticks. I also made the branches with white berries.
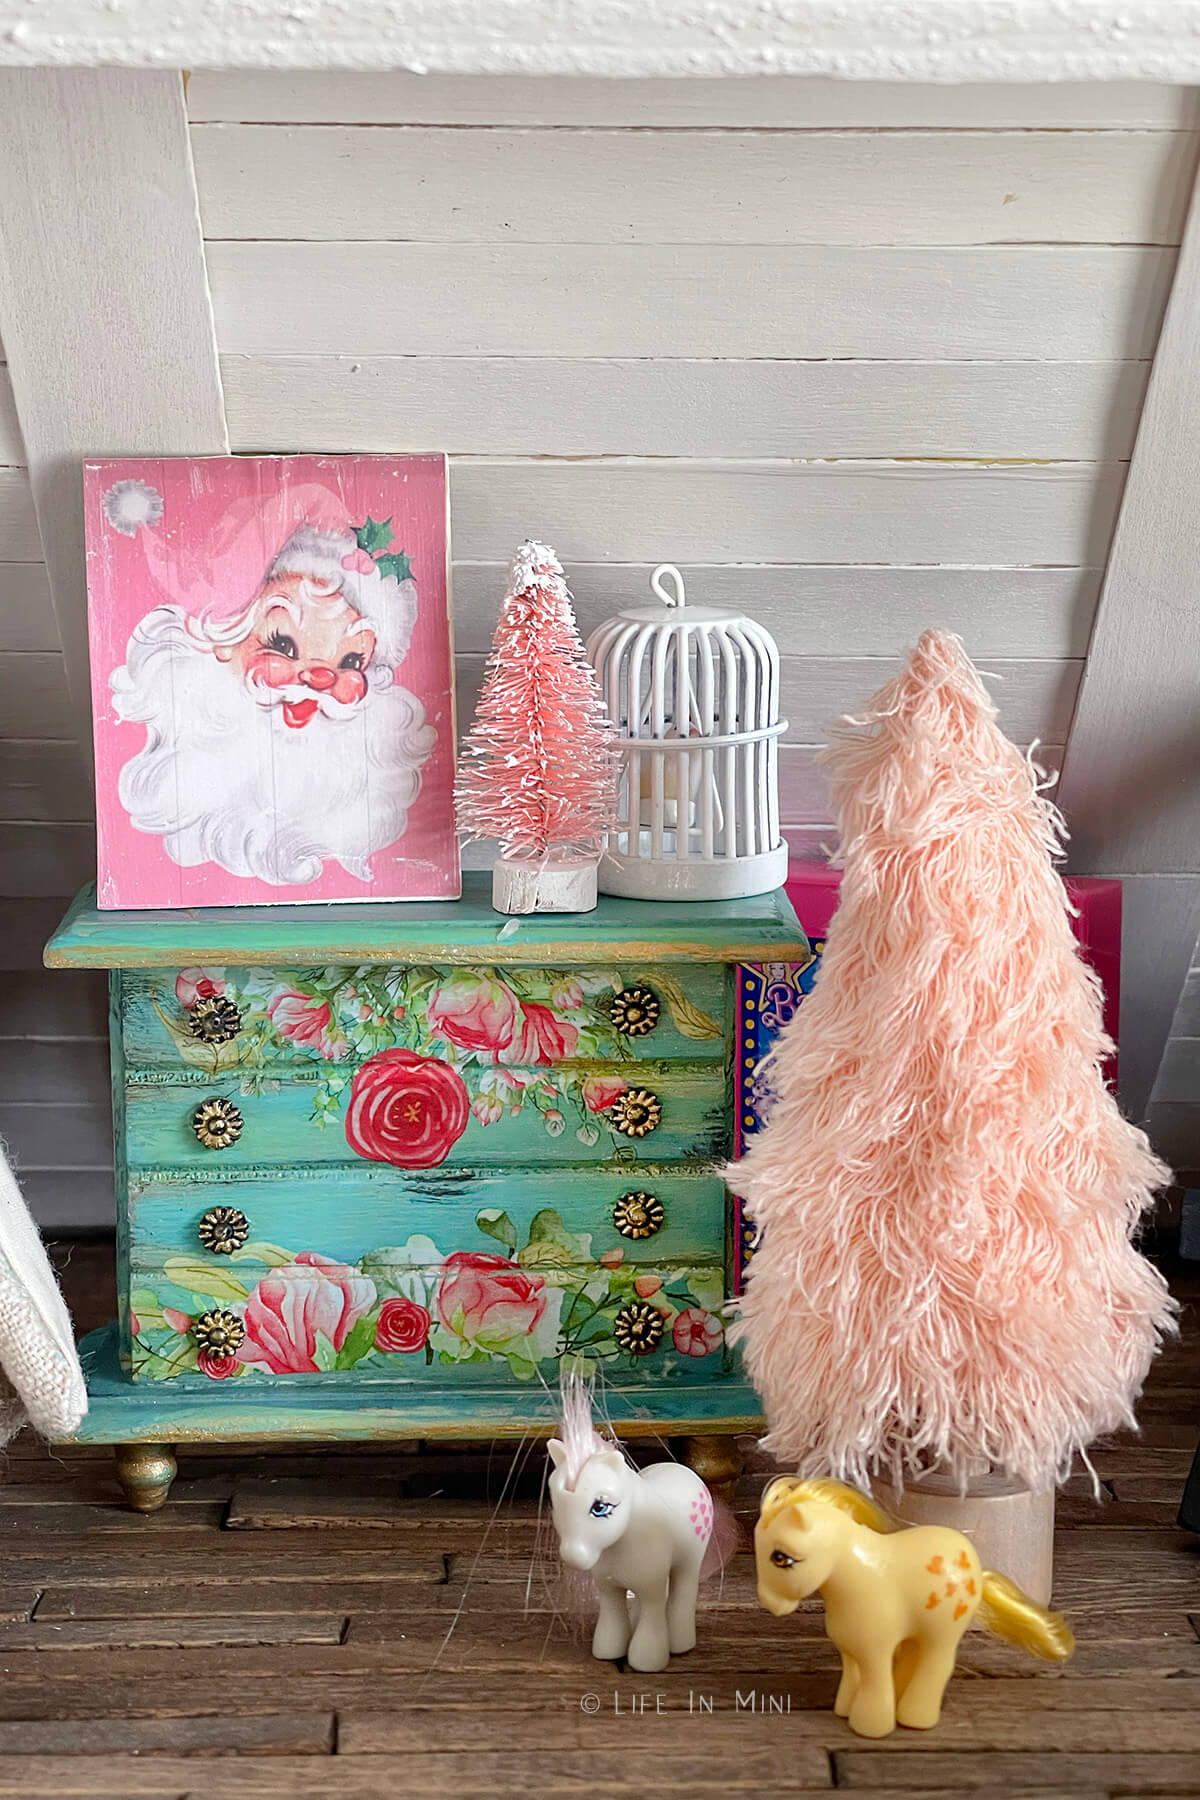
Do you have multiple Christmas trees throughout the house?! I always had little trees in my kids’ rooms. They loved having a bit of Christmas in every room!
I found the shaggy pink tree at Target. I have no idea where the mini pink bottle brush tree came from! Isn’t that pink Santa print cute?! And those miniature My Little Pony figures? Adorbs!
And if you haven’t checked out my Dollar Tree dresser transformation featured above, here’s my tutorial using rub on transfers on furniture.
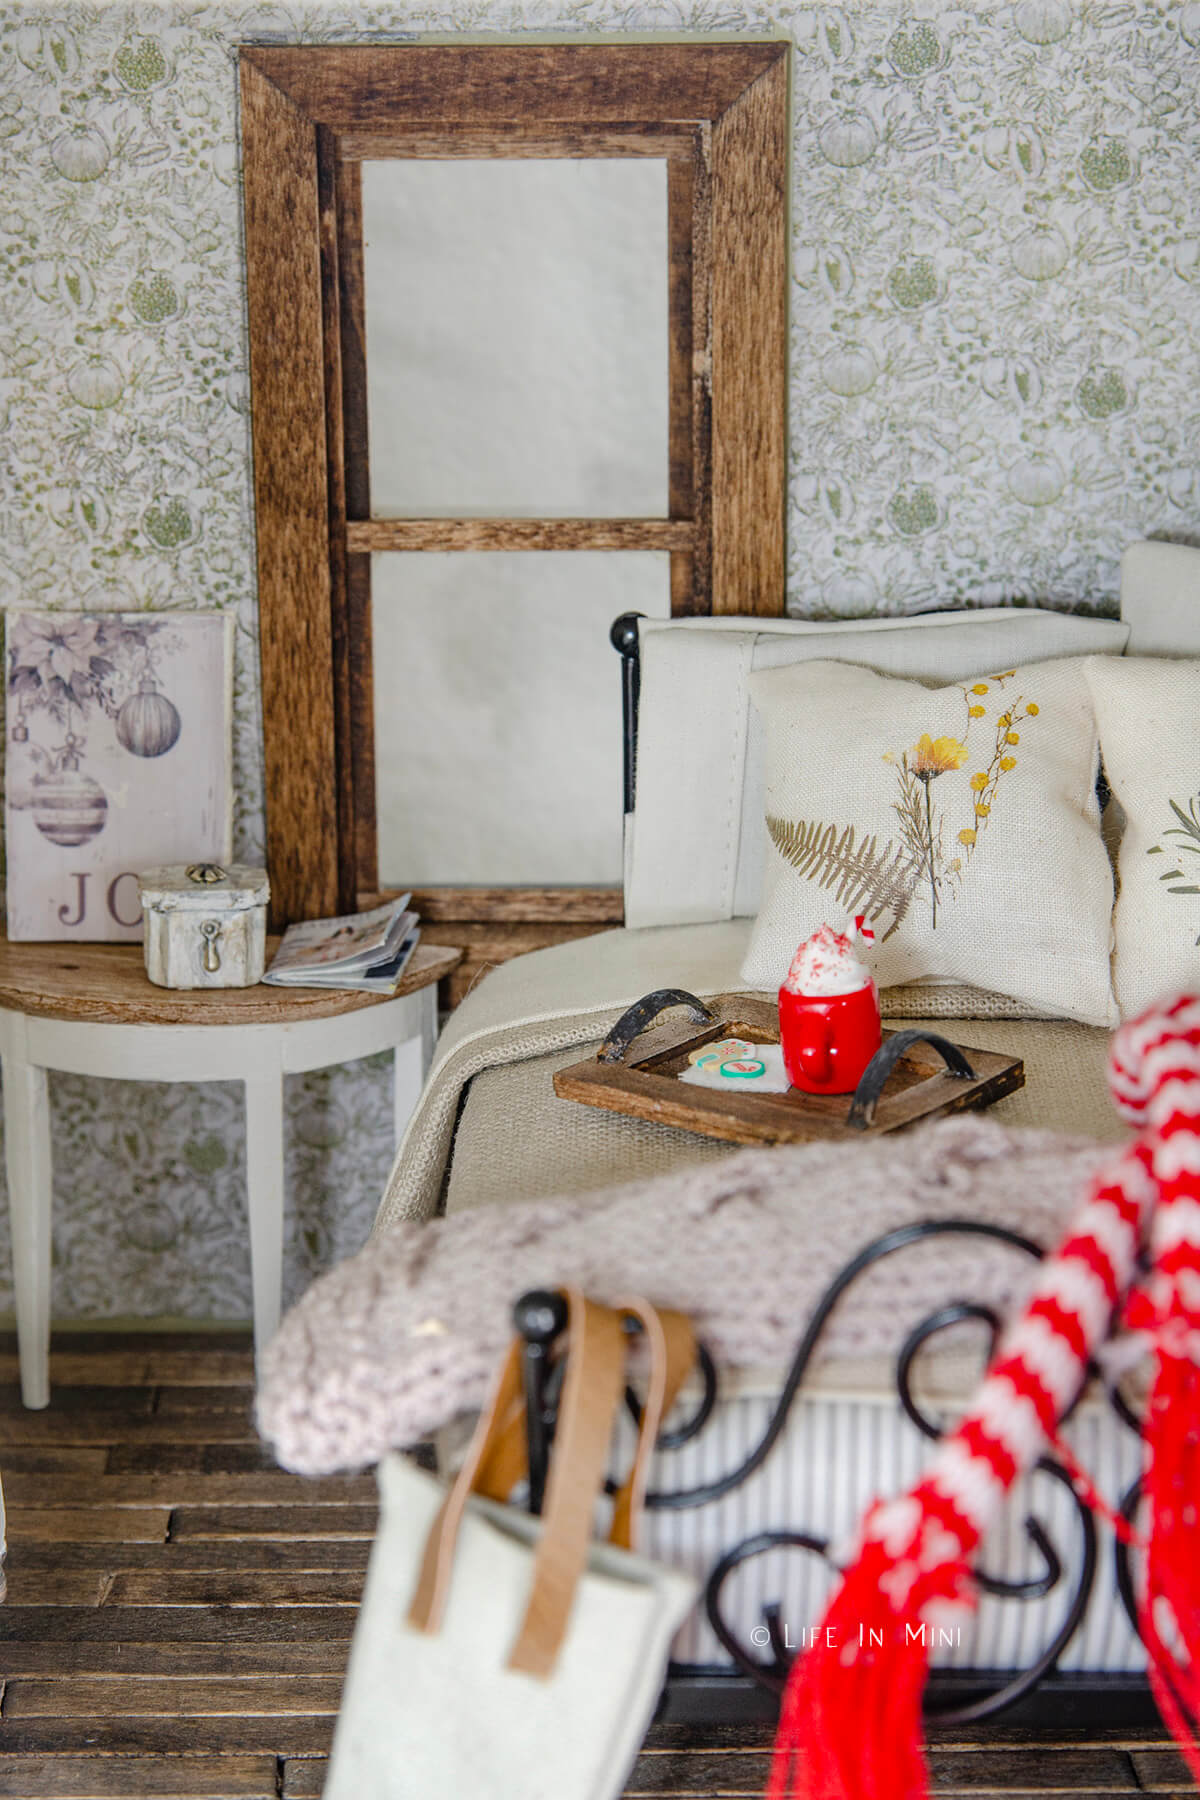
Do you ever sneak to your bedroom for a little break from the holiday chaos? Nothing like a cup of hot cocoa with some Christmas cookies to get your mojo back!
Now that my kids are older, the stress is less, but they are so difficult to shop for. Bigger kids means more expensive taste. Yeah, keep dreaming, kiddos!
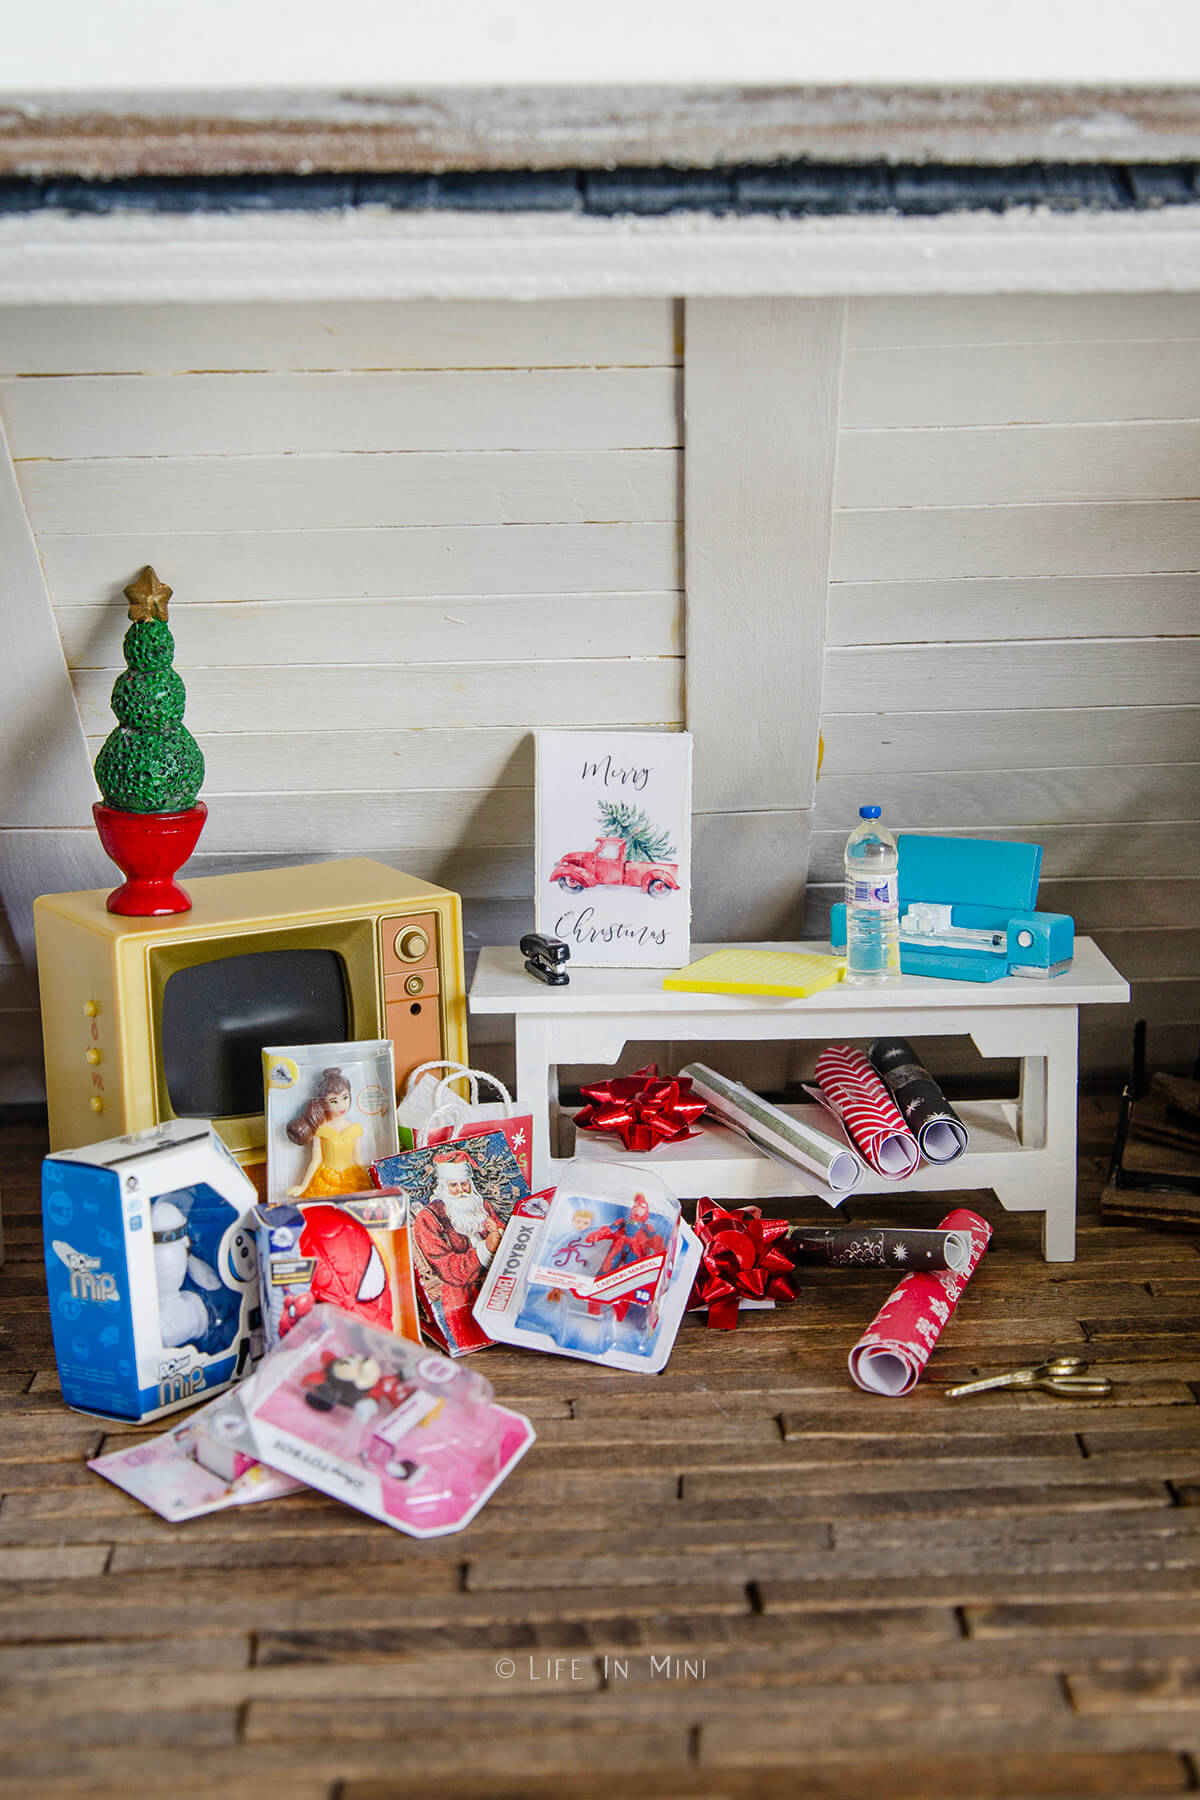
Where do you hide the presents? I used to hide them in my closet. I don’t put the gifts under the tree until Christmas Eve. I remember my brother and I sneaking peaks at the beautifully wrapped presents and I knew my kids couldn’t handle the temptation either!
I love the Mini Brands toys. I could easily go nuts with these guys, but I have controlled myself. Once I got Princess Leia from the Disney series, I stopped myself!
The Worlds Smallest Toys are also a favorite, but many of them are not 1:12 scale. But you can find mini Barbies and mini Hot Wheels cars, to name a few cute options. And then there are the mini Little Tikes Toys, too!
You can find hand made mini toys on Etsy, as well. Also search for Hallmark Keepsake Ornaments online and in antique stores. They have many in miniature, as well other mini Fisher Price toys and kids lunchboxes. Again, not all of these are 1:12 scale, but they sure are cute!
For wrapping paper rolls, I cut and rolled up pieces of scrapbook paper. I could not make homemade bows with my fat fingers, but I found the mini bows on clearance at Michaels and snagged them.
Well, I hope you enjoyed my little holiday tour of my dollhouse this year. I’m sure I will do something completely different next year, but hey, that’s the fun of miniatures.
I hope you have a magical holiday, everyone!
If you are enjoying my blog, why not sign up for my newsletter so you won’t miss out on the mini adventures!


AUDRA says
HI, THIS IS SO INSPIRING. IM TAKING ON THE CHALLENGE OF REDOING MY DOLLHOUSE NOW!
DO YOU REMEMBER WHERE YOU PURCHASED YOUR KITCHEN TABLE AND ISLAND FROM?
Laura says
Hi Audra-
Yay! It’s a lot of work but so much fun, too!
I bought the dining table years ago from a Pottery Barn set. You can find similar tables on Etsy, Factory Direct Crafts and Amazon.
The kitchen island I bought years ago on Etsy, similar to this one.
Hope that helps!
Laura
Carol says
Loved being able to tour your house this morning! Just what I needed to start my day with a smile. Lovely work you’ve done (although it never feels like work, does it?) with your Christmas decor. Wishing you a very Merry Christmas and a Happy New Year!
Laura says
Hi Carol!
Thank you for your kind words. I gave myself the gift to spend time making minis. It was so therapeutic! You are right, it does not feel like work.
Merry Christmas!
Laura
Ann Marie says
I enjoyed your post here so much this morning! My favorite are the orange slices! But I also love the greenery runner down the middle of the table. Everything is absolutely beautiful, great job! A very Merry Christmas to you Laura!
Laura says
Hi Ann Marie-
Thank you so much! I love drying citrus in real life so I had to add some to the dollhouse.
Hope you have a wonderful Christmas!
Laura
Britt Andreasen says
Hi Laura!
Very fine photos.
I wish you and your family a Merry Christmas
Huge hugs from Britt
Laura says
Thank you, Britt!
I hope you and your family have a wonderful Christmas.
Laura
MARY HARRISON says
Wow! You are fantastic! I an a miniaturist (84) and recently decided to make a mouse house. It is a 1;12 scale house, mixing it with mouse size as seen in many pictures of mice and their home. It is fun mixing the two, making as much as I can. I am glad I found your site. wishing you and your family, a very Happy Holiday and New Year!
Mary Harrison
Laura says
Hi Mary-
I love mouse houses! I think mixing sizes is a great theme for them because they are finding things and bringing them home. And quite honestly, don’t we all have oversized mugs, giant stuffed animals and huge pillows???
Hope you have a wonderful holiday!
Laura