You give your dollhouse furniture or accessories a new look by using DIY chalk paint. A little acrylic paint and baking soda is all you need to transform the look of your minis!
I have always loved watching DIY shows. I thoroughly enjoy making things and working on my many, many projects around the house. And I’m talking about my big house, not just the dollhouse!
Several months ago, I watched an Instagram Reel on making your own chalk paint. It seemed easy enough. I filed it away in my head to do “later” and soon forgot about it.
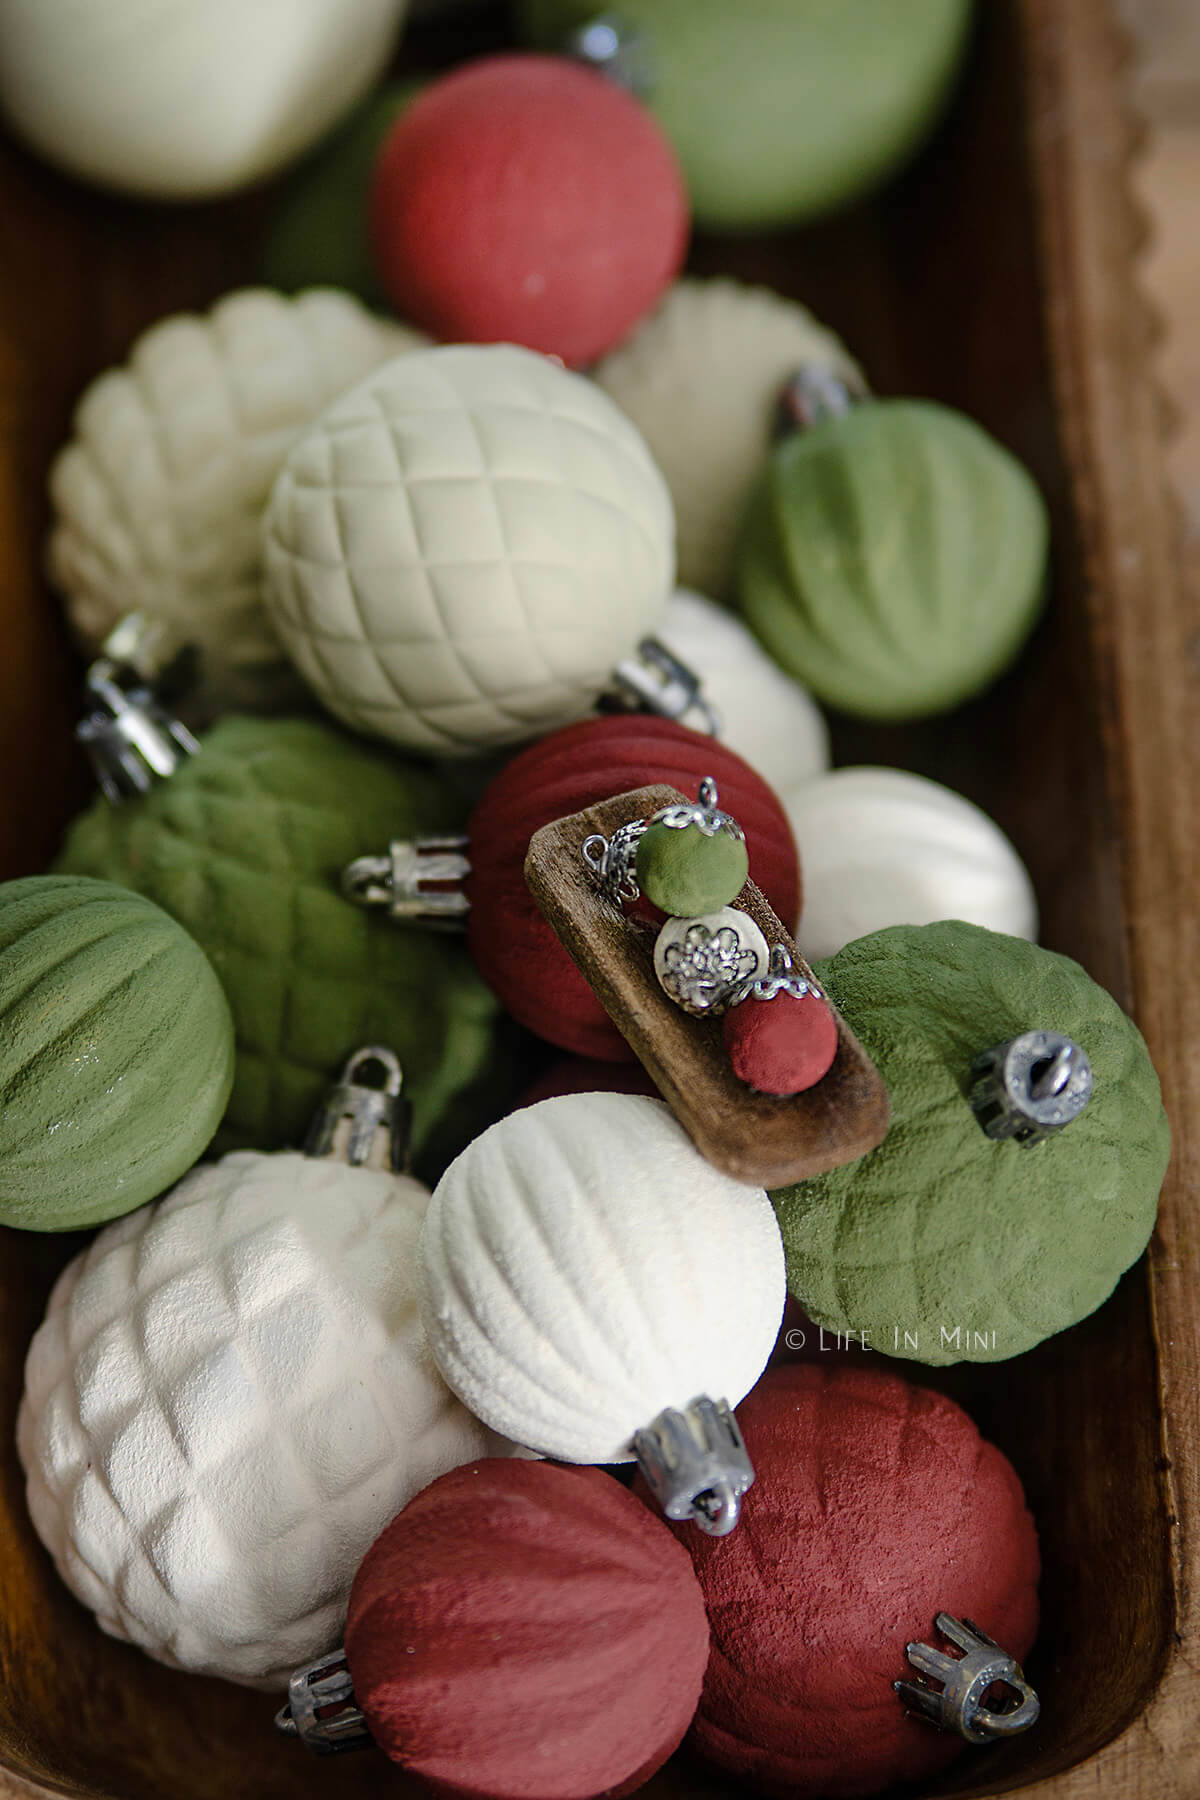
Then, last month, my feed was filled with these Dollar Tree hacks. You take cheap plastic ornaments and paint them with chalk paint – presto! They look like fancy schmancy expensive ceramic ornaments.
So yes, I quickly found myself at the 99-cent store looking for ornaments that weren’t simply round, but had patterns and textures. I took my stash home and whipped up some homemade chalk paint.
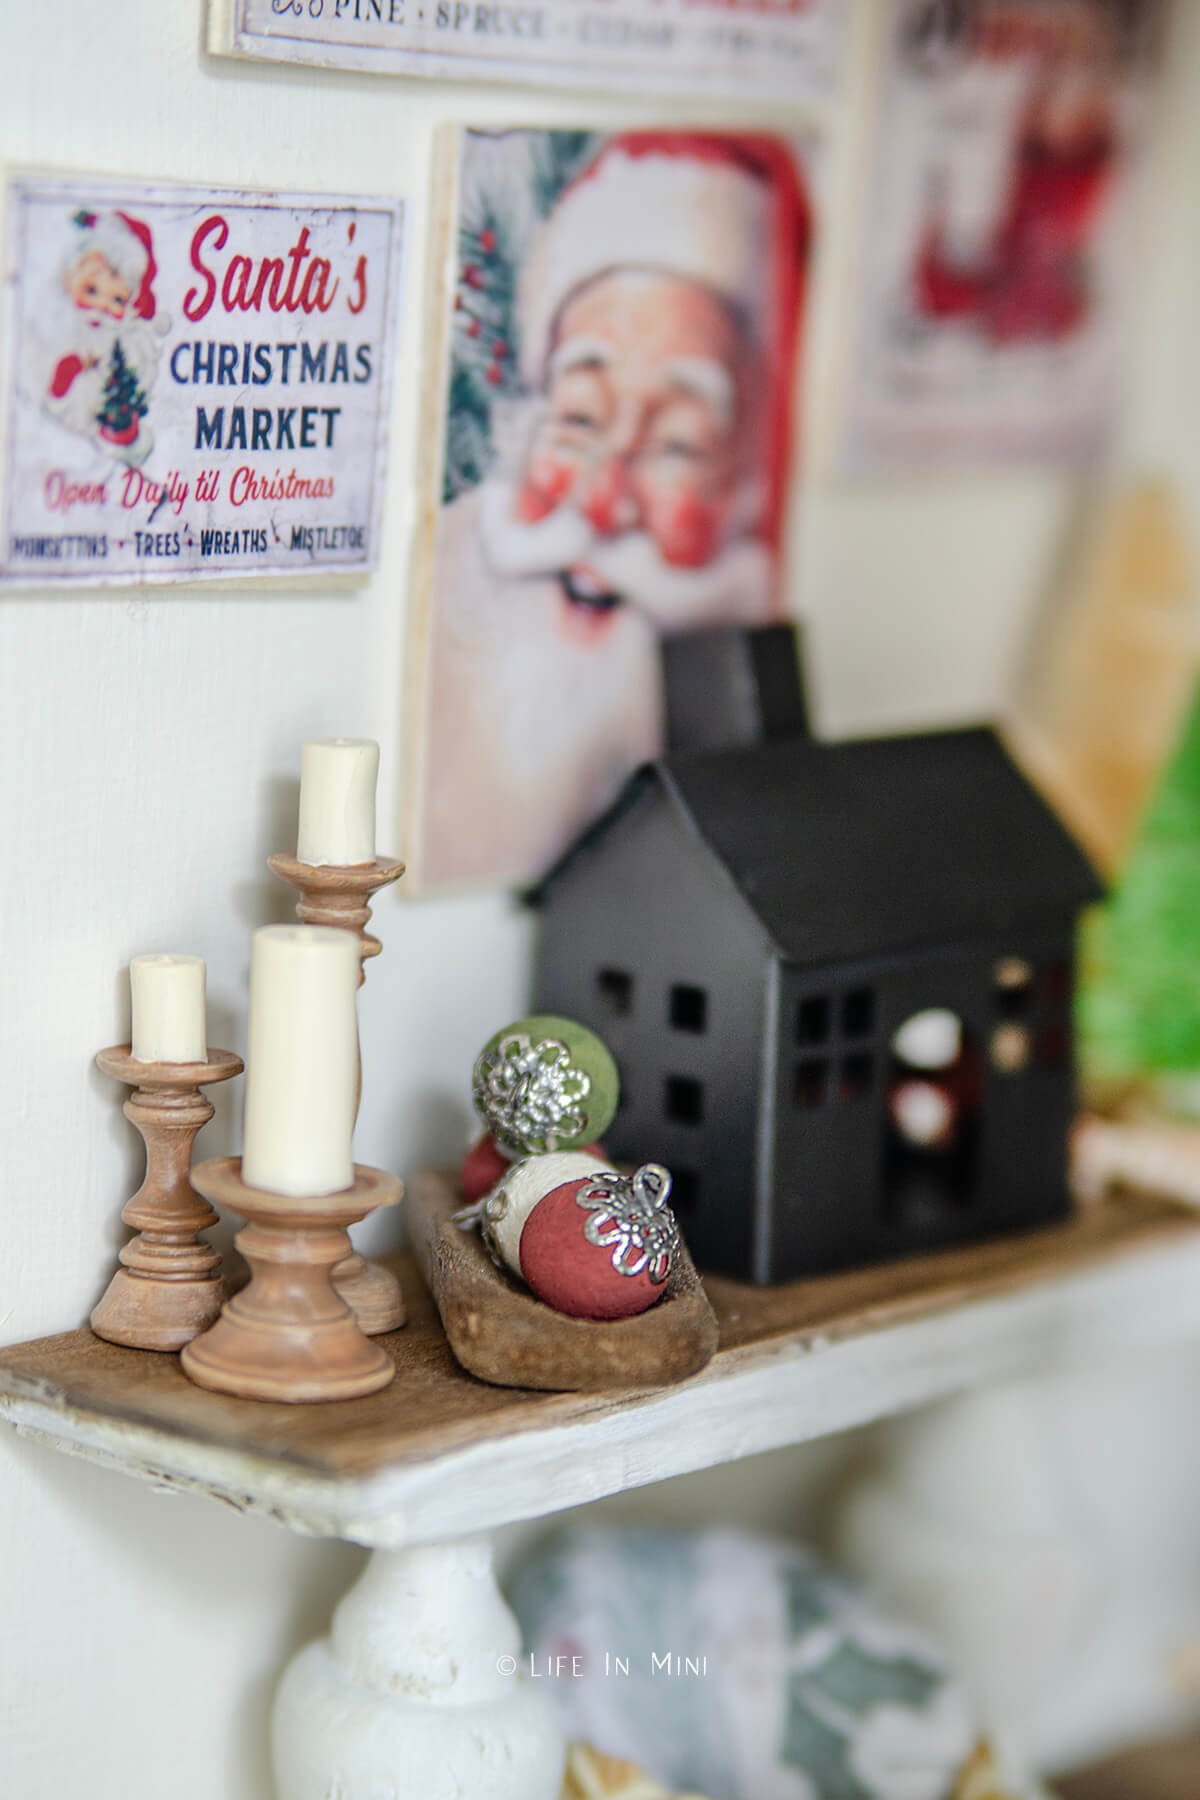
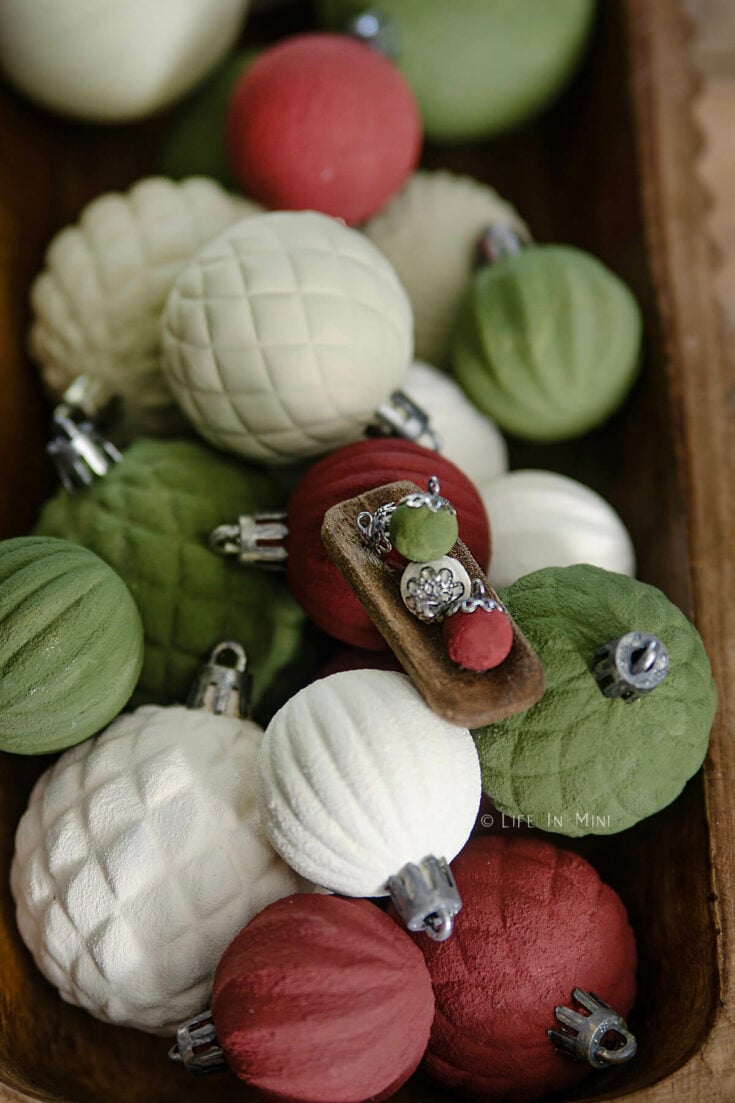
I absolutely love how they turned out! The shiny plastic caps got a makeover, too. I used some paint to give them an old silver look. I put them in this wooden bowl on my coffee table and smile every time I see them.
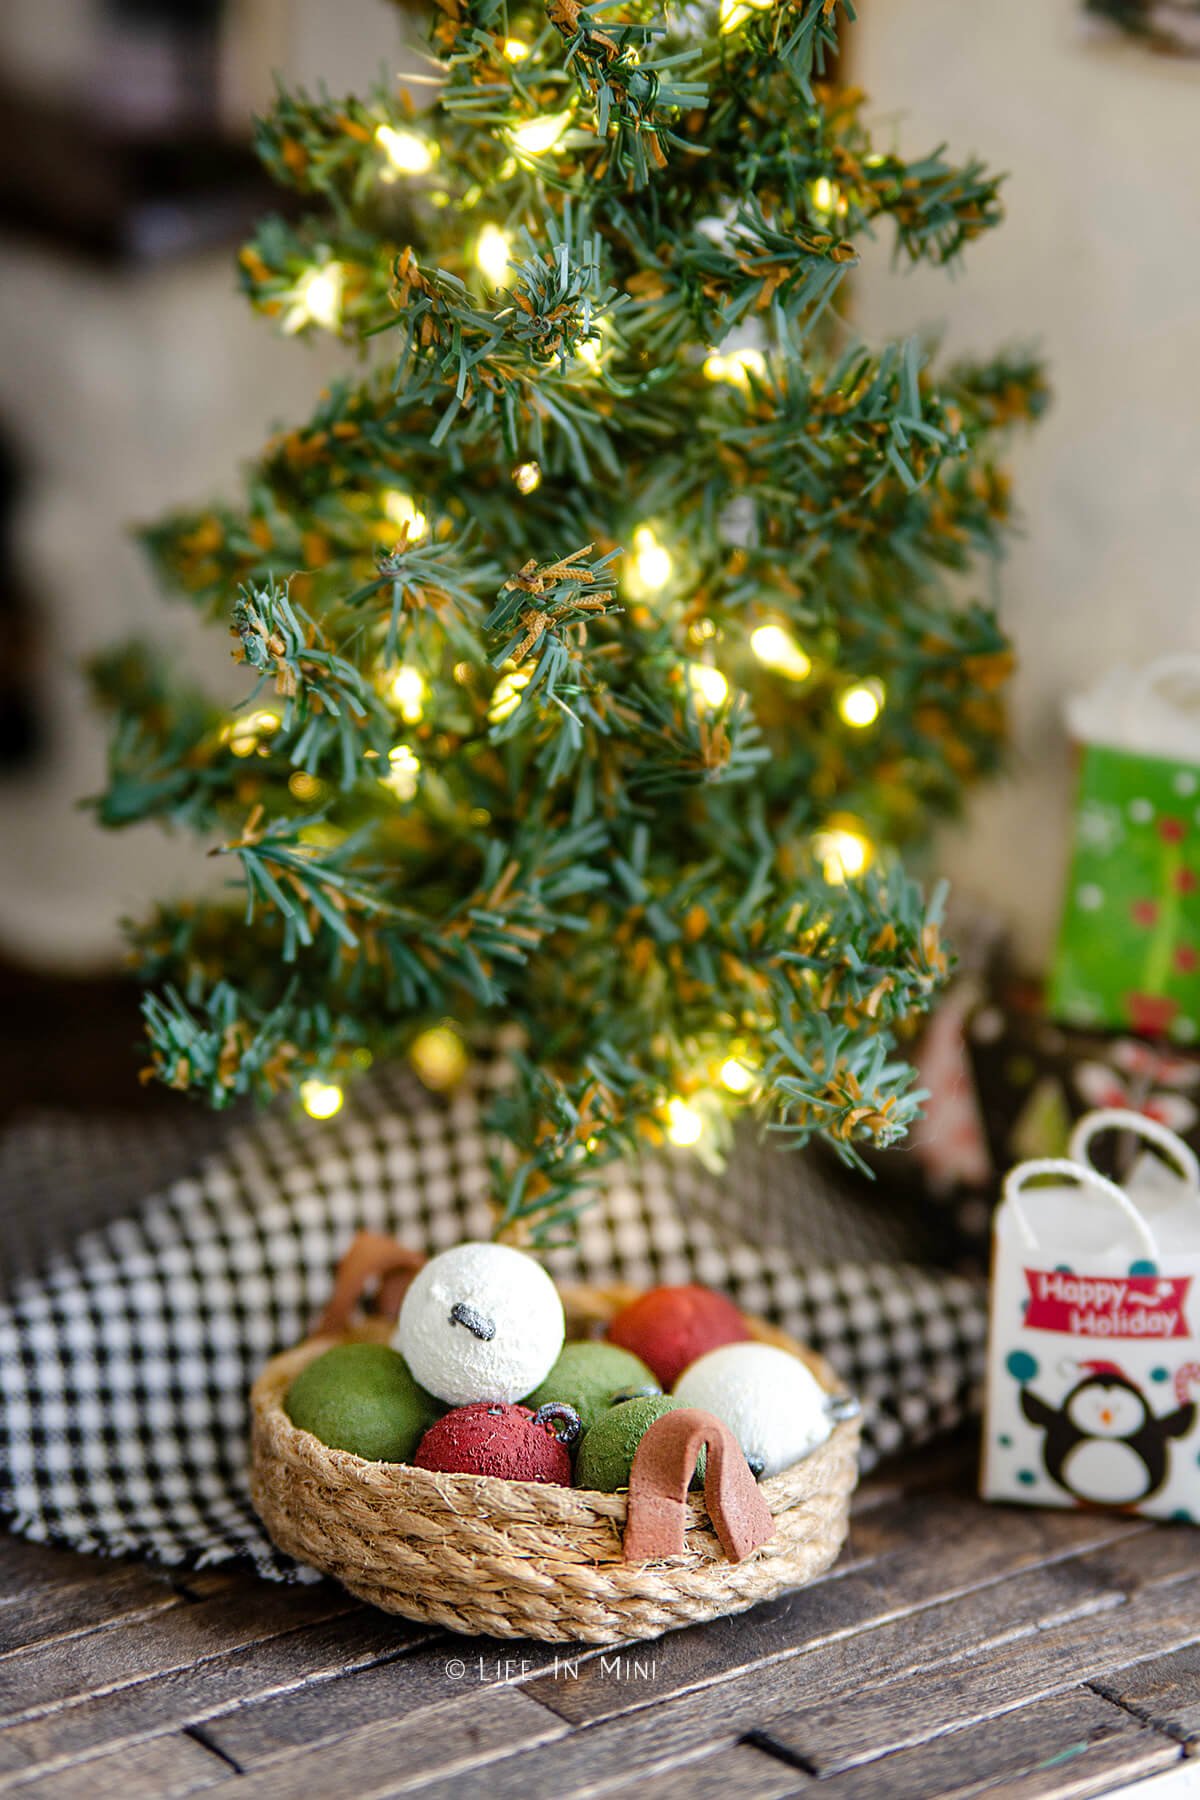
As the holiday prep took over the big house, I turned my attention to the dollhouse. I unpacked all the mini Christmas items I had collected and set up the mini tree. I looked at the shiny plastic ornaments I had in my stash and a big smile came to my face.
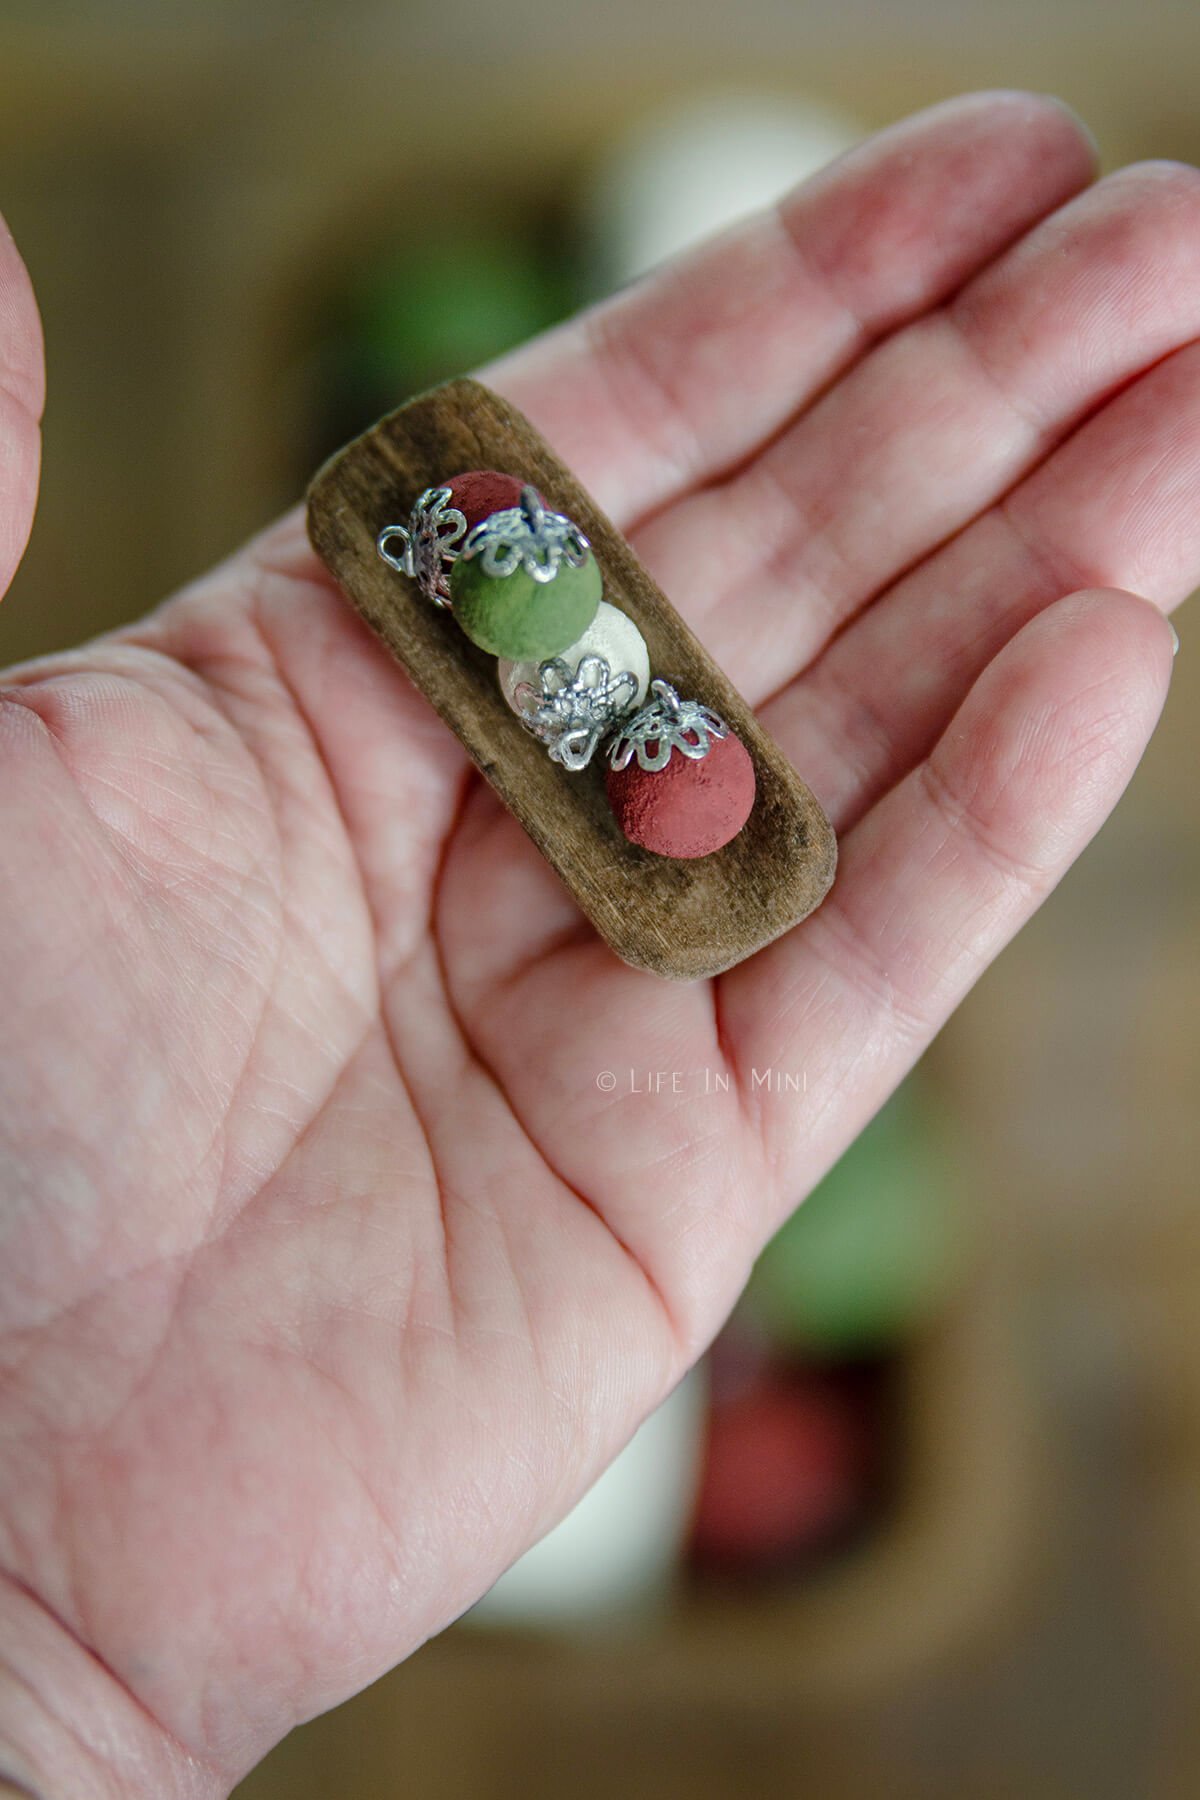
I wanted to give the mini ornaments the same face lift that I gave to the larger ones in my own home. I don’t which ones I love more, the mini ones or the big ones!
Chalk paint is a very popular choice in interior design, but it is more expensive than regular acrylic paint. Luckily for minis, you don’t need much to paint ornaments or furniture.
Making your own chalk paint is a cheaper and easier alternative. Plus you can use any color paint you want, instead of scouring the stores looking for the right color in chalk paint.
So you see, this post is actually two tutorials in one: DIY chalk paint and how to make miniature Christmas ornaments!
Supplies needed
This post contains some affiliate links for your convenience (which means if you make a purchase after clicking a link I will earn a small commission but it won’t cost you a penny more)! Read my full disclosure policy.
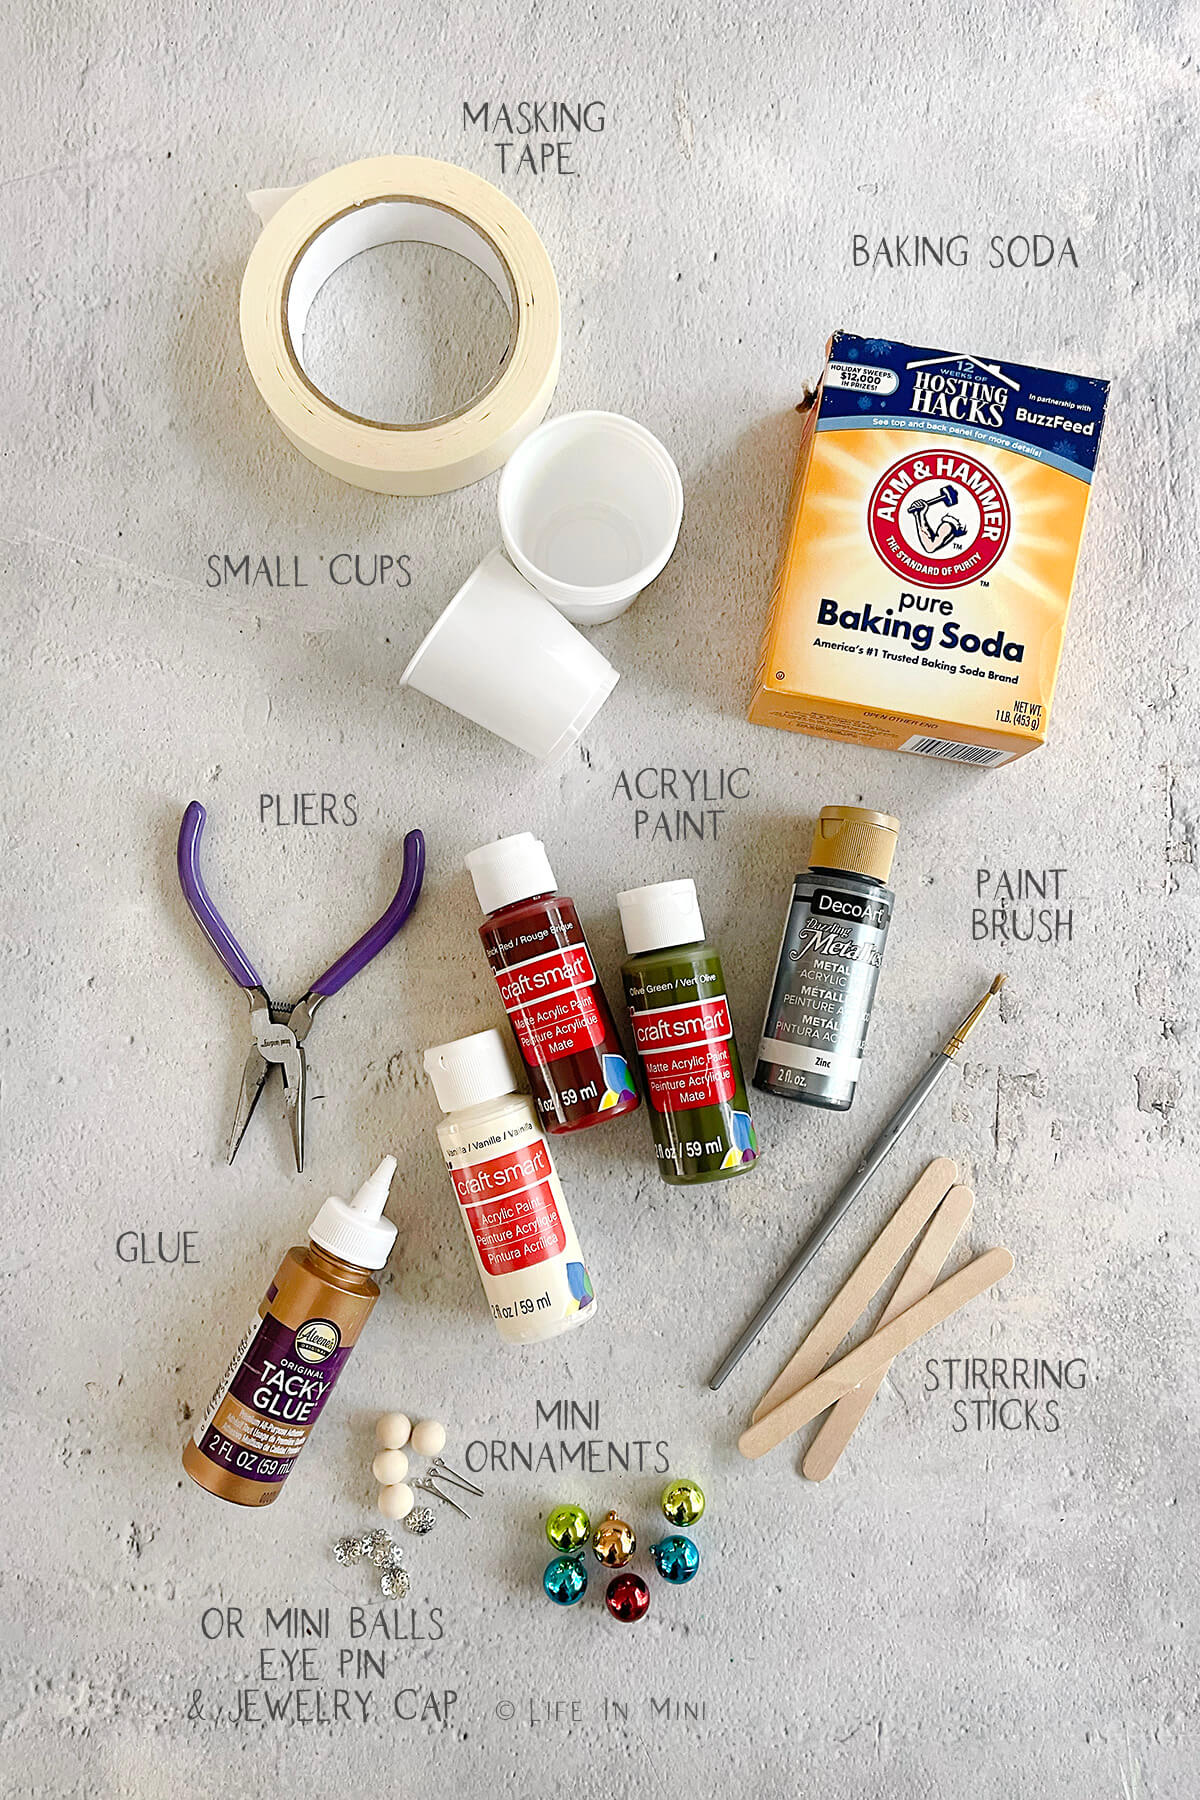
- Acrylic paint: You can use any color of acrylic paint that you want to use. Do choose one with a matte or eggshell finish. The paints I used were from Michaels, Craft Smart in Vanilla, Brick Red and Dark Green.
- Metallic paint: To paint the metal rings, I used Deco Art Zinc.
- Baking soda: To give the paint the chalky texture, I used baking soda. You can also use corn starch, calcium carbonate powder or Plaster of Paris.
- Mini ornaments: I found these mini ornaments at Michaels, but you can find them at most craft stores or online.
- Mini balls, jewelry cap and eye pin: If you don’t have mini ornaments, you can make your own using mini balls (wood or plastic), a bead cap and an eye pin.
- Glue: I used Aleene’s Tacky Glue but you can use any glue that dries clear.
- Small cups: To mix the paints you will need some small cup. These can be old medicine cups or mini disposable cups.
- Pliers: You will need small pliers to handle the small things, but you can also use tweezers or your fingers.
- Masking tape: When painting minis like these ornaments, I find it easier to use masking tape.
- Misc. supplies: You will also need some small paint brushes and stirring sticks (I used popsicle sticks).
Step-by-step directions
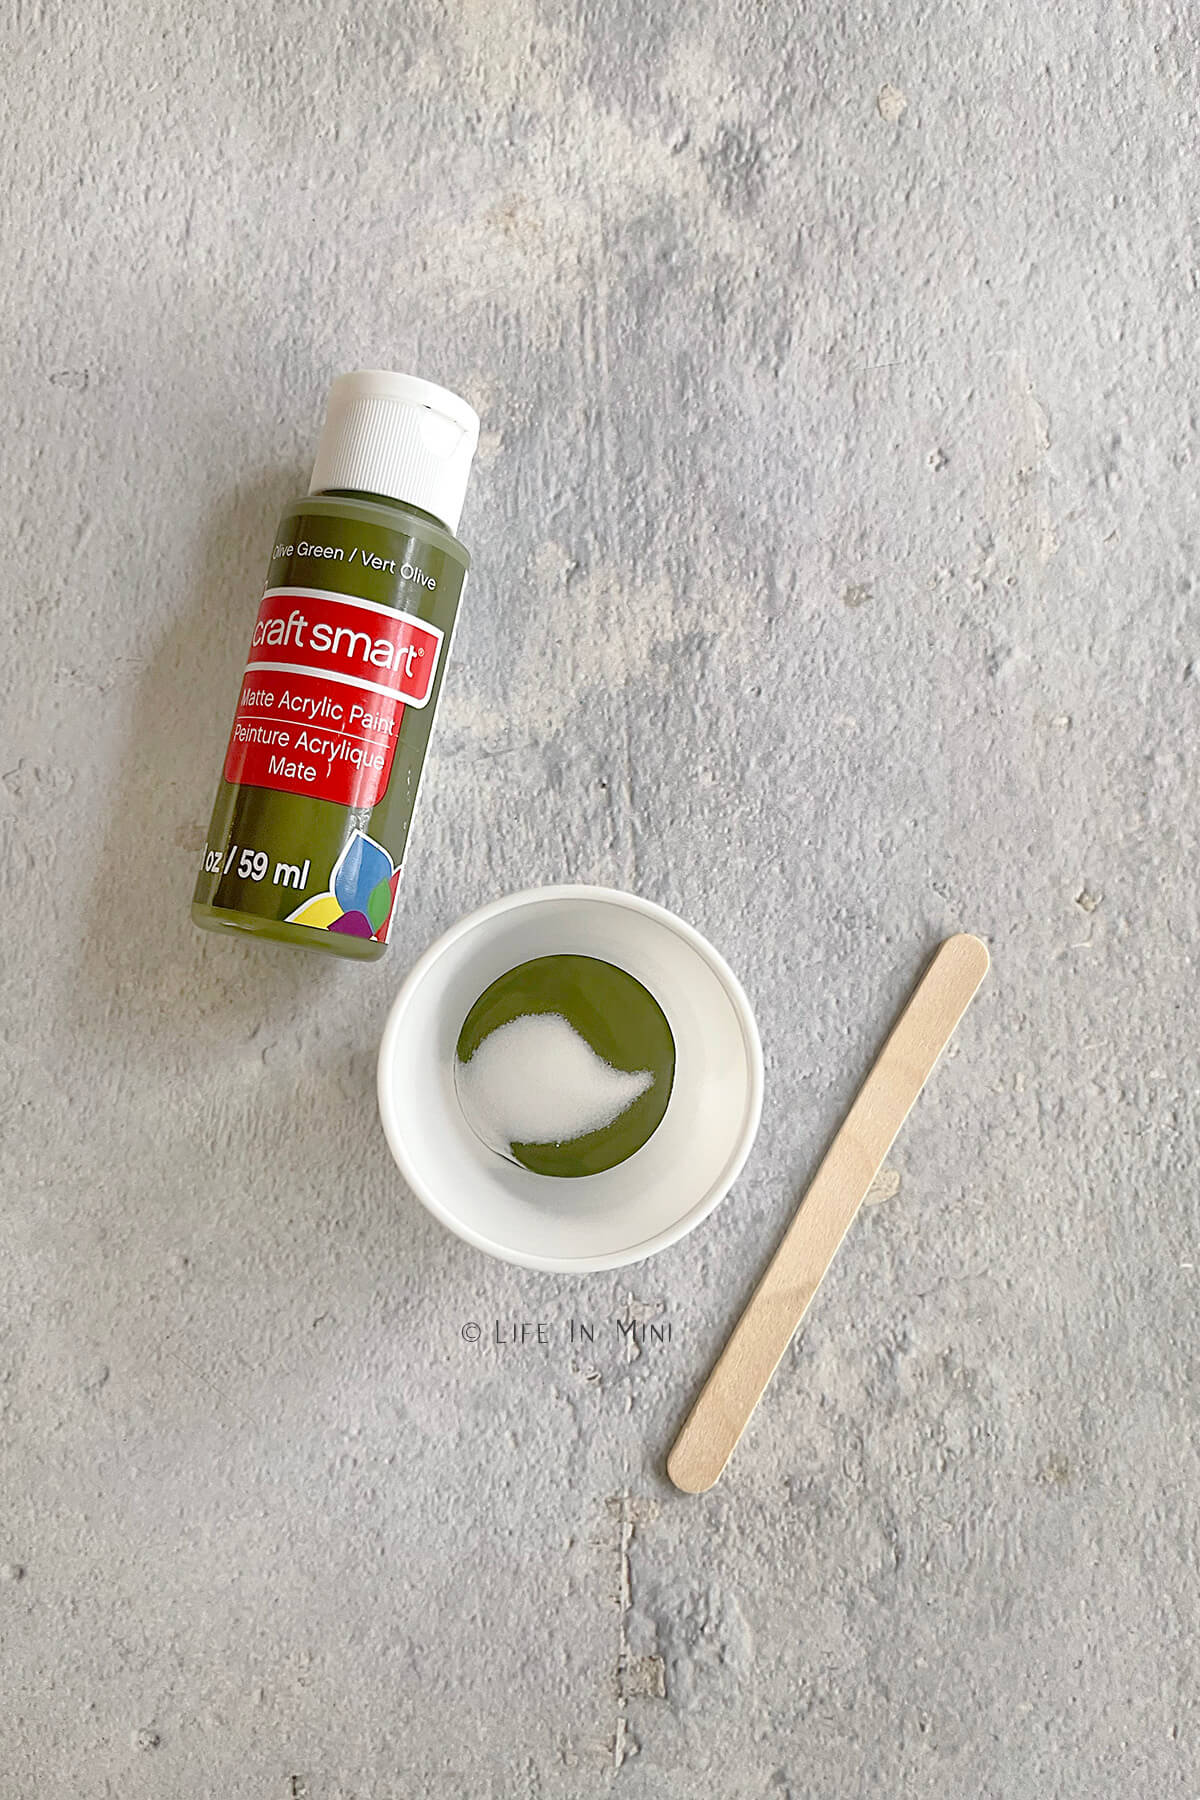
1. Normally to make the chalk paint, you mix 2 parts paint with 1 part baking soda. When working with minis, though, you don’t want the paint to be too thick or gloopy. I suggest adding in the baking soda little by little until you get the desired texture.
I found the 2:1 ratio to be too grainy for furniture. I did want the plastic and wooden ornaments to feel like old ceramic, so I liked the extra grain and texture. If your paint gets too thick, drizzle in a few drops of water to thin it out.
Stir the baking soda completely with the paint before adding more. Give it a minute for the powder to get absorbed by the paint. Brush it on a piece of scrap paper to test the paint texture.
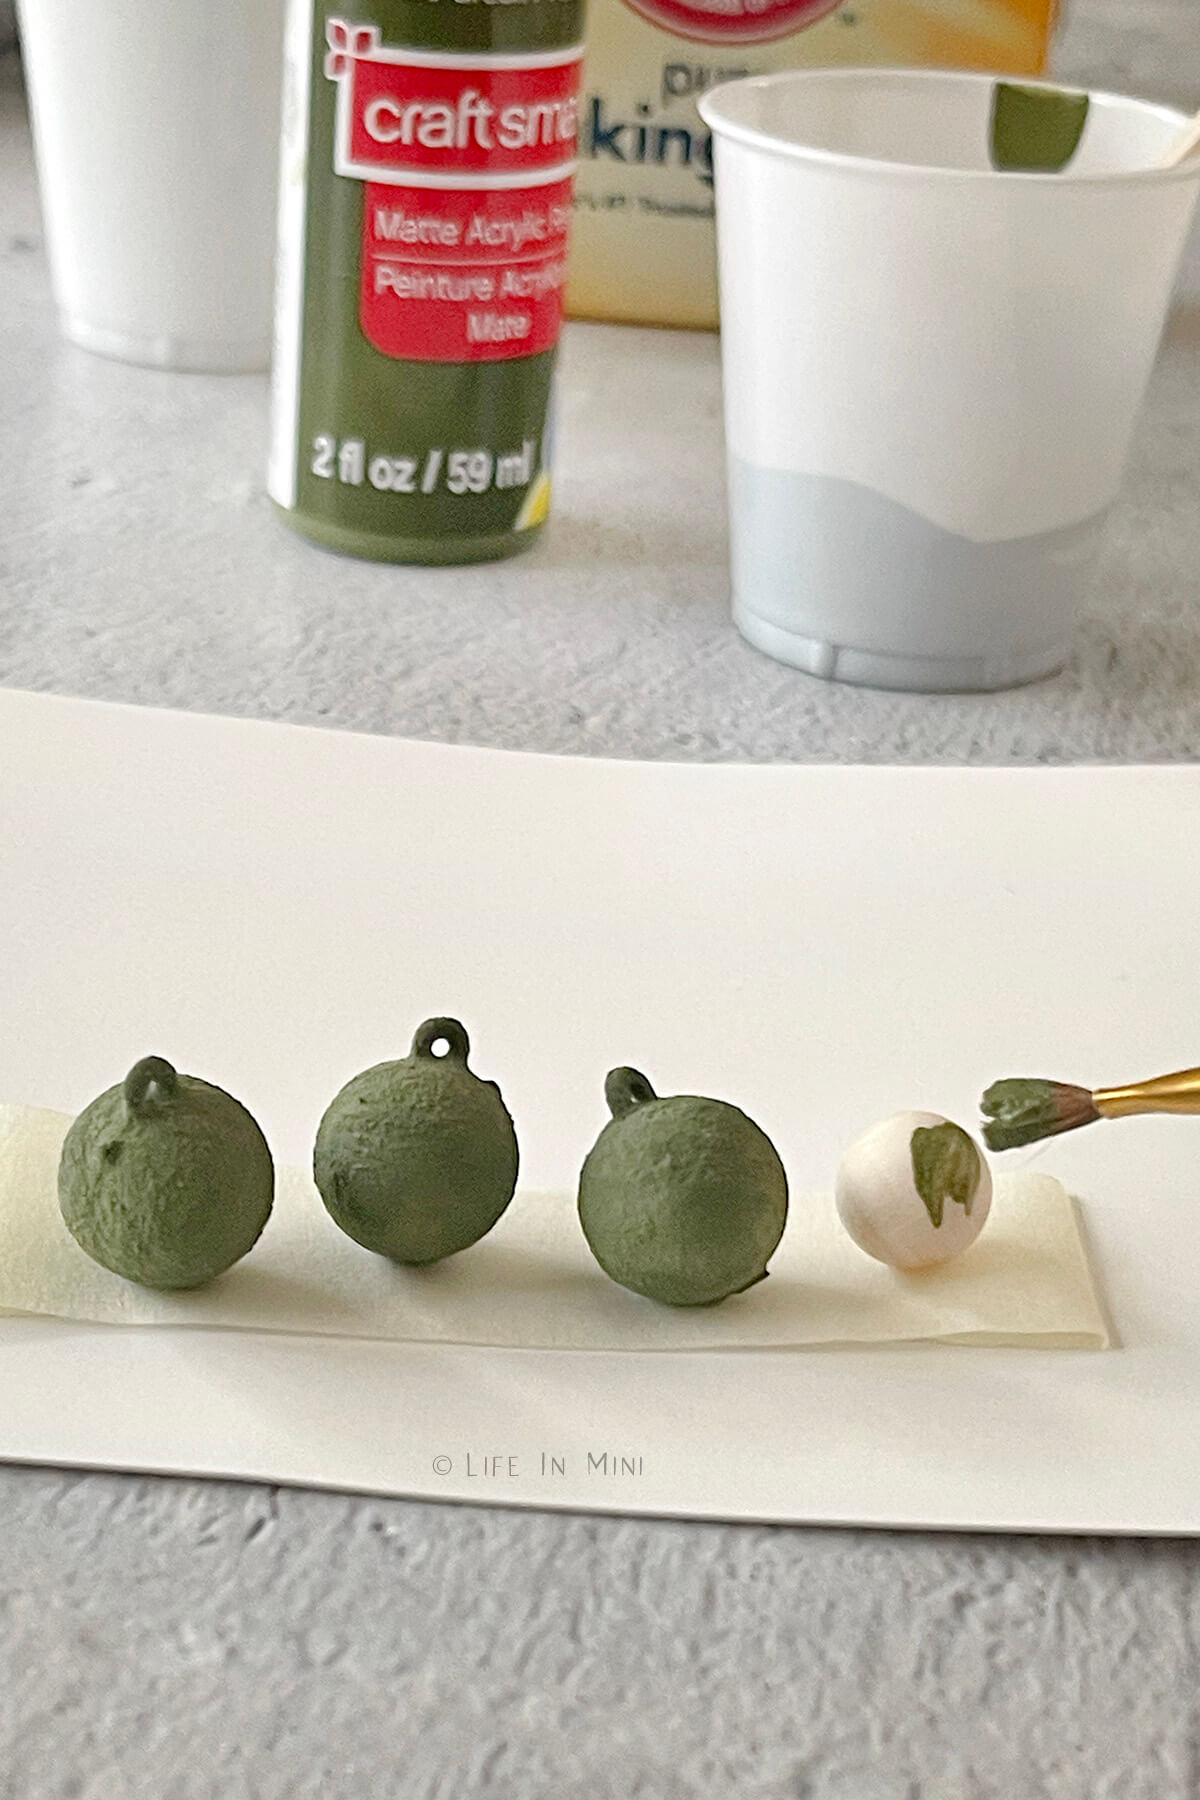
2. Tape the ends of your masking tape onto a scrap paper or work surface. You want only the two ends to attach to the paper with the rest of the sticky side facing up. Place the ornaments or balls on the sticky tape and start painting them. As they dry, you will rotate the balls to paint it all the sides.
You do not need to sand the plastic ornaments. The chalk paint stuck to the plastic well. I simply applied two thin coats of paint.
Once dried, I painted the hoops of the mini ornaments with the zinc metallic paint.
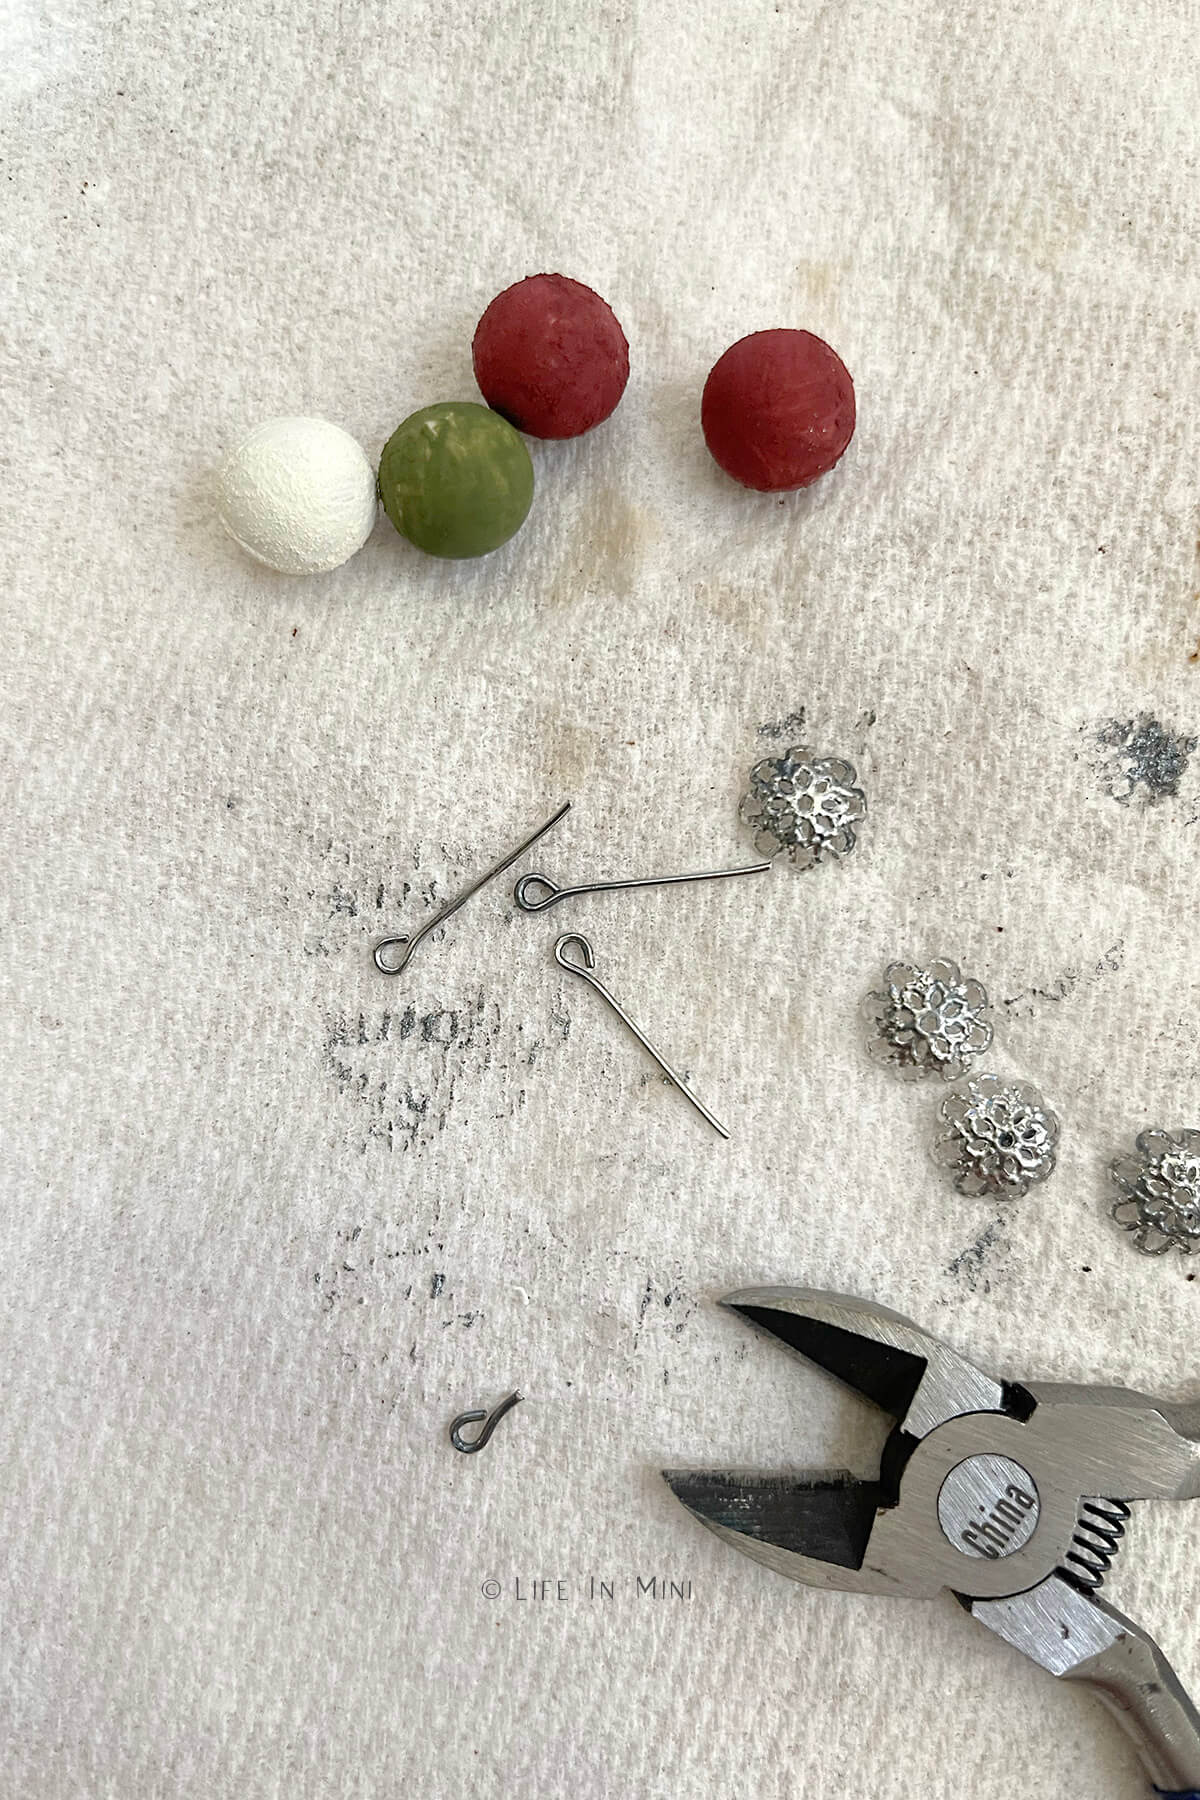
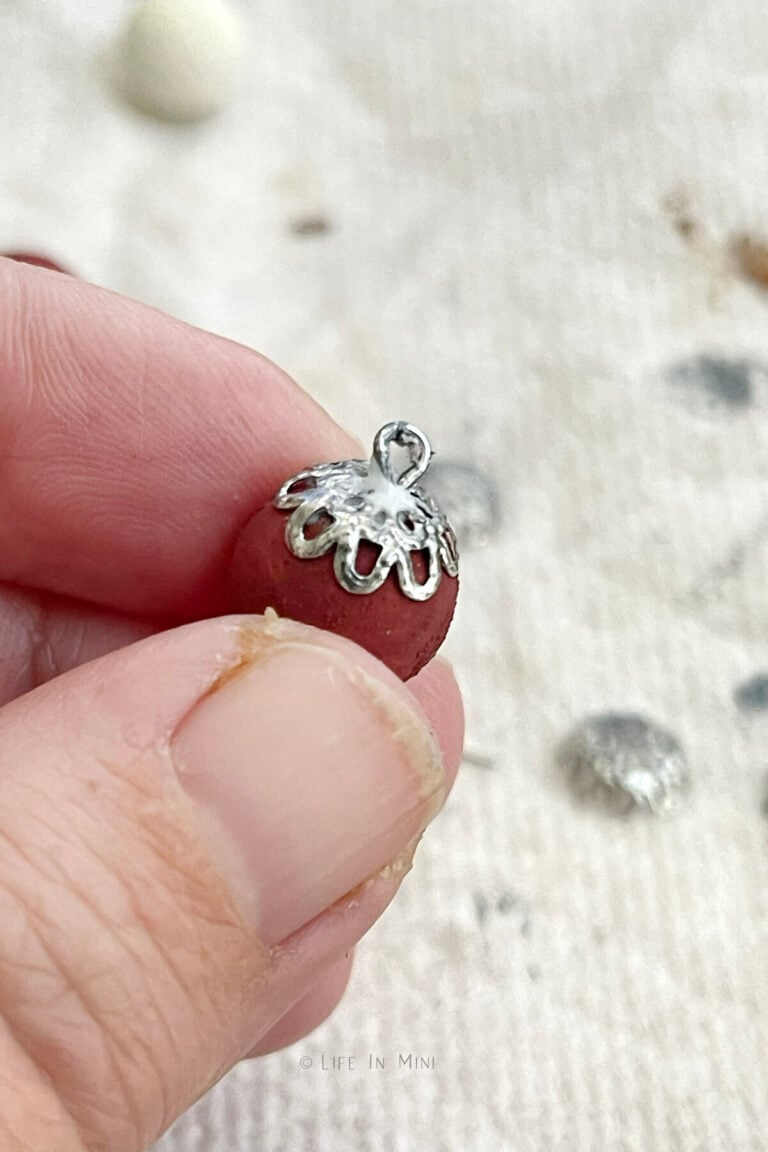
3. To make your own ornaments, I used mini wooden balls, a silver bead cap and an eye pin for each ornament. The silver was a bit too shiny for my taste, so I dabbled some zinc paint over it to give it a more antique look. My eye pins were also a bit long, so I also cut them down to size.
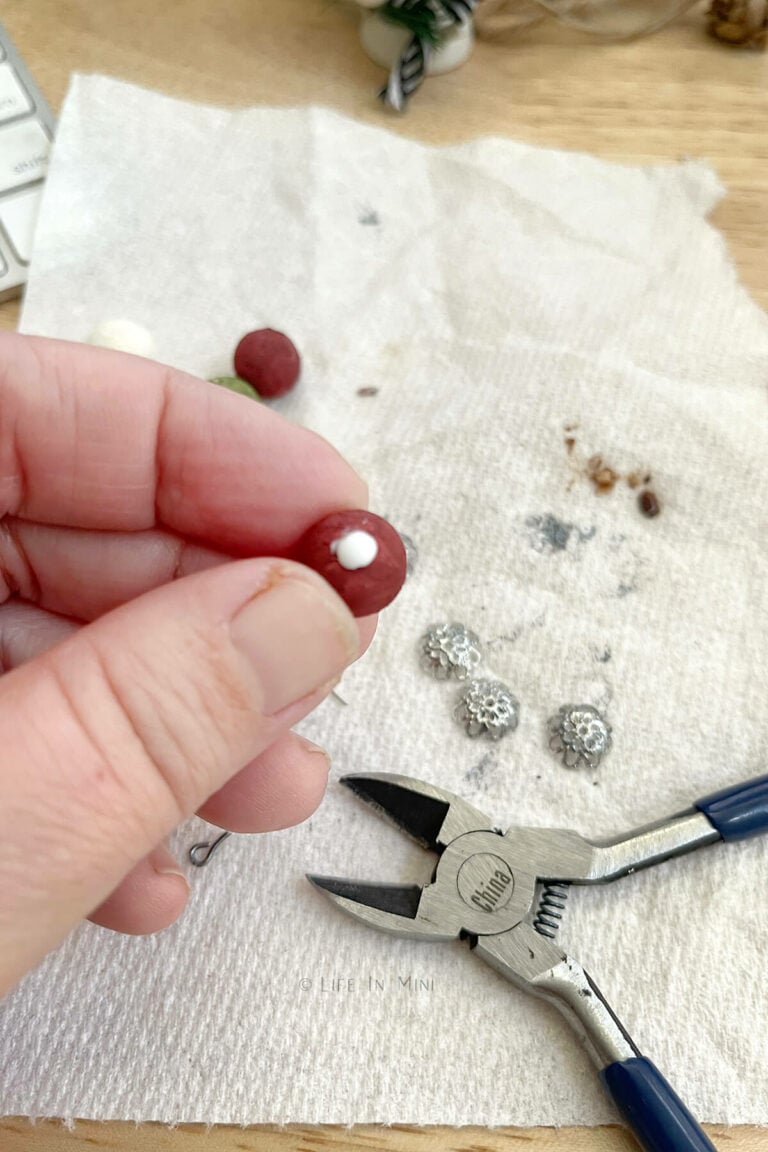
4. To assemble the mini ornaments, add a generous drop of glue on top of the painted ball and place the bead cap over it. Place the eye pin and keep it propped up until the glue starts to harden and can hold the pin up itself.
I was lazy and didn’t want to drill a tiny hole into each ball, but you could totally do that with your Dremel. Place the balls on the strip of masking tape until the glue is totally dry.
Expert tips and FAQs
If you are using Plaster of Paris, you will need even less of it to make chalk paint. Again, start by adding small amounts to your paint and stir well. Keep adding little by little until you get the desired effect.
I did not use Plaster of Paris simply because I didn’t have any in my garage and I didn’t want to buy a 20-pound bag at the hardware store! There are many different ways to make your own chalk paint, but I chose to use baking soda simply because I always have it in my pantry.
And when you are painting minis, you don’t need much paint or baking soda.
From what I have learned about homemade chalk paint, the additive you use can affect the final finish of the chalk paint. Baking soda gives more texture than Plaster of Paris or grout powder.
So play around with it yourself. I just wanted to off you all a cheaper alternative to buying expensive chalk paint at the craft store.
If you are enjoying my blog, why not sign up for my newsletter so you won’t miss out on the mini adventures!
DIY Chalk Paint for Miniature Ornaments
You give your dollhouse furniture or accessories a new look by using DIY chalk paint. A little acrylic paint and baking soda is all you need to transform the look of your minis!
Materials
- Acrylic paint (assorted colors)
- Metallic paint
- Baking soda
- Mini ornaments
- Or you can use mini balls, bead cap and eye pin
- Glue
Tools
- Small cups
- Pliers
- Masking tape
- Small paint brushes
- Stirring sticks (I used popsicle sticks).
Instructions
- Normally to make the chalk paint, you will mix 2 parts paint with 1 part baking soda. When working with minis, though, you don’t want the paint to be too thick or gloopy. I suggest adding in the baking soda little by little until you get the desired texture.
- If your paint gets too thick, drizzle in a few drops of water to thin it out. Stir the baking soda completely with the paint before adding more. Brush it on a piece of scrap paper to test the paint texture.
- Tape the ends of your masking tape onto a scrap paper or work surface. You want only the two ends to attach to the paper with the rest of the sticky side facing up.
- Mini Ornaments: Place the ornaments or balls on the sticky tape and start painting them. As they dry, you will rotate the balls to paint the other side. Once dried, I painted the hoops of the mini ornaments with the zinc metallic paint.
- To make your own mini ornaments, you will need to paint the mini wooden balls. If you want to age the bead cap and eye pin, paint them with zinc paint.
- Cut the eye pins down to size. If you are not drilling little holes into the wood balls, you will the stem of the eye pin to be very short.
- To assemble the mini ornaments, add a generous drop of glue on top of the painted ball and place the bead cap over it. Place the eye pin and keep it propped up until the glue starts to harden and can hold the pin up itself.
Notes
Instead of baking soda, you can also use corn starch, calcium carbonate powder or Plaster of Paris.
If you are using Plaster of Paris, you will need even less of it to make chalk paint. Again, start by adding small amounts to your paint and stir well. Keep adding little by little until you get the desired effect.
PS If you try this craft, why not leave a star rating in the direction card right below and/or a review in the comment section further down the page? I always appreciate your feedback.
You can also follow me on Pinterest, Facebook or Instagram. Sign up for my eMail list, too!

Donna says
Adorable! Love your tutorials. Did you make or purchase the basket and dough bowl?
Laura says
Hi Donna-
The mini dough bowl I carved out of balsa wood. The basket holding the ornaments by the tree, I made with twine and glue, brown foam sheet for the “leather” handles. I guess I need to make some more tutorials for those!
Laura
Donna says
That would be wonderful. You are an amazing artisan! Happy Holidays to your and yours.