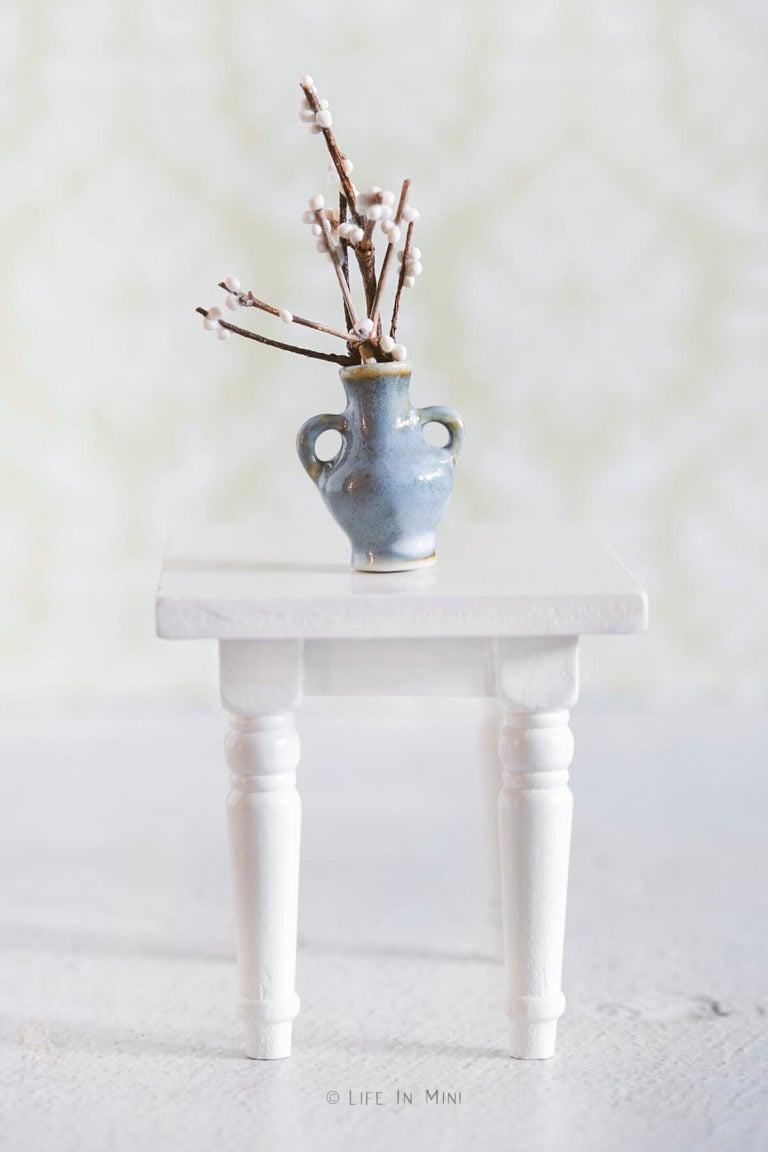
Nothing says the holidays are here like a vase filled with red berry branches. Here’s a tutorial to make them in miniature using clay, twigs and white glue.

I love decorating my home for the holidays – any holidays. But I really love decorating my dollhouse for the holidays. For me, it is not only relaxing but FUN to make the accessories and decorations for every possible holiday.
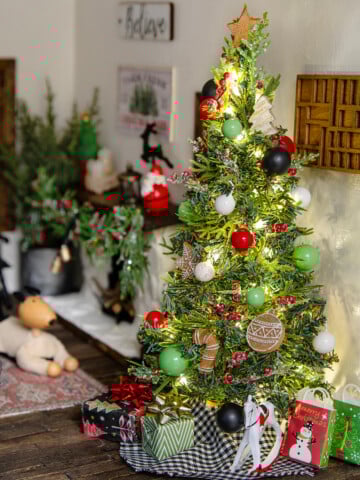
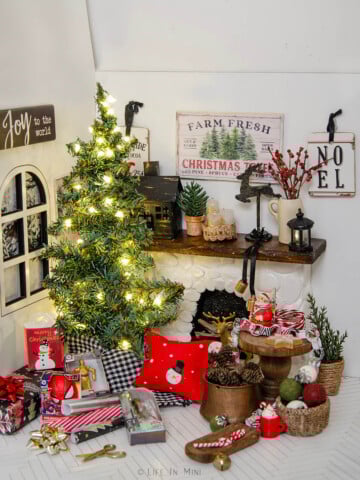
One thing you will always find in my house during the month of December, it’s red berry branches. I have them in my Christmas tree, the garland on my stairs, the wreath on my door, around my fire place mantle… everywhere.
So it was only fitting that I make these same mini berry branches for my dollhouse, too.
The beauty of this particular project is that you do not need any great skills. Some clay projects are amazing pieces of art that require tremendous talent and practice. Here, you just need the ability roll a ball of clay. Easy peasy.
You can also make miniature white berries with white clay to make branches that can be used any time of the year. Just follow the same steps detailed below.
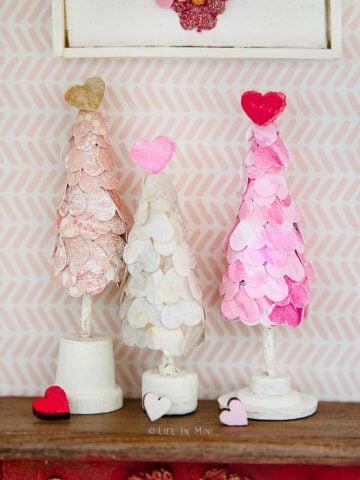
And if you like this project, check out how I made miniature cotton stems.
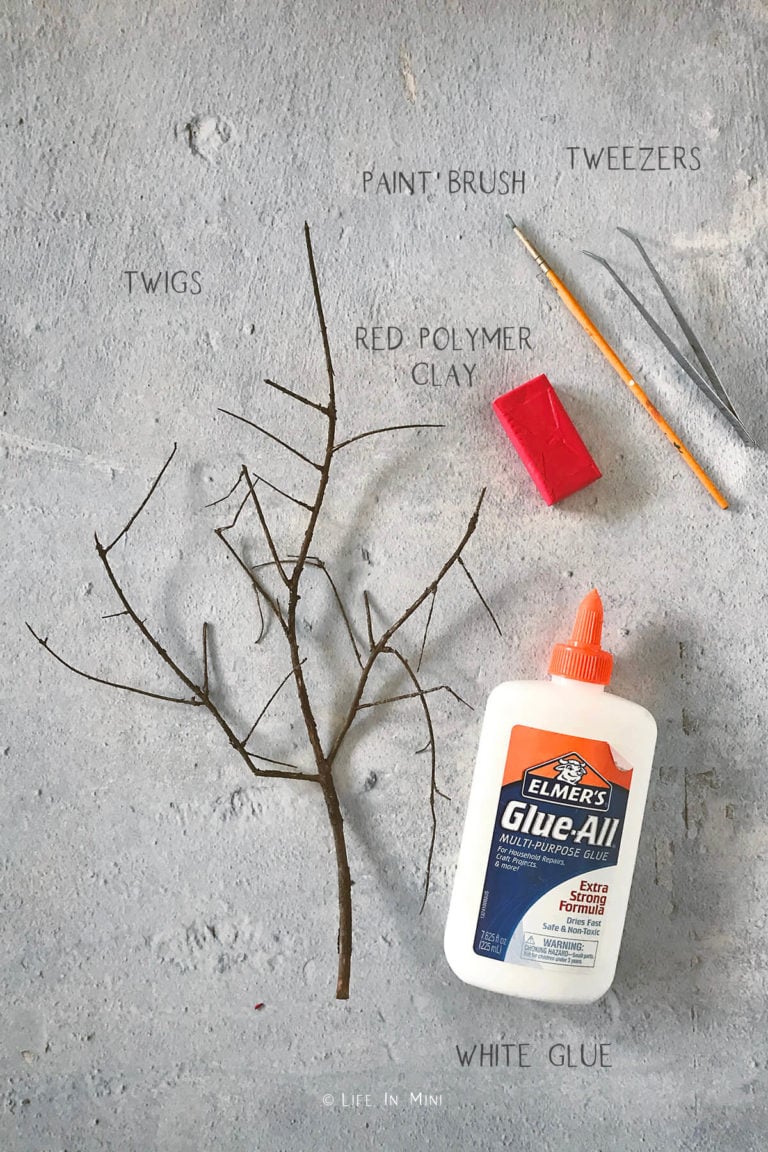
Supplies you need
This post contains some affiliate links for your convenience (which means if you make a purchase after clicking a link I will earn a small commission but it won’t cost you a penny more)! Read my full disclosure policy.
- Polymer clay: I used red sculpey clay. You can also use any color clay and paint it with acrylic paint after baked.
- Small twigs: Look for thin twigs about 2-inches long for 1:12 that has many prongs.
- White glue: I used watered down white glue that dries clear. You can also use Mod Podge.
- Tools you need: paint brush to adhere the glue/glaze.
- Tools that will help you but aren’t necessary: magnifying light, tweezers, styrofoam.
Step-by-step directions
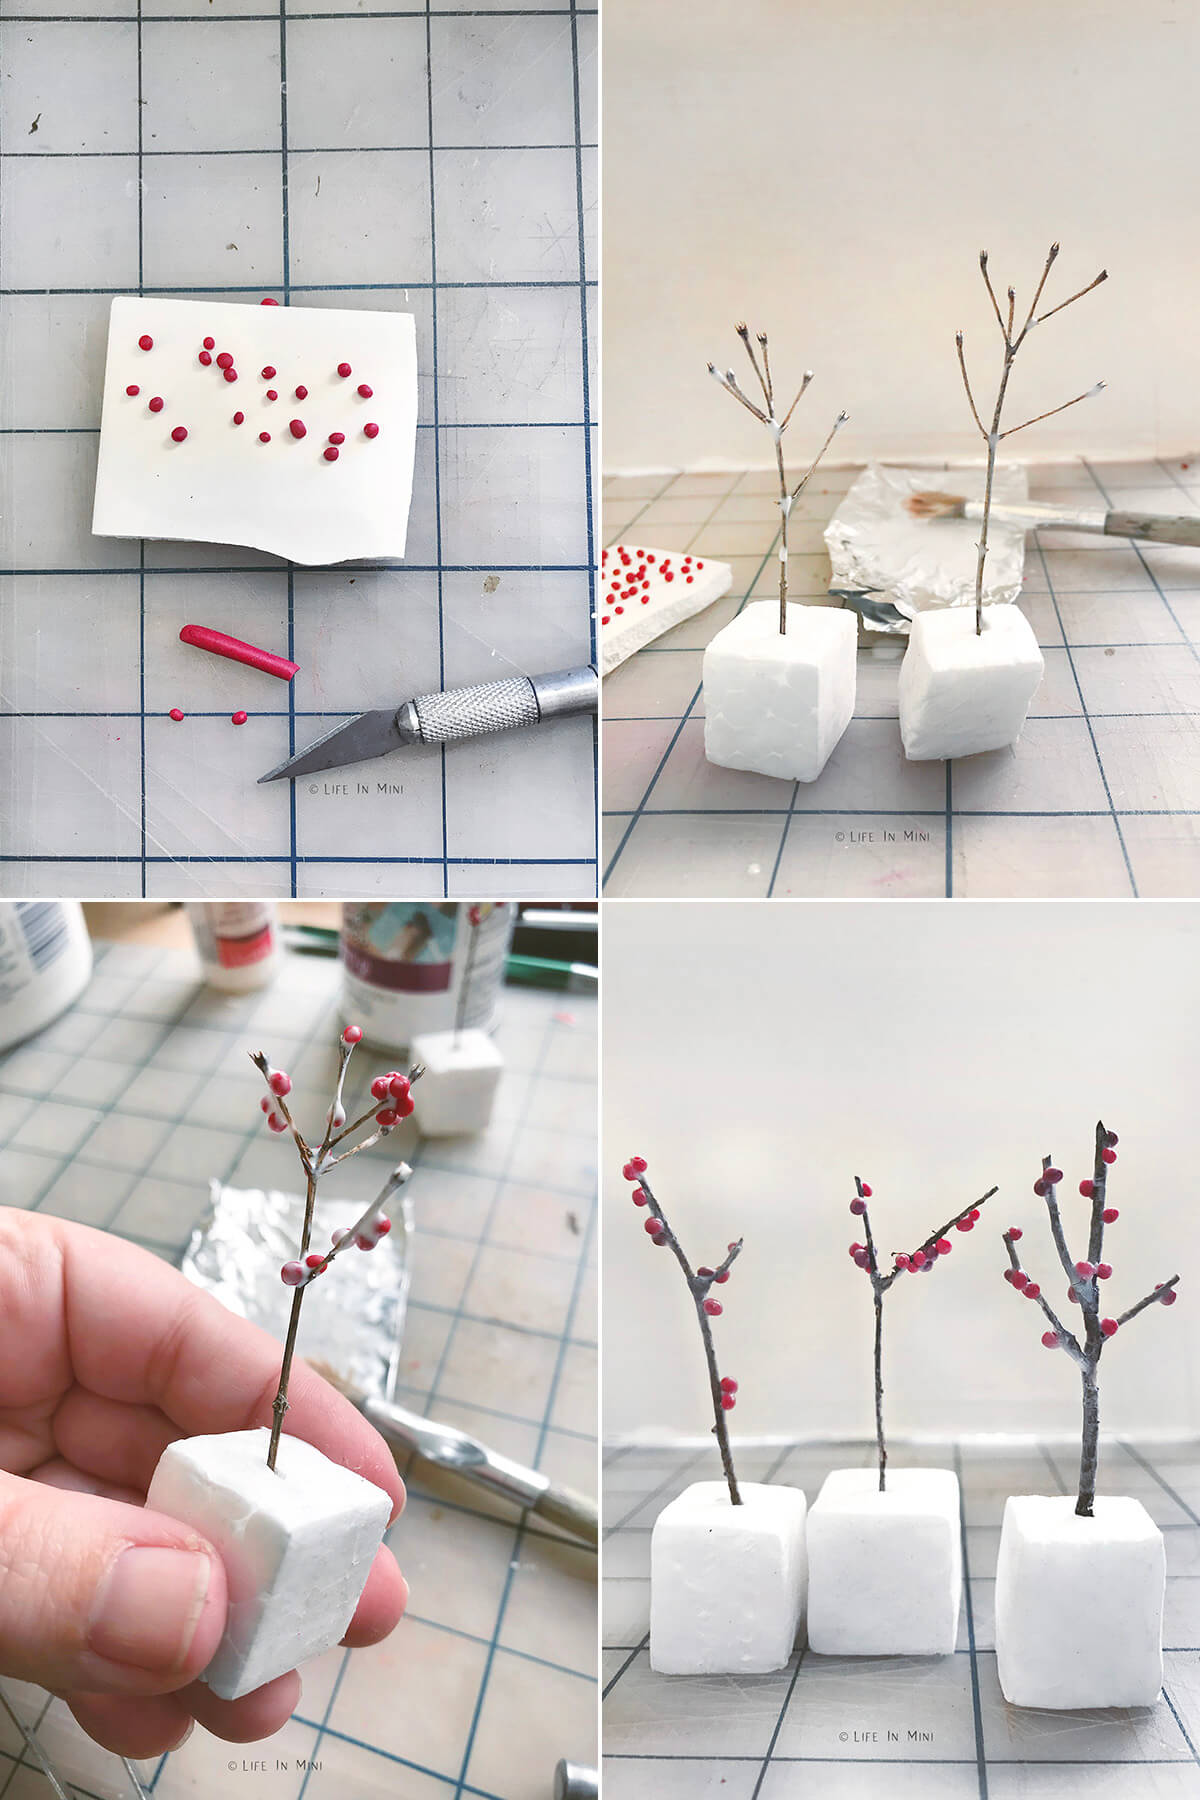
- Roll the balls. Depending on how many branches you are making the amount of red clay will vary. I used about a 1-cm ball of red clay. Roll your red clay into a thin cylindrical roll. Cut off a tiny bit and roll it into a ball and transfer onto your baking tray. I use a ceramic tile. Continue to make the mini balls of red berries, varying the sizes if you want, until you have enough.
- Bake the berries. Bake according to your clay packaging directions. I used Sculpey and baked it at 275ºF/135ºC for about 8-minutes. Let the berries cool.
- Prep the twigs. While they cool, prep the twigs by brushing them with watered down glue. This will give them a shine. You can also use Mod Podge. Stick the branches into styrofoam to let them dry completely.
- Glue the berries. Once the branches are dry and the berries have cooled completely, you can glue the berries to the branches. You can dip the branch tips into glue and then touch/pickup the berries with the glue.
- You can also use tweezers or a toothpick to adhere the glue and attach the red berries. When all the berries are attached, stick the branches on the styrofoam to dry completely. Sometimes the red balls roll down the sticks. Just gently nudge them into place with tweezers or a toothpick.
- Final glaze. Once the glue is completely dry, you can brush on a glaze over the berries. The glaze can be watered down glue or Mod Podge. Let the branches dry before using them in your scene.

If you are enjoying my blog, why not sign up for my newsletter so you won’t miss out on the mini adventures!
Miniature Red Berry Branches
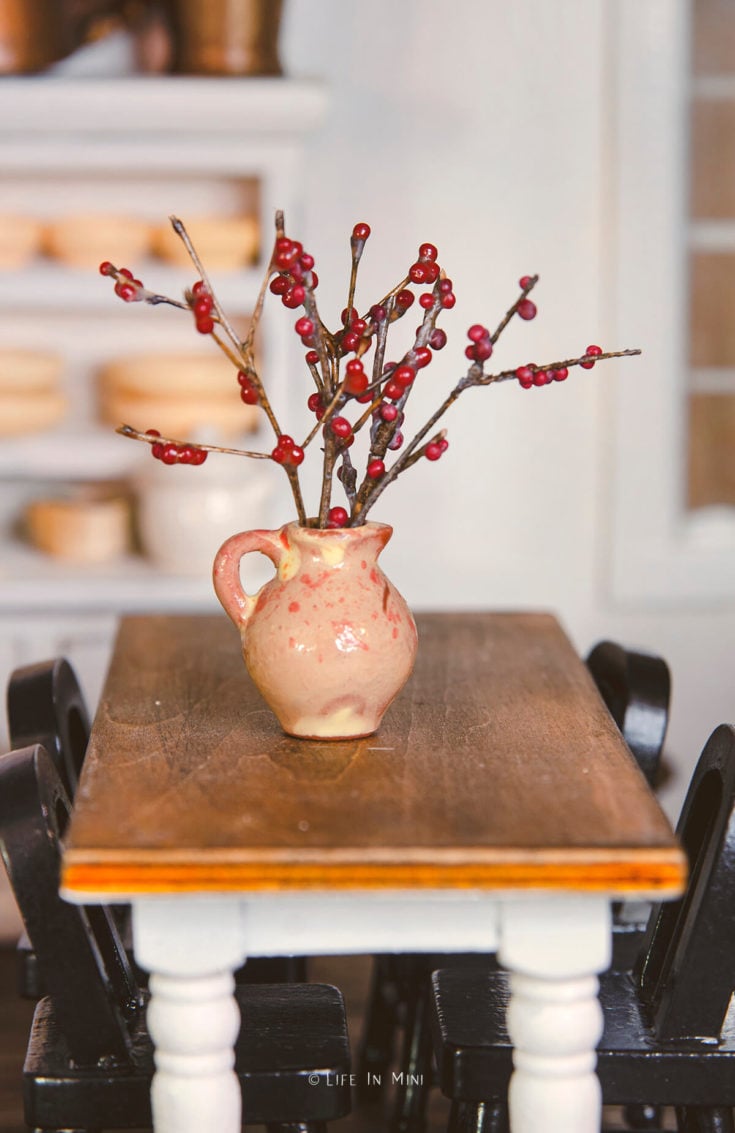
Nothing says the holidays are here like a vase filled with red berry branches. Here's a tutorial to make them in miniature using clay, twigs and white glue.
Materials
- Red clay
- Small twigs
- White glue
Tools
- Paint brush
- Tweezers
Instructions
- Depending on how many branches you are making and how many berries you want on the, the amount of red clay will vary. You do not need much. I used about a 1-cm ball of red clay.
- Roll your red clay into a thin cylindrical roll.
- Cut off a tiny bit and roll it into a ball and transfer onto your baking tray. I use a ceramic tile.
- Continue to make the mini balls of red berries, varying the sizes if you want, until you have enough.
- Bake according to your clay packaging directions. I used Sculpey and baked it at 275ºF for 8-minutes. Let the berries cool.
- Prep the twigs by brushing them with watered down glue. This will give them a shine. You can also use Mod Podge.
- Stick the branches into styrofoam to let them dry completely.
- Once the branches are dry and the berries have cooled completely, you can glue the berries to the branches. You can dip the branch tips into glue and then touch/pickup the berries with the glue. You can also use tweezers or a toothpick to adhere the glue and attach the red berries.
- When all the berries are attached, Stick the branches on the styrofoam to dry completely.
- Once the glue is completely dry, you can brush on a glaze over the berries. The glaze can be watered down glue or Mod Podge.
- Let the branches dry before using them in your scene.
PS If you try this craft, why not leave a star rating in the direction card right below and/or a review in the comment section further down the page? I always appreciate your feedback.
You can also follow me on Pinterest, Facebook or Instagram. Sign up for my eMail list, too!
Written by Laura Bashar
I’m a food blogger and cookbook author that loves miniatures and crafting. I started this blog to share my passion for minis, including tutorials and free printables.
Leave a Reply