Give your dollhouse furniture a little makeover with the addition of a mini bolster pillow, made with scraps you probably have on hand and no sewing required!
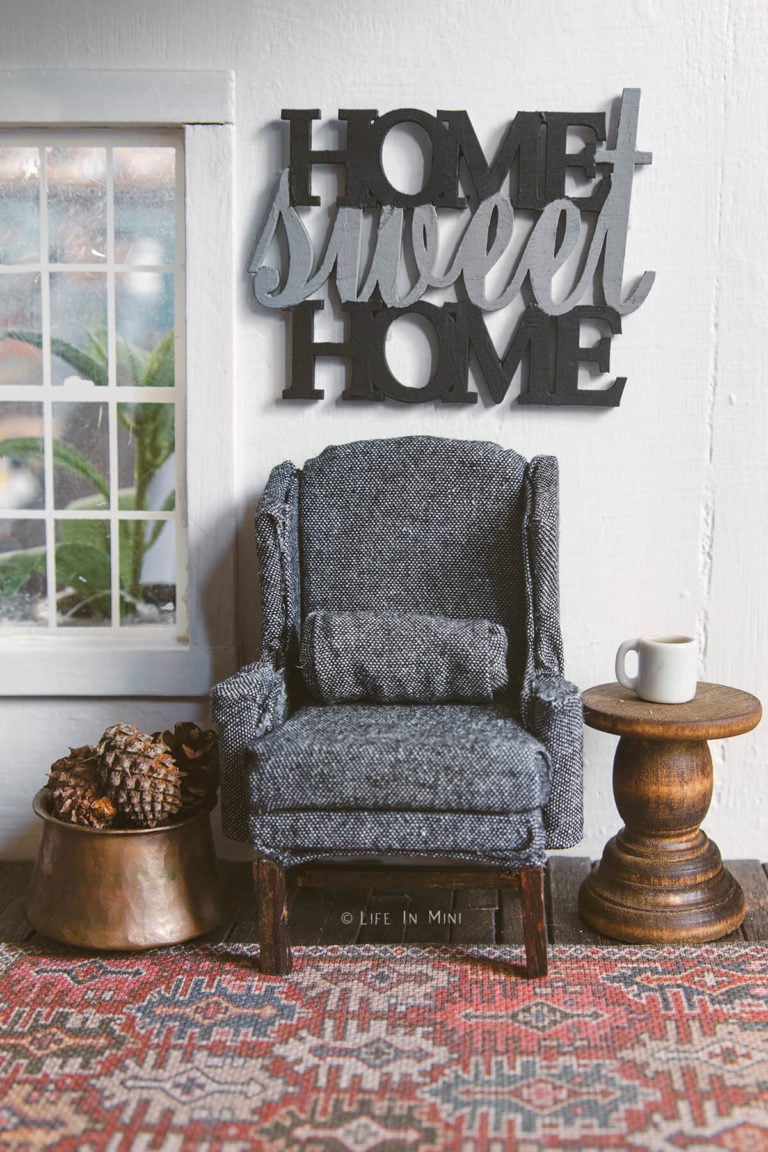
I received my dollhouse about 40 years ago as a Christmas present. My dad assembled it for me, but left the shingles, electricity, flooring and furnishings up to me to complete.
Yeah, that didn’t happen.
I grew up, moved out, started adulting. My parents, with my permission, gave the dollhouse to a family friend with a little girl. They were going to finish it and give it to her.
They never finished it. Actually, they didn’t do anything to it!
Years later, I have a family of my own with three kids, including a little girl. The family who had my dollhouse was moving and asked my parents if they wanted it back. Yes, of course!
It was the universe’s way of telling me that I needed to finish this dollhouse.
For my 5-year old daughter’s destructive hands, I fixed it up and furnished with chunky additions that would tolerate her playfulness. Over the years, we added more accessories.
Ten years later, she’s a teenager and the dollhouse came back to me. Again. And this time, I was going to have fun with it – my way.
The House of Miniatures furniture kits
When my parents returned the dollhouse to me, they also gave me a box of “stuff.” This stuff included a few pieces of assembled furniture, several furniture kits and other random mini scraps.
Amongst this treasure trove, was a small House of Miniatures kit for a Chippendale wing chair. Back in 80’s, there was not much selection when it came to decorating a dollhouse. You had basically two eras to choose from, Victorian and American Country.
If you were lucky, you could find other pieces amongst the already assembled furniture, but most of the time you had to purchase these kits via mail order and catalogs.
Today, these THoM furniture kits are great treats for miniaturists. You can find them in attics, garage sales or antique stores. Online you can find them on ebay or etsy. I had all the pieces for my wing chair except for the instructions and upholstery patterns.
Recently I found this website that categorizes all the kits from THoM. If you want to go down memory lane yourself or if you are looking for PDF instruction for a kit you have you should check this site out.
This was my first upholstery project so don’t zoom in too closely! Those curves were a real challenge, but I managed to assemble and upholster the chair with a dark grey linen like fabric.
But it needed a little something. So I decided to make a round bolster pillow.
(Other projects pictured with my comfy wing chair at the top of the post include a homemade dollhouse rug and an easy miniature side table.)
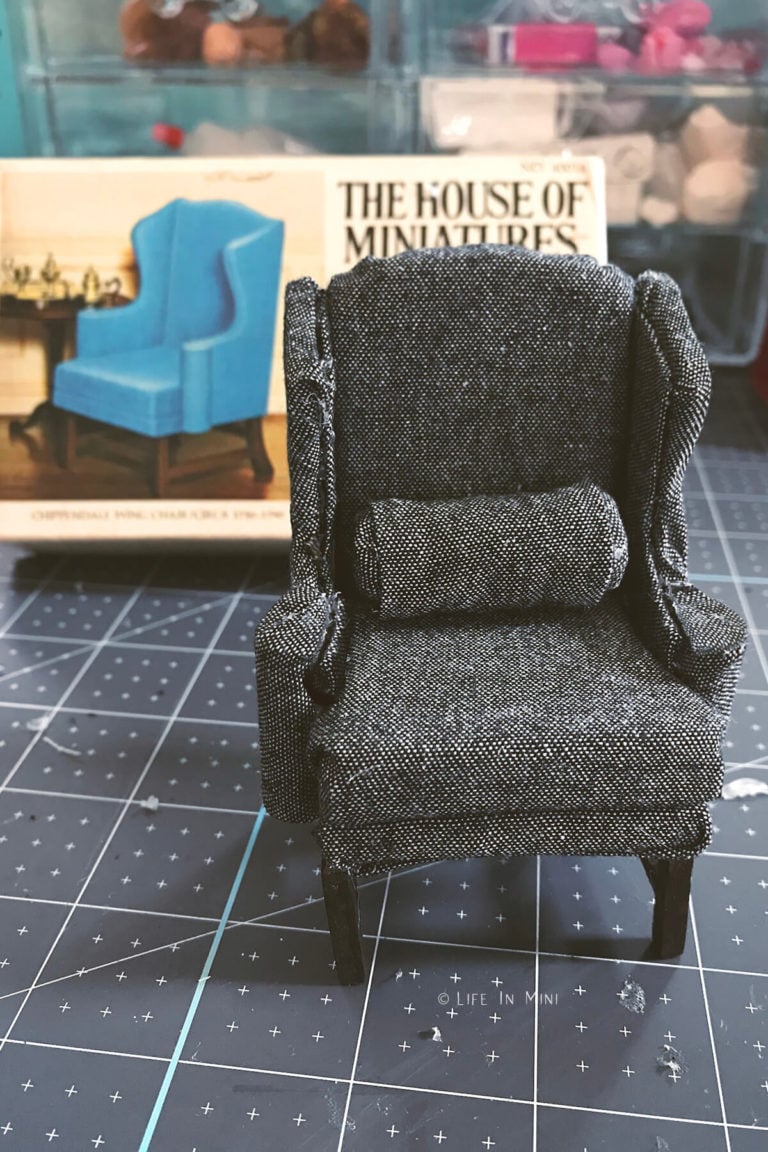
Supplies you need
This post contains some affiliate links for your convenience (which means if you make a purchase after clicking a link I will earn a small commission but it won’t cost you a penny more)! Read my full disclosure policy.
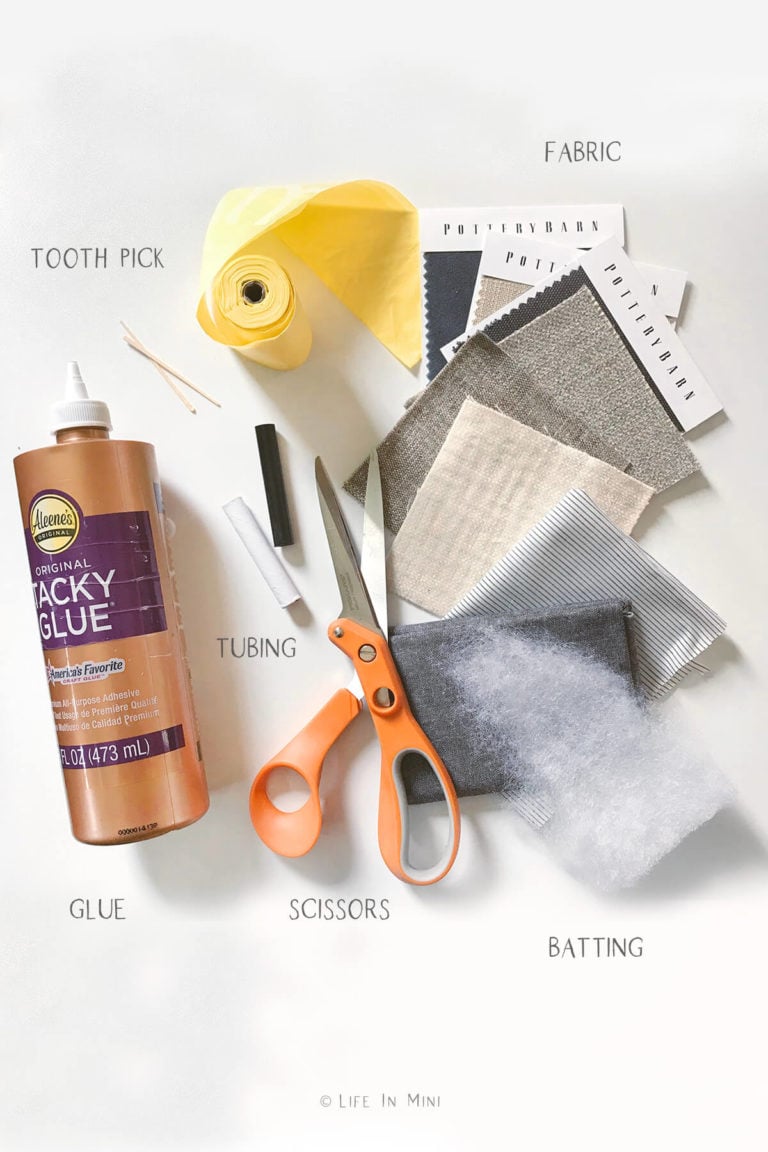
- Fabric: I have a collection of fabrics and linens because of my food blog, Family Spice. I purchase many of those small fabric squares from Wal-Mart and Joann’s Fabric. It’s an expensive way to collect different fabrics. You can also get free fabric samples from many furniture stores, which are just the right size for pillows. I also found small swatches of fabric for cheap at the Japanese store, Daiso. Other great places to find fabric is the thrift store from old clothes, gloves, purses.
- Tubing: The basic shape of the bolster is formed with a bit of tubing. I used the cardboard tube found at the end of my dog’s roll of poop bags! You can also use a bit of pencil or marker tops or anything else cylindrical.
- Batting: I originally wasn’t going to add batting around the tube, but I wanted to add some softness to the pillow. This is optional. If you don’t have any bits of batting laying around, you can shred up a cotton ball. You don’t need much.
- Glue: I used a combination of Aleene’s tacky glue and a hot glue gun.
- You will also need fabric scissors (they cut better than regular scissors) and a toothpick to smear white glue in small amounts.
Step-by-step directions
1. Cut tubing to the size you need. Since I wanted it specifically for my wing chair, I made it slightly smaller because the batting and fabric would make it larger.
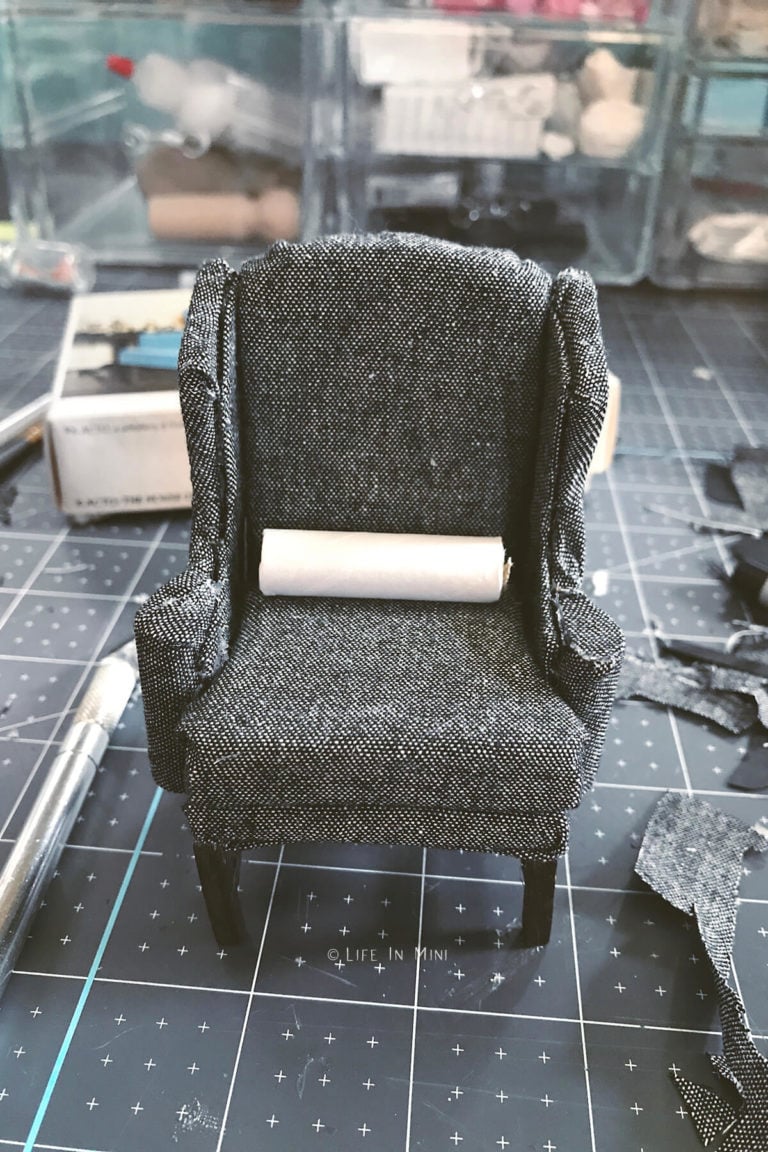
2. Tear off a thin strip of batting or cotton ball. You want just enough to give the pillow softness. This step is optional.
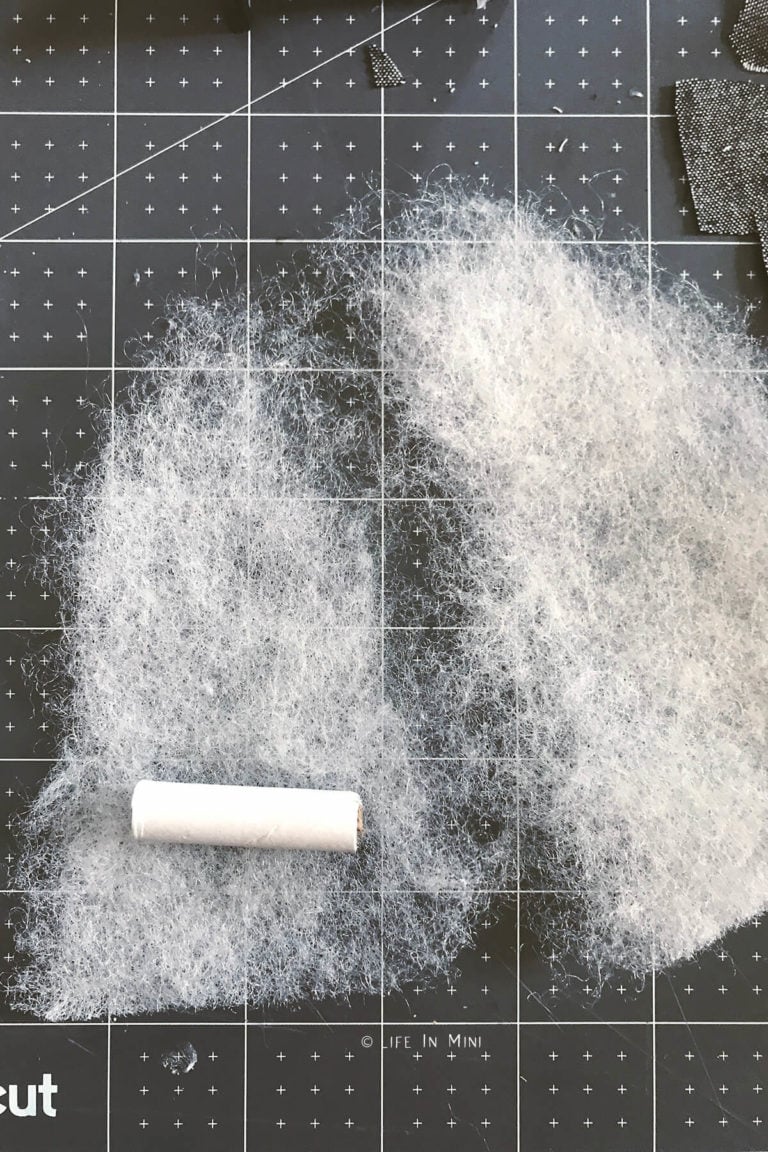
3. Wrap the batting around your tubing and begin to glue it to the tube, starting with the ends first. Add glue to the ends, fold over batting. If you have an open tube, shove some of the batting into the hole. Do this to both ends.
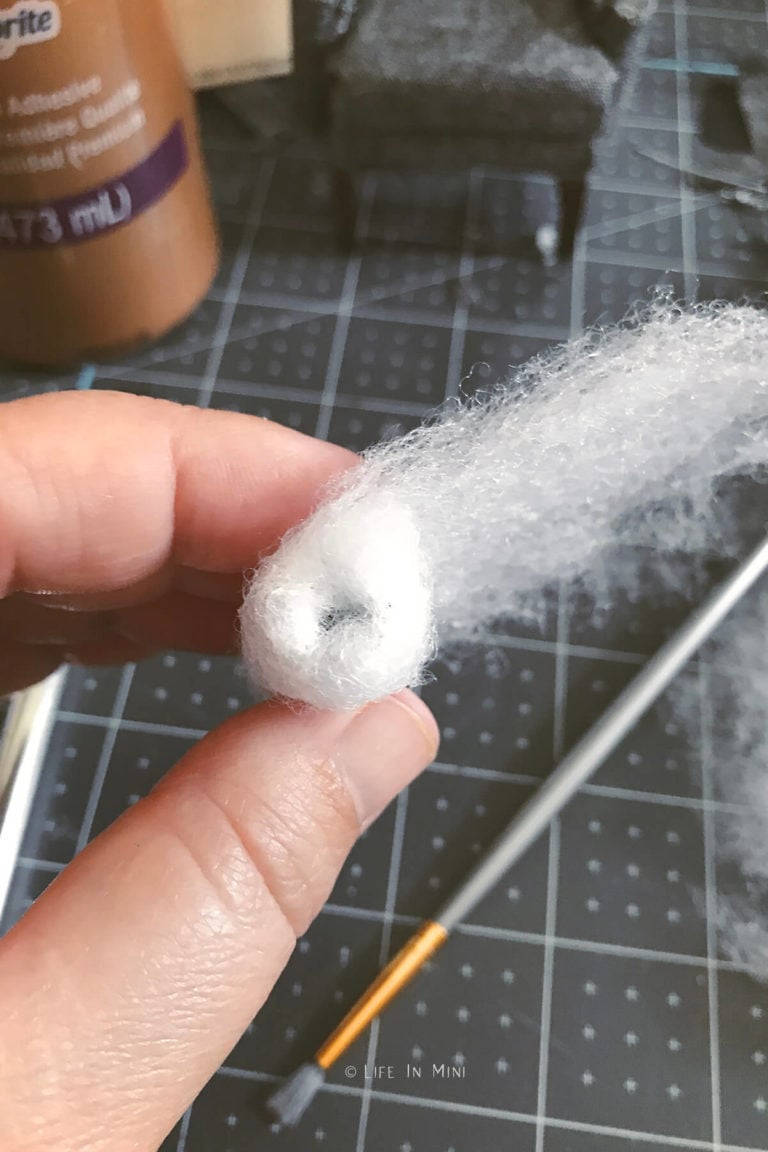
4. Glue the batting around the length of the tube round. Let it dry completely before adding fabric.
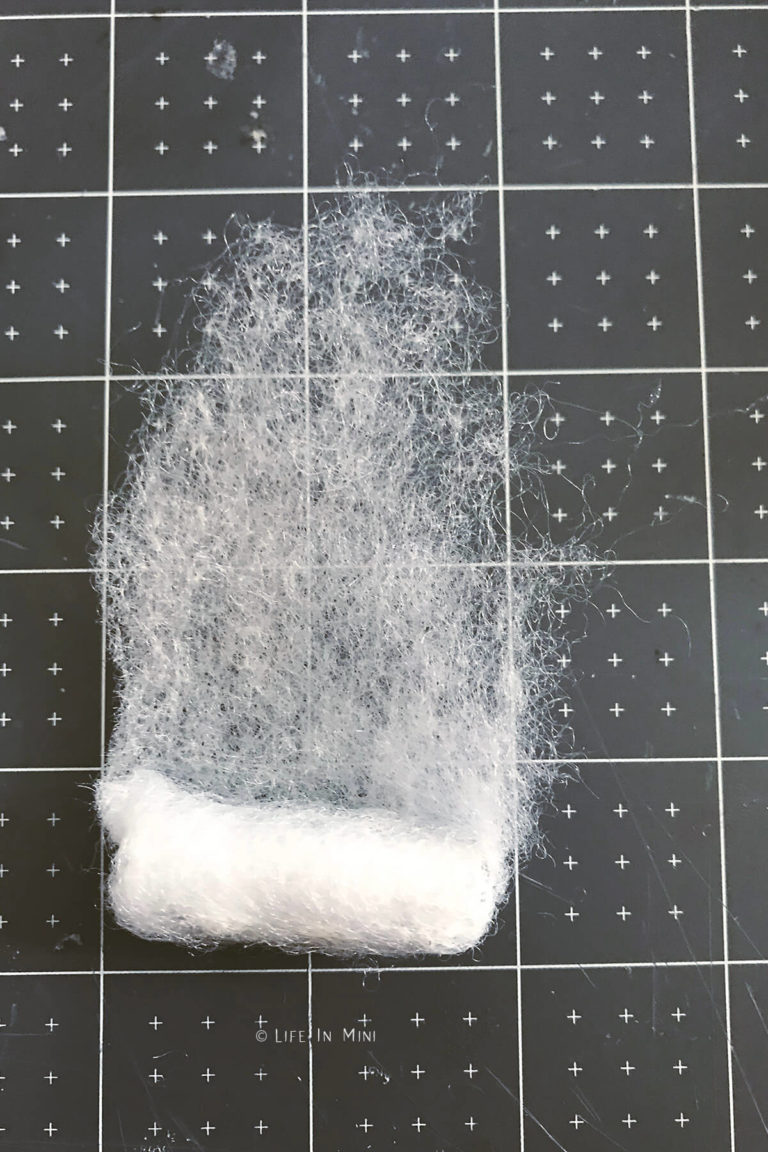
5. Cut three pieces of fabric: 2 small squares to cover the ends and 1 large rectangle for the main bolster.
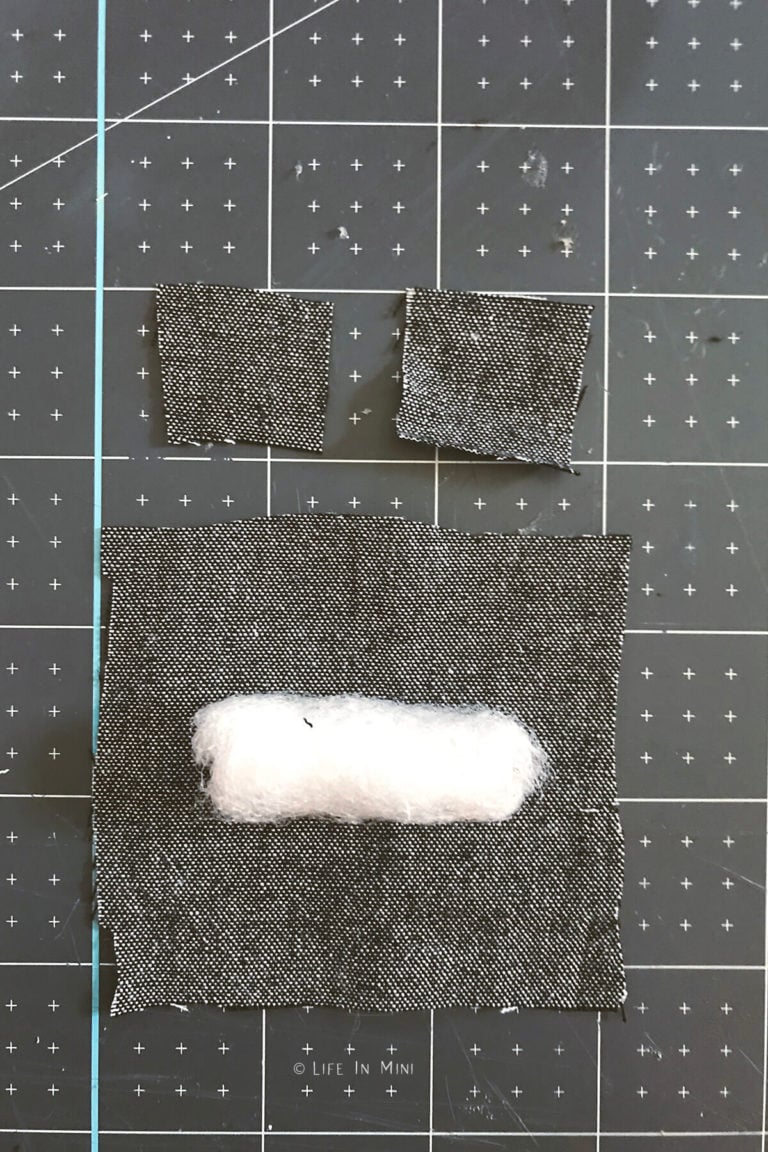
6. Add glue to the ends of the bolster and press the square over it. At this stage I found using a glue gun to be easier as the glue dried quickly. If using white glue, wait until the glue dries before gluing anything else.
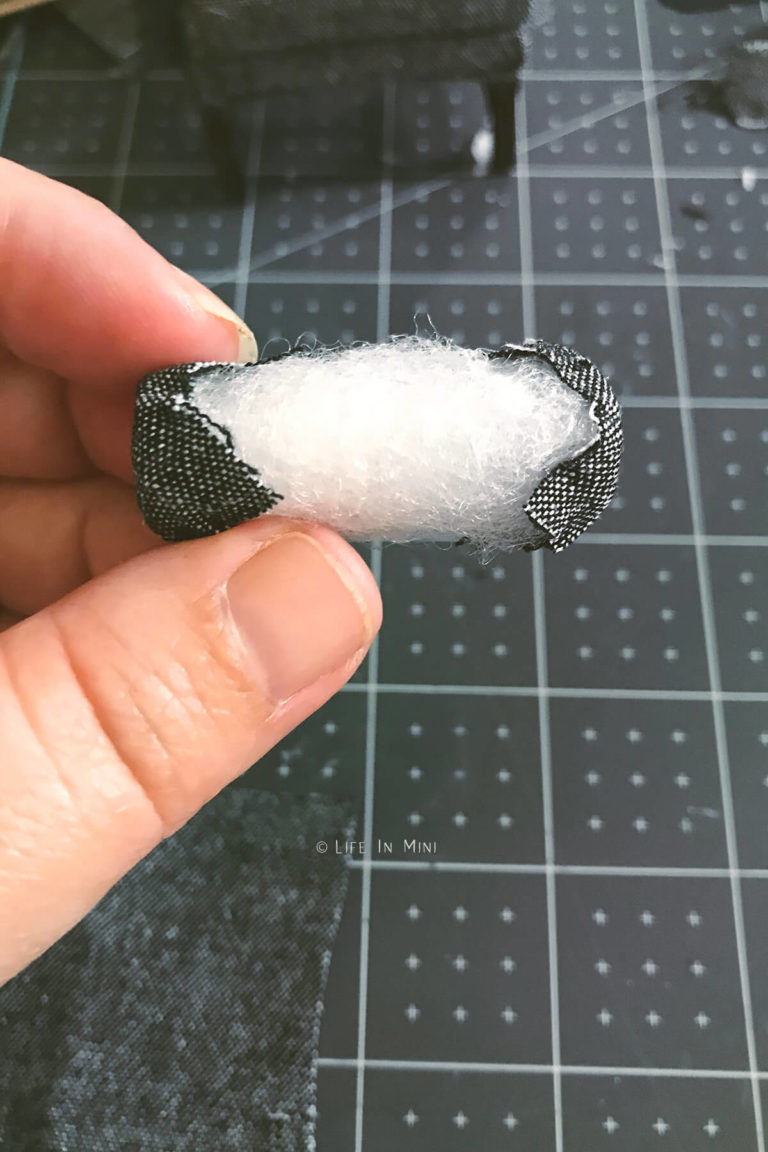
7. Once the ends of the bolster are covered in fabric, take the rectangle and fold over the two long sides and glue down. Fold one end of the short side.
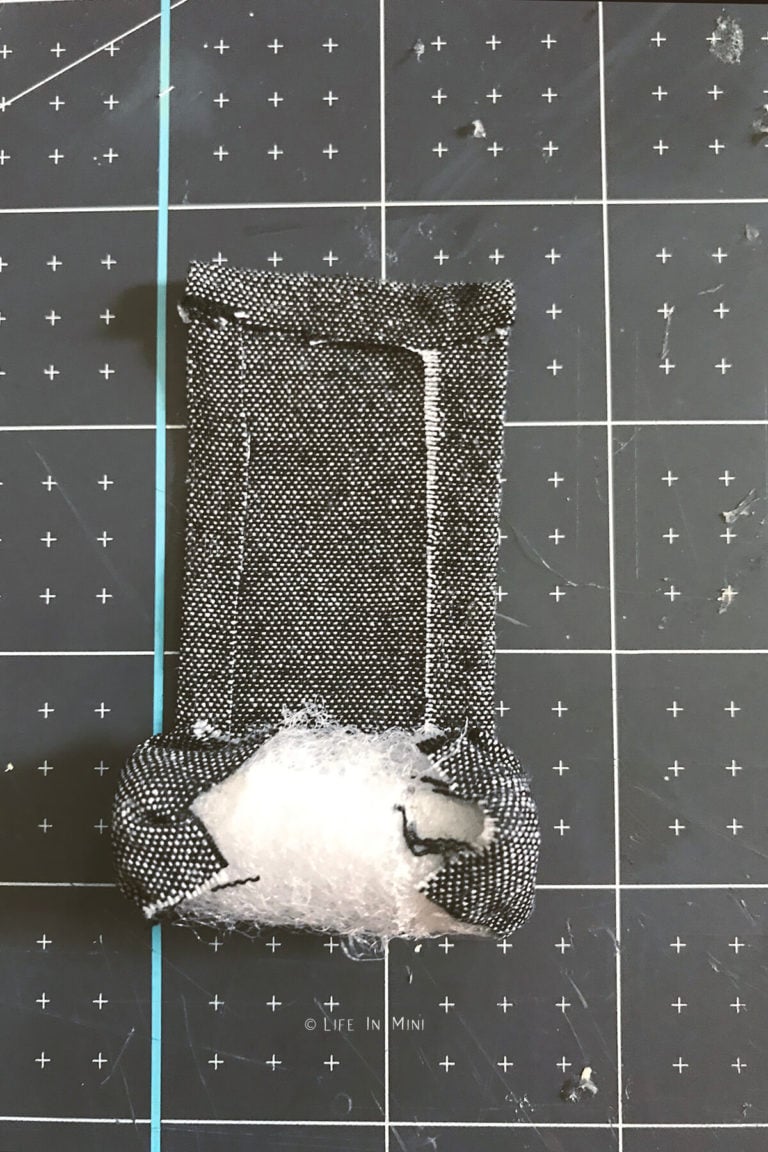
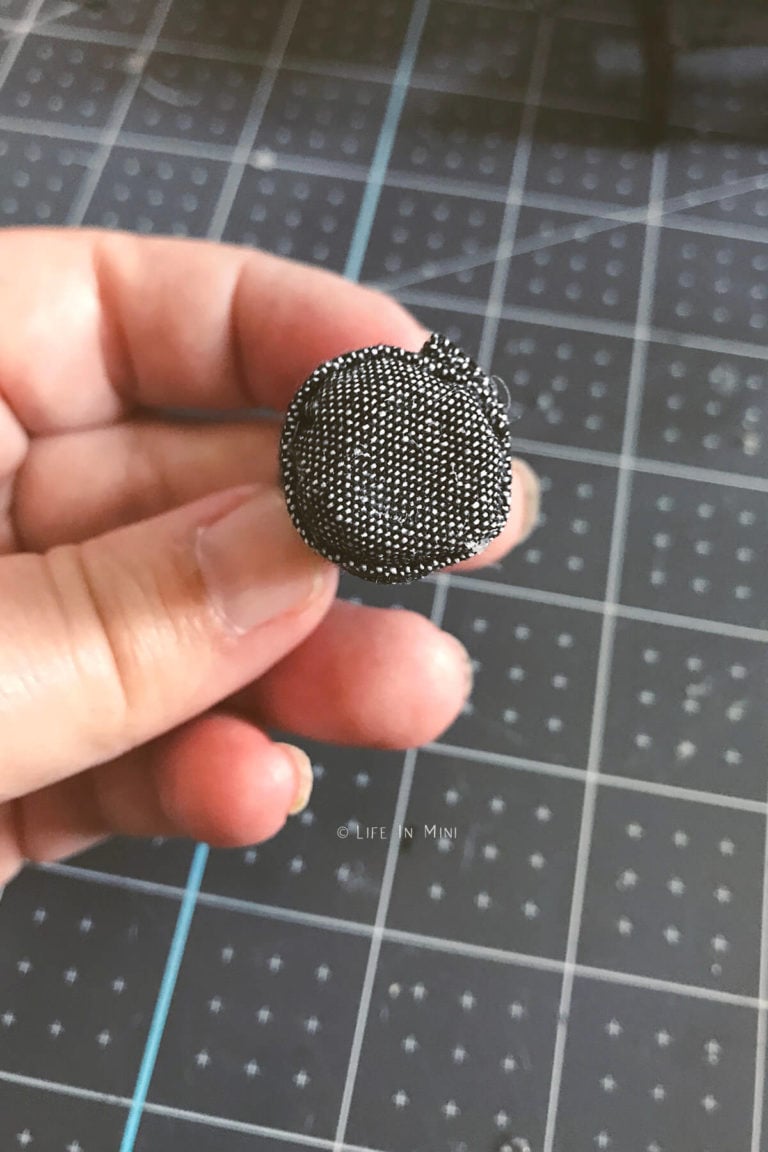
8. Apply glue down the length of the bolster. Place the end of the fabric that is not folded over onto the glue. Add glue and roll the fabric around the bolster. You will need just enough to cover the bolster. Too much and it gets bulky. Once the glue is dry, it is all done!
If you are enjoying my blog, why not sign up for my newsletter so you won’t miss out on the mini adventures!
No Sew Miniature Bolster Pillow
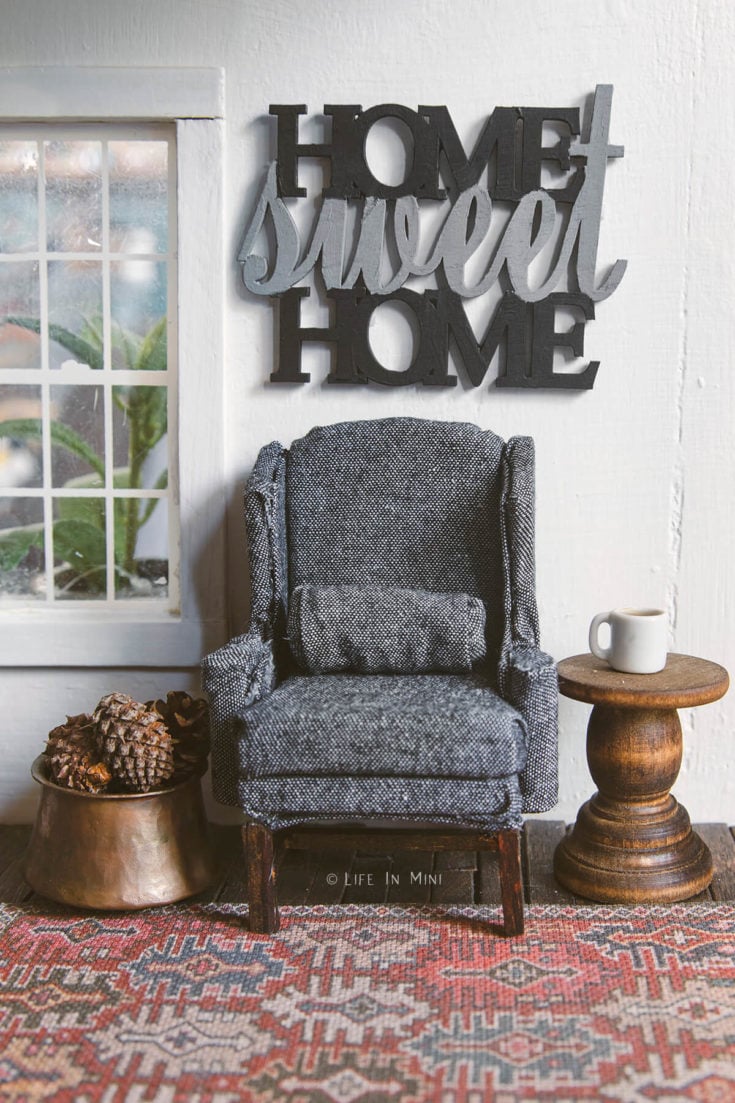
Give your dollhouse furniture a little makeover with the addition of a mini bolster pillow, made with scraps you probably have on hand and no sewing required!
Materials
- Fabric
- Tubing
- Batting
- Glue
Tools
- Fabric scissors
- Toothpick
Instructions
- Cut tubing to the size you need.
- Tear off a thin strip of batting or cotton ball. You want just enough to give the pillow softness. This step is optional.
- Wrap the batting around your tubing and begin to glue it to the tube, starting with the ends first. Add glue to the ends, fold over batting. If you have an open tube, shove some of the batting into the hole. Do this to both ends.
- Glue the batting around the length of the tube round. Let it dry completely before adding fabric.
- Cut three pieces of fabric: 2 small squares to cover the ends and 1 large rectangle for the main bolster.
- Add glue to the ends of the bolster and press the square over it. At this stage I found using a glue gun to be easier as the glue dried quickly. If using white glue, wait until the glue dries before gluing anything else.
- Once the ends of the bolster are covered in fabric, take the rectangle and fold over the two long sides and glue down. Fold one end of the short side.
- Apply glue down the length of the bolster. Place the end of the fabric that is not folded over onto the glue. Add glue and roll the fabric around the bolster. You will need just enough to cover the bolster. Too much and it gets bulky. Once the glue is dry, it is all done!
Notes
The basic shape of the bolster is formed with a bit of tubing. I used the cardboard tube found at the end of my dog’s roll of poop bags. You can also use a bit of pencil or marker tops or anything else cylindrical.
Batting is optional and used if you want the pillow to have some softness. You can also shred a cotton ball.
I used a combination of Aleene’s tacky glue and a hot glue gun.
PS If you try this craft, why not leave a star rating in the direction card right below and/or a review in the comment section further down the page? I always appreciate your feedback.
You can also follow me on Pinterest, Facebook or Instagram. Sign up for my eMail list, too!

Leave a Reply