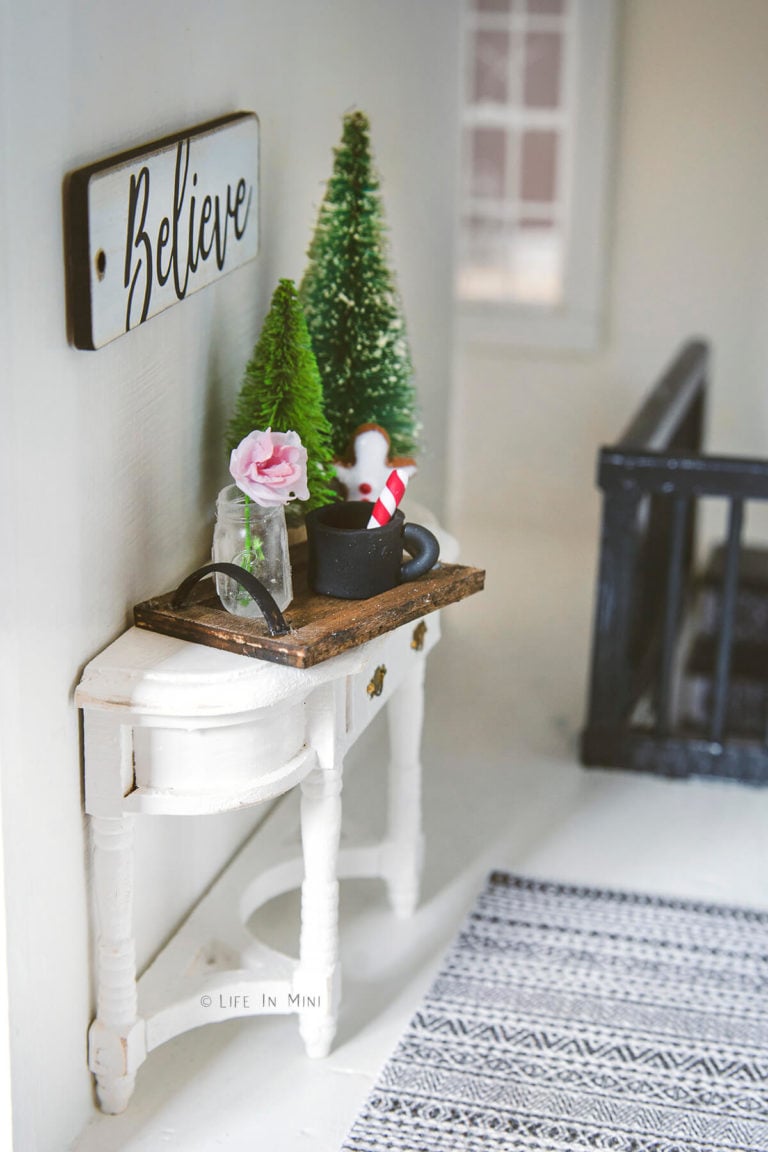
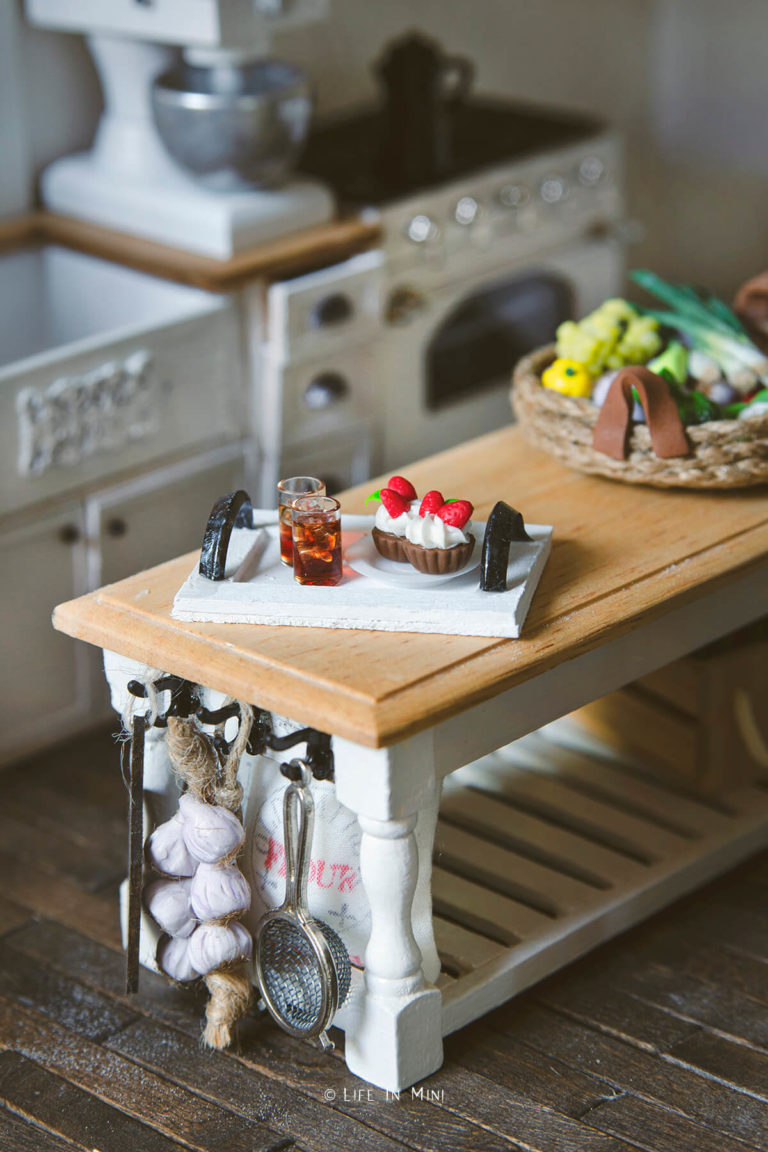
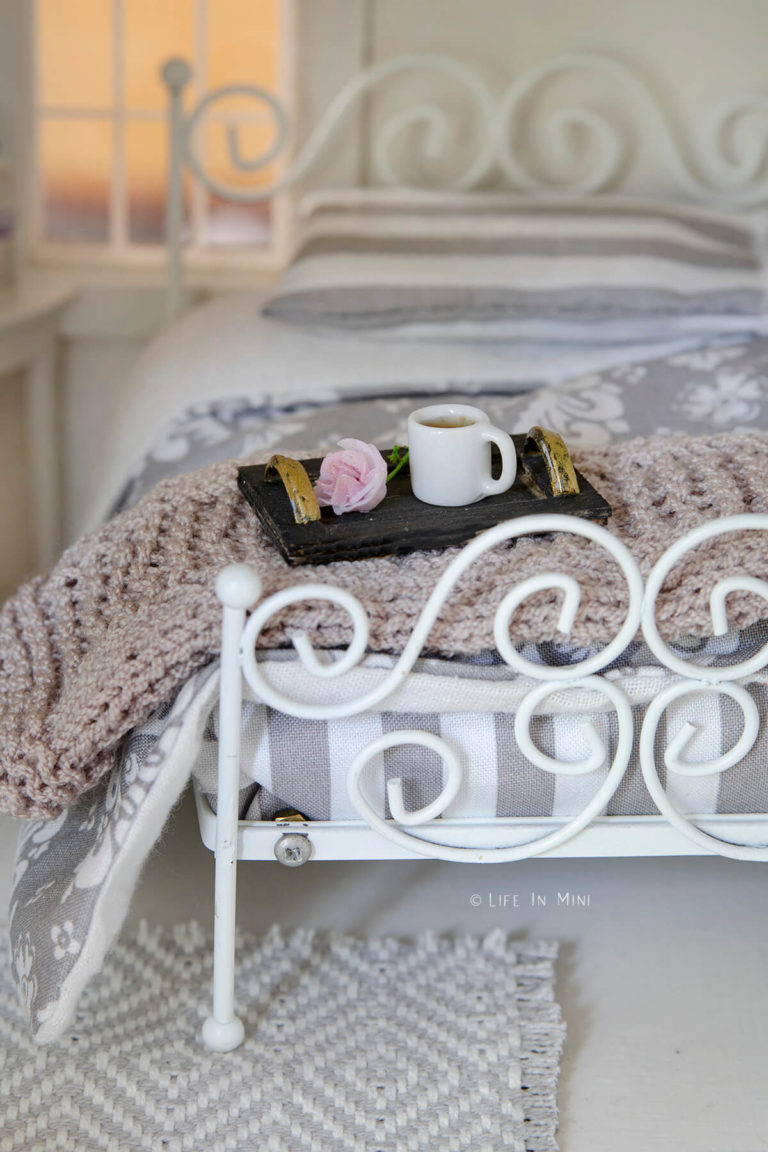
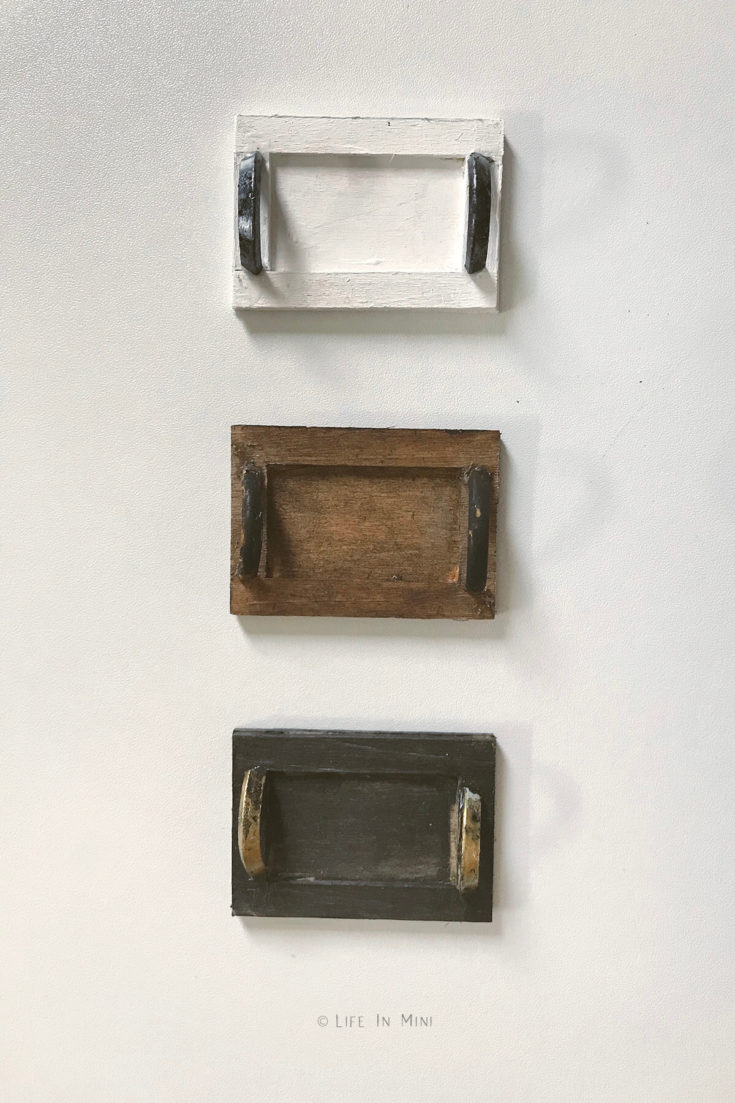
Accessorizing your modern dollhouse has never been so much fun. These cute farmhouse miniature wood trays are made from scraps and supplies you already have on hand.

Last month I managed to create a section of kitchen cabinets for my farmhouse sink. My teenage kids giggled at my rustic and wobbly drawers, but gave me some encouraging words so I wouldn’t feel totally deflated.
Making dollhouse furniture is not for the faint of heart. I measured a dozen times and used my Cricut Maker to cut more once to get it the cabinet as good as I could. And yet I still have a bucket of scrap wood that were “somehow” measured wrong and didn’t fit with my final design.
DOH!
I was looking at my new bin of cut scrap basswood and tried to get inspired to make something with them. I had several cabinet doors that were too big for my cabinet and asked myself what would I use these if they were real cabinet doors.
A small table top? Picture frame? Wooden tray? Ooh, wooden tray. I love trays. Let’s do that!
My first tray was stained brown and for the handles I used the round loops from those plastic pull tabs you find in juice bottles. It turned out so cute that I decided to make several in different styles and colors.
If you are a crafter, then you probably have most of these supplies on hand so it really didn’t cost me much to make.
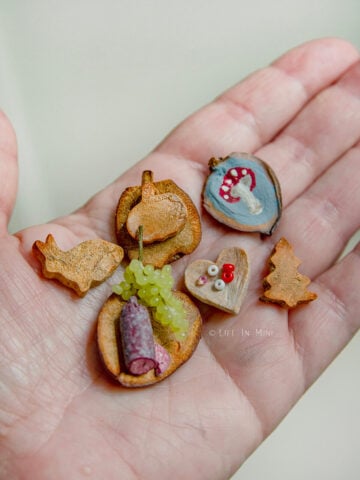
And if you love this project, check out the other dollhouse miniatures I made with plastic pull tabs.
Supplies you need

This post contains some affiliate links for your convenience (which means if you make a purchase after clicking a link I will earn a small commission but it won’t cost you a penny more)! Read my full disclosure policy.
- Basswood scraps: If you are building miniature furniture, you probably have a lot of scraps of wood laying around. I used scrap pieces of 1/16-inch thick basswood from a previous Cricut project. You can also use chipboard, cardboard, or layers of card stock.
- Wood stain: If you are using wood and want a natural look, you can stain your tray. I used Minwax Provencial 211. You can also paint your trays using acrylic or chalk paint.
- Plastic pull tab: What do you call this thing?! This is the pull tab from bottles of lemon juice or cartons of orange juice you usually throw out. They come in a variety of colors. We will be using the plastic loop part.
- Enamel paint: If you are painting your handles (the plastic pull tab), sometimes acrylic paint will not stick to it. The enamel paints used in small model kits works real well here.
- Glue: I used Aleen’s tacky glue to glue everything together. You want clear drying glue.
- Sandpaper: Any scrap piece of sandpaper is used to sand your pieces smooth.
- Xacto blade: You will need a sharp blade to cut the wood pieces to size. I used my x-acto blade.
- Ruler
Step-by-step directions

- Cut the wood. Cut your wood scraps to desired length of wooden trays. Mine were about 1″ x 2.5″. If you are adding an edge, cut these pieces as well. Sand the edges smooth.
- Paint the wood. Stain or paint your wooden pieces before you glue them. This will insure an even coat.
- Glue the wood pieces. Once completely dry, glue everything together.
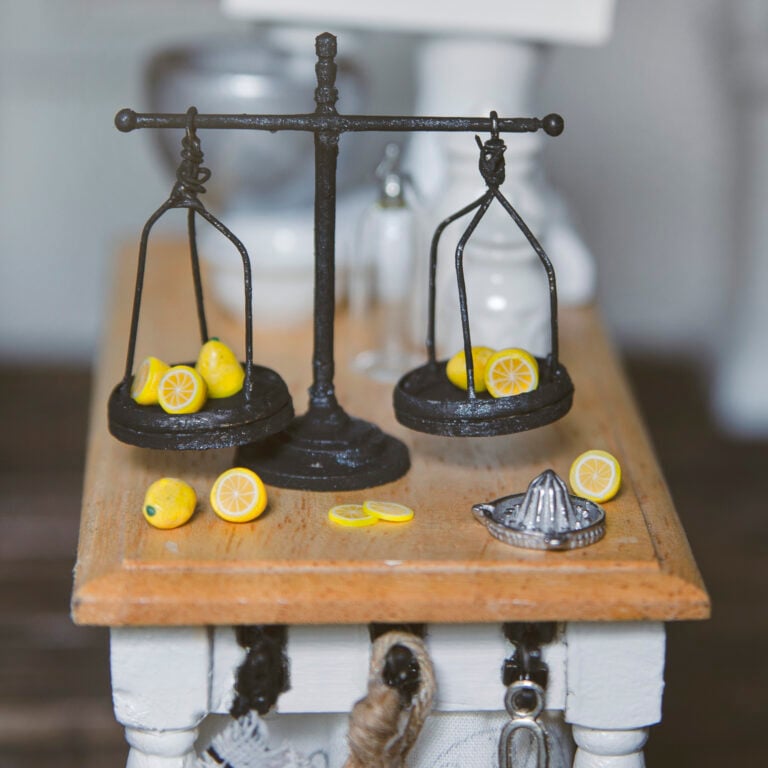
- Start the handles. Remove the loop from the pull tab. Remove the piece that sticks out, then cut the remaining loop in half. Save the other part and use it to make a miniature kitchen scale.

- Paint the handles. If acrylic paint does not stick to your plastic pieces, paint it using the enamel paint.
- I wanted to paint the handles gold and didn’t have gold in enamel paint. So I added a layer of gold acrylic paint over the black enamel paint. Also, by layering two different paint colors, you get a more rustic look.
- Glue the handles. Once the handles have dried, glue them onto the wooden trays.
Project tips and FAQs
If you are using cardboard or chipboard for your tray base, you can give it a faux wood finish by using brown and black paint. For thinner materials, you will need to use 2-3 layers for a sturdy tray.
The color combinations are endless. Use metallic paints for the handles or paint them any color you want. I did not add a clear protective coat, but you certainly can.
If you want a glossy finish, use high gloss paint or add a coat of high gloss Mod Podge to finish it.

If you are enjoying my blog, why not sign up for my newsletter so you won’t miss out on the mini adventures!
Miniature Wooden Trays
Accessorizing your modern dollhouse has never been so much fun. These cute farmhouse miniature wood trays are made from scraps and supplies you already have on hand.
Materials
- Basswood scraps
- Wood stain or paint
- Plastic pull tab
- Enamel paint
- Glue
Tools
- Sandpaper
- Xacto blade
- Ruler
Instructions
- Cut your wood scraps to desired length of wooden trays. Mine were about 1″ x 2.5″. If you are adding an edge, cut these pieces as well. Sand the edges smooth.
- Stain or paint your wooden pieces before you glue them. This will insure an even coat.
- Once completely dry, glue everything together.
- Remove the loop from the pull tab. Remove the piece that sticks out, then cut the remaining loop in half.
- If acrylic paint does not stick to your plastic pieces, paint it using the enamel paint.
- I wanted to paint the handles gold and didn’t have gold in enamel paint. So I added a layer of gold acrylic paint over the black enamel paint.
- Once the handles have dried, glue them onto the wooden trays.
Notes
For a white/black wash effect, water paint down and brush it on in layers.
Metallic paints are great options for the handles and can give the trays a more modern look.
PS If you try this craft, why not leave a star rating in the direction card right below and/or a review in the comment section further down the page? I always appreciate your feedback.
You can also follow me on Pinterest, Facebook or Instagram. Sign up for my eMail list, too!
Written by Laura Bashar
I’m a food blogger and cookbook author that loves miniatures and crafting. I started this blog to share my passion for minis, including tutorials and free printables.
Leave a Reply