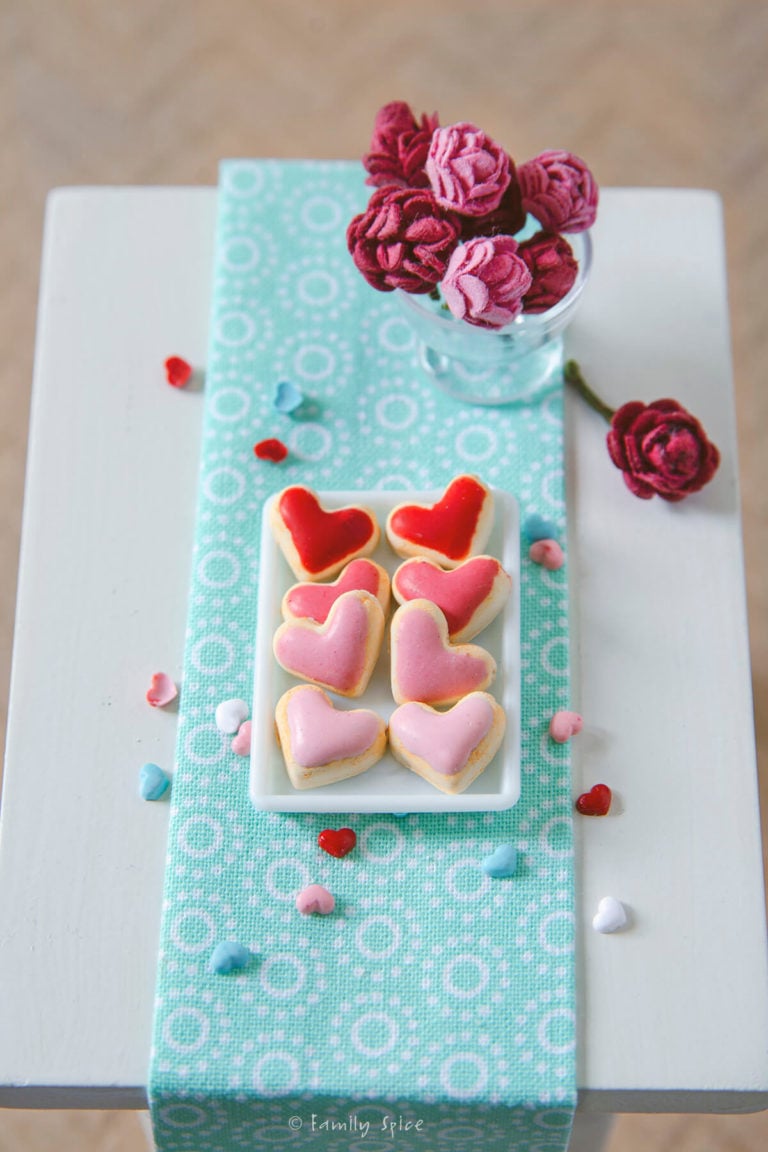
Polymer clay makes mini food easy to create. This method to make miniature sugar cookies can be used for any themed cookie for any holiday like Valentine’s Day.

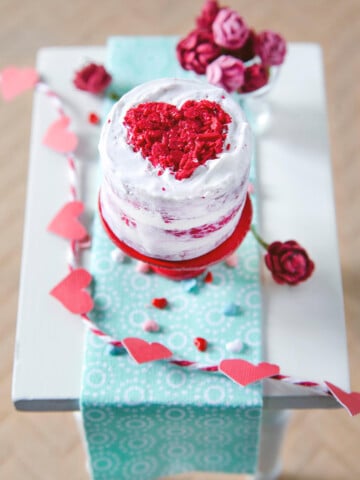
I have share with you my technique for making miniature cakes, specifically a mini red velvet cake using polymer clay. Today I am sharing how to make miniature sugar cookies.
Whenever I get frustrated or need to play and get creative, I reach for my stash of polymer clay. I am still not great at making bowls and plates. But I have thoroughly enjoyed making mini foods with polymer clay.
Since it is February, I am in the Valentine’s mood – at least with my minis. All my teenage kids care about Valentine’s Day is “What is Mom going to bake for us??!!”
These mini cookies may not be what they were looking for, but my mini family will appreciate them. They are very easy to make and you can adapt them to whatever holiday you want.
And just like real cookies, decorating these minis are equally fun!
This post contains some affiliate links for your convenience (which means if you make a purchase after clicking a link I will earn a small commission but it won’t cost you a penny more)! Read my full disclosure policy.
Supplies you need
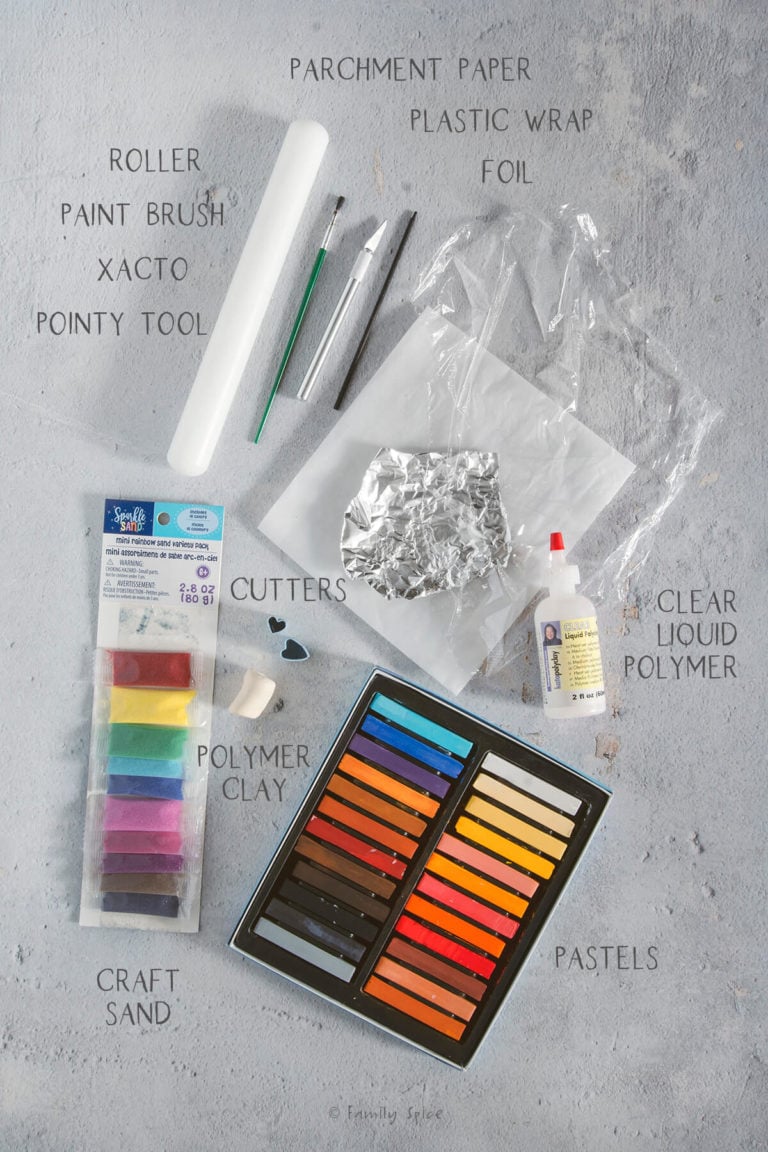
- Light yellow polymer clay: You want the base cookie made with this color of clay.
- Clear liquid polymer: This will provide the icings cookies.
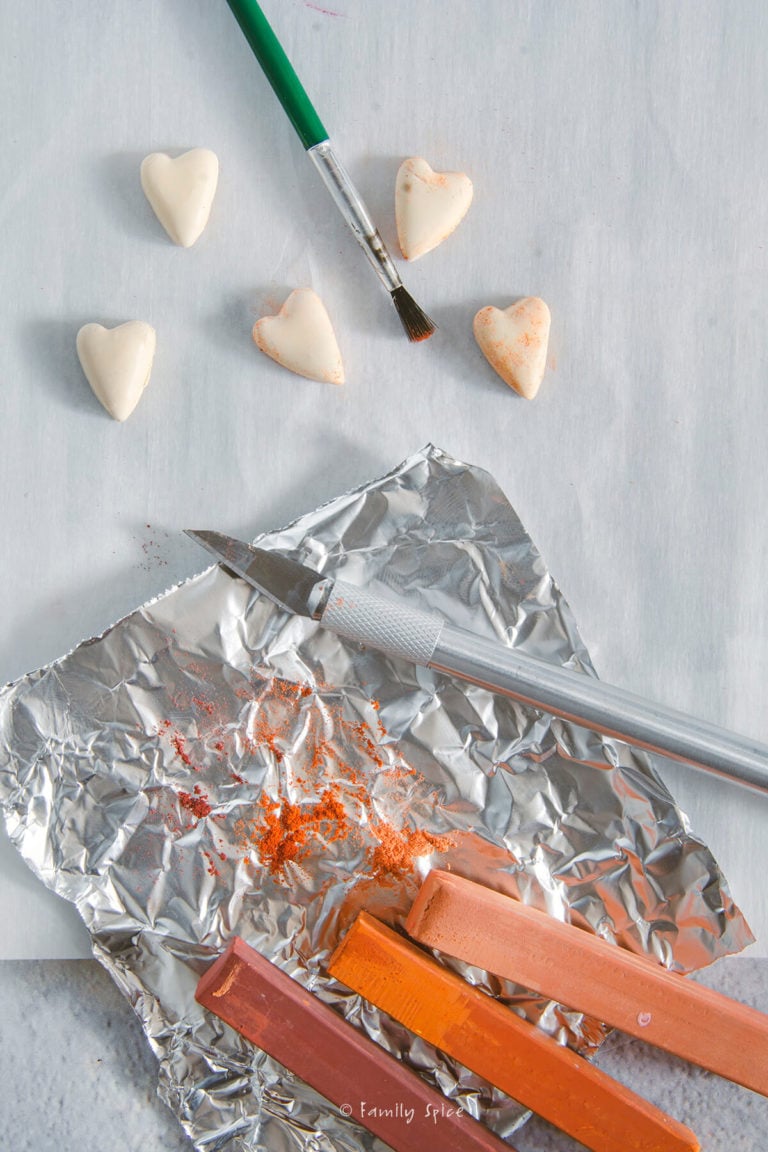
- Pastels: You will add dimension to the cookie by brushing on brown pastels to mimic the browned edges of a real sugar cookie. The pastels will also add color to your liquid polymer so you can ice your cookies in any color you want.
- Rolling pin: This is needed to roll the clay flat for the cookies.
- Mini cutters: You can use any shape of cutters.
- Xacto knife: For shaving off the pastels to brush on the cookies and color the icing.
- Pointy tool: I use this to add the icing to the cookies. The pointed end helps push the liquid polymer into tight spots. This can be a fancy clay tool or a bamboo skewer.
- Small paint brush: Use this to brush on the brown pastels onto your clay cookie.
- Plastic wrap: You place this over the clay when you press out the shapes. The plastic wrap helps remove the cutter from the clay and gives the cookie a puffed look.
- Parchment paper: You can bake on parchment paper, a ceramic tile or a piece of glass.
- Craft sand: I have found that craft sand mimics sugar sprinkles perfectly. You can find it in a number of different colors or just use white.
Step-by-step directions
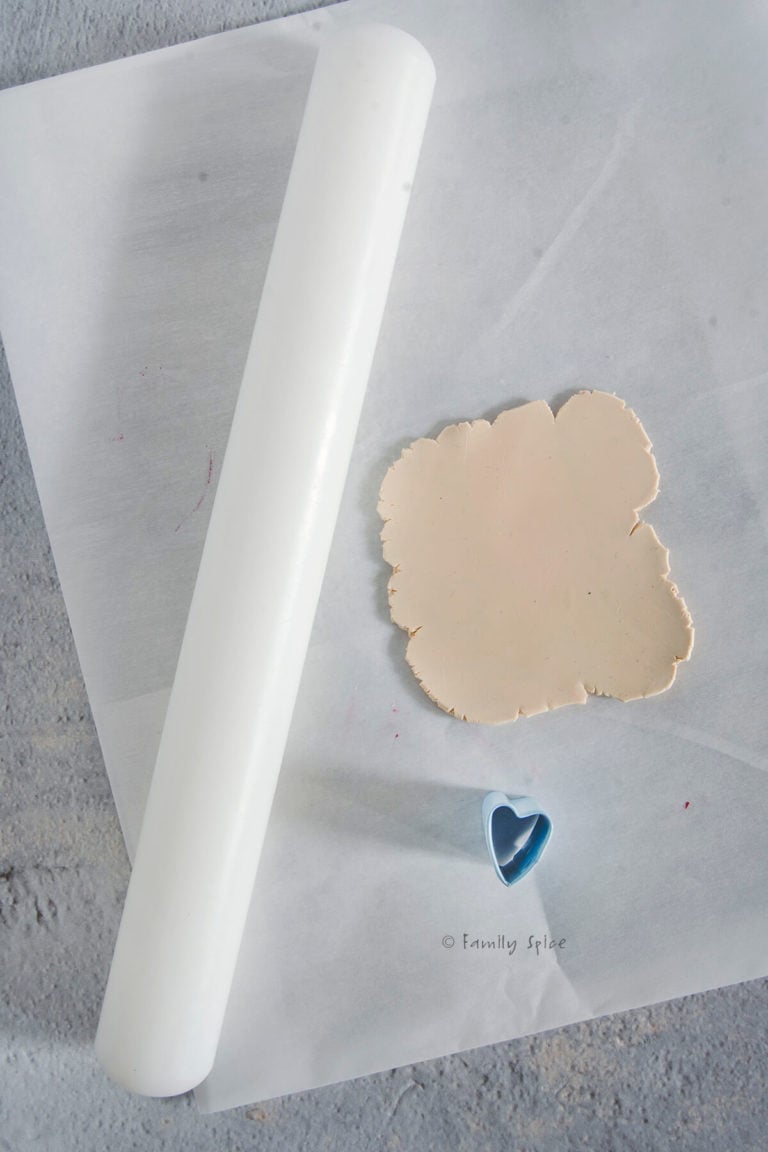
1. Soften clay then roll it out until to desired thickness. My cookies are about is about ⅛-1/16 inch thick.
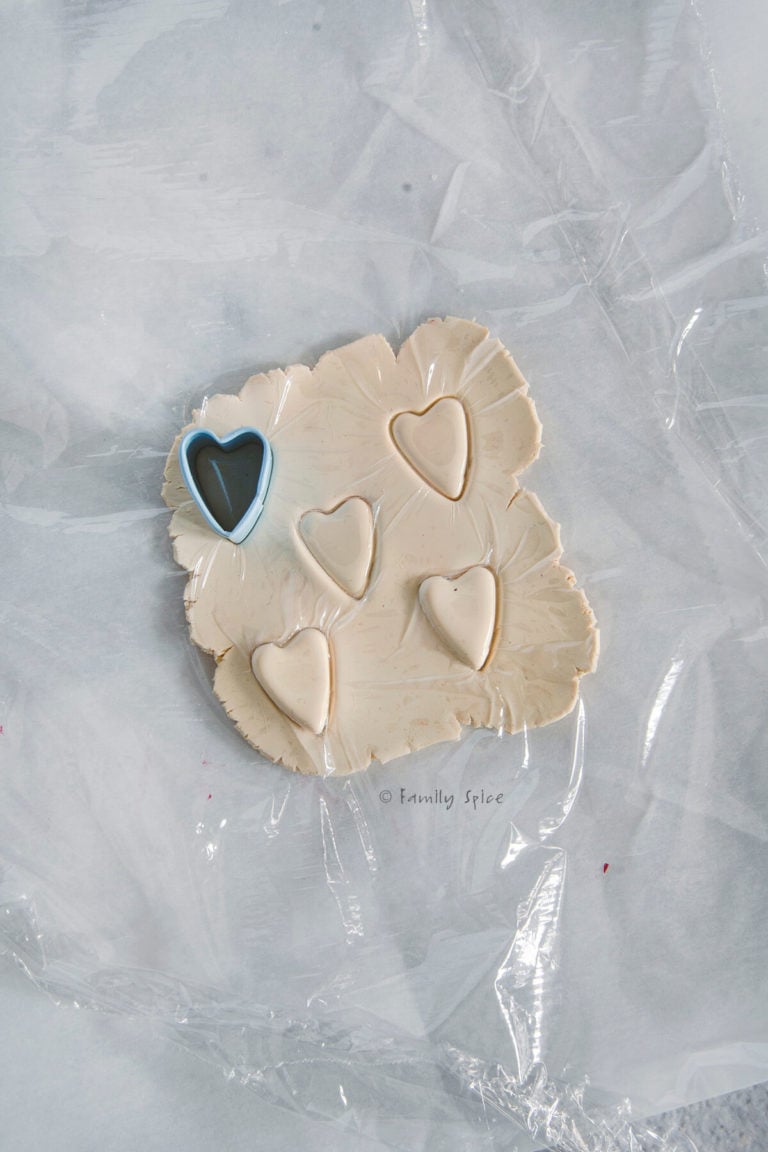
2. Place a sheet of plastic wrap over the clay then begin using your cutters to cut out the clay cookies. Pull the plastic wrap up to remove the cutter from the clay.
3. This next step is optional. If you want to add texture to the edges of the cookies, use the pointy tool or the tip of your Xacto knife to scratch out and poke small holes. For a subtle texture, use a toothbrush along edges.
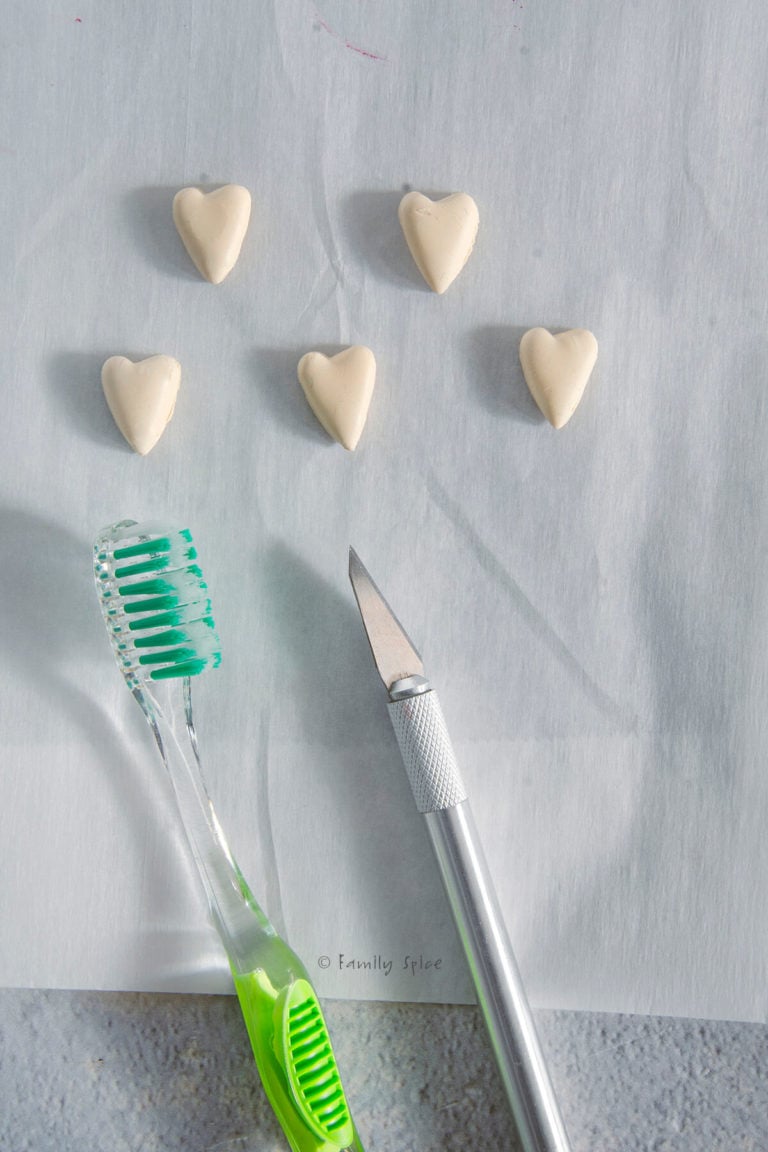
4. Using a piece of parchment or foil, scratch out various browns from your pastels. Using a paint brush, brush the edges of the cookies to mimic the brown spots on real sugar cookies.
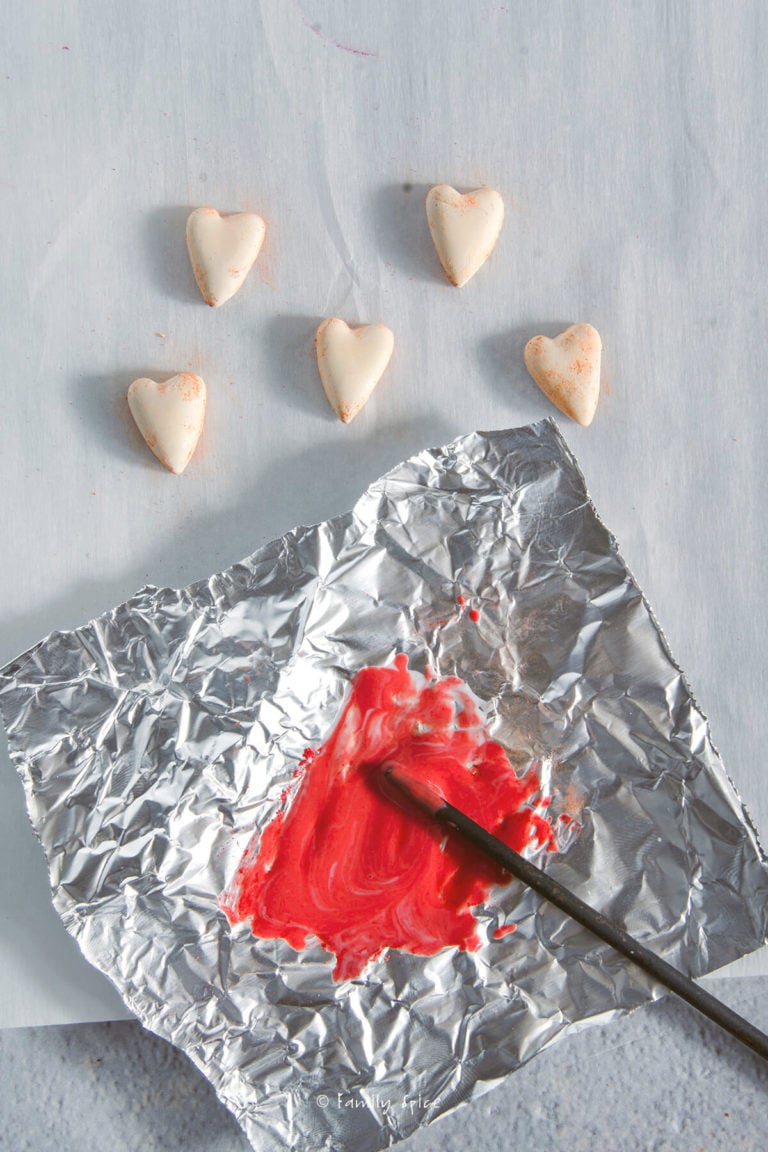
6. Using a piece of parchment or foil, scratch out the colored pastels you want for your icing. Add the clear liquid polymer and mix until you have the color you desire.
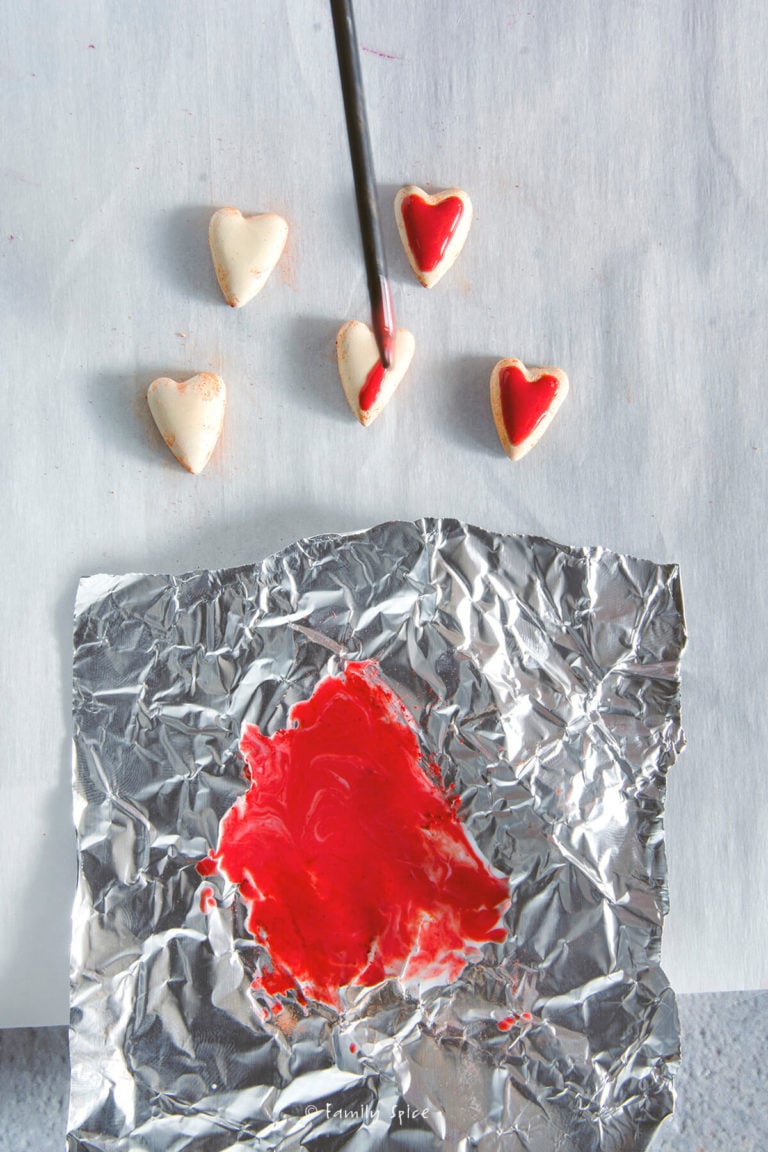
7. Using your pointy tool, ice your cookies. Use small bits at a time to ice it cleanly. Don’t rush or you will make a mess. Yes, I’m speaking from experience!
8. Sprinkle bits of craft sand on your cookies, if you are using it.
9. Bake the polymer clay cookies per your clay package’s directions onto a parchment paper lined baking sheet or on a ceramic tile or piece of glass..

Project tips and FAQs
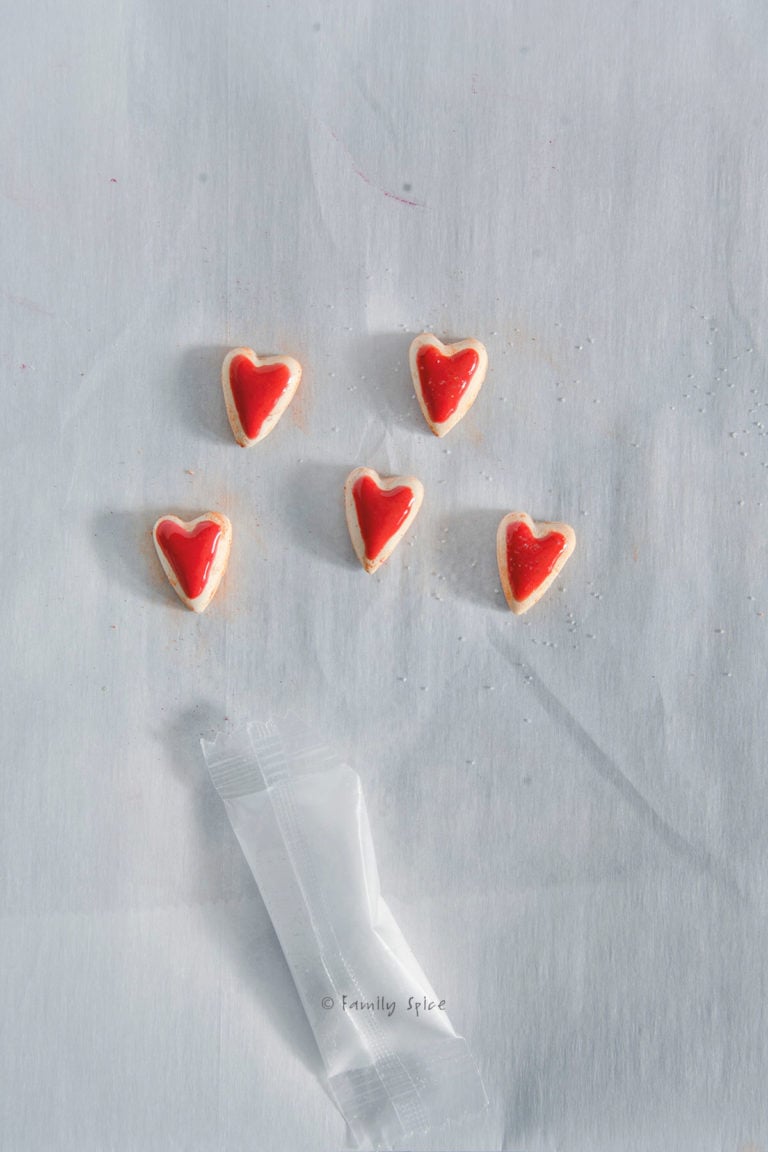
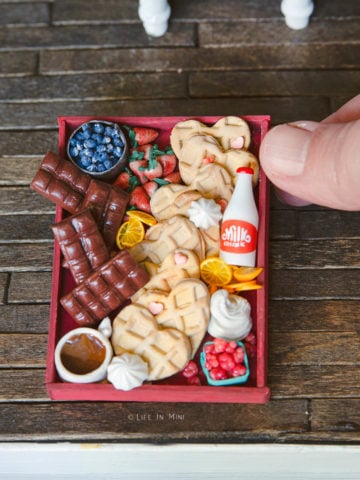
To make the ombre effect with the icing that I have pictured with the small heart cookies, I started with darkest icing color first. Once they were iced, I added a bit of white liquid polymer to lighten the icing.
I iced the mini cookies with the lighter color, then added more white liquid polymer. I continued doing this until I had all the colors I wanted.
Miniature cutters are a little bit of a challenge to find. I found packs of mini cutters made by Primo/Sculpey on clearance at my local Michaels craft store (similar to these). Some are a bit on the large size for 1:12 scale.
You can find a variety of mini cutters on Etsy. Here are some of my favorite Etsy shops you can buy mini cutters from:
The mini heart candies that I have pictured below was created using mini heart silicone mold I got from Ah La Molds. I used colored liquid polymer since the molds were so tiny.
The mini heart garland I actually cut the mini hearts by hand! UGH- hand cramp! I finally got the mini heart punch. And of course, I love my bakers twine!

If you are enjoying my blog, why not sign up for my newsletter so you won’t miss out on the mini adventures!
Miniature Sugar Cookies

Polymer clay makes mini food easy to create. This method to make miniature sugar cookies can be used for any themed cookie for any holiday like Valentine’s Day.
Materials
- Light yellow polymer clay
- Clear liquid polymer
- Pastels
- Craft sand
Tools
- Rolling pin
- Mini cutters
- Xacto knife
- Pointy tool
- Small paint brush
- Plastic wrap
- Parchment paper
Instructions
- Soften clay then roll it out until to desired thickness. My cookies are about is about ⅛-1/16 inch thick.
- Place a sheet of plastic wrap over the clay then begin using your cutters to cut out the clay cookies. Pull the plastic wrap up to remove the cutter from the clay.
- This next step is optional. If you want to add texture to the edges of the cookies, use the pointy tool or the tip of your Xacto knife to scratch out and poke small holes. For a subtle texture, use a toothbrush along edges.
- Using a piece of parchment or foil, scratch out various browns from your pastels. Using a paint brush, brush the edges of the cookies to mimic the brown spots on real sugar cookies.Using a piece of parchment or foil, scratch out the colored pastels you want for your icing. Add the clear liquid polymer and mix until you have the color you desire.
- Using your pointy tool, ice your cookies. Use small bits at a time to ice it cleanly. Don't rush or you will make a mess.
- Sprinkle bits of craft sand on your cookies, if you are using it.
- Bake the polymer clay cookies per your clay package’s directions onto a parchment paper lined baking sheet or on a ceramic tile or piece of glass.
PS If you try this craft, why not leave a star rating in the direction card right below and/or a review in the comment section further down the page? I always appreciate your feedback.
You can also follow me on Pinterest, Facebook or Instagram. Sign up for my eMail list, too!

Sandi says
These are so cute. I love the easy to follow step by step directions!