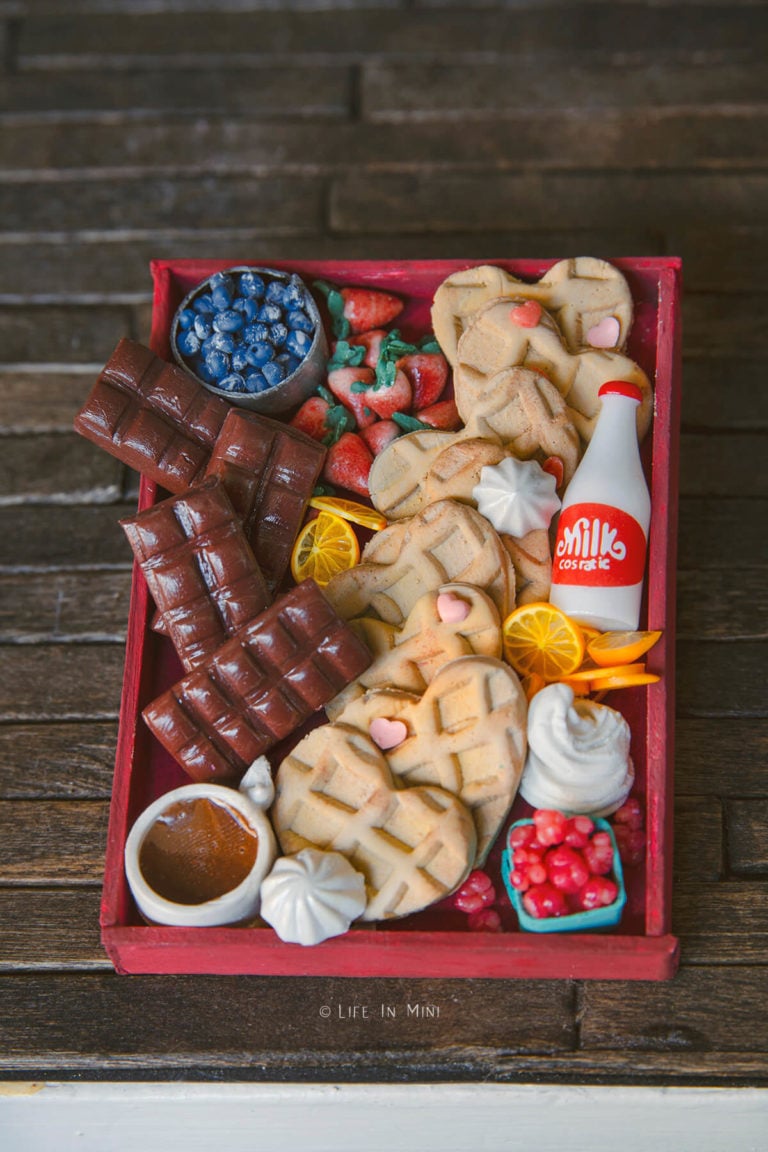
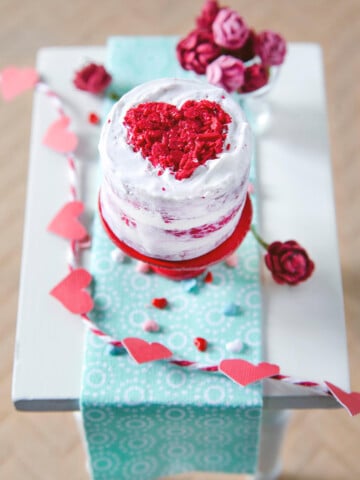
You can use polymer clay to make all kinds of mini foods, like the waffles, chocolate bars, whipped cream and fruit in this fun and festive miniature Valentine waffle board.
After months of not being able to work on my minis, I can’t tell you how gratifying it was to take the day and just… create. My food blog and my kids have been my focus these past few months, but I needed a break. I needed some mini making therapy.
It is officially February. Now I am not big on Valentine’s Day. Quite honestly, I never had a good “Valentine’s” experience. But, I always celebrated this day of hearts and flowers for my kiddos.
When they were in elementary school, there were heart shaped crafts and homemade Valentine cards. They had class parties and I baked them heart shaped sugar cookies. Real ones made out of flour and sugar and not polymer clay!
Now that my kids are older, the class parties and homemade Valentine’s are just a memory, but I still enjoy making them special treats. So I guess this miniature Valentine’s waffle board is tribute to those good ‘ole days.
To make the miniature waffles, I started by using the technique from this video, but I wasn’t quite successful (my fault). I soon found a small piece of wood in my arsenal of scrap building materials. The end is a small square so I used it to stamp out the waffle squares.
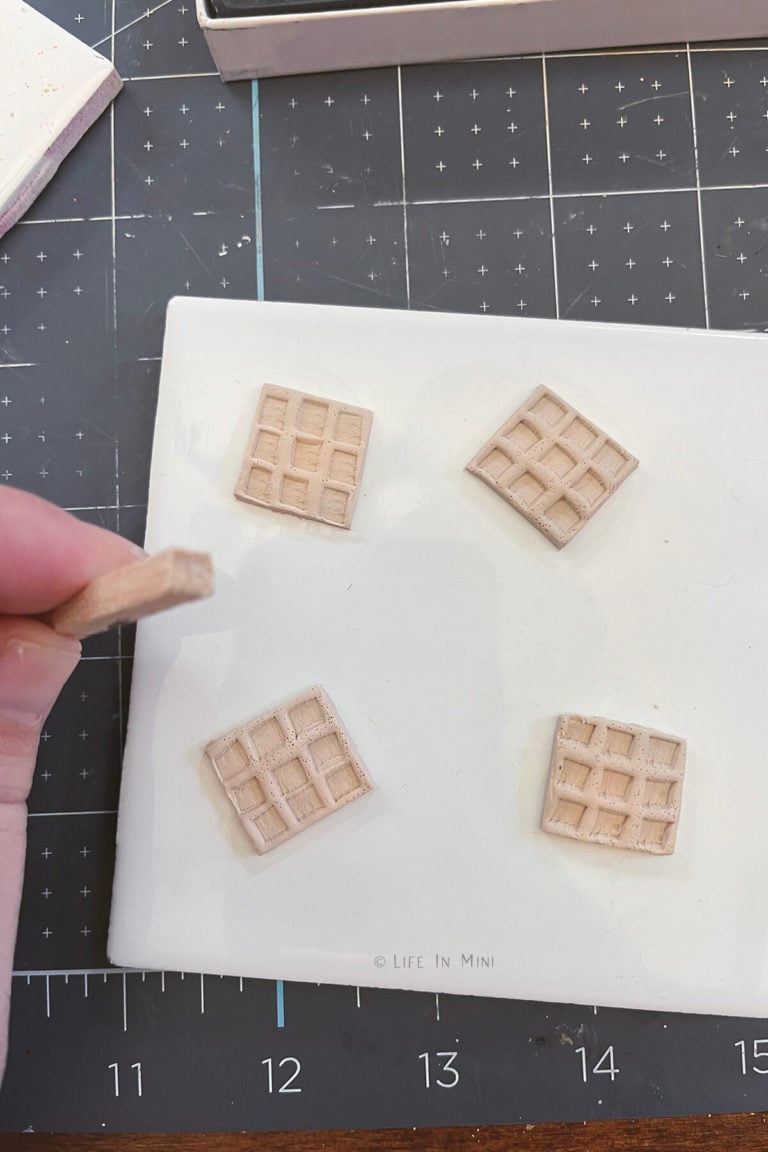
The squares are on the big side, but they fit the scale for Belgium waffles, which I do regularly make for kids! I stamped out a large piece of beige polymer clay with squares then used my small heart cutters to cut out the heart shaped waffles.
I textured them with a toothbrush (learn about texturing polymer clay cookies here) then brushed them with some pastels to get the final color right (also covered in the cookie post). After that, they were ready to bake to set.
When I first started to learn about working with polymer clay, I made a berry cake following this polymer clay cake tutorial. I used the same technique in that video to make the polymer clay strawberries and blueberries.
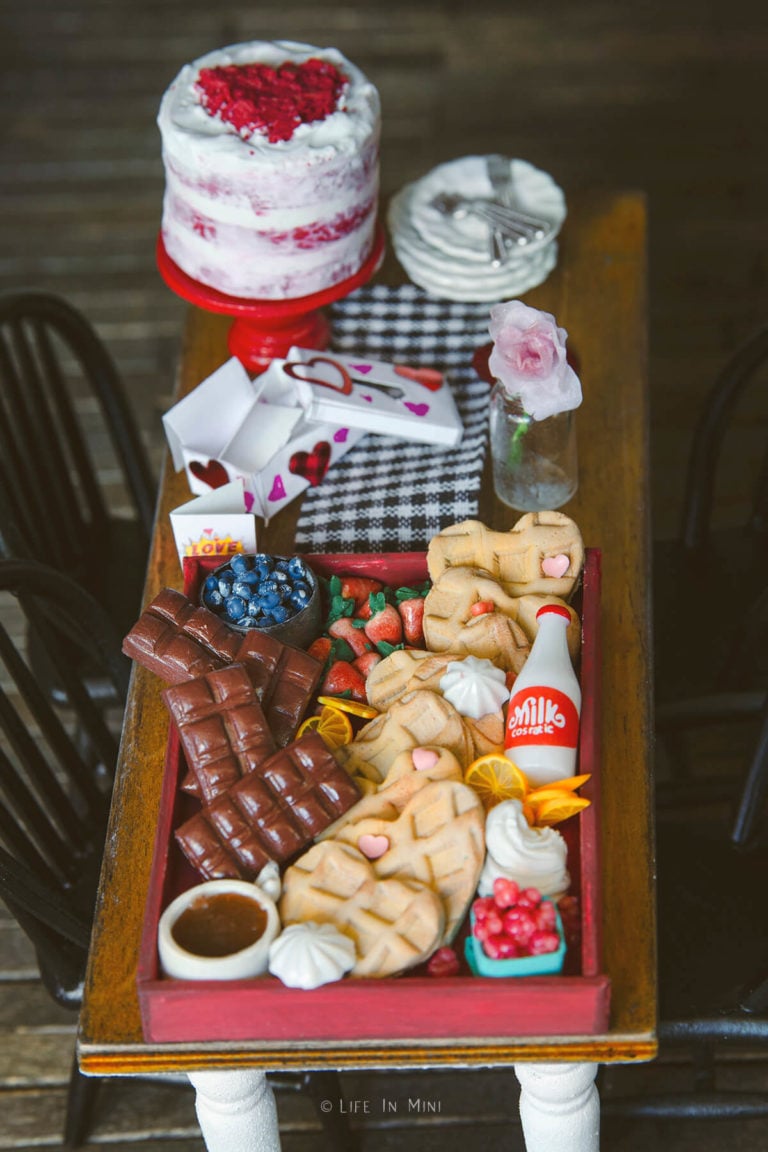
The metal tin holding the blueberries is made with card stock that I painted silver. The berry basket holding my raspberries is also made of card stock, but I painted this one turquoise green. Speaking of the raspberries, yeah, that’s a work in progress!
In the past, I used Sculpey translucent clay and wasn’t super happy with its well, translucence. Someone online recommended Cernit translucent clay, which I used in the raspberries, and I loved its clear effect.
The pink I made for the raspberries was a little too light so I lightly painted them with rose glass paint and the color was much more accurate.
My syrup looks more caramel, which works either way on my waffle board. I made a small clay bowl then after it was baked, I colored resin (with pastels) and dribbled it into the mini bowl in thin layers. I cured it one small layer at a time. Learn more about working with UV resin here.
The red wooden tray is made with scrap wood that I had. The orange slices are NOT my handiwork. I purchased them on Etsy. The milk bottle I found on Ali Express. The small heart candies and dollaps of whipped cream came from silicone molds I found on Etsy.
I will provide all the supplies and links below.
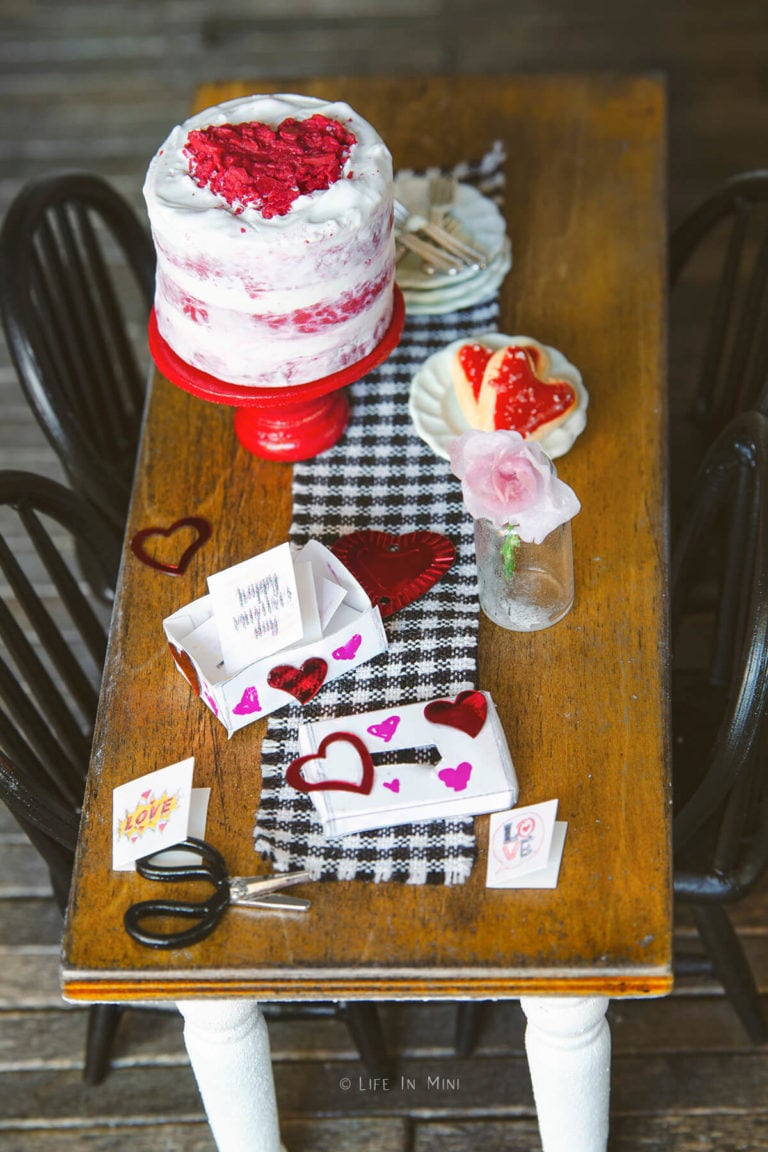
When I was growing up, we used to make Valentine Boxes out of shoe boxes. They were elaborately decorated with our handiwork and the slot on the top was where we could drop cards to each other. I remember going to school with a bag full of homemade Valentines ready to hand out to my friends and classmates.
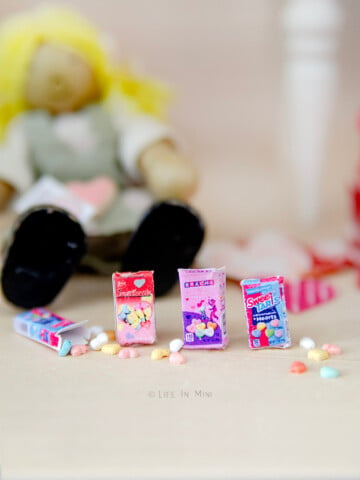
With my kids, for many years they passed out store bought Valentines, but I did have them make some homemade versions a couple of times. I found these free valentines printables and shrunk them down for my minis. I have a free shoebox template here for you to use however you like.
Supplies and tools

This post contains some affiliate links for your convenience (which means if you make a purchase after clicking a link I will earn a small commission but it won’t cost you a penny more)! Read my full disclosure policy.
- Fimo polymer clay: I used beige clay for the waffle base and the strawberries. I combined black and blue for the blueberries. I used regular white clay for the whipped cream and bowl. The chocolate bars was made with brown.
- Cernit translucent clay: I mixed this with some red and pink pastels to get the base color for the raspberries.
- Pastels: Scrape the pastels into resin or liquid polymer to get the color you like. I also use a small paint brush to color the waffles and strawberries with the pastels before baking.
- Liquid polymer clay: I used this for the mini heart candies. Because the mold holes is so small, it is easier to add liquid clay to make the mini hearts. I also use liquid polymer clay as a little adhesive to add the green leaves to the strawberries.
- Satin glaze: This is brushed on the final polymer bakes to give it a sheen: strawberries, chocolate bars, raspberries, white bowl.
- UV resin: I used resin for the syrup (colored with brown pastels). You will need UV resin, a UV light and toothpicks. I used the plastic discards from minis I bought to mix the resin.
- Glass paint: This is my new favorite paint medium. When you want the color to be ‘see through’ this is the paint you need. I used it on the raspberries.
- Silicone molds: The mini heart candies was created using mini heart silicone mold I got on etsy from Ah La Molds.
- This is the cupcake Etsy mold from Ah La Molds I used for the small swirls of whipped cream. The large one is white polymer clay pushed through a XX piping tip.
- These are the orange slices I purchased on Etsy from this AMAZING clay artist, Olesya/Mini Dollhouse Art.
- Mini cutters: I used the heart cutter for the waffles.
- Rolling pin: I don’t use a pasta machine but this small rolling pin to work my clay.
Hope you enjoyed this little project!


If you are enjoying my blog, why not sign up for my newsletter so you won’t miss out on the mini adventures!
Written by Laura Bashar
I’m a food blogger and cookbook author that loves miniatures and crafting. I started this blog to share my passion for minis, including tutorials and free printables.
Rose Desjardins says
Ii so truly enjoed reading your adventures in minis.
Laura says
Hi Rose-
That is so sweet, thank you!
Laura