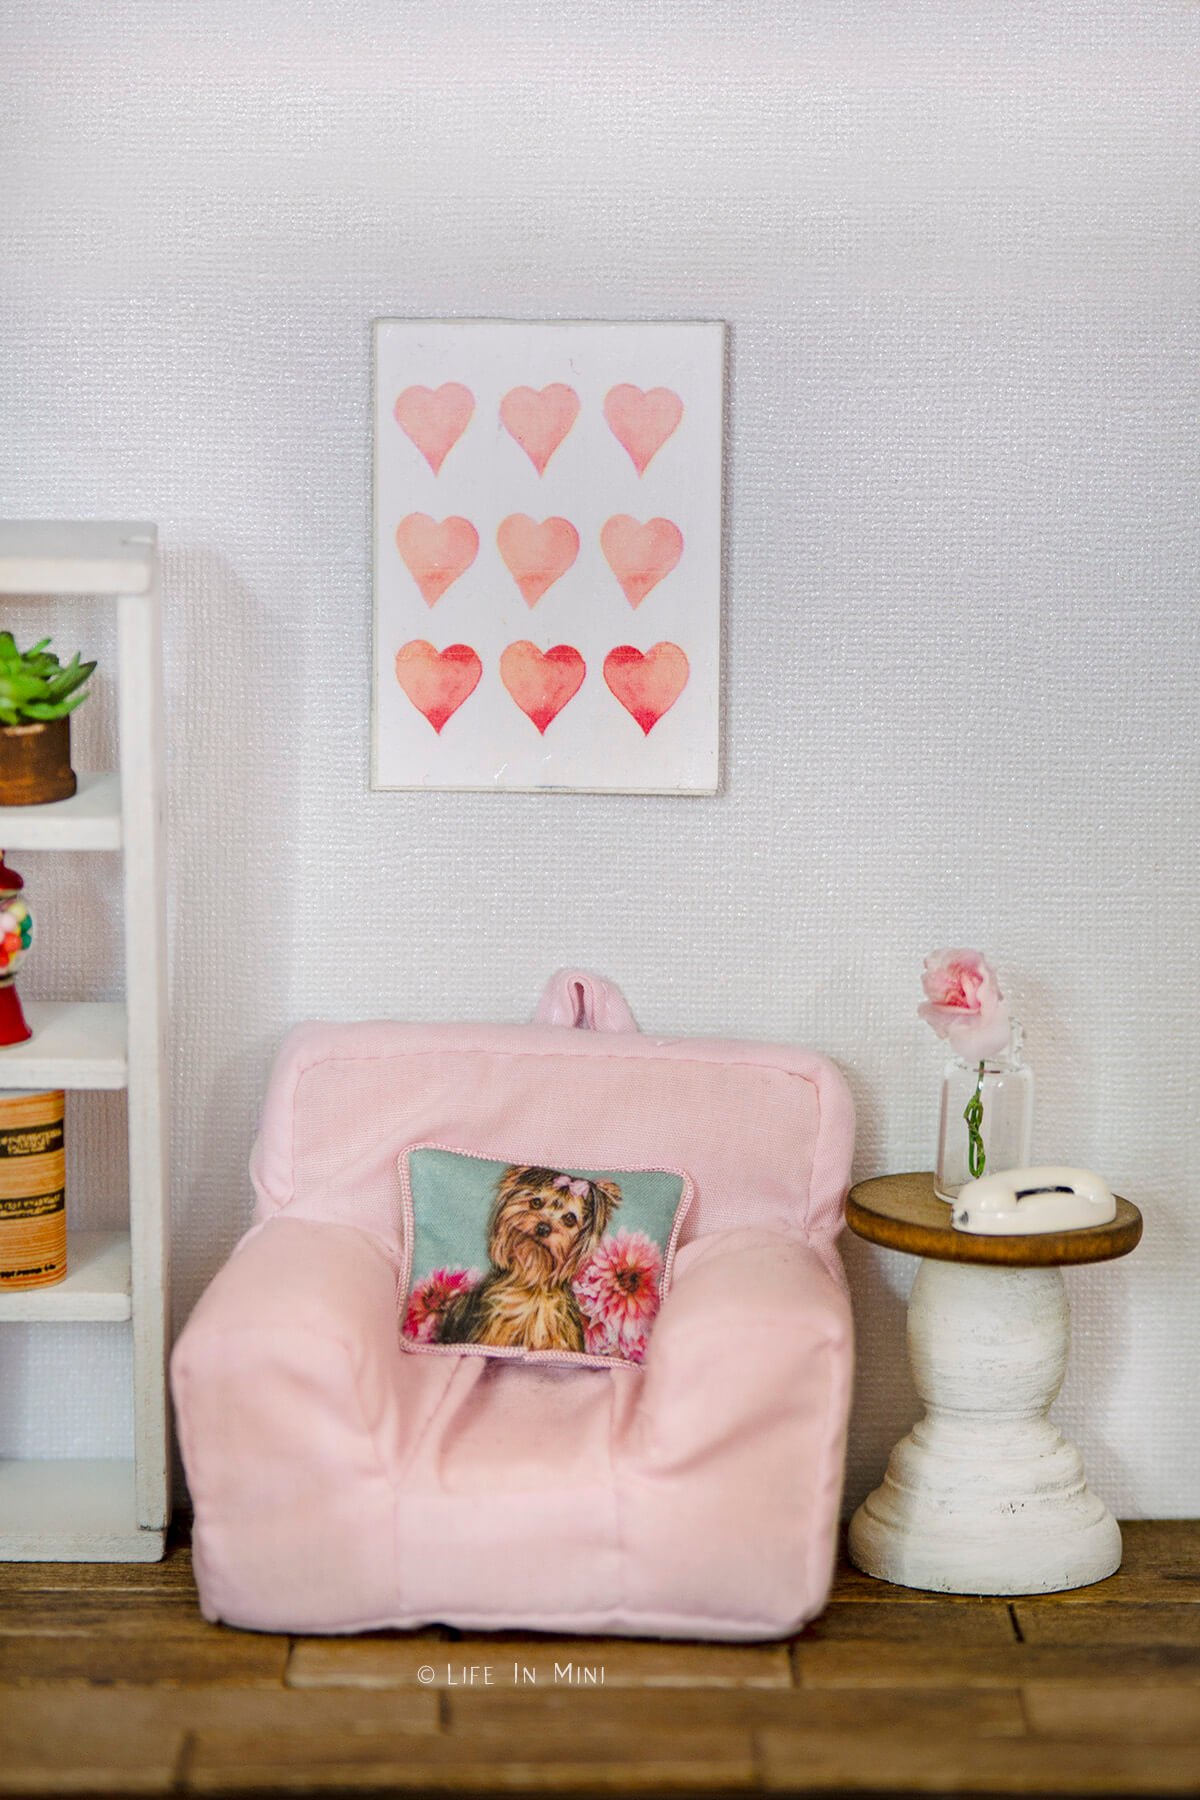
You can easily build your own 1:12 dollhouse table by using some scrap wood and craft wood candlesticks. Make a small side table, round dining table or even a large farmhouse table.
I recently cleaned up and packed up many of my miniatures in anticipation of a big family move. But there have been some delays, so I am kinda sitting in purgatory until we can pack up and move.
To keep myself busy, I have my food blog and some contract work. The one thing that relaxes me is my miniature therapy. So I worked on a small project that wouldn’t make a big mess in the playroom.
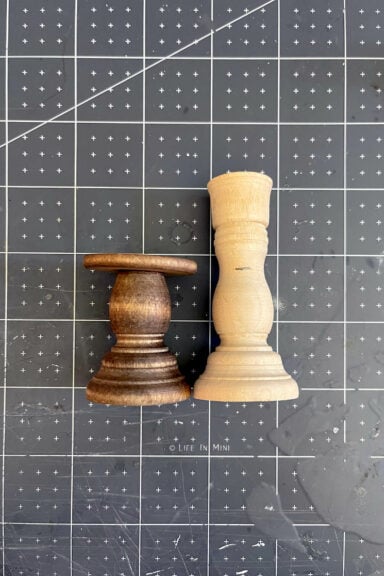
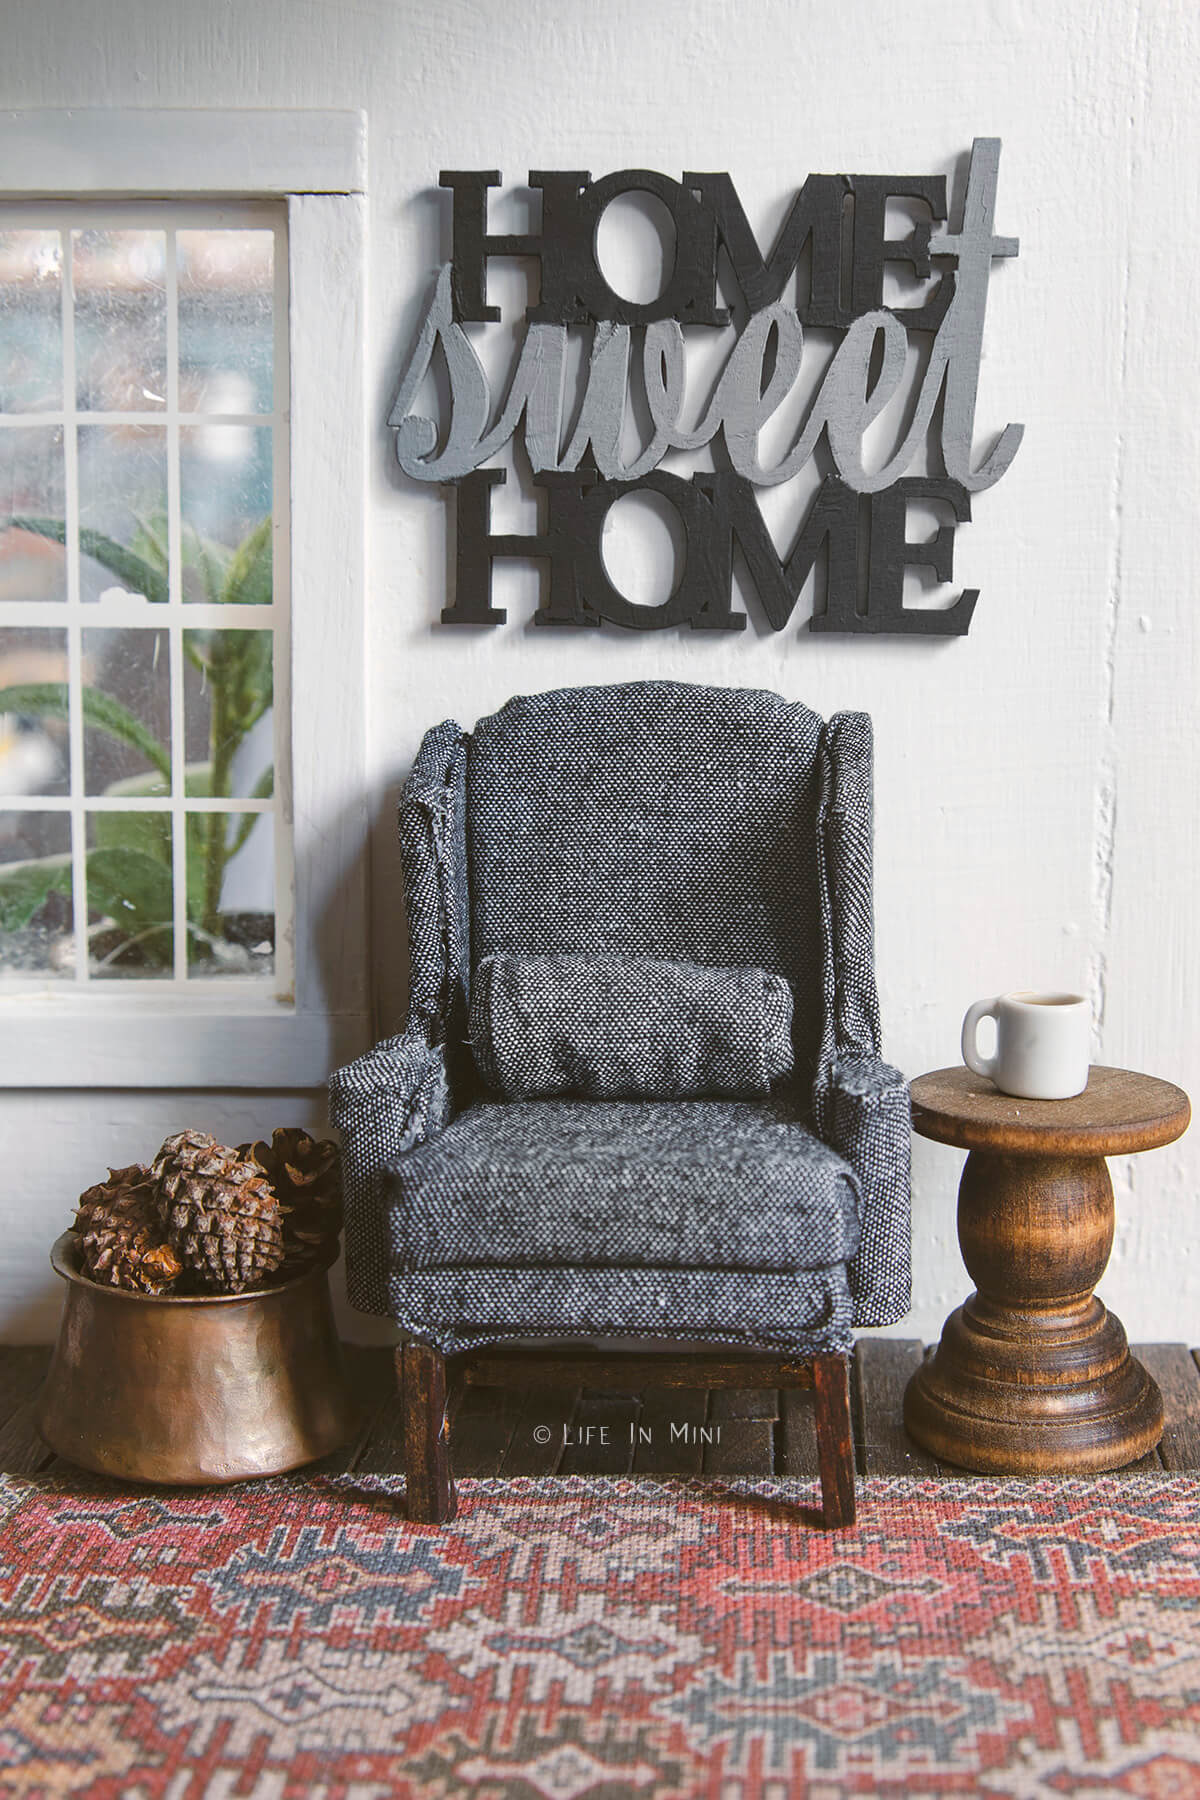
This 1:12 dollhouse table is very versatile. The base comes from a wooden craft candlestick that I cut down to size. I made a small side table with it, but you could also make a round dining table with this base, too.
You can also use two candlestick bases and glue a large rectangle top to make a farmhouse dining table for your dollhouse. So many possibilities and it doesn’t cost that much in raw materials.
The candlestick is similar in shape to the small wood finials I used in making the miniature farmhouse console table. The candlesticks do cost less than the finials. Both are great to have in your wood arsenal when you are building dollhouse furniture.
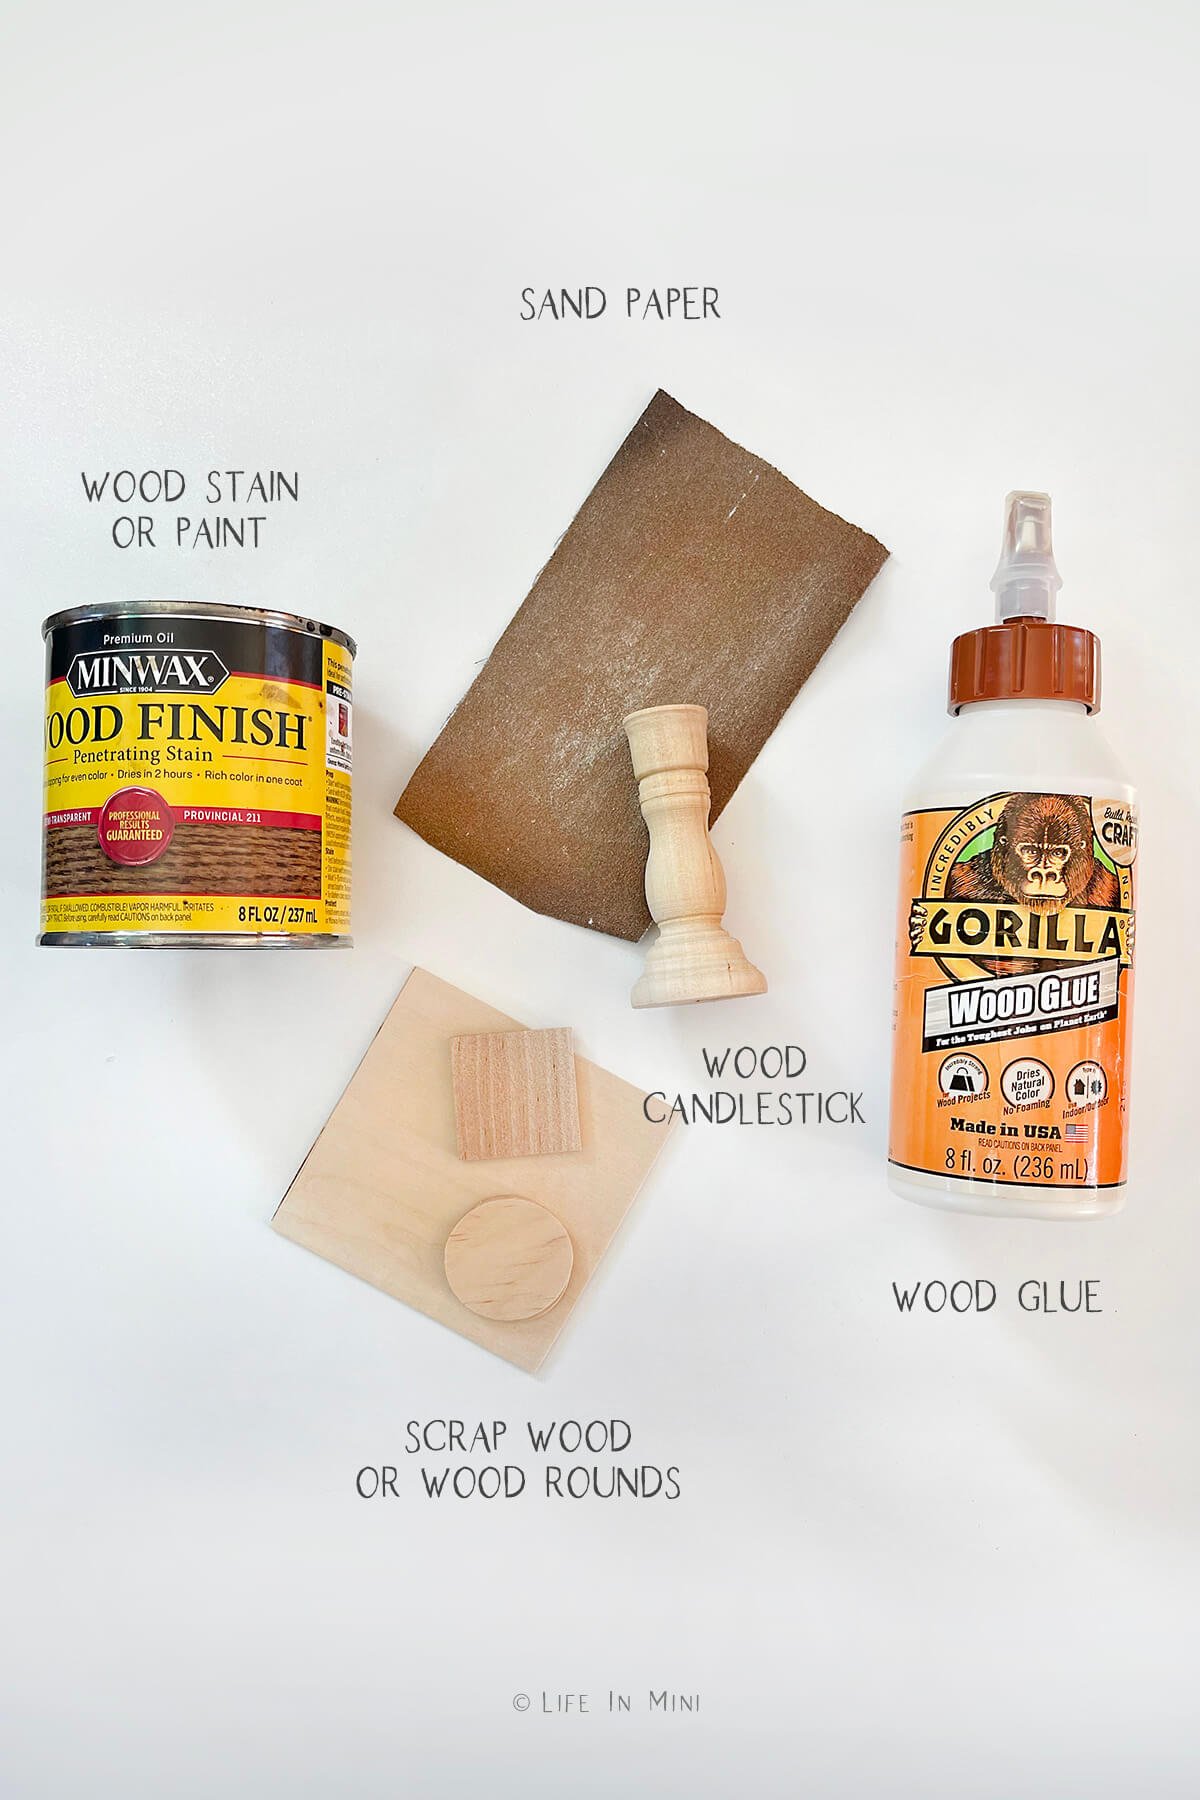
Supplies you need
This post contains some affiliate links for your convenience (which means if you make a purchase after clicking a link I will earn a small commission but it won’t cost you a penny more)! Read my full disclosure policy.
- Wood craft candlestick: You can find these in craft stores like Hobby Lobby, Michael’s or online.
- Wood rounds or scrap wood: For the tops of my small side tables, I used these wood rounds I found at the craft store. You can also cut your rounds or squares or whatever you want. Use a larger round for a small kitchen table, or use a rectangle if your base is two candlesticks. You will need the table top to be about ⅛-inch thick and basswood is stronger than balsa.
- Sand paper: After trimming the wood pieces they need some light sanding.
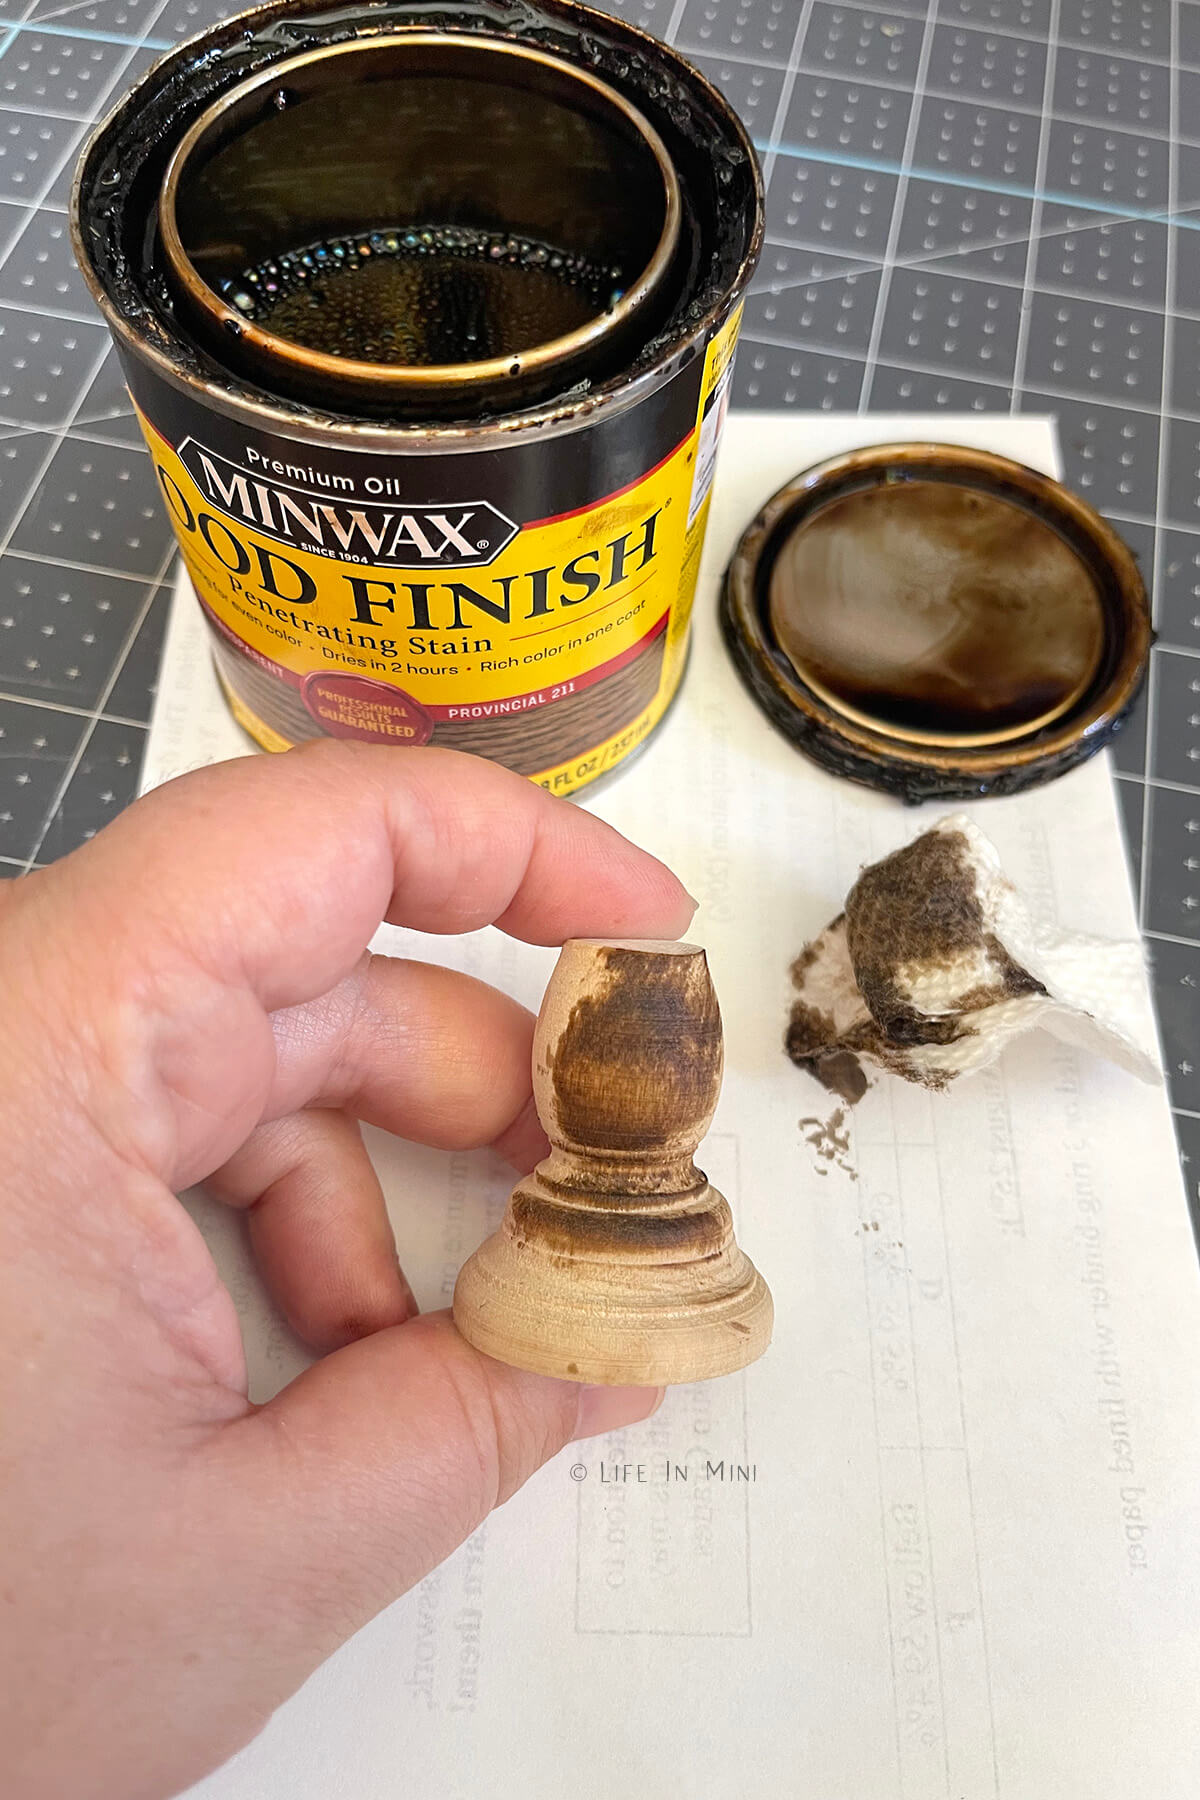
- Wood stain: I stained the top of the table (which is basswood) using minwax provincial 211.
- Acrylic paint: I wanted the rest of the console table to have this rustic white finish. I used white and cream paints. You can also use chalk paints.
- Small paint brushes: If you are painting your table, you will need a small paint brush.
- Paper towels: If you are staining your wood pieces, I like to use pieces of paper towels.
- Wood glue: You can also use Aileen’s tacky glue, as long as it dries clear, but I find that wood glue gives a stronger bond.
- Wood cutters: You can use an x-acto blade, small hand saw or a mini table saw to trim the pieces to desired lengths. With an x-acto blade, it will take slow and steady cuts to cut the candlestick.
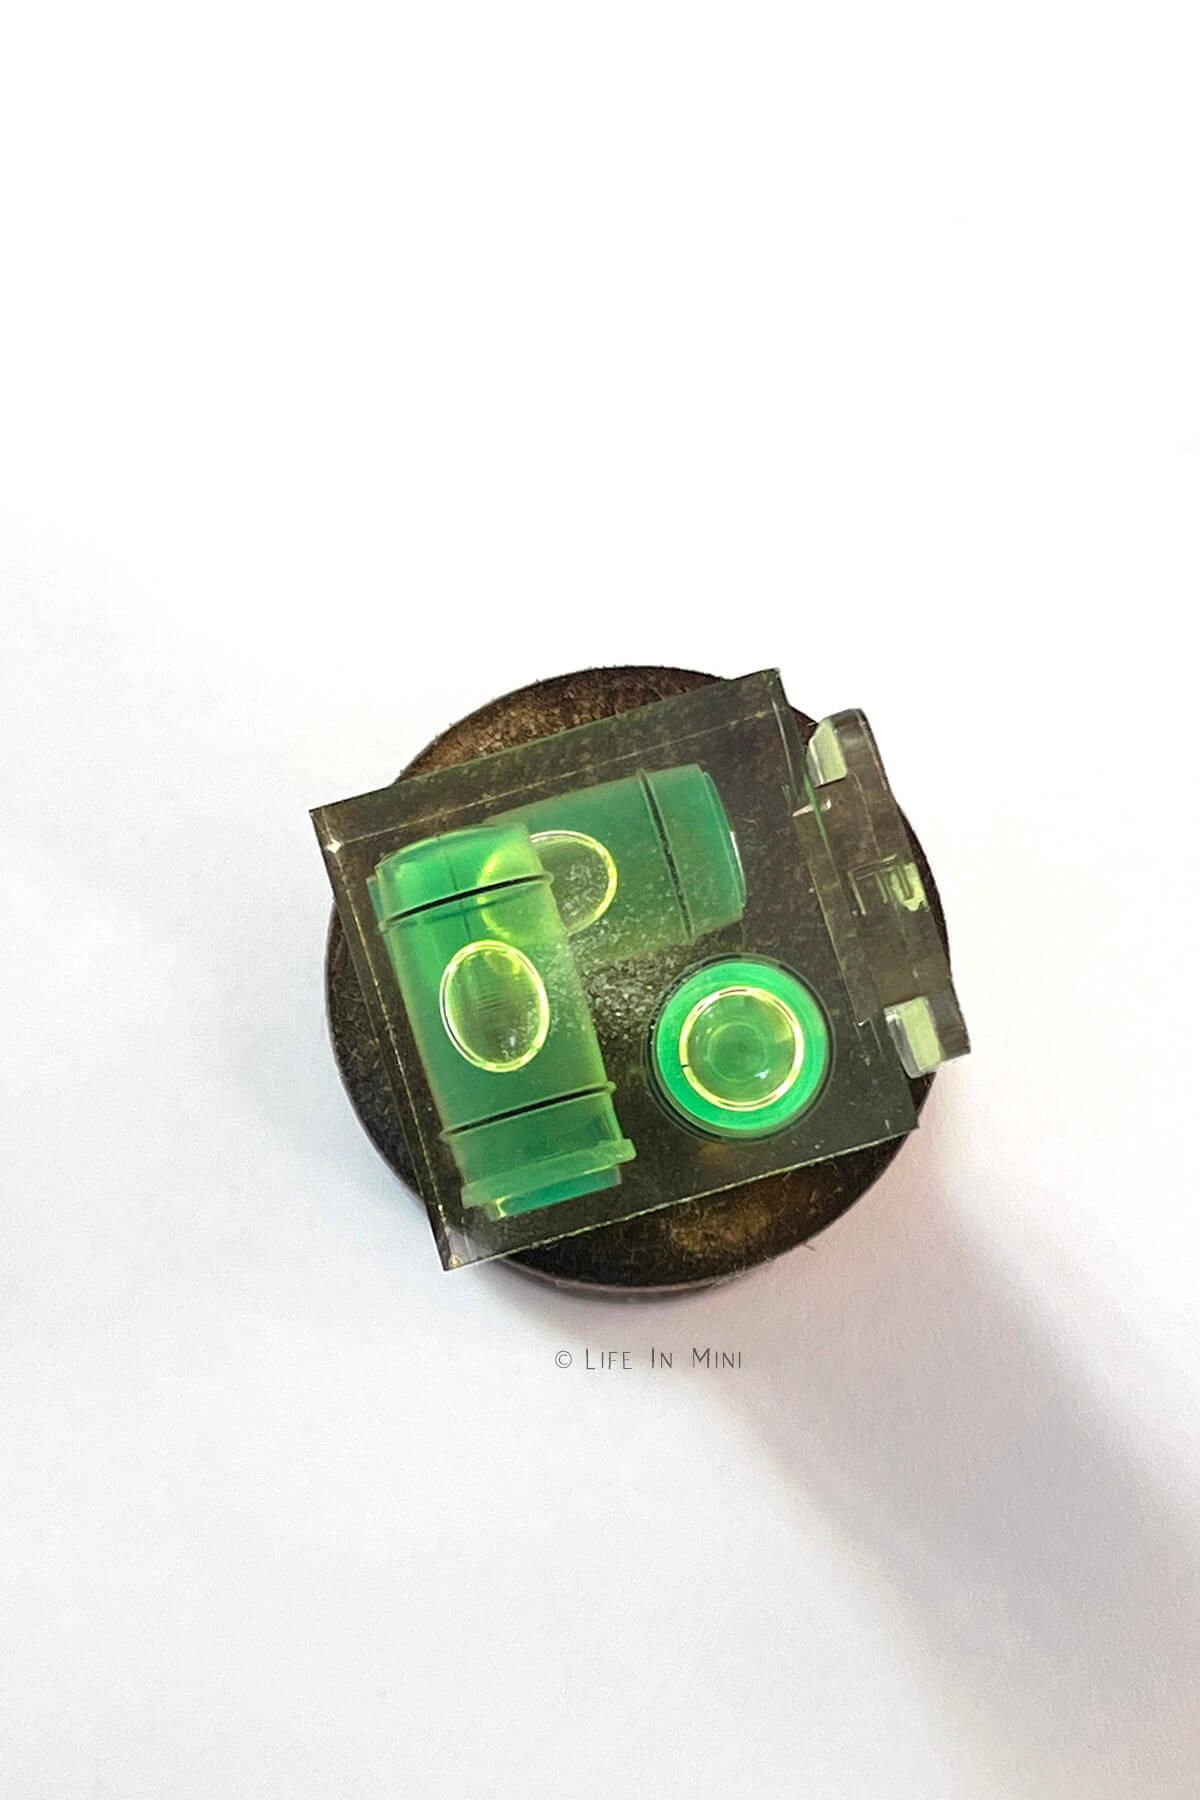
- Level: By using a bubble level, you can insure a perfectly flat table. This small level is just the right size for dollhouse projects.
Step-by-step directions
1. Mark the wood candlestick where you want to cut it. If using two for a dining table, make sure they are equal heights.
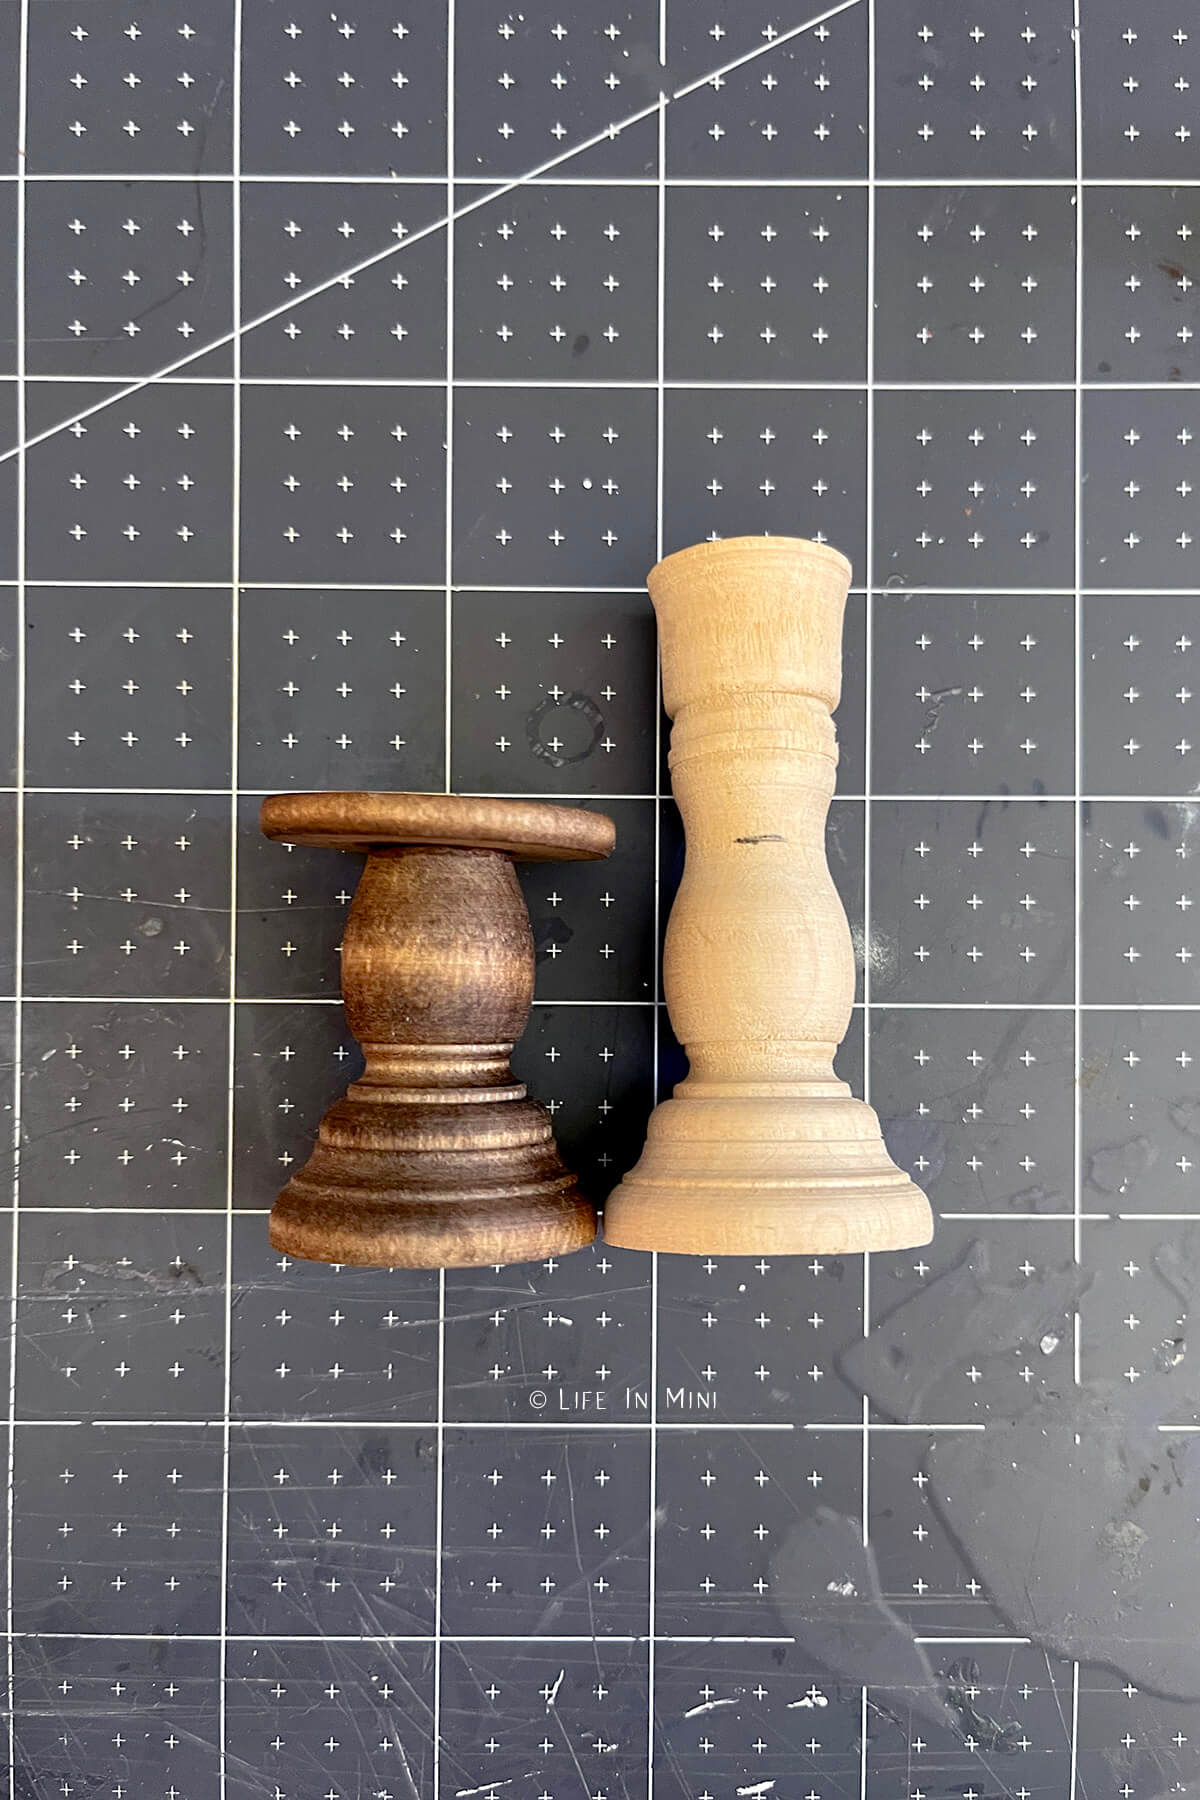
2. Cut the candlestick to desired height. Save the piece you aren’t using for another project, like a plant pot.
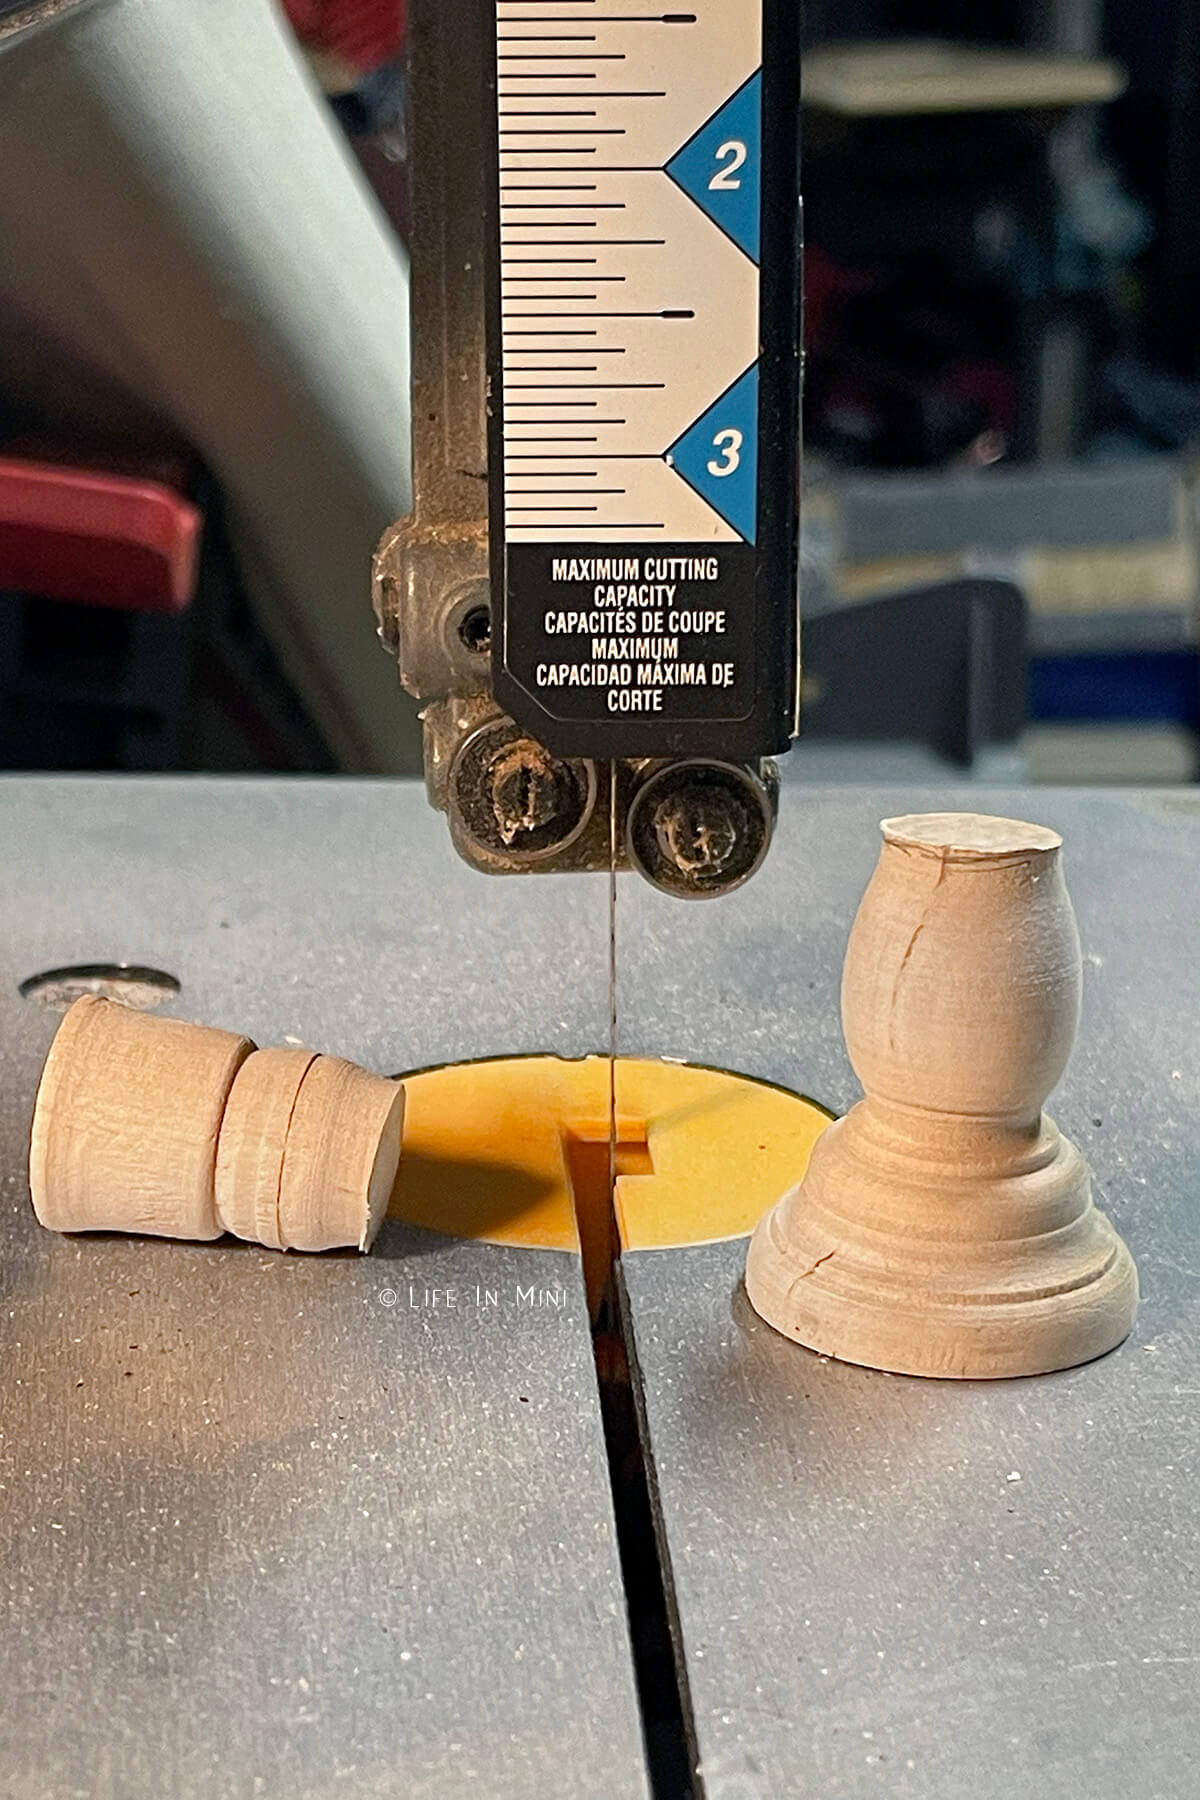
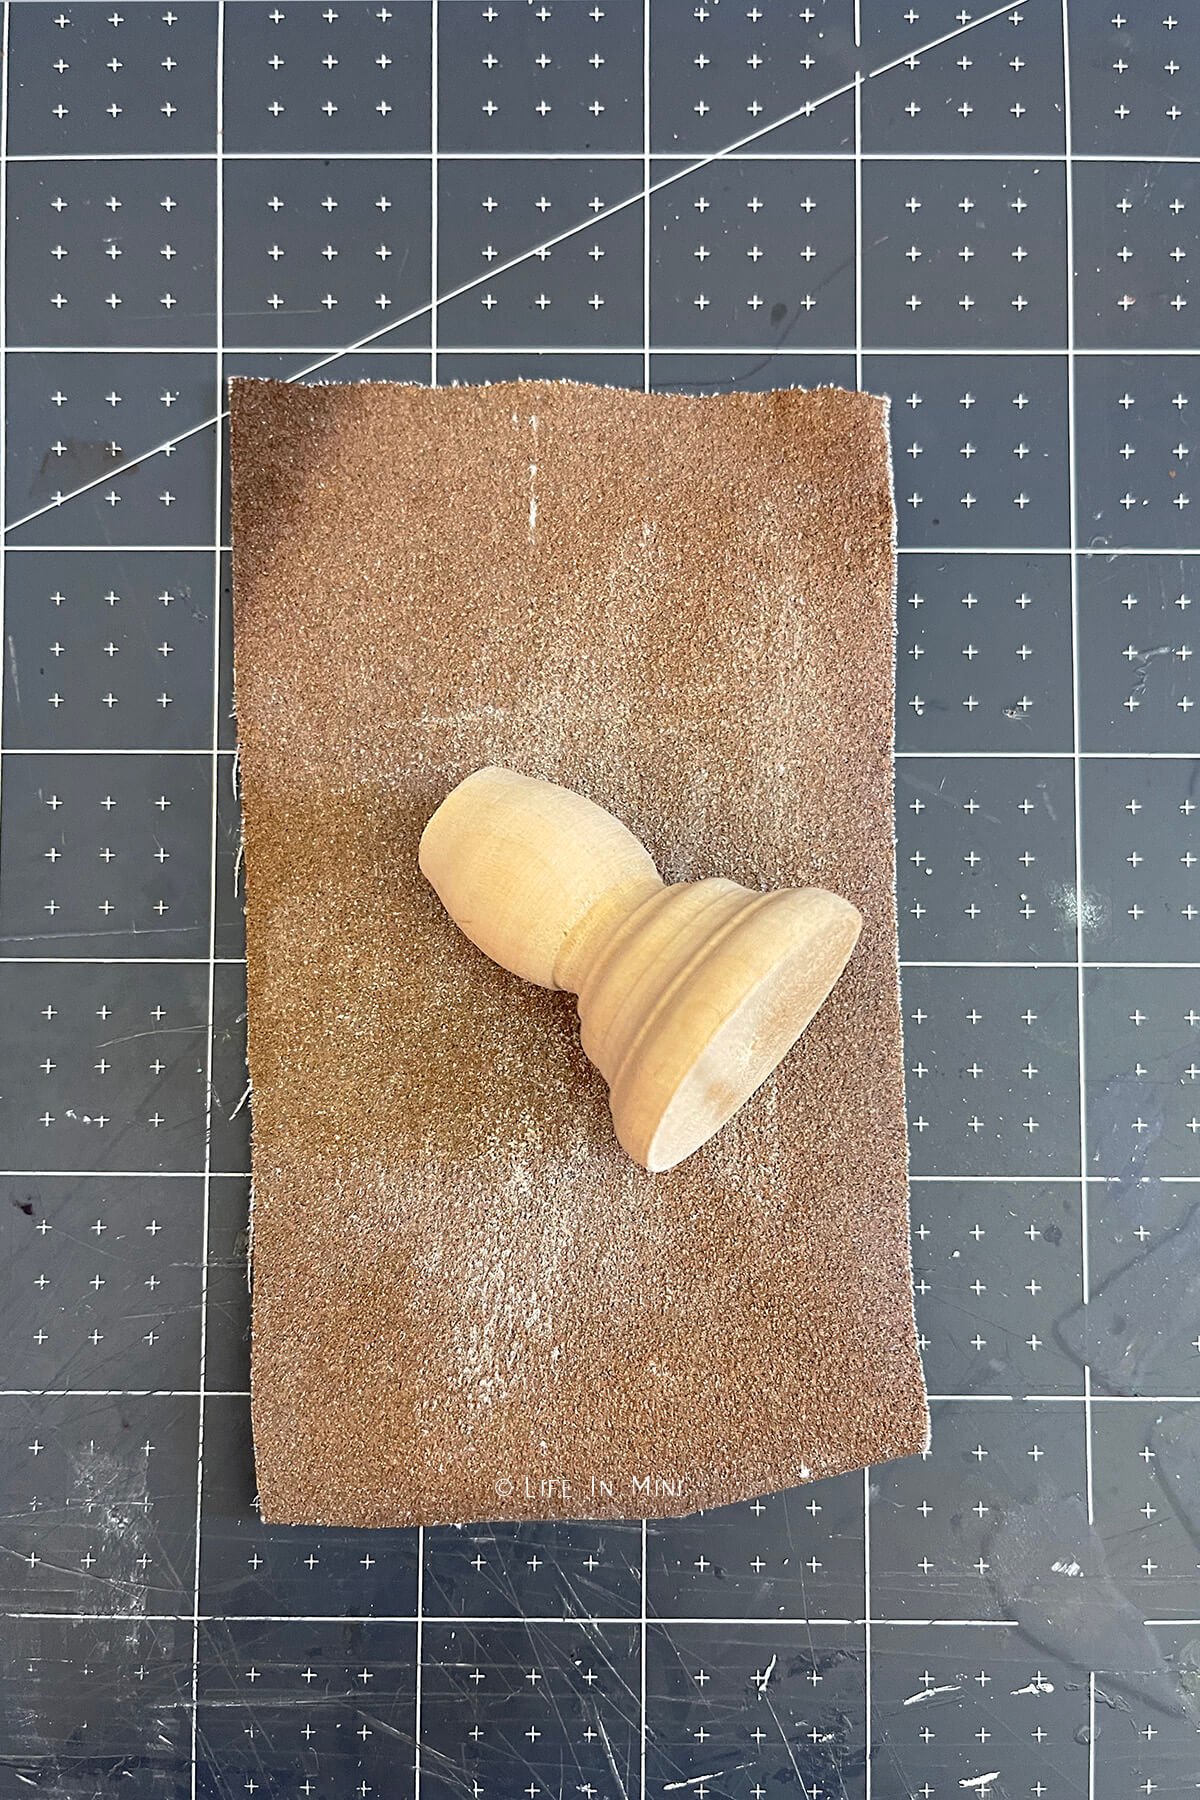
3. Sand the table base smooth. Use a leveler to make sure it is even and flat. If cutting the table top, do so now. Sand edges smooth.
4. Stain or paint your pieces and let them completely dry.
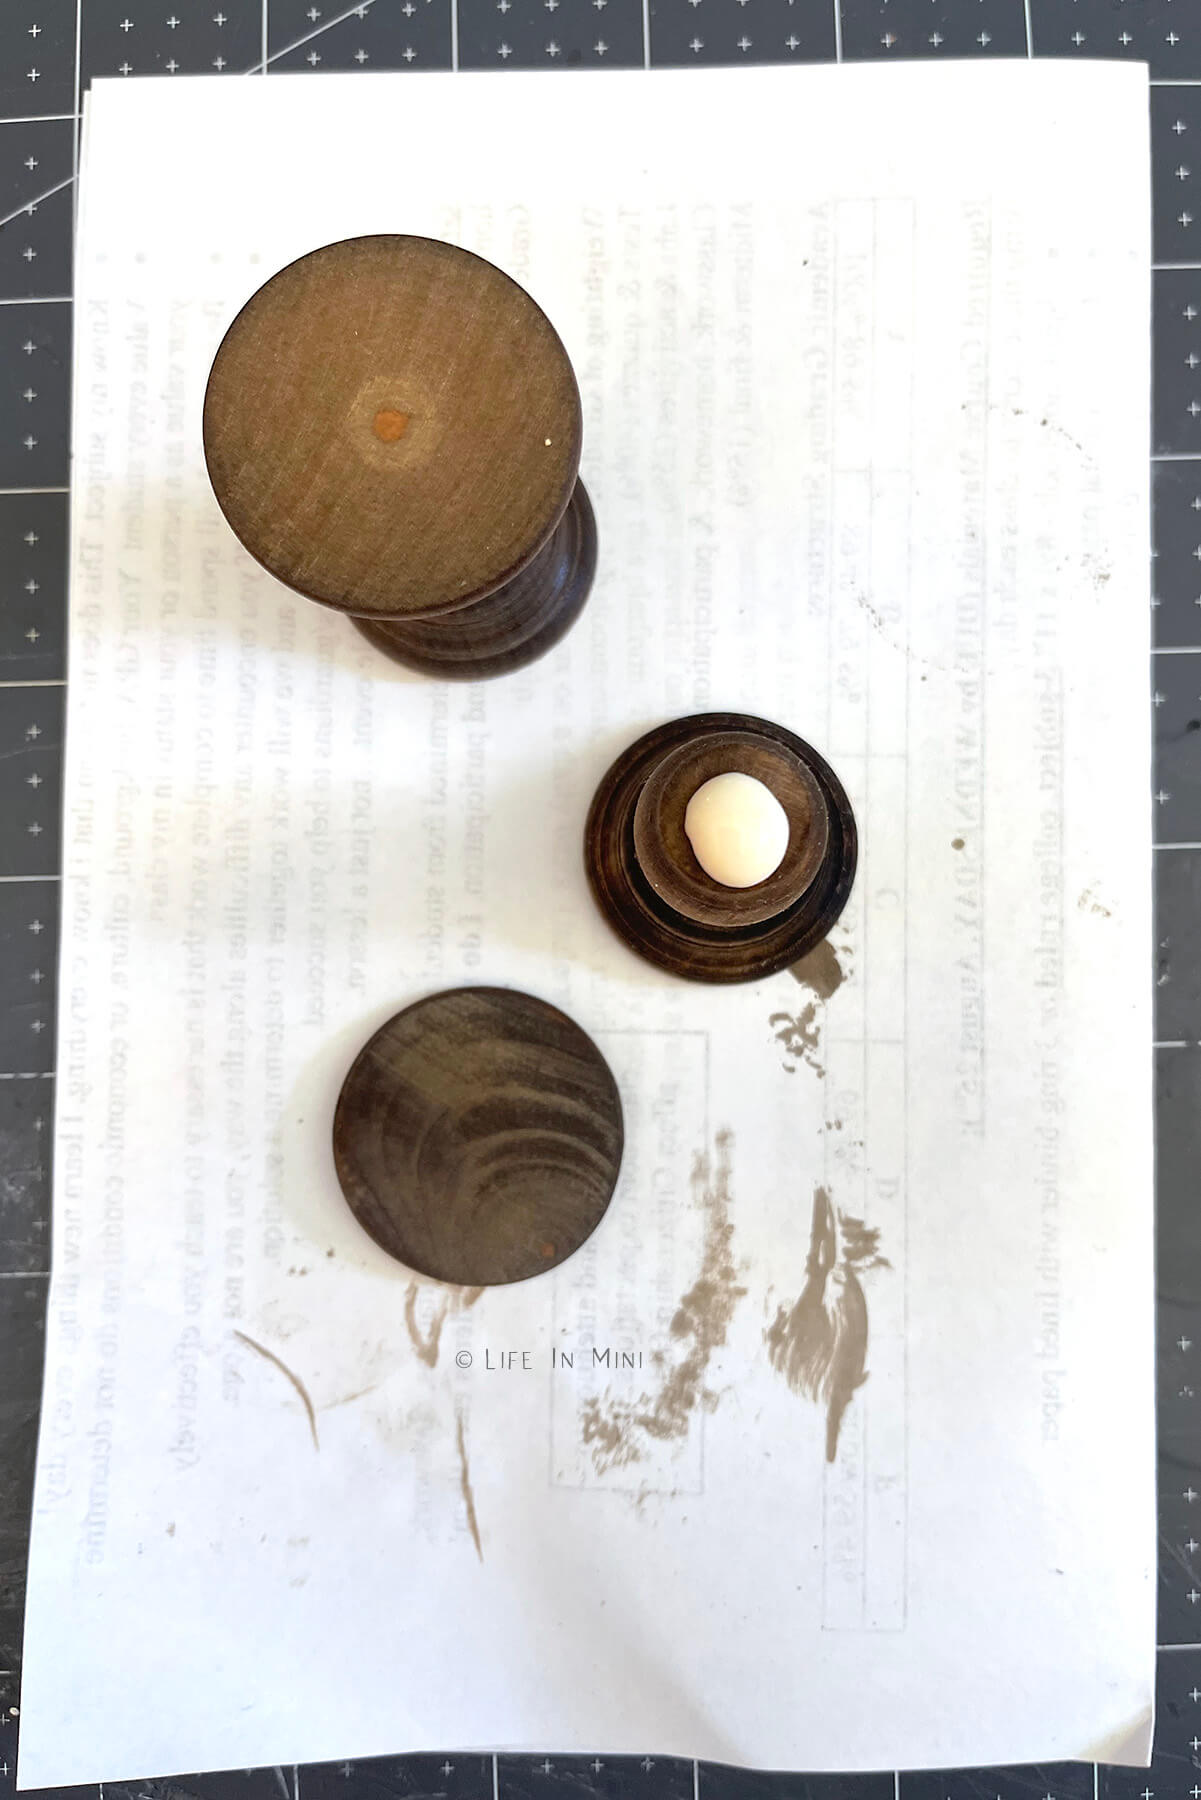
5. Add a dab of wood glue on the top of the cut candlestick and place the wood top over it, making sure it is centered. I found it easier to position with the table inverted.
6. Again, make sure the piece is level before it completely dries.
Project tips and FAQs
I made two of these little tables, one is completely stained and the other has the base painted white and the top stained. I kinda like them both and have them in two different parts of the dollhouse.
I still have a few more candlesticks, so I think I will make some big dining tables with them. You could also use them for the base of the console tables I showed you before.
You can use these wood candlesticks for 1:6 furniture projects, too. Again, they do not cost much and you can sometimes find them at the dollar store.
Laura’s Top Pick:
These wooden candle sticks are so versatile for making dollhouse furniture and can work in a variety of scales of miniatures.
The most popular dollhouse size, or scale, is 1:12. Some smaller dollhouses can also be found in 1:24 and even 1:48. If you want your dollhouse to have a dollhouse, this scale is 1:144. Dolls like barbies are scaled larger and are sized at 1:6.
I find my full size inspiration pieces online and look their measurements. When making your own dollhouse furniture, just divide your inspiration piece by the scale you are using. Since my dollhouse is 1:12, I divide the measurements by 12.
If you are enjoying my blog, why not sign up for my newsletter so you won’t miss out on the mini adventures!
1:12 Dollhouse Table
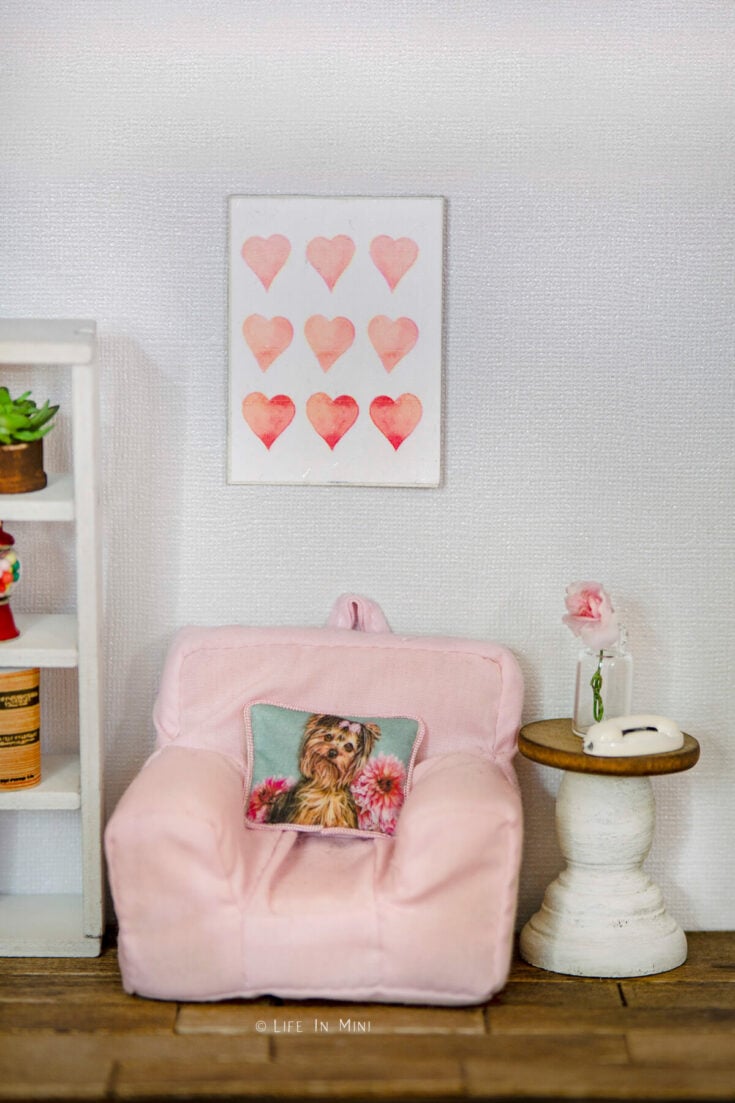
You can easily build your own 1:12 dollhouse table by using some scrap wood and craft wood candlesticks. Make a small side table, round dining table or even a large farmhouse table.
Materials
- Wood craft candlestick
- Wood rounds or scrap wood ⅛th-inch thick
- Wood glue
- Wood stain and/or acrylic paint
Tools
- Wood saw
- Sand paper
- Level
- Small paint brush
- Paper towels
Instructions
- Mark the wood candlestick where you want to cut it. If using two for a dining table, make sure they are equal heights.
- Cut the candlestick to desired height.
- Sand the table base smooth. Use a bubble level to make sure it is even and flat.
- If cutting the table top, do so now. Sand edges smooth.
- Stain or paint your pieces and let them completely dry.
- Add a dab of wood glue on the top of the cut candlestick and place the wood top over it, making sure it is centered. I found it easier to position with the table inverted.
- Again, make sure the piece is level before it completely dries.
Notes
You can stain the entire table, paint it or do a combination. The table top can be a round piece of wood of any dimension you want. For a dining, table, use to candlesticks for the base and cut a rectangle piece of wood for the top.
Basswood is stronger and more durable than balsa wood. Make sure your table top is ⅛-inch thick otherwise the top will be flimsy and can break easily.
PS If you try this craft, why not leave a star rating in the direction card right below and/or a review in the comment section further down the page? I always appreciate your feedback.
You can also follow me on Pinterest, Facebook or Instagram. Sign up for my eMail list, too!

Lori says
Hi there Laura, I’m a newby to the dollhouse world of JUST decorating working on my 4th house since the pandemic started in March 2020. I risk a log cabin doll house and I found your blog on how to make a farmhouse table which I have purchased the finials and necessary would been working on it. I’d like to know where you got the MINI LEVEL.. thank you for all that you do when your creativity bringing it to the mini world I appreciate it very much and you give me a lot of ideas to move ahead any interest in making some little treasures thank you so much Lori
Laura says
Hi Lori,
Thank you for your sweet words. I wish I could work on my minis every day because I find it so relaxing and so rewarding. I got the mini level from Amazon: https://www.amazon.com/dp/B06WVL6YQN/?tag=familyspice07-20&th=1 but I also saw small ruler type levels at the dollar store. Can’t wait to see how your table turned out!
Laura