Adding miniature drawer pulls on your dollhouse dresser does not have to cost a small fortune. I have a super cheap way to create some antique dollhouse hardware.
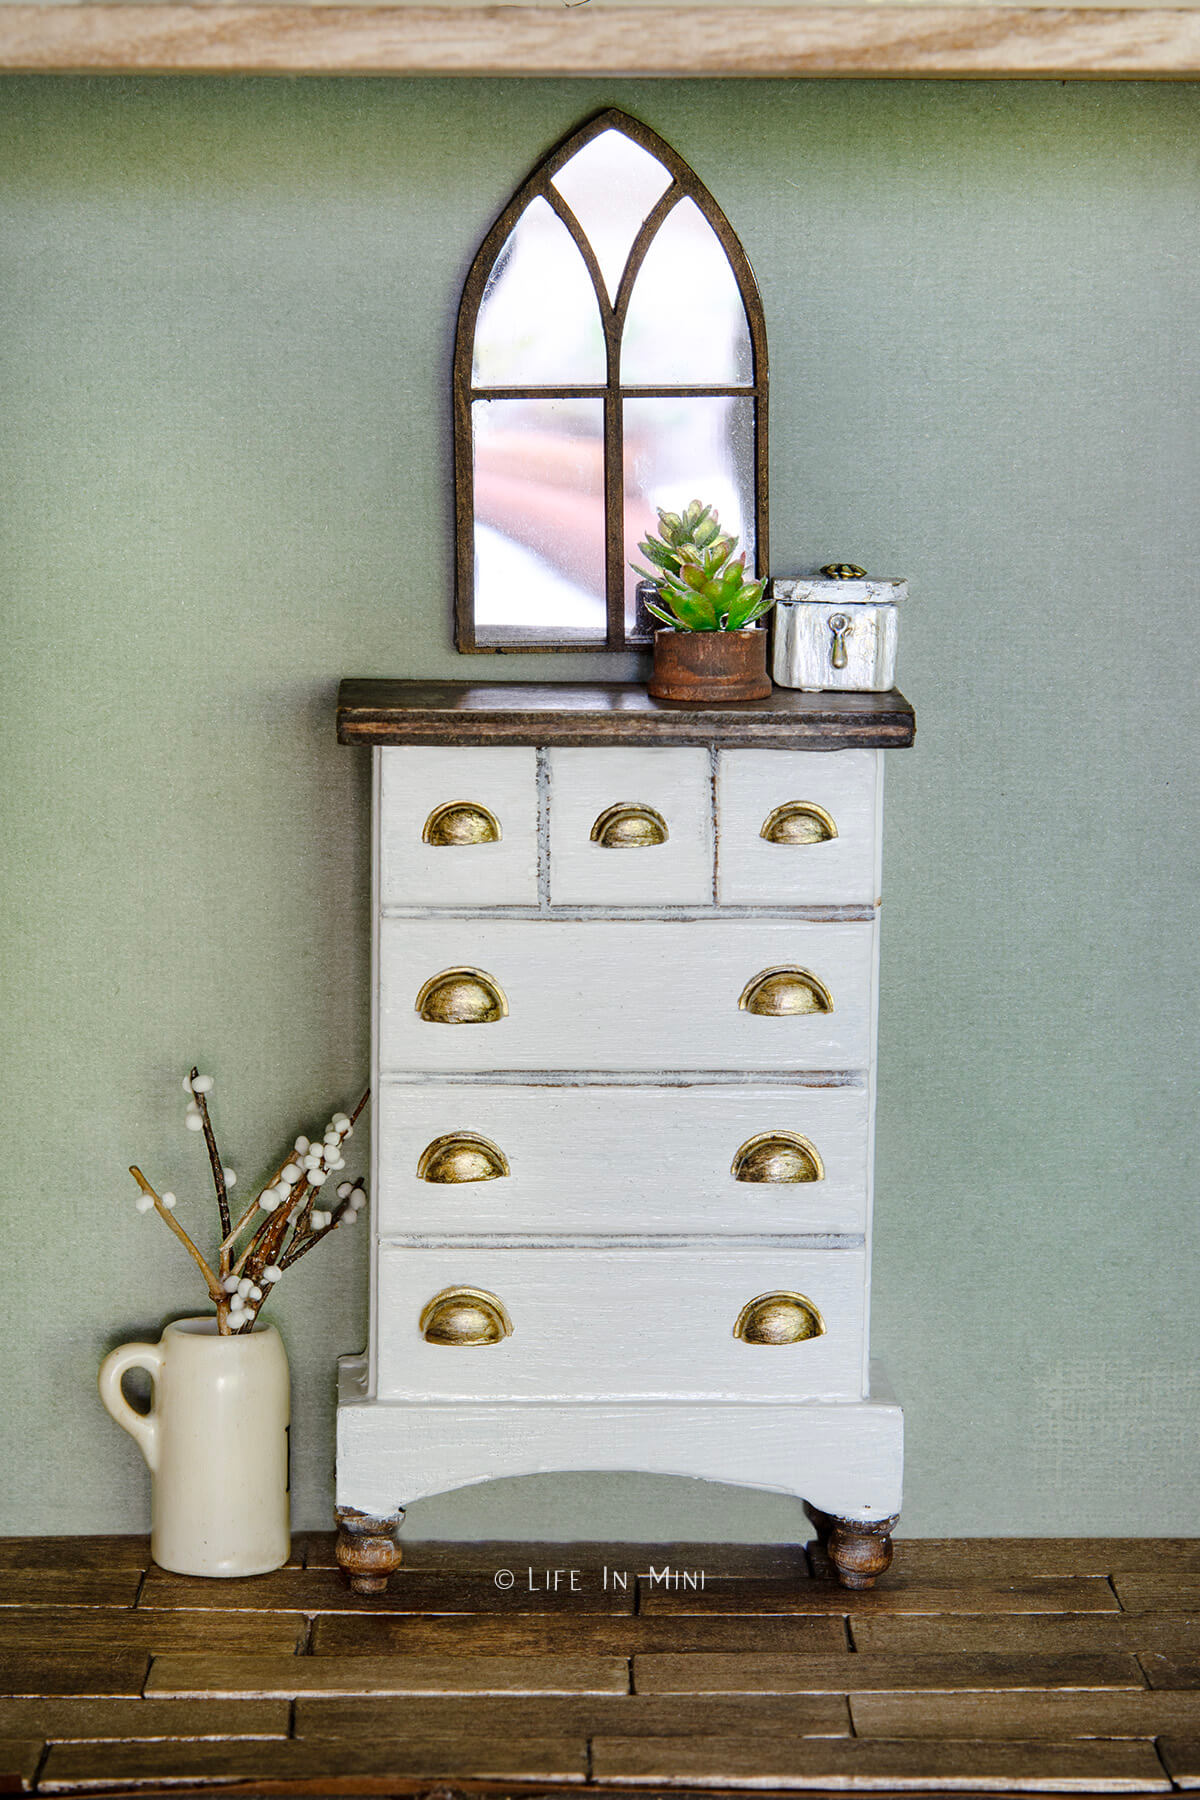
Creating miniature hinges, tiny drawer knobs and small drawer pulls are the finishing touches that can make your dollhouse furniture really show some character. It can also be one of the most frustrating things to make!
You could buy all of this dollhouse hardware, but it can seriously cost a small fortune. Do you know how many miniature drawer pulls you would need for a wall of kitchen cabinets?!
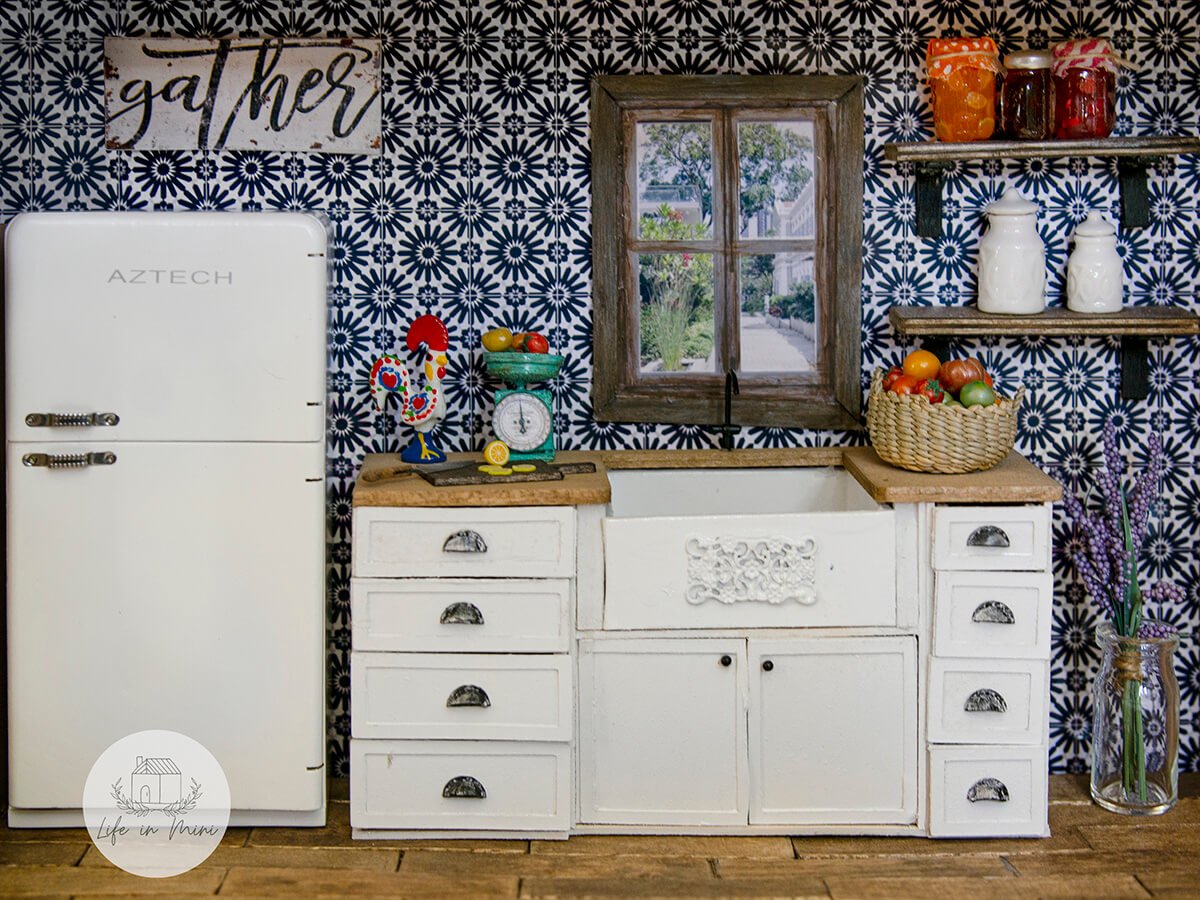
For my dollhouse kitchen, I made some of these antique looking drawer pulls out of card stock using my Cricut machine. That was a truly grueling project and some of them were a little fragile when it came to opening and closing my miniature drawers and cabinets.
I needed another solution.
Inspiration came from cleaning out the playroom when I was packing for my big move. Some of kids’ artwork from elementary school got packed up, others were falling apart.
I mean all 3 have graduated from high school so it’s okay to throw some of these 10-year old paintings, right????
A googly eye fell of beautifully sun-faded octopus. I discovered it when I stepped on it, of course. As I was ready to toss the schmushed eye in the garbage, I looked at it closely.
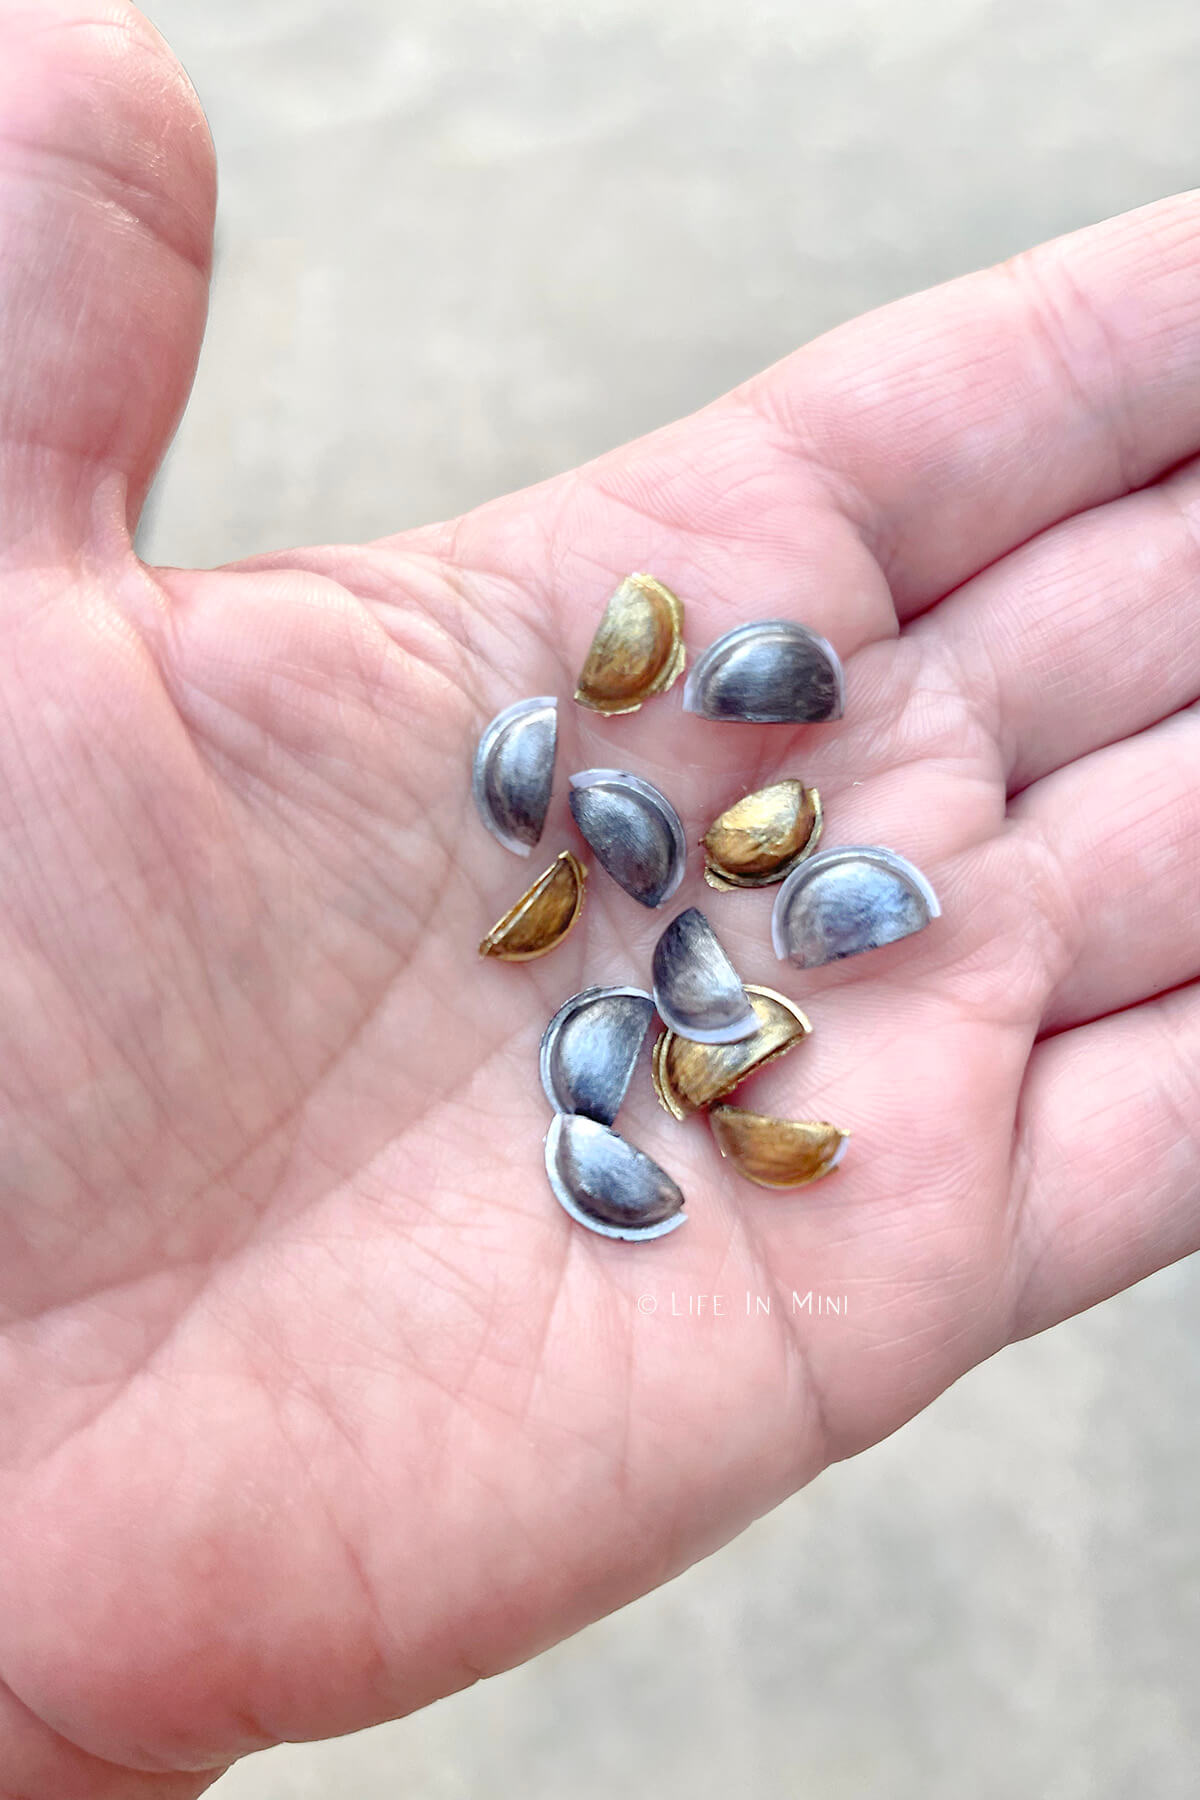
And of course, I quickly pulled out the octopus from the trash, peeled off the other eye and cut it in half. Boom, drawer pulls.
Tell me I’m not the only that uses trash for mini making?
Supplies needed
This post contains some affiliate links for your convenience (which means if you make a purchase after clicking a link I will earn a small commission but it won’t cost you a penny more)! Read my full disclosure policy.
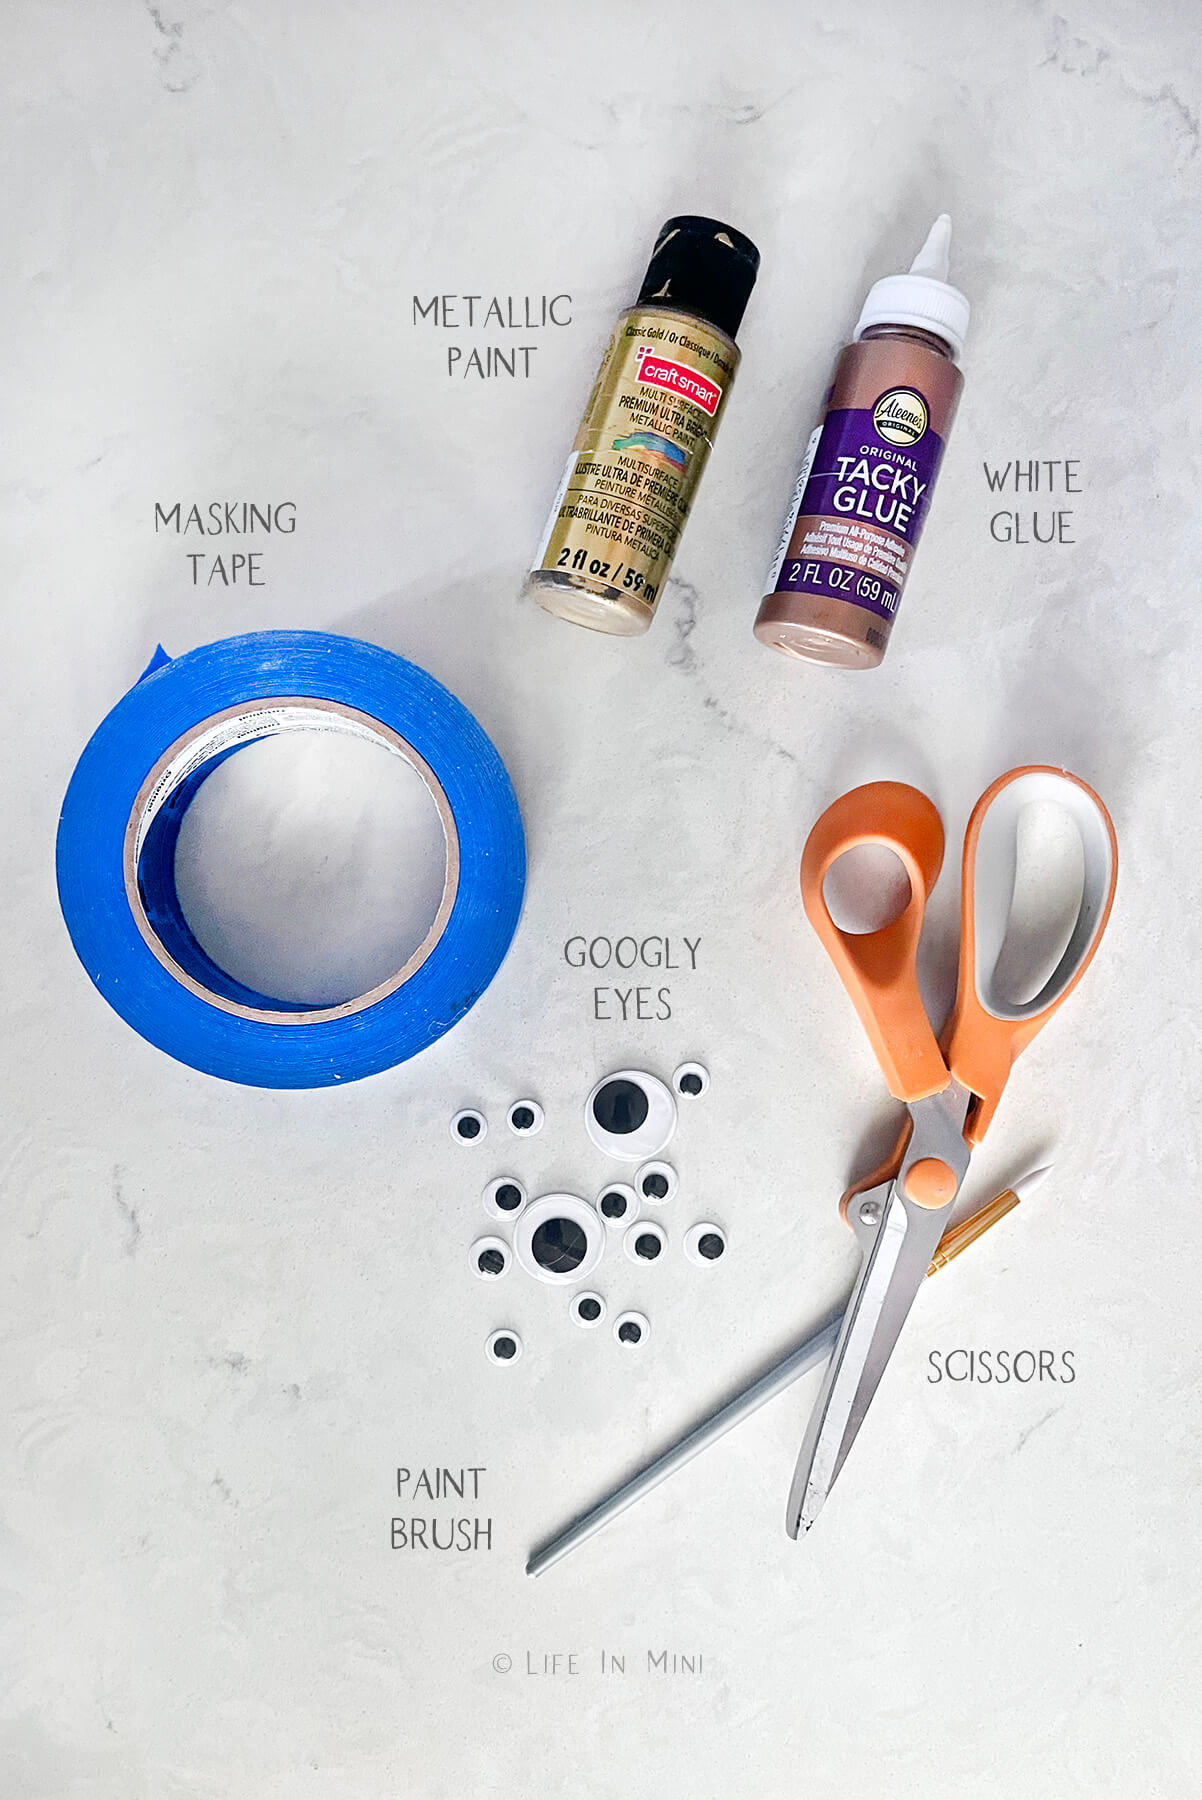
- Googly eyes: Feel free to peel them off your kid’s art project to use in this tutorial! But if you don’t have any on hand, you can get a variety of sizes at the Dollar Tree, craft store or Amazon.
- Scissors: I prefer using scissors to cut the googly eyes in half, but you could also use an x-acto blade.
- Paint: You can paint the drawer pulls in any color using acrylic paints. I used a combination of metallic paints like gold and metallic black.
- Paint brushes: You will need small paint brushes for painting and applying your sealant.
- Masking tape: I use this to help me when I’m painting the small itty bitty things. You will also need some scrap paper or work surface to secure the masking tape and do your painting.
- Glue: I always rely on my favorite Aleene’s Tacky Glue for these kind of projects, but you can use any craft glue that dries clear.
Step-by-step directions
1. Choose the size of googly eyes that will fit your miniature drawer or cabinet door. You will the cut them in half as evenly as you possibly can. Each makes two drawer pulls, unless you mess up a few and cut them uneven. Luckily, these are super cheap to replace!
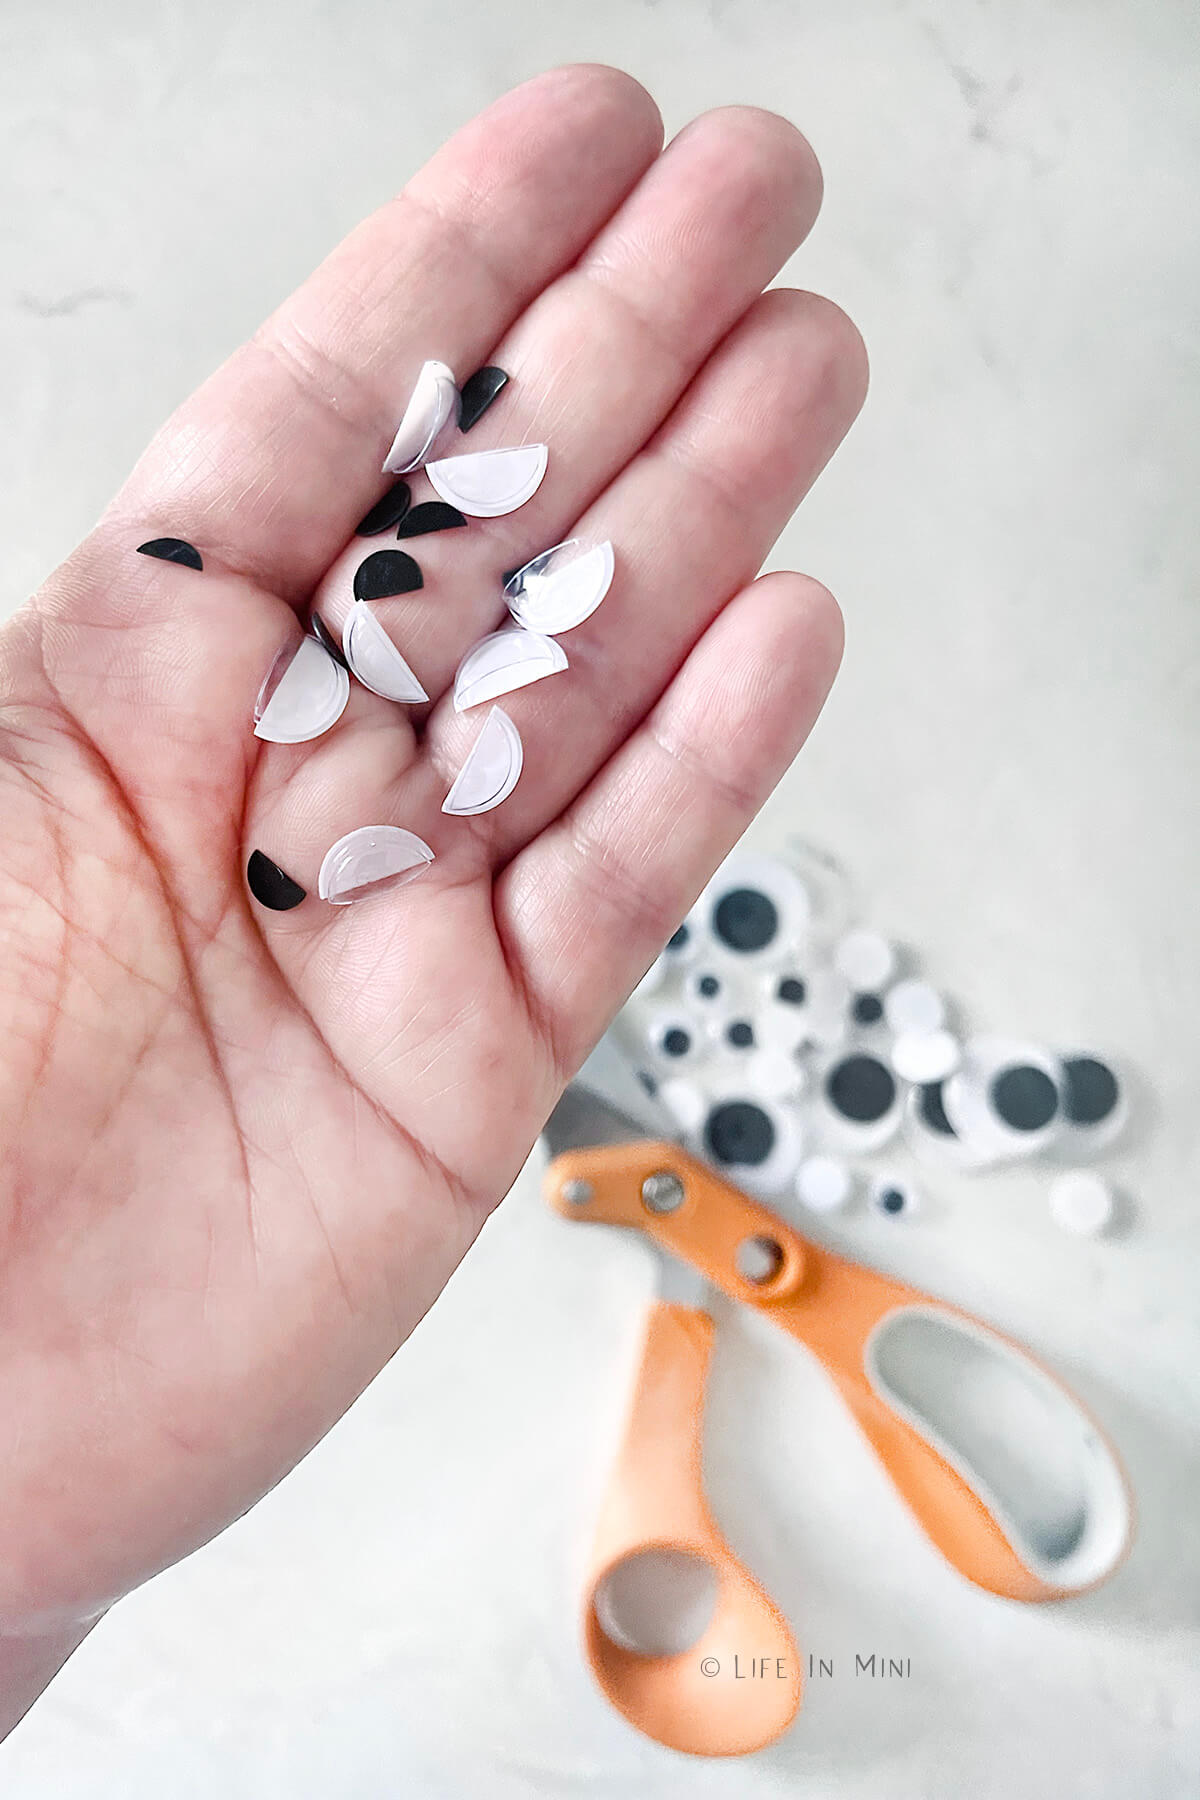
2. Tape the ends of your masking tape onto a scrap paper or work surface. You want only the two ends to attach to the paper with the rest of the sticky side facing up. Place your halved eyes onto the tape, flat side down.
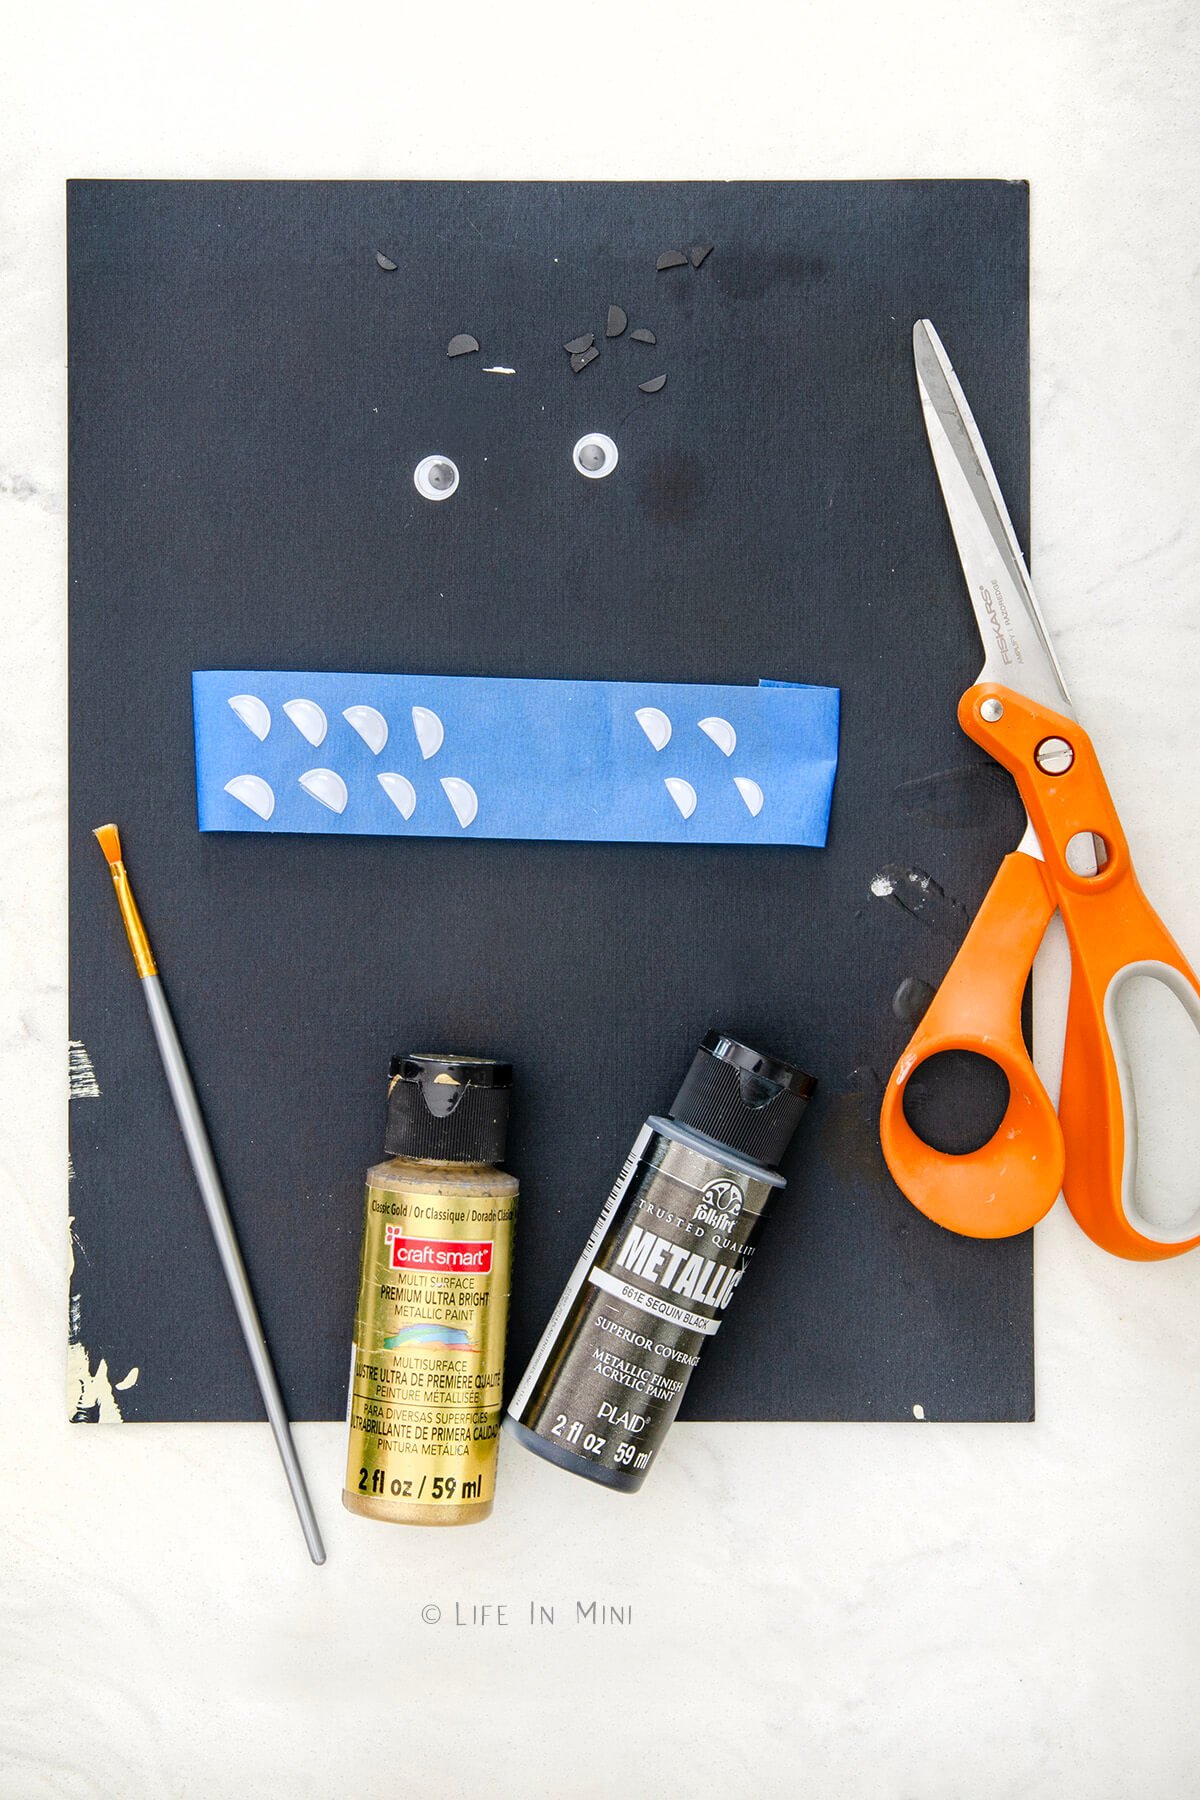
3. Start painting your handles the color you like. You will need at least two coats to cover them completely. Use different colors and dry brush a darker color for a brushed metal or antique look. Be sure to paint the hollow center, as well.
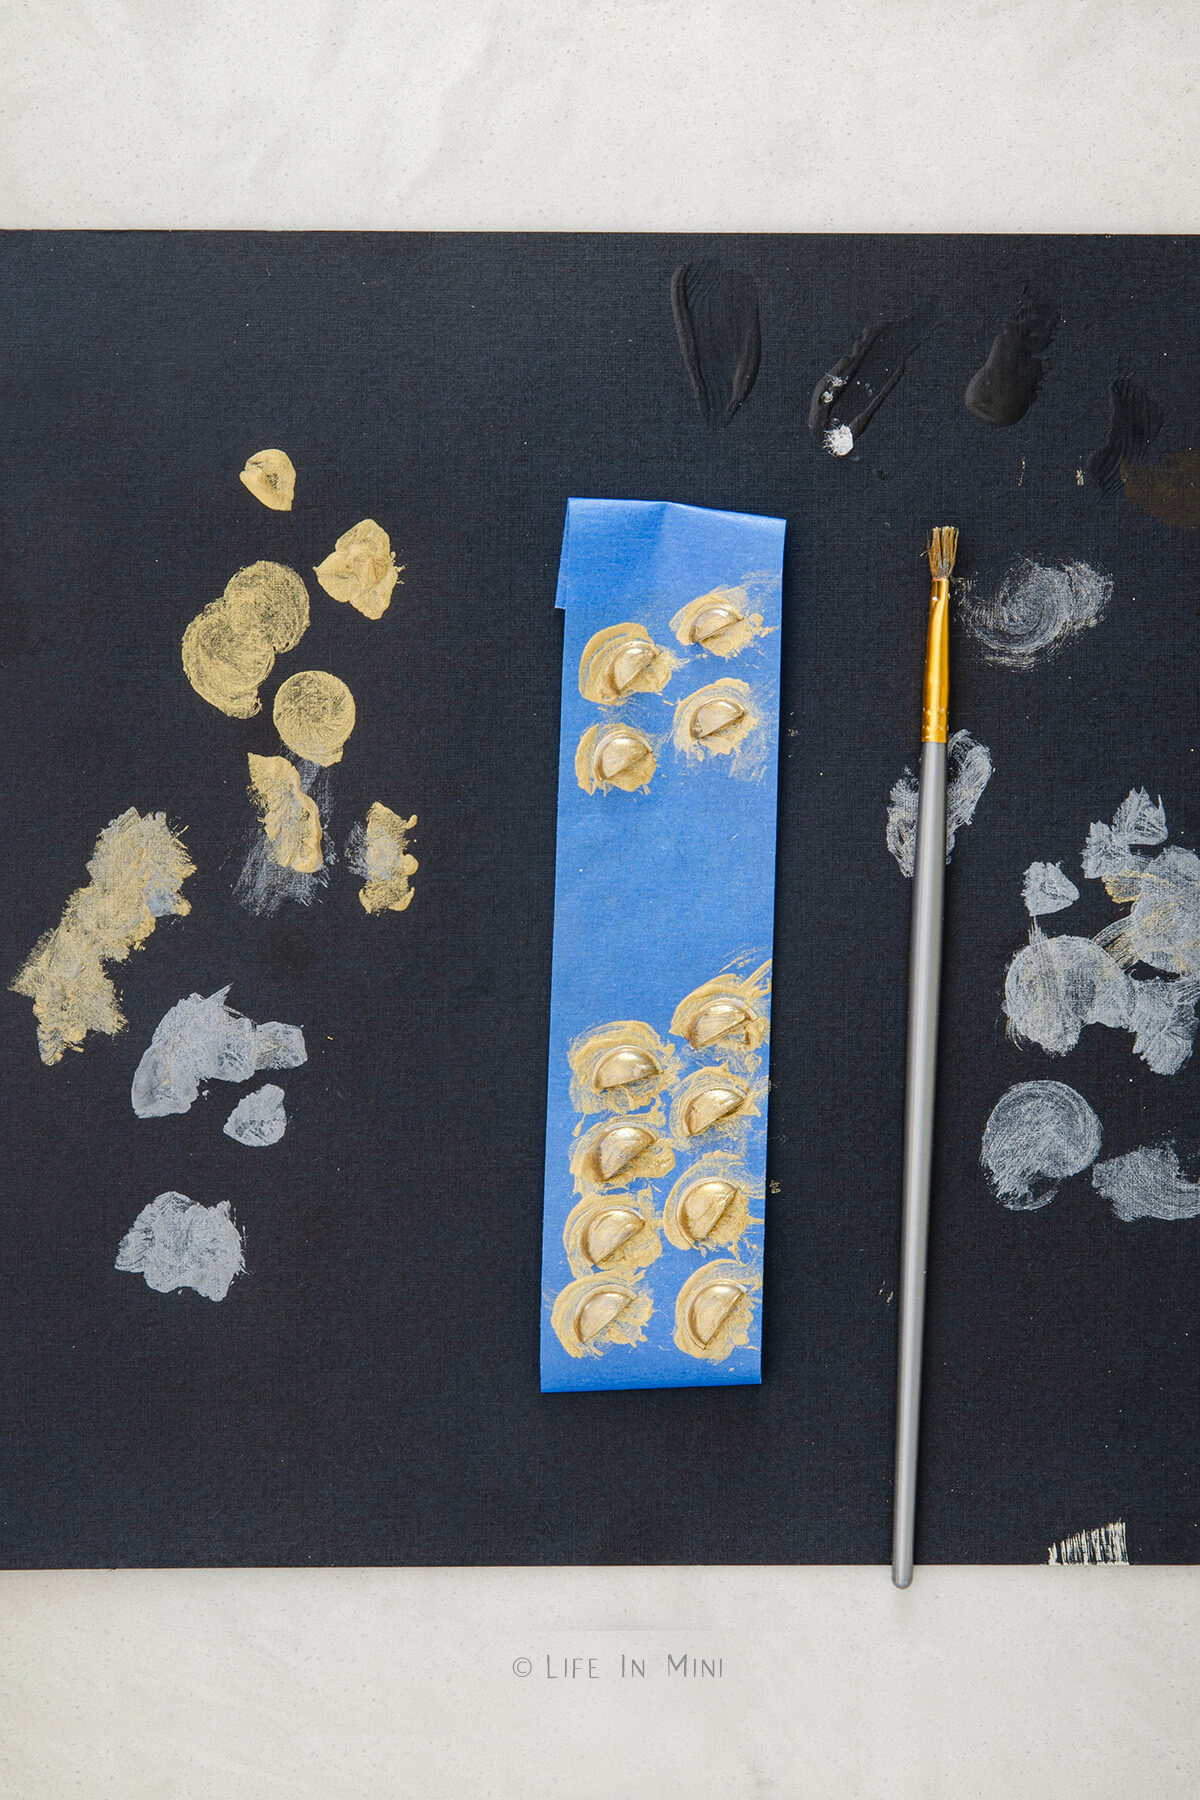
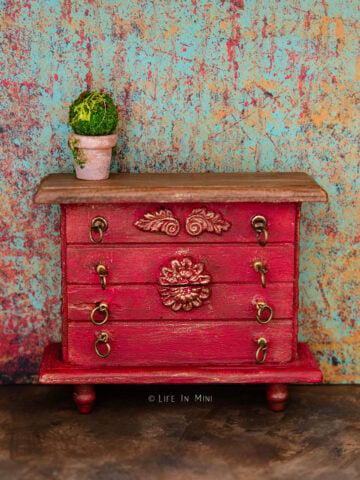
4. Wait til they dry completely before gluing them onto your furniture piece. For this example, I used a dresser from the Dollar Tree. I used pliers to pull out the wooden pegs when I could. I used an x-acto blade to cut them out.
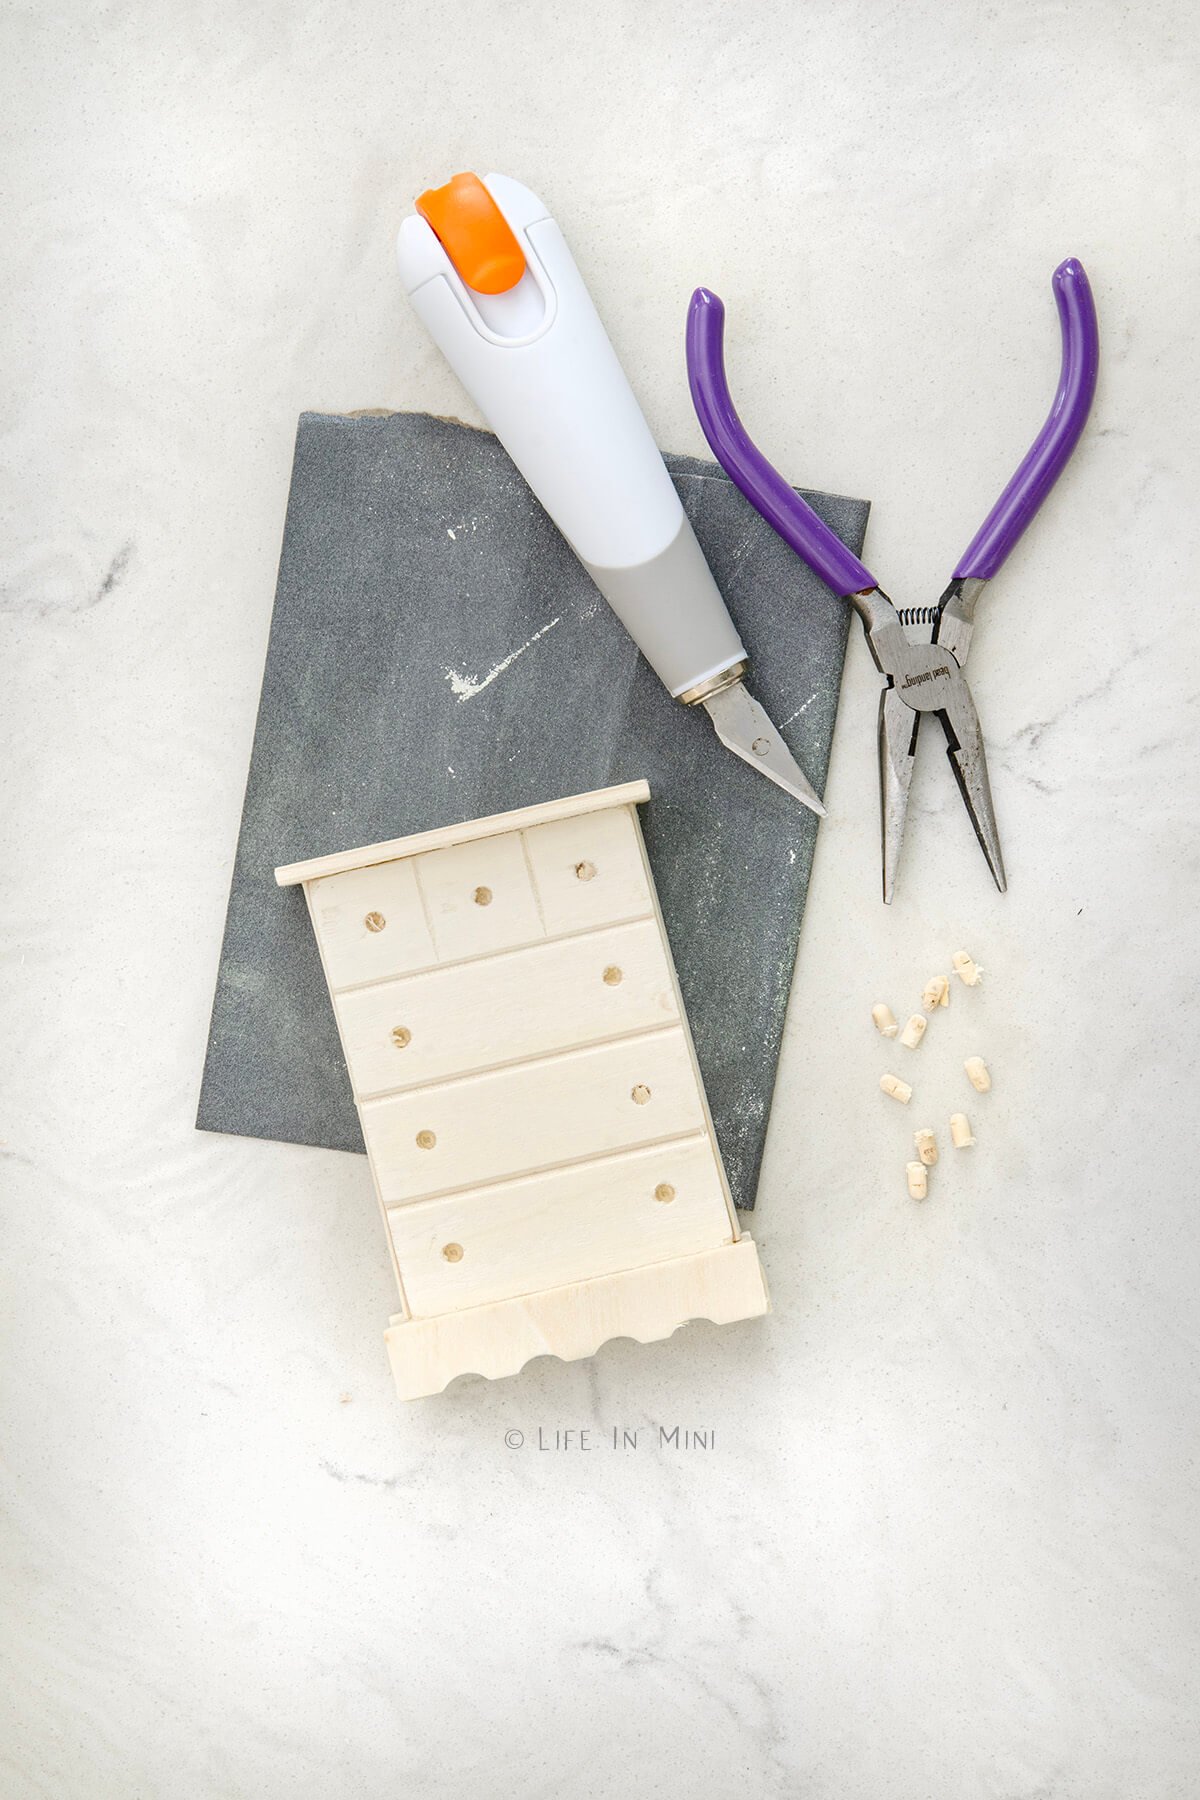
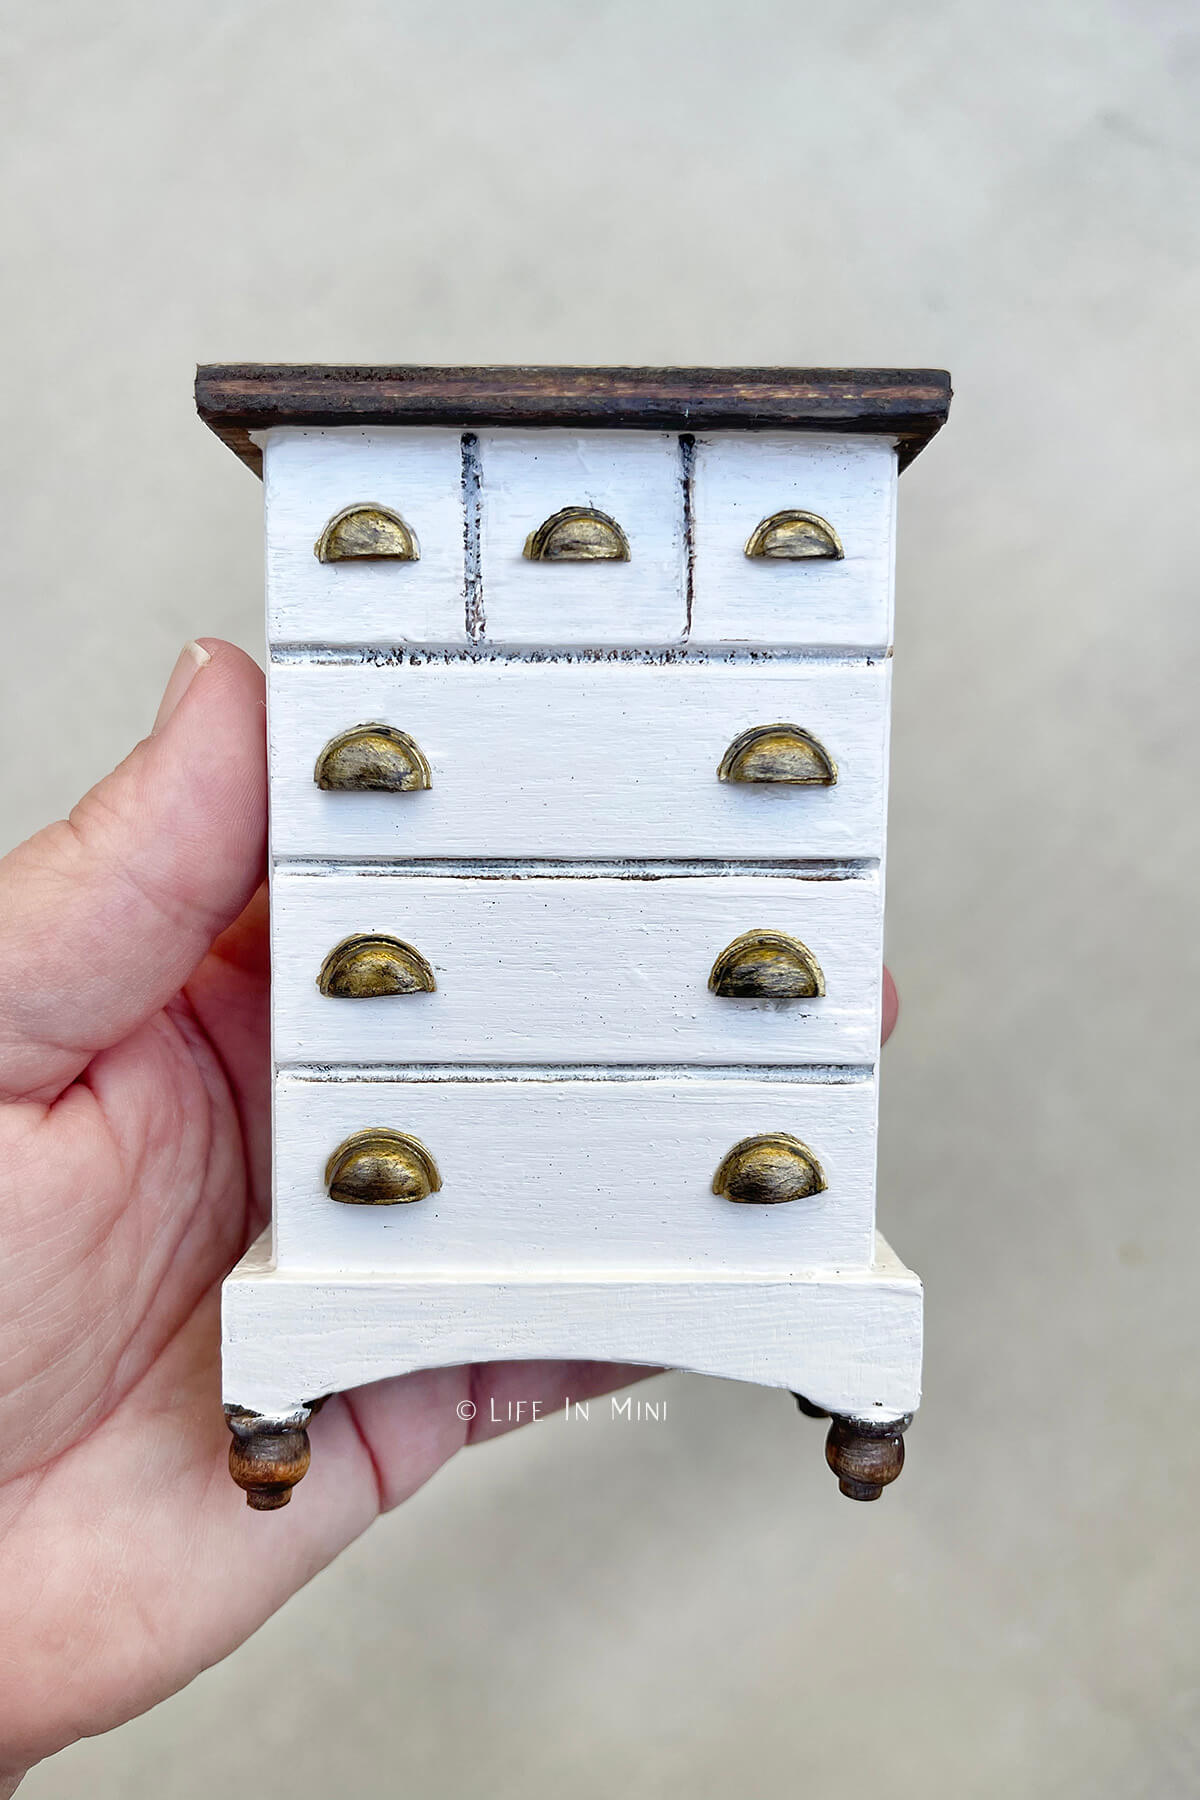
5. Once I finished staining the top and painting the dresser the way I liked it, I glued on the small drawer pulls. The dresser got a little beat up as I was not paying attention when removing the wood pegs, but a little sanding and wood putty fixed my mistakes.
Expert tips and project FAQs
This is such an easy project with so many possibilities. These wiggly eyes come in a variety of sizes, so you can make drawer pulls for large cabinets or small. For the extra large sizes, I’m hoping to peel off the backs and use them as shallow bowls, clock faces, round windows or molds for polymer clay.
So you could spend $6 for some 3D printed miniature cabinet hardware or spend $1.25 at the Dollar Tree (or any other store) and make enough miniature drawer pulls for a dollhouse full of furniture and cabinets.
If you are enjoying my blog, why not sign up for my newsletter so you won’t miss out on the mini adventures!
How to Make Miniature Drawer Pulls
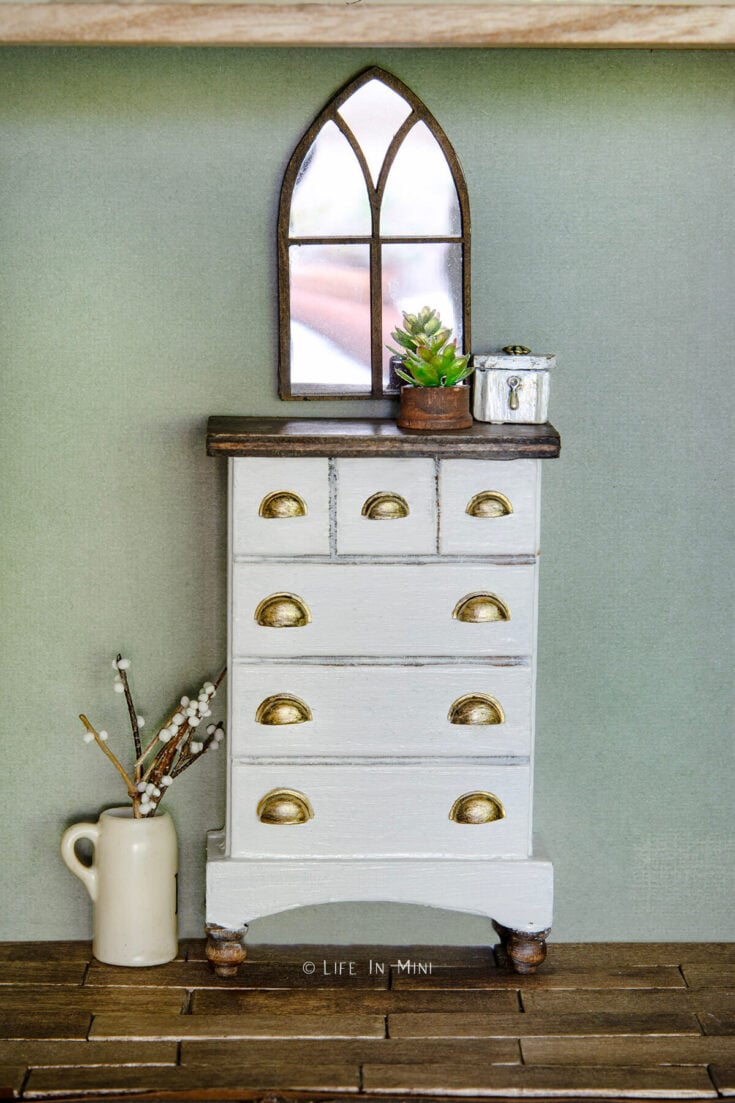
Adding miniature drawer pulls on your dollhouse dresser does not have to cost a small fortune. I have a super cheap way to create some antique dollhouse hardware.
Materials
- Googly eyes
- Metallic paint
- White glue
Tools
- Scissors
- Masking Tape
- Paint brush
Instructions
- Choose the size of googly eyes that will fit your miniature drawer or cabinet door. You will the cut them in half as evenly as you possibly can. Each makes two drawer pulls, unless you mess up a few and cut them uneven.
- Press the ends of you masking tape onto a scrap paper or work surface. You want only the two ends to attach to the paper with the rest of the sticky side facing up.
- Place your halved eyes onto the tape, flat side down.
- Start painting your handles the color you like. You will need at least two coats to cover them completely. Use different colors and dry brush a darker color for a brushed metal or antique look. Be sure to paint the hollow center, as well.
- Wait til they dry completely before gluing them onto your furniture piece. You could seal them with clear sealant or Mod Podge, if you want.
Notes
If you are making a lot of furniture pieces, you can easily make and paint a large variety of these pulls with different finishes ahead of time. Store them in small resealable bins or small plastic bags until you are ready to use.
PS If you try this craft, why not leave a star rating in the direction card right below and/or a review in the comment section further down the page? I always appreciate your feedback.
You can also follow me on Pinterest, Facebook or Instagram. Sign up for my eMail list, too!


Alanna B says
Hi !! I’m brand new to this side of all things mini. I’m one who loves dollhouse and spent way too much buying everything already made/ assembled. Your content has truly inspired me and I would love to try to create my own pieces and save some money. I hope you don’t mind me asking a few questions . Which stain did you use ? Can you share how you created the dresser legs? Also, what was your paint technique for “ antiquing” the lines between the drawers?
Laura says
Hi Alanna-
Welcome to the addictive world of minis!
Okay, Ii will do my best to answer your questions:
The stain I use is Minwax Provincial.
The dresser legs I bought cheaper on AliExpress, but it is basically this on amazon.
For the legs I used an xacto with a serrated blade and cut those ornate C’s so it it would be one arc – do I make sense? Then I glued the dresser legs in the four corners.
For the antique finish, I originally stained the dresser and didn’t like it. When I stain Dollar tree furniture, it sometimes comes out splotchy. So I painted over it with the antique white acrylic paint and sanded in the creases, revealing the stain underneath. You can do the same with brown paint.
Let me know if you need more help with anything else!
Laura
Alanna B says
Thank you soo much Laura! You’re very nice and I appreciate you taking the time to respond to me. I don’t feel intimidated anymore and I’ve already purchased most of the materials Eeeek!!! 🤭
Analu Coimbra says
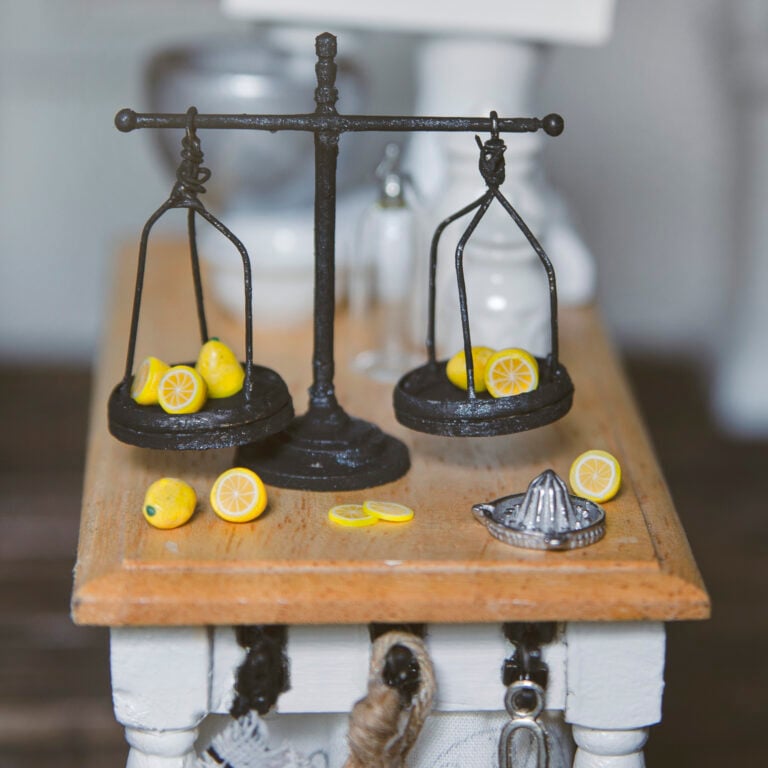
uau!!! amei seus tutoriais, justamente o que eu queria, a balança de cozinha e os puxadores.
seus tutoriais são bem simples e didáticos. obrigada ❤️❤️❤️👏👏👏
Laura says
Thank you! I’m glad I was able to help!
Laura