This tutorial gives you detailed step-by-step instructions on how to install dollhouse wallpaper. It is a great way to add details to a scene and finish a room.
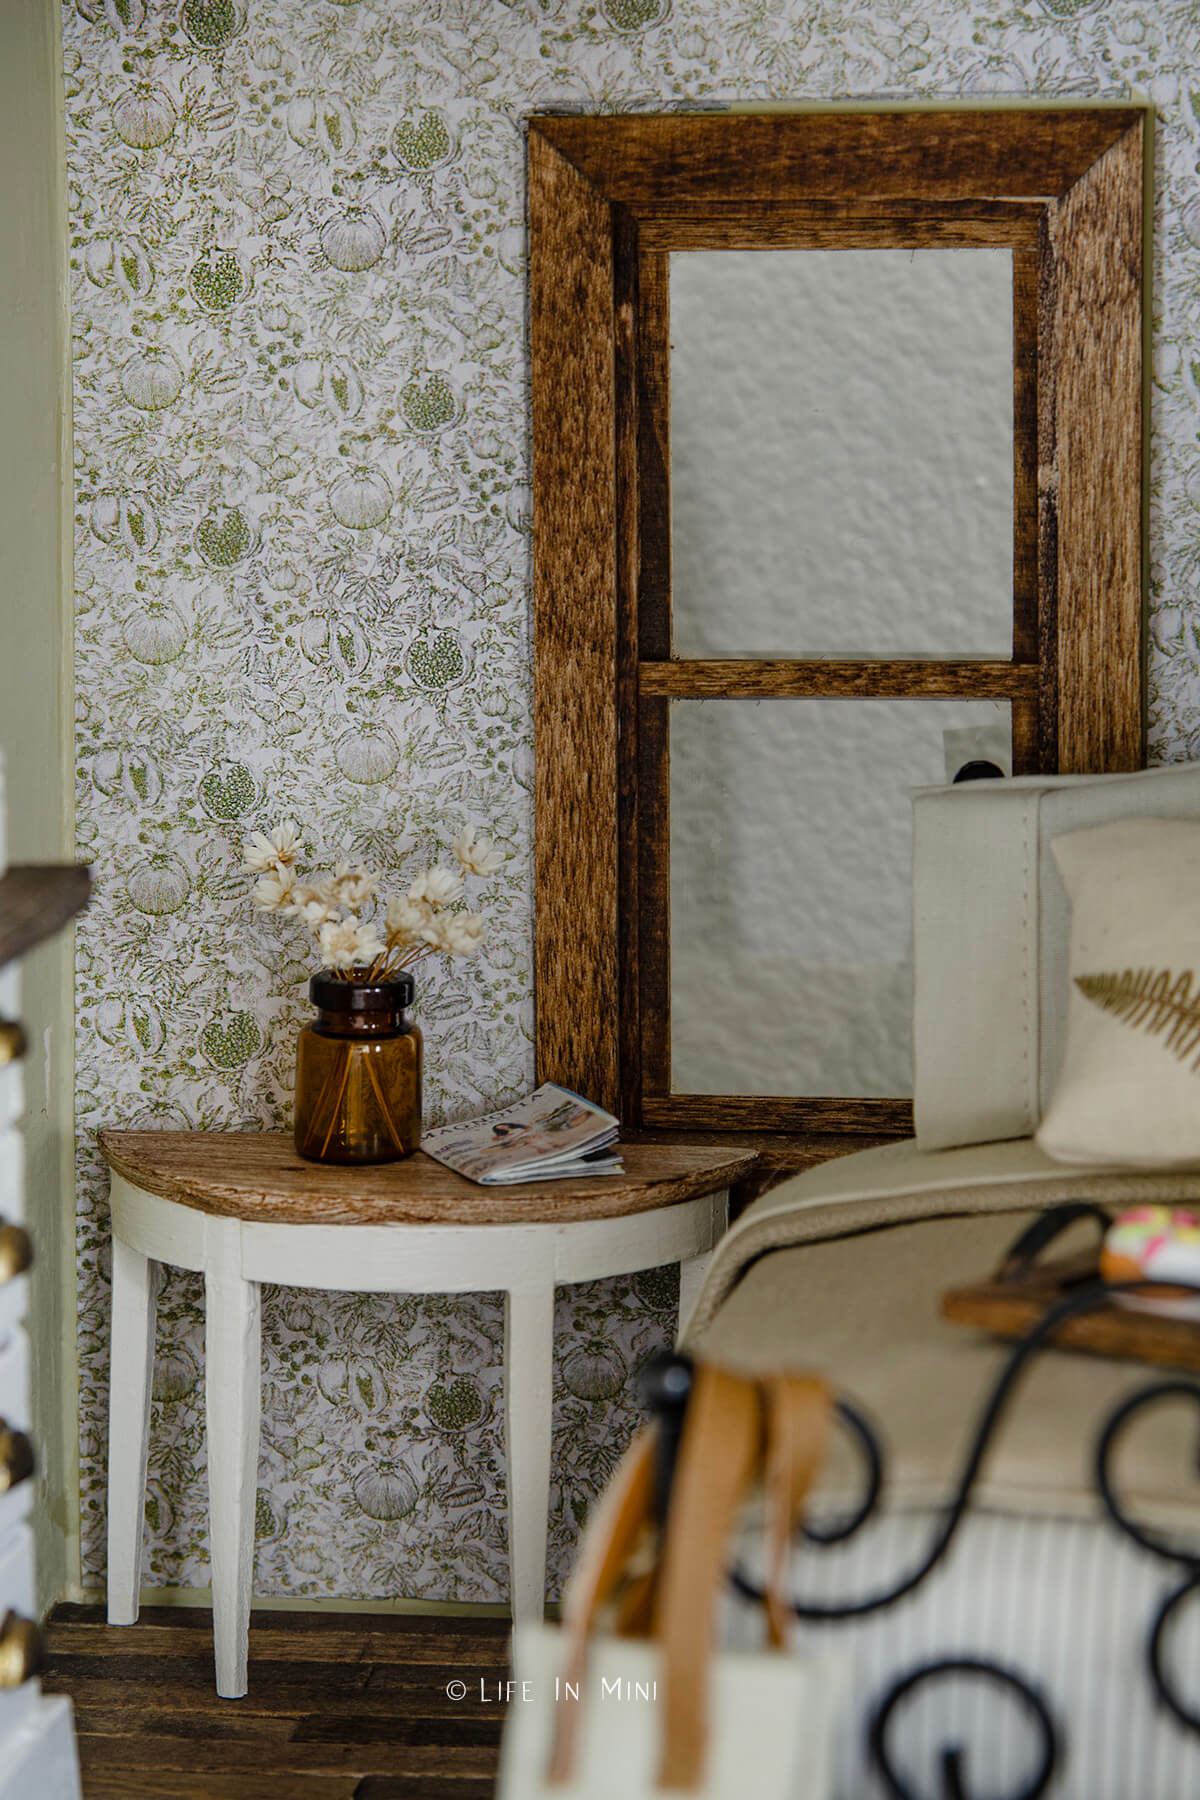
My daughter and I have been in our new house now for 2 months! I managed to get the bulk of the unpacking done in two weeks. It took another few weeks to get the house looking, well, normal.
Moving is exhausting!
The office/craft room, well, that took a bit longer. I finally have everything semi-organized, but it’s definitely not done. But, boy was I excited to get to mini making!
As I unpacked boxes and pulled out my minis, I started placing furniture and doo dads back into the dollhouse. And I decided if I was now living in a beautiful new place, well, my mini family needed an upgrade, too.
I personally have a love-hate relationship with wallpaper. I love the look of finished rooms with beautifully designed wallpaper and fabulous accents, but I have terrible commitment issues!
What if I change my mind?
What if I want a new look?
What if I don’t like it?
But I have been indecisive for too long. I decided to jump in and go for it. And I am happily in love with the results!
Where to find dollhouse wallpaper
Now you can buy actual dollhouse wallpaper. They come in rolls and are long sheets, so you don’t have to worry about seams, for the most part. Some come with adhesive glue on the that gets activated with water.
But dollhouse wallpaper designs are limited and of course, they are on the pricey side. Again, you don’t need to break the bank to decorate your dollhouse.
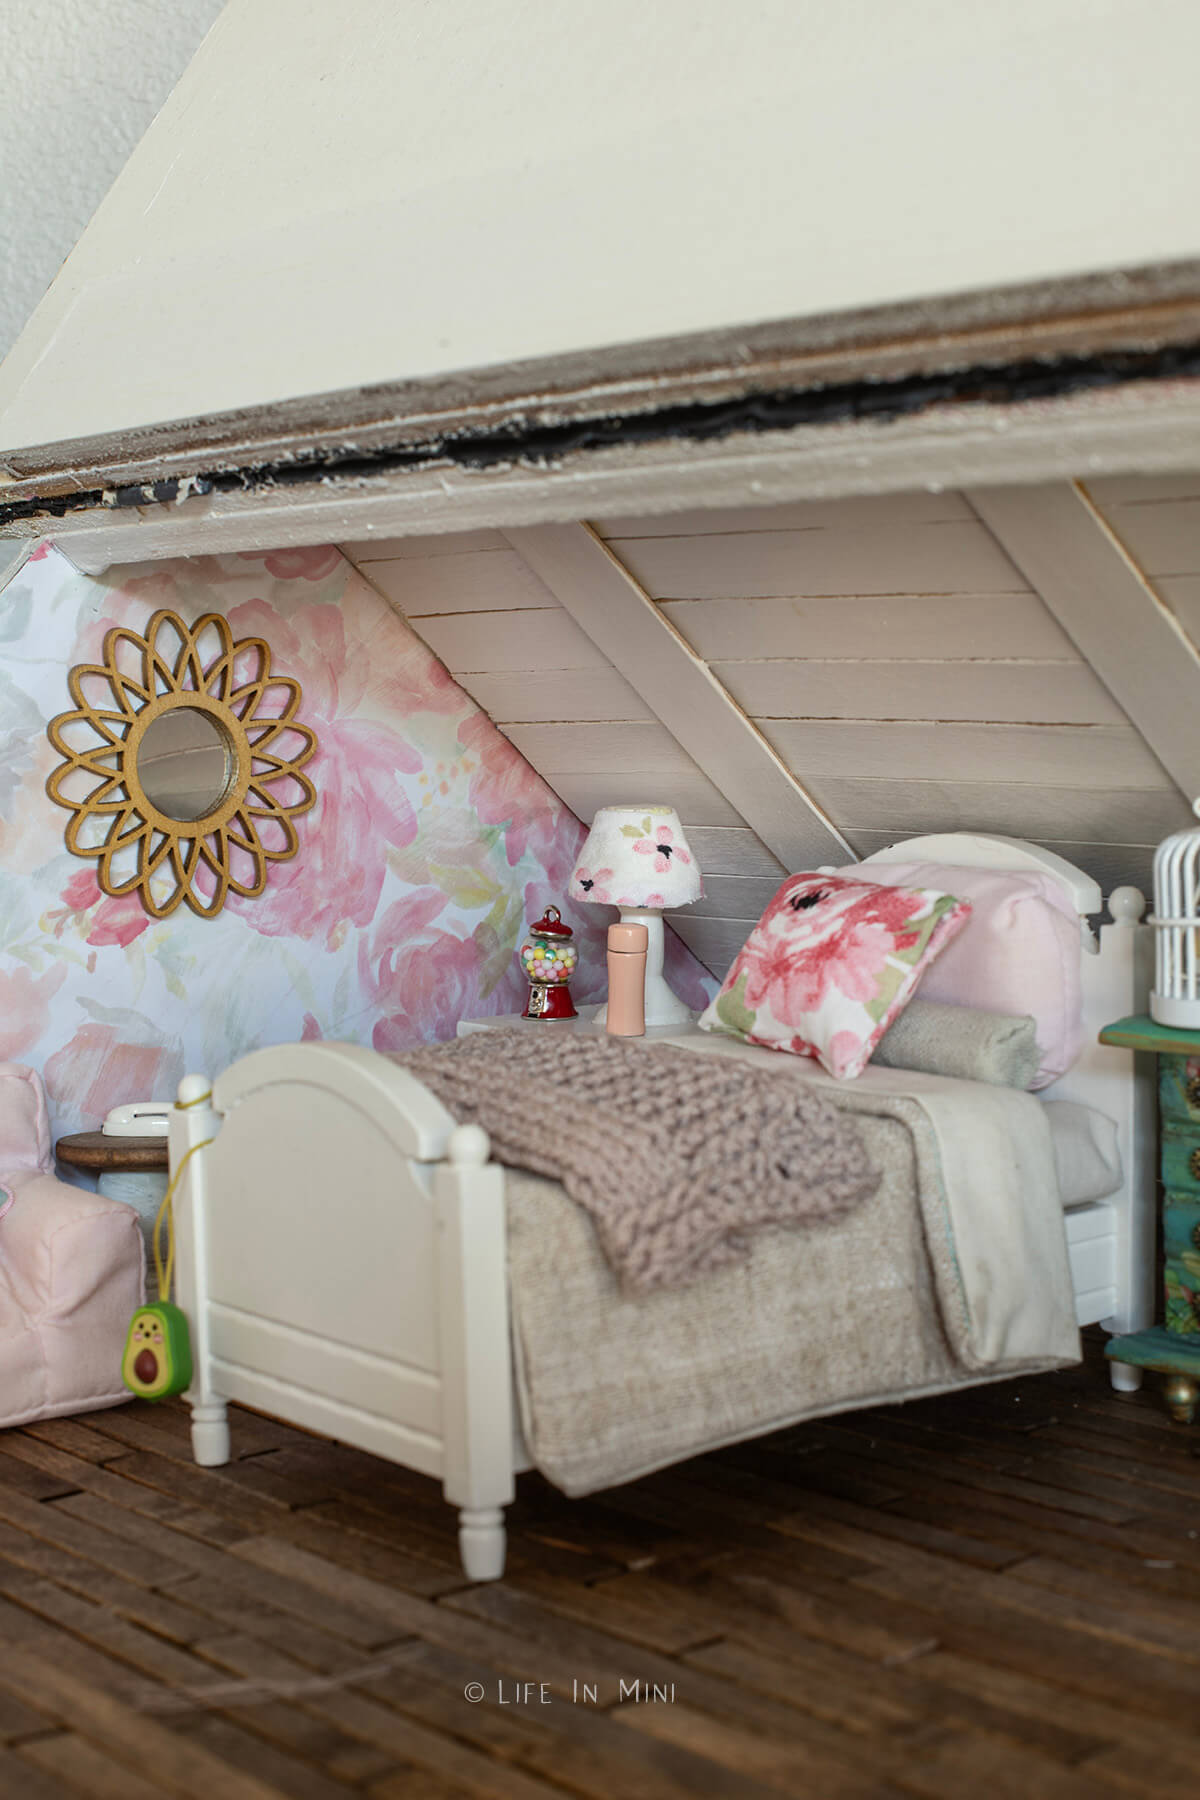
One of my favorite sources for dollhouse wallpaper is scrapbook paper. You can buy them in 12″-squares or sheets of 8.5″x11″. Many of these sheets have small designs or textures that make terrific choices for your rooms.
You can learn more about how I use scrapbook paper in dollhouses here.
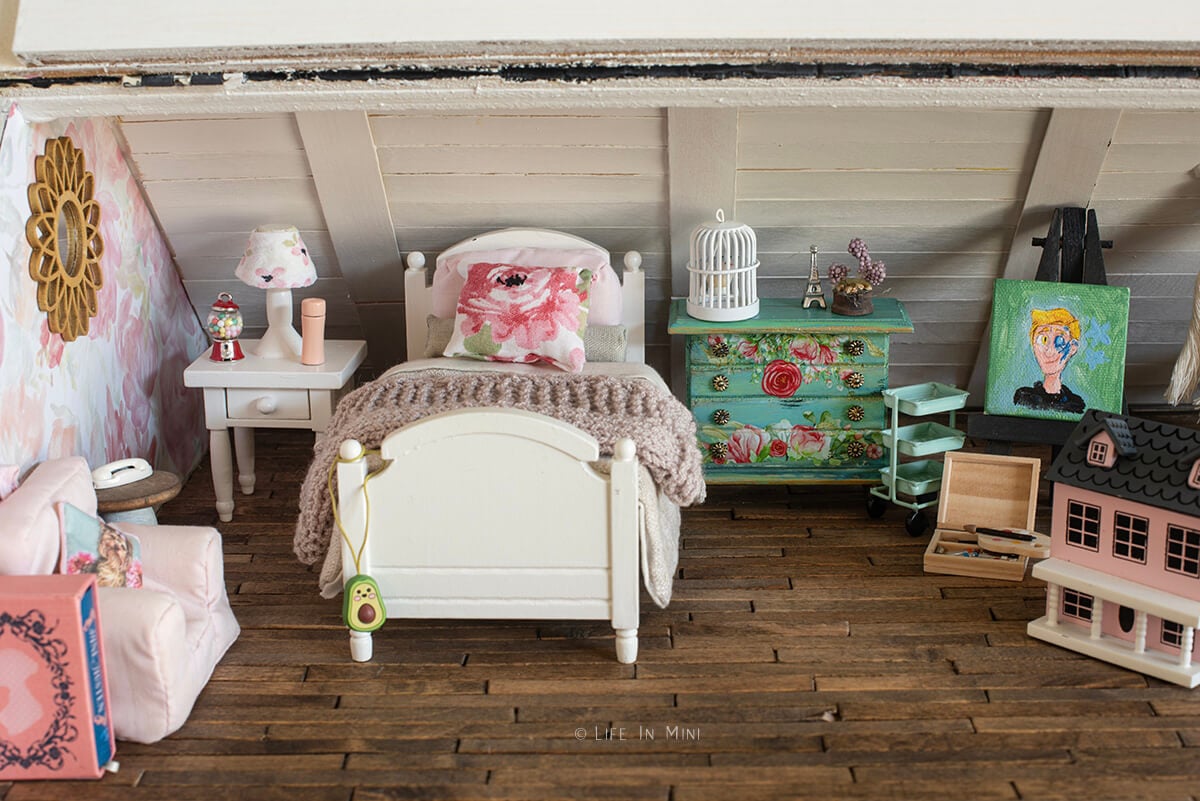
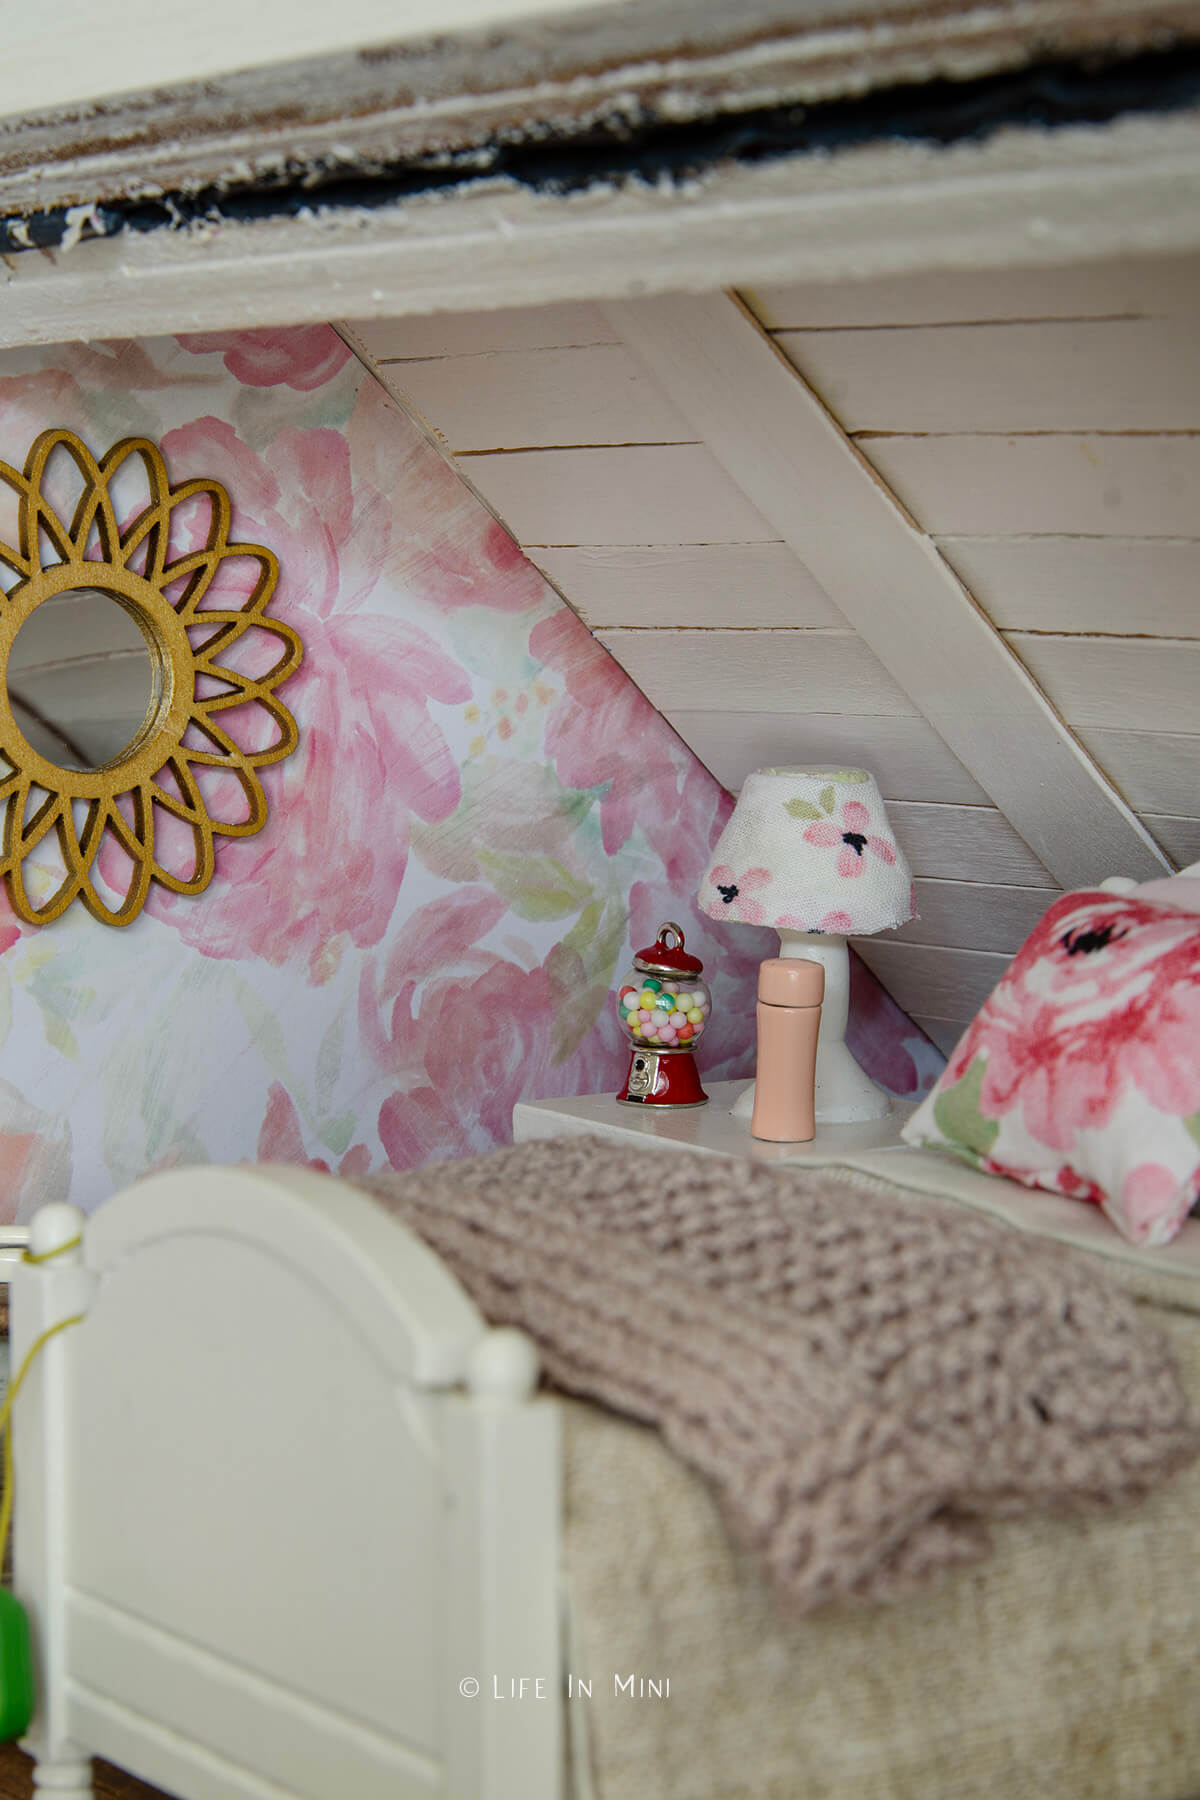
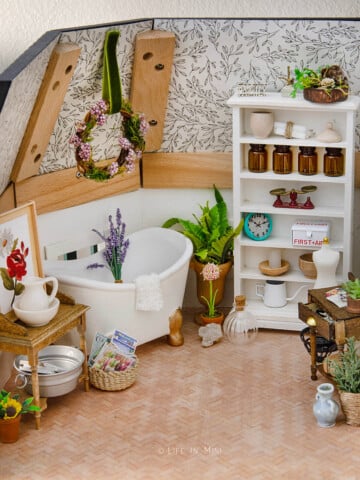
I chose to go with a large floral design for the little girl’s room I was going to wallpaper and I love how it turned out. The attic space needed some thing more, so I added popsicle sticks along the back angled wall/ceiling to complete the “attic look” I was looking for.
I followed the same technique I used for the popsicle stick flooring except I used fatter popsicle sticks, painted them white and I didn’t stagger them when I glued them to the card stock. I also cut larger fatter popsicle sticks for the vertical pieces that hid the uneven seams and gaps behind it.
You can see how the attic and bedroom looked before here in this post about no sew dollhouse bedding.
I was so please with how this one room turned out, I quickly began looking at other rooms that I could wallpaper. Hello master bedroom! The scrapbook paper I had in my collection wasn’t really screaming anything to me, so I decided to paint the room a neutral greenish taupe color.
The windows the dollhouse came with have cracked and weren’t looking so hot after 30+ years, so I began buying a few windows at a time from Hobby Lobby. I also had a sliding barn door I bought from there, as well.
I stained everything and popped the windows in place and began falling in love with how the room was turning out.
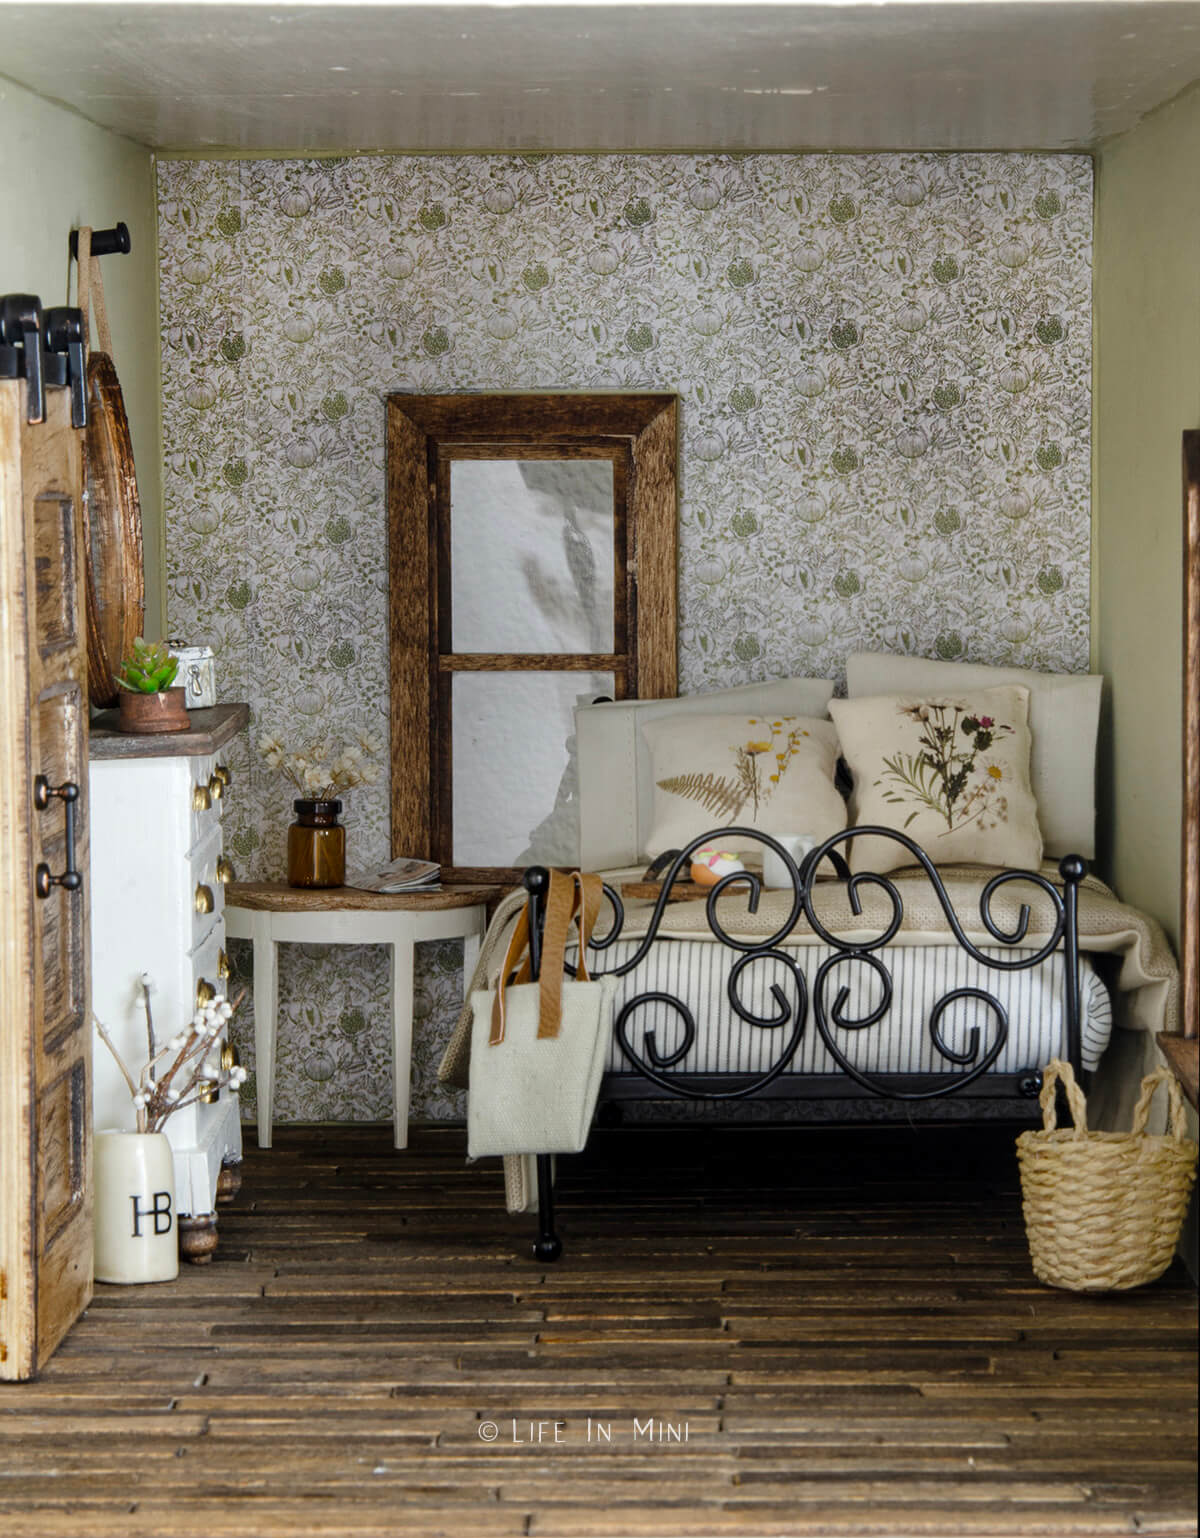
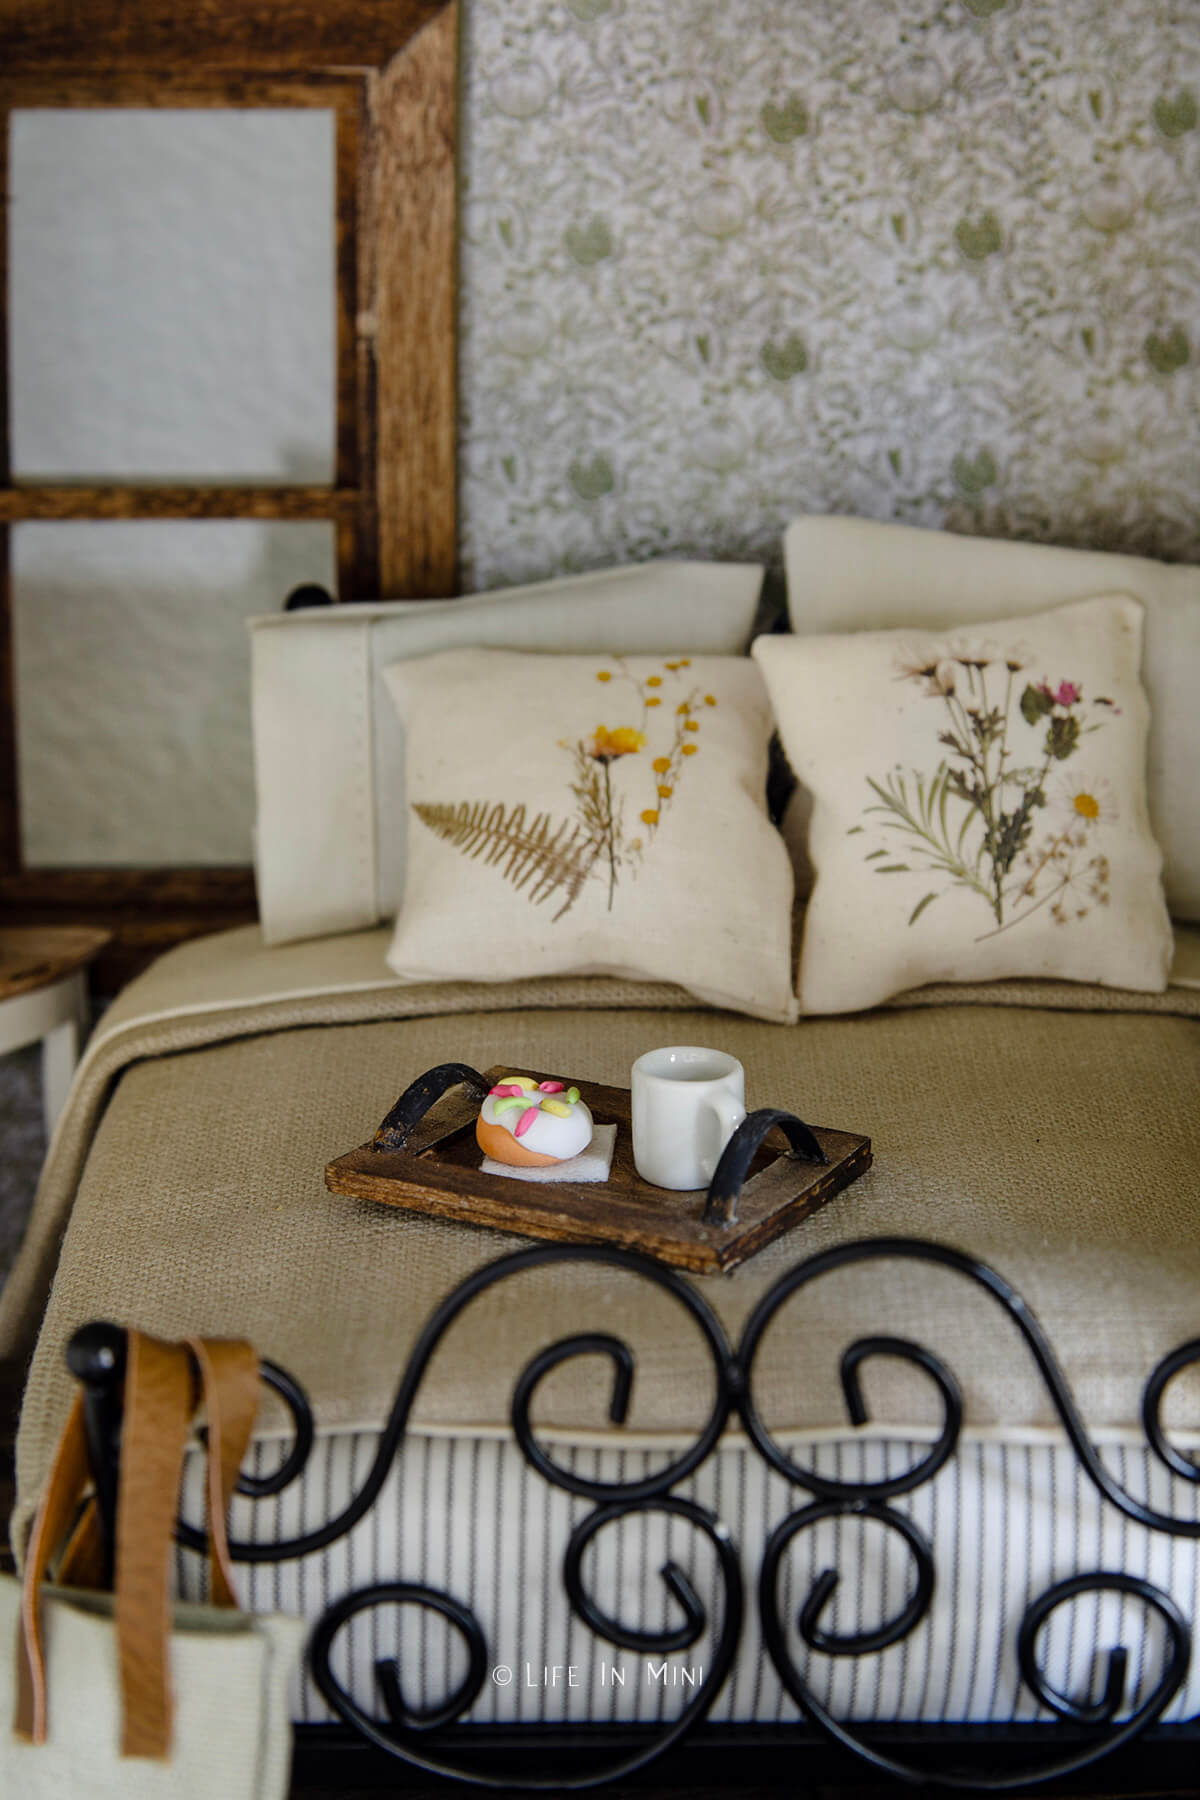
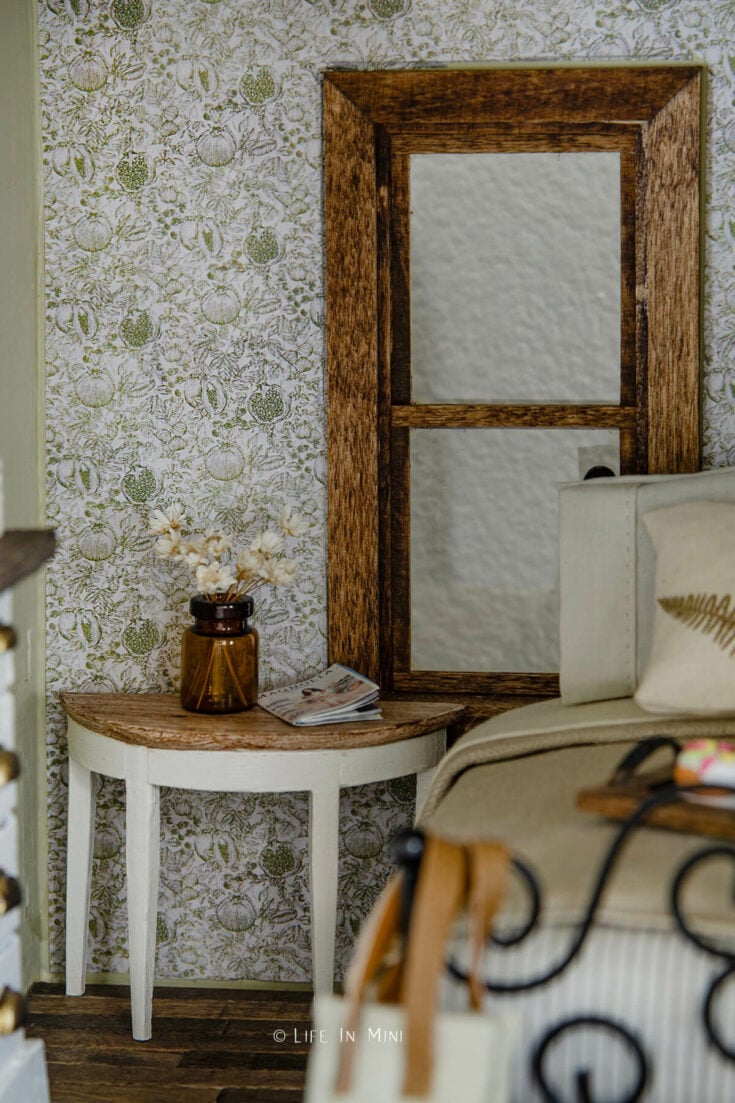
It still needed something special and yes, I decided on wallpaper for the back wall. For this room, I began searching for designs online. I found this beautiful print from Anthropologie and decided to go for it.
I took a screenshot from my computer, resized it in photoshop and cleaned it up. I also adjusted the green to be less bright and more olive green.
I then began to tile it until I had an 8.5″x11″ sheet filled with the wallpaper design. I was going to write up a tutorial on this alone, but here’s a great YouTube video that shows you how to do it.
There are little pomegranates in this wallpaper pattern! So cute! What do you think?
This post contains some affiliate links for your convenience (which means if you make a purchase after clicking a link I will earn a small commission but it won’t cost you a penny more)! Read my full disclosure policy.
If you do not want to (or can not) resize images you find online to make wallpaper to print out, you can find lots of options on Etsy. You can purchase sheets or digital files you can print it out at home.
Here are a few of my favorites on Etsy:
- Tasmin Bassett Art: She is the one that created the You Tube tutorial I shared. She has some terrific vintage designs, including the one she shared in the video available for purchase. These are digital files that you can download and print yourself.
- Miniature Crush: You can find a variety of dollhouse wallpaper sheets (not digital files) for you to purchase.
- Jessica Cloe: There are a variety of terrific farmhouse minis here for you to indulge in! She also has dollhouse wallpaper in both sheets and digital downloads available for purchase.
If you are printing out your own wallpaper, you might think that regular printing paper would work. It can glue on fine, but if too thin, the paper can wrinkle. If your design has intricate designs or colors you want to pop, I suggest reading my post about printing in high resolution and use presentation paper.
Supplies you need
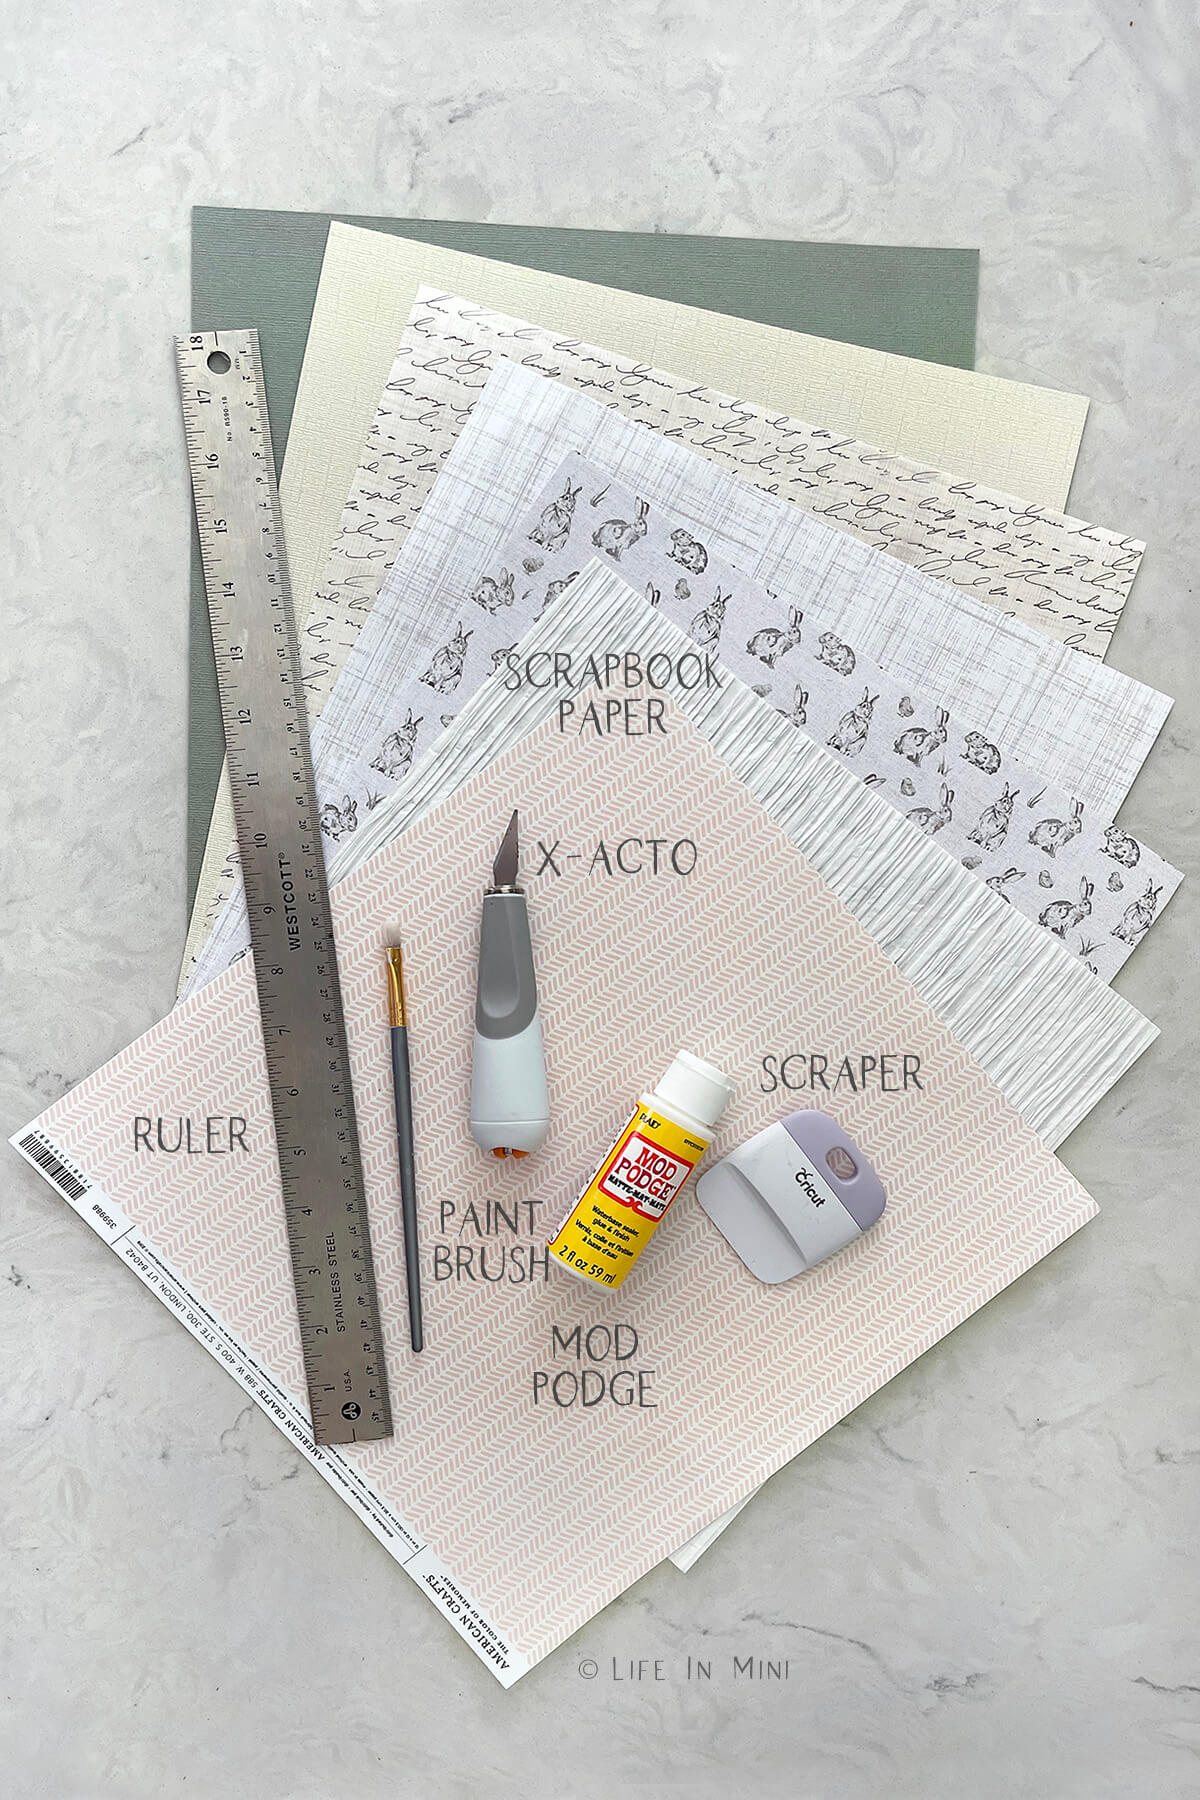
- Paper: As I explained above you have several options here. You can print your own design or a digital design you have purchased. If you print your own, let the paper dry completely before gluing anywhere as you don’t want the colors to bleed. Another option is to use scrapbook paper. It comes in all sorts of designs, finishes and textures. They can be purchased online or at craft stores like Michaels, Hobby Lobby and Joann’s. You can sometimes find scrapbook paper at The Dollar Tree or the 99¢ Store.
- Ruler: You need a ruler or measuring tape (I find the sewing tapes work great when measuring and maneuvering in tight spaces) to measure the walls you want covered. Some walls are easy rectangles, while others have odd shapes.
- X-acto: You will need to cut the wallpaper to size. I prefer using my straight edge and x-acto blade, but you can also use scissors or a paper cutter. If using an x-acto blade, you will need a cutting mat to protect your work surface. If you are cutting out holes for windows and other openings, an x-acto works best.
- Adhesive: I have had great success with Mod Podge. You do not need a lot and I use a small paint brush to apply a thin layer on the wall, not the paper. This keeps your paper from getting soggy and hard to work with, plus it prevents wrinkles. You can also water down craft glue that dries clear. If you want something more temporary, you can use double sided tape. But if you are securing things to the wall, like pictures, lights, clocks or floating shelves, your wall paper can pull out if you do not use enough tape. Also, many people like to seal their wallpaper with a coat of Mod Podge or watered down glue. This is optional. I have also use spray adhesive, which is great for those of us who have commitment issues. The paper stays on the walls without issues, but it is also easy to remove with less mess if you want a change.
- Scraper: To help secure your wallpaper and push out any air bubbles, you will need some sort of scraper tool. You can also use a credit card, driver’s license or hotel card key – my kids used to collect these from our vacations!
Step-by-step directions
1. I like to make a template of the wall I want to wall paper, especially if I don’t have a lot of scrapbook paper I could waste from cutting mistakes or if the paper I am using is expensive. So start by getting the basic measurements of the wall.
With the master bedroom, I did not make a template first and if you look closely, you can see that it didn’t fit perfectly. Also, I tried to match the seams while on the wall and not on the template. DOH!
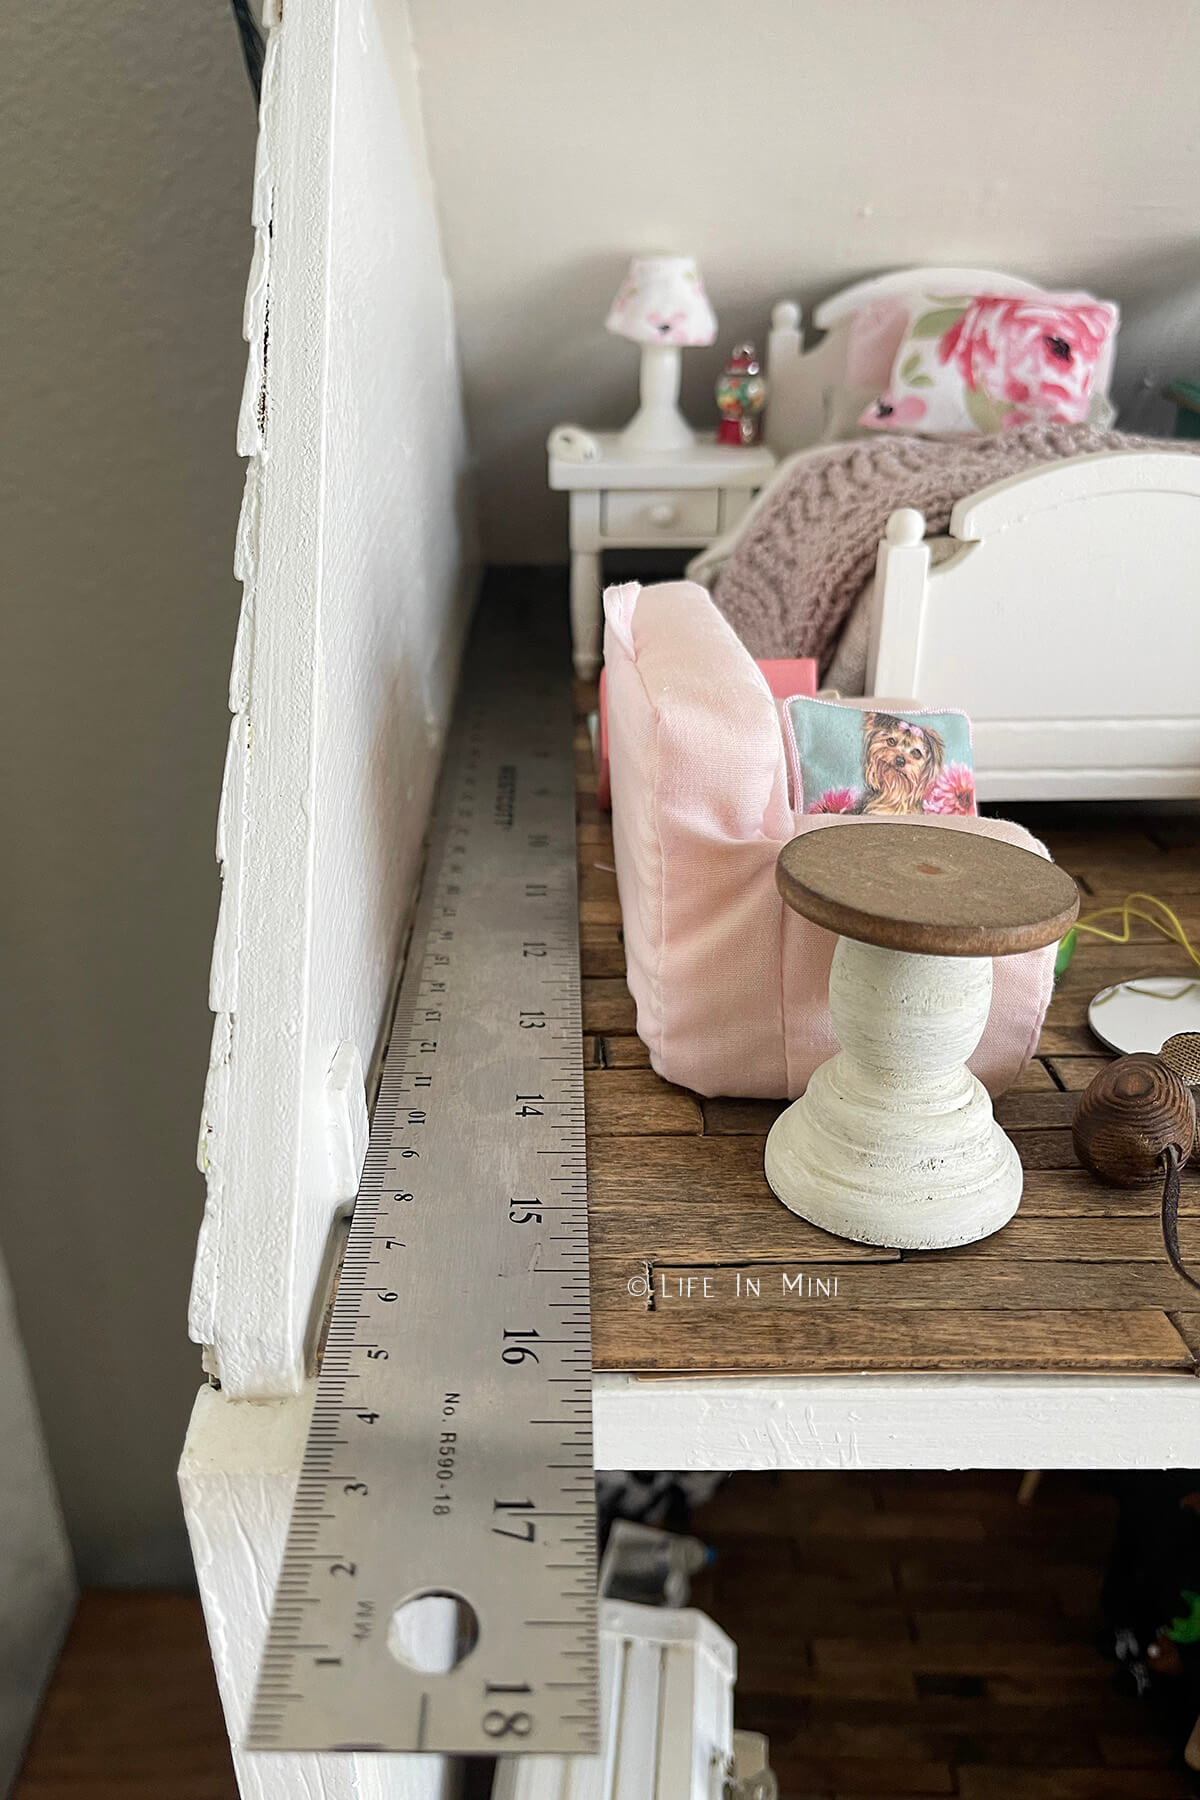
2. Once you cut the basic shape of the template, press it against the wall you want to cover. Use your fingers or a pen to mark the little nooks and crannies you are working around. This attic had a little piece of wood that I had glued 30 years ago when I ran copper tape thru the house. That sucker will NOT come off so I cut around it
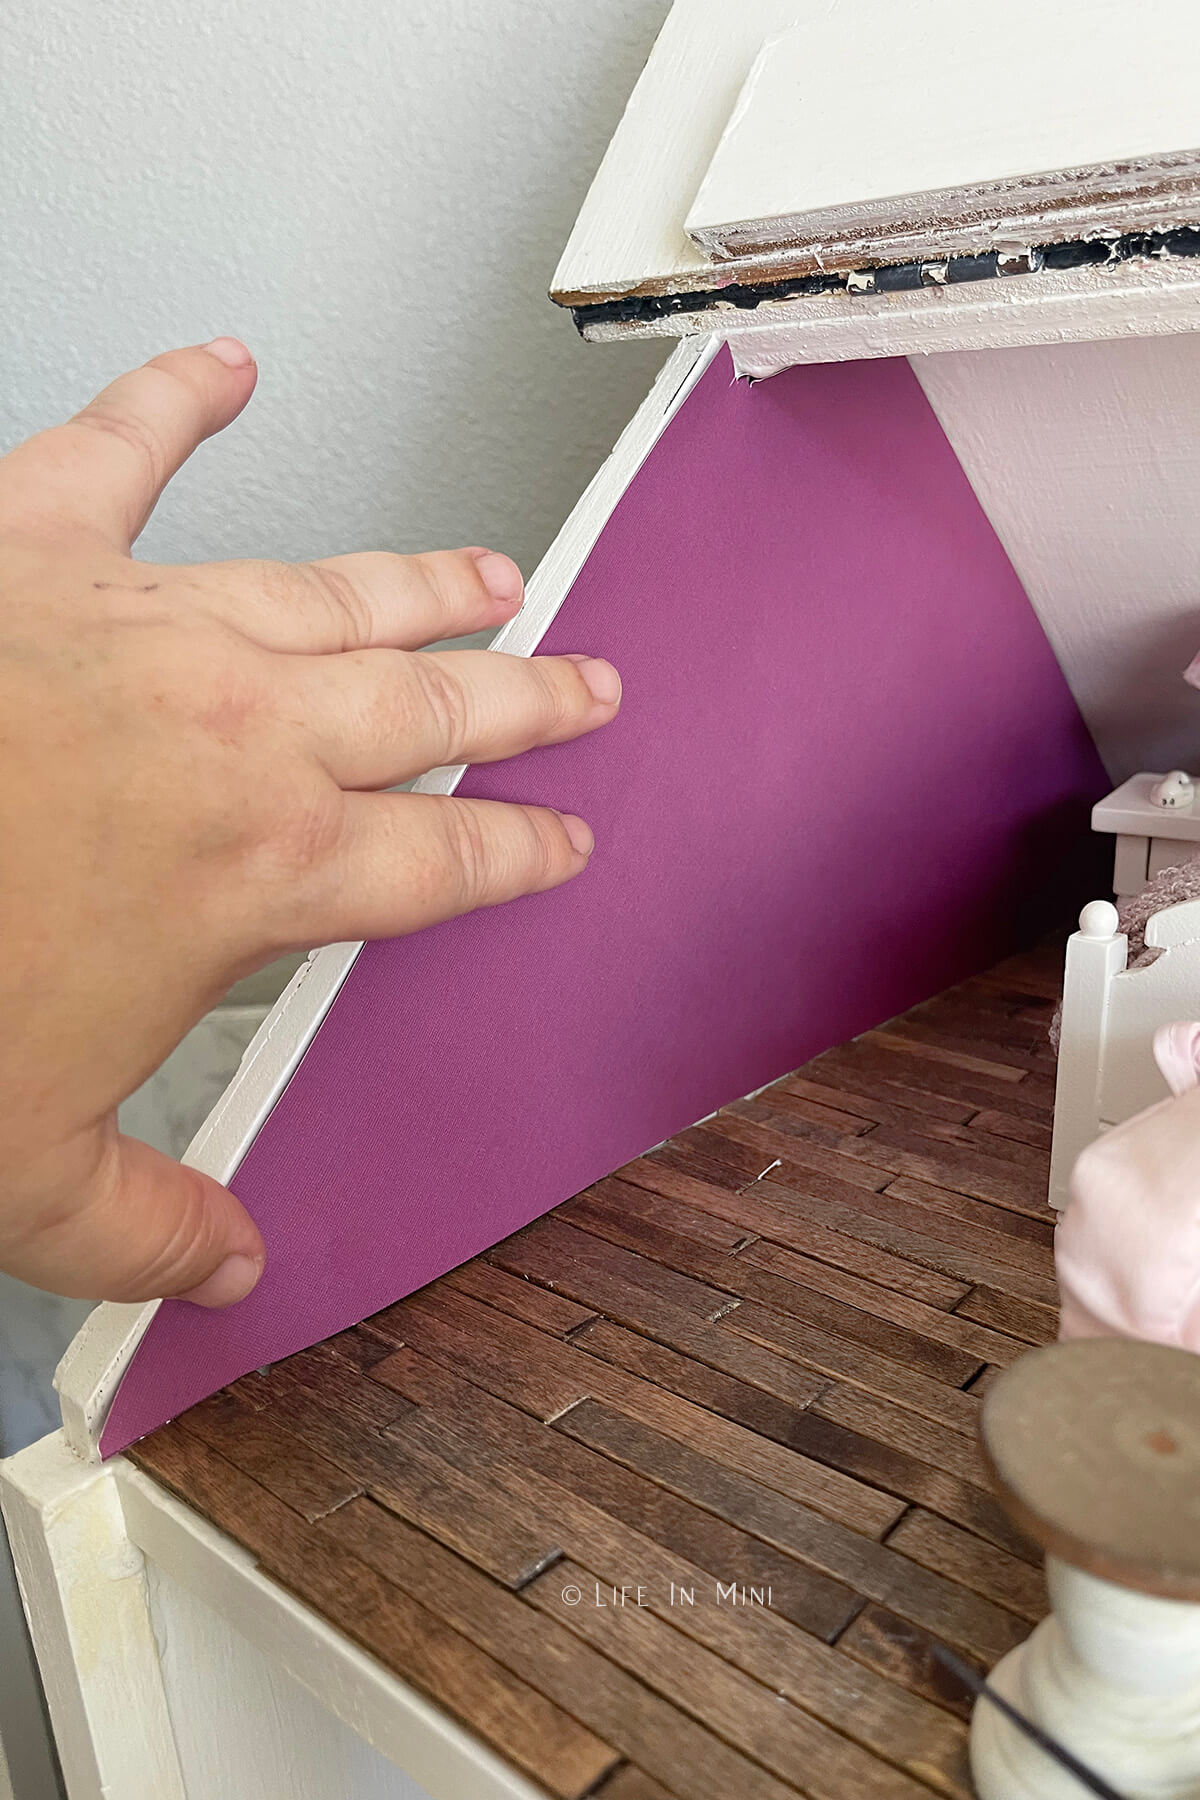
3. Once you have the template of your wall worked out, it is time to recreate this shape with the scrapbook paper or printed paper you are using for wall paper. I suggest using a pencil so you can erase any mistakes you make. Yeah, I used pen at first, so speaking from experience!
If you are using multiple sheets to fill a wall, you need to line the patterns up to hide the seams. Try to keep the seams in the back end of the walls or near a corner to make them harder to see, versus front and center.
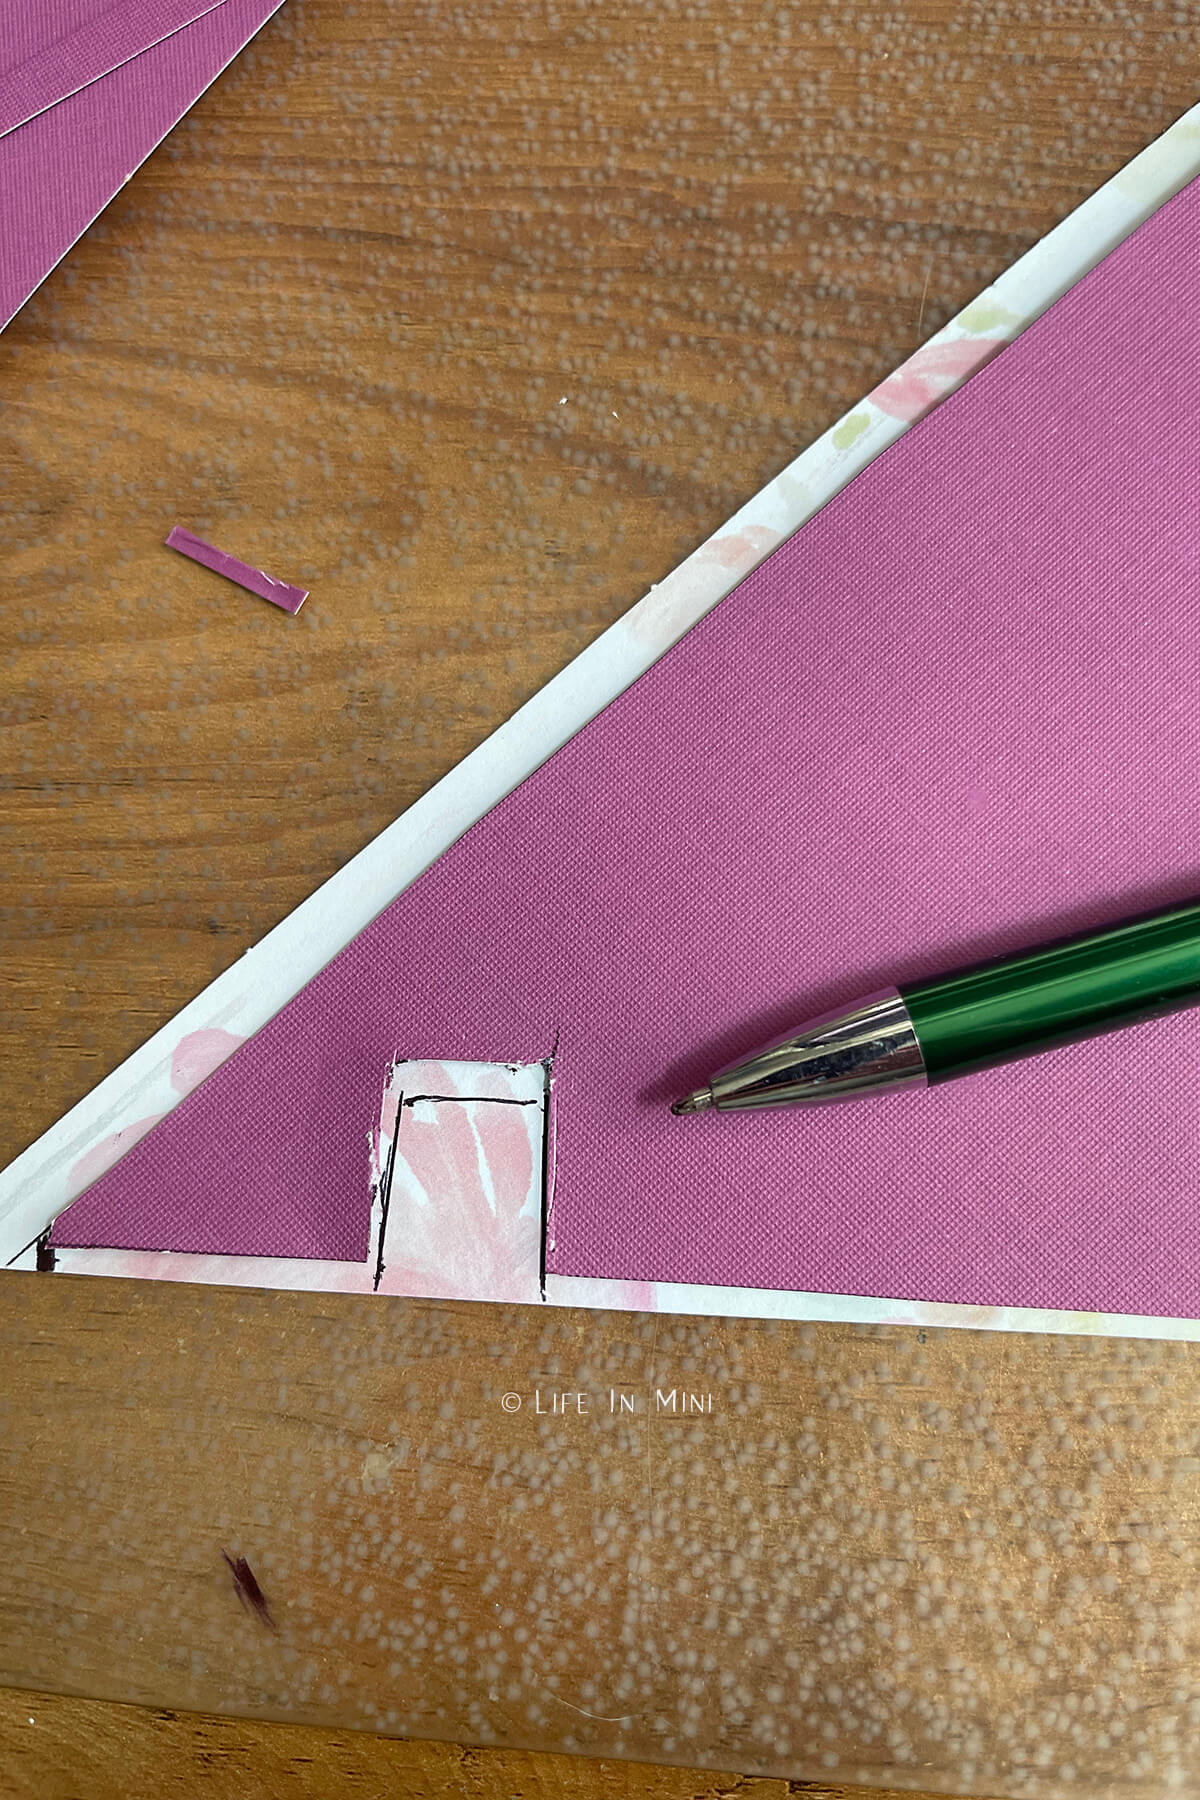
4. Place the final cut against the wall to triple check that everything fits fine before gluing in place.
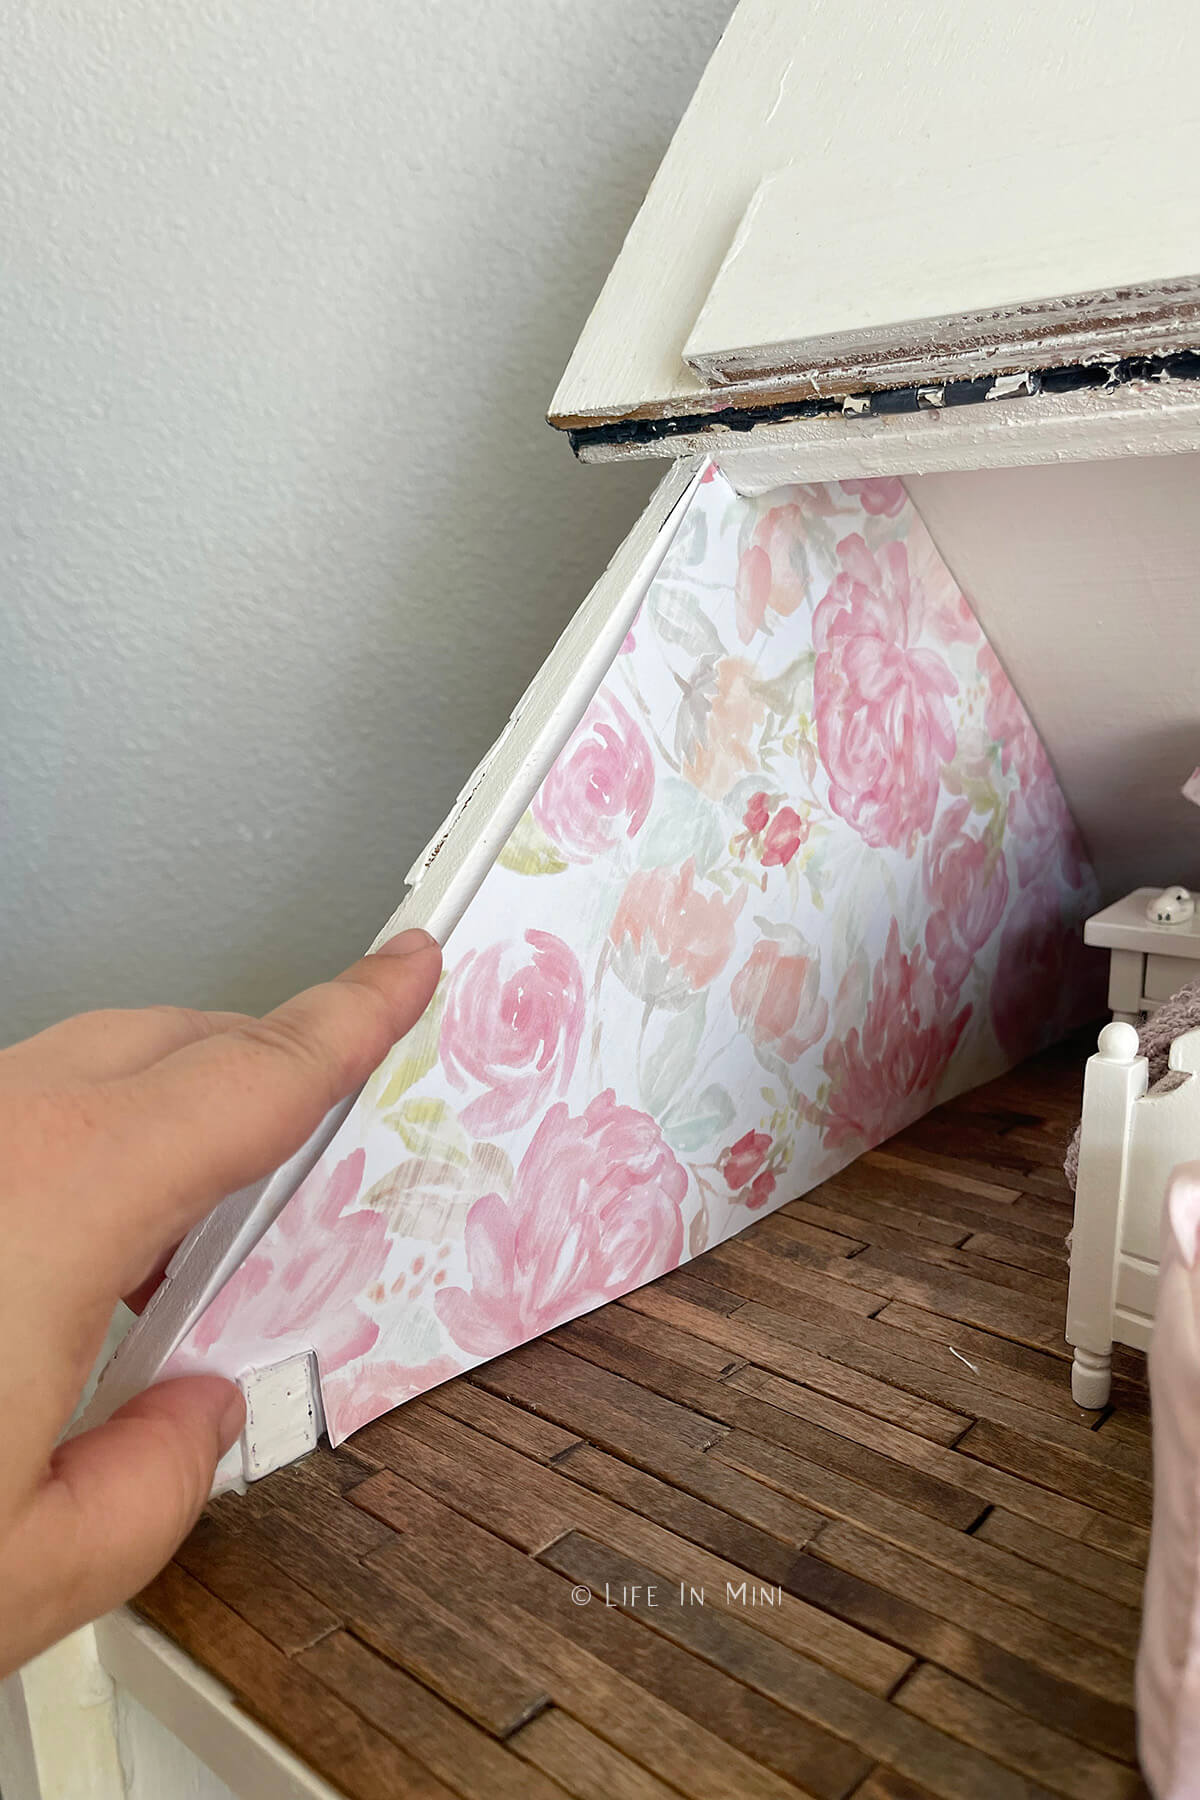
5. I chose to use Mod Podge as my wall paper adhesive. Brush a thin layer over the wall you want to cover, especially along the edges. I prefer brushing it to the wall first and not the paper as this helps you create a smoother wall.
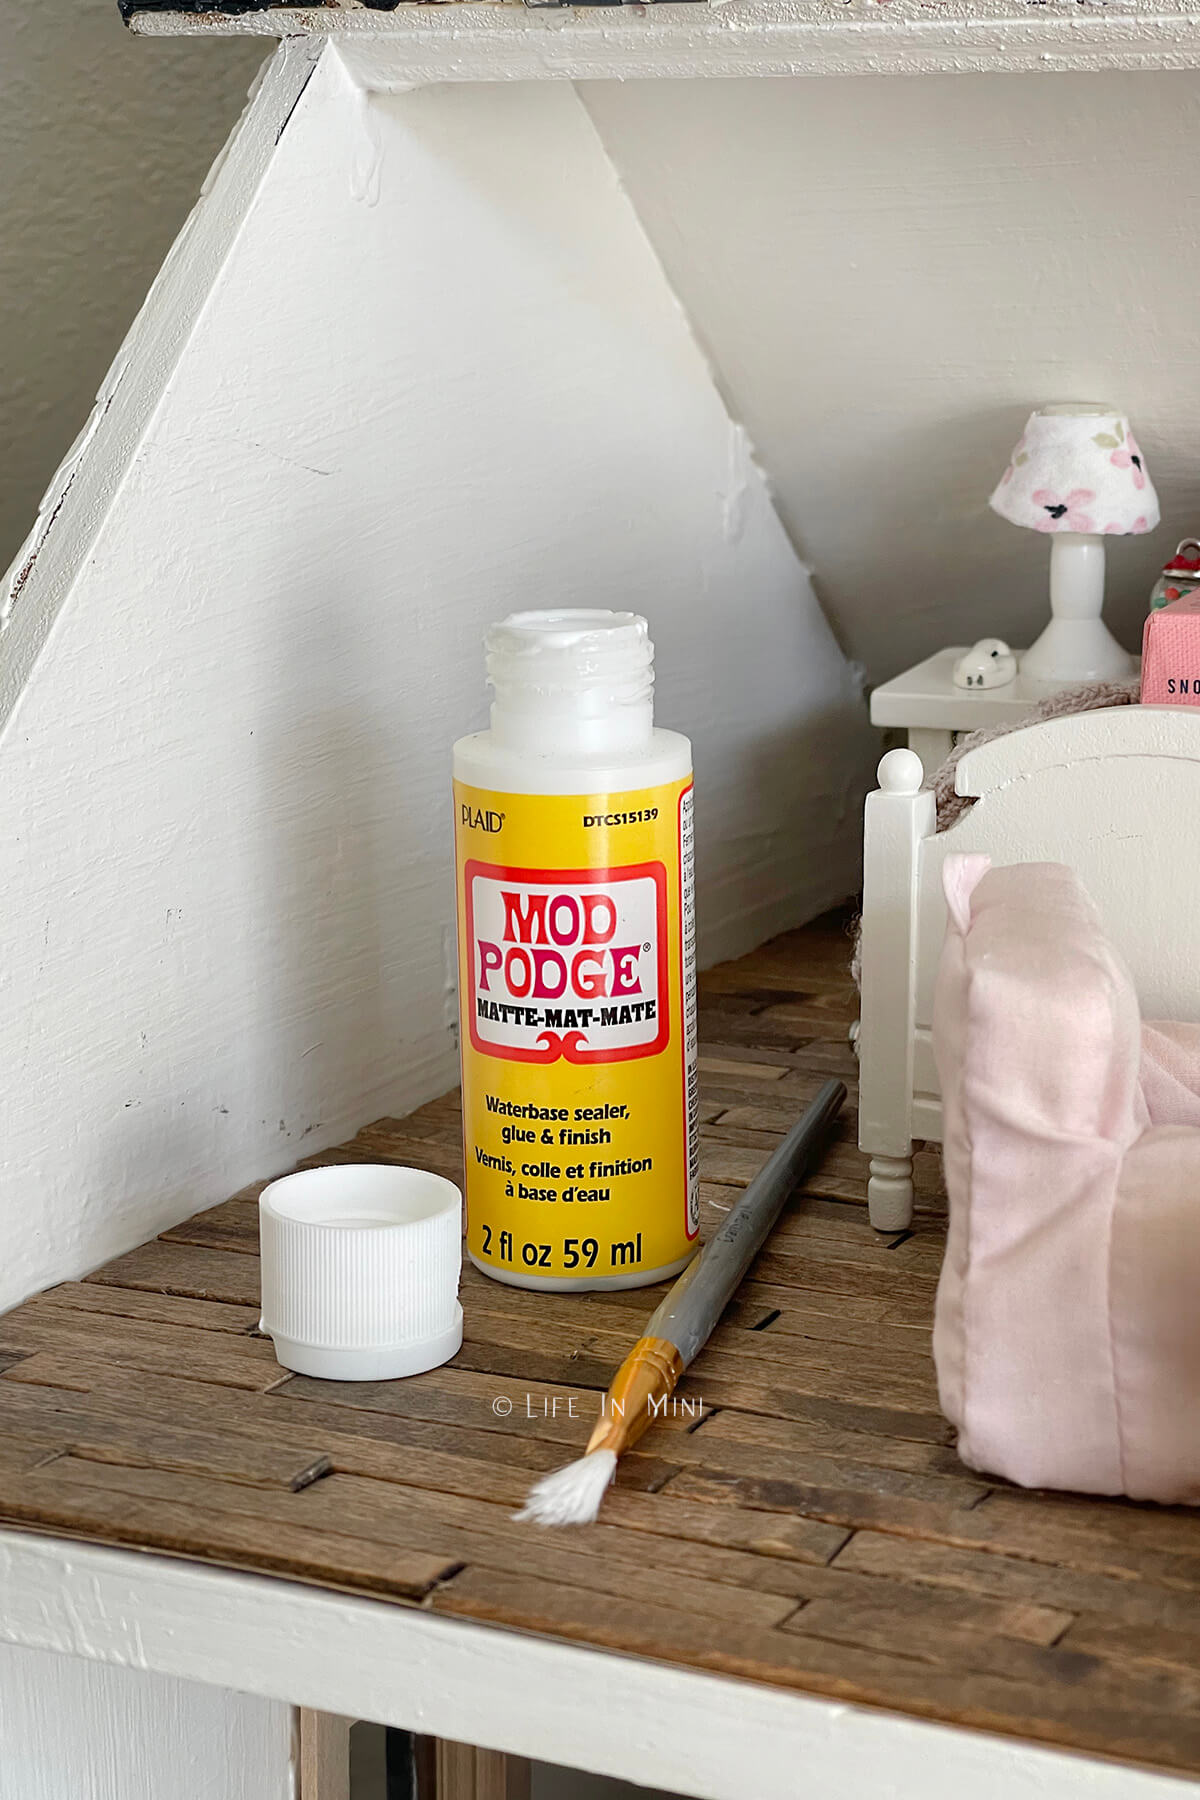
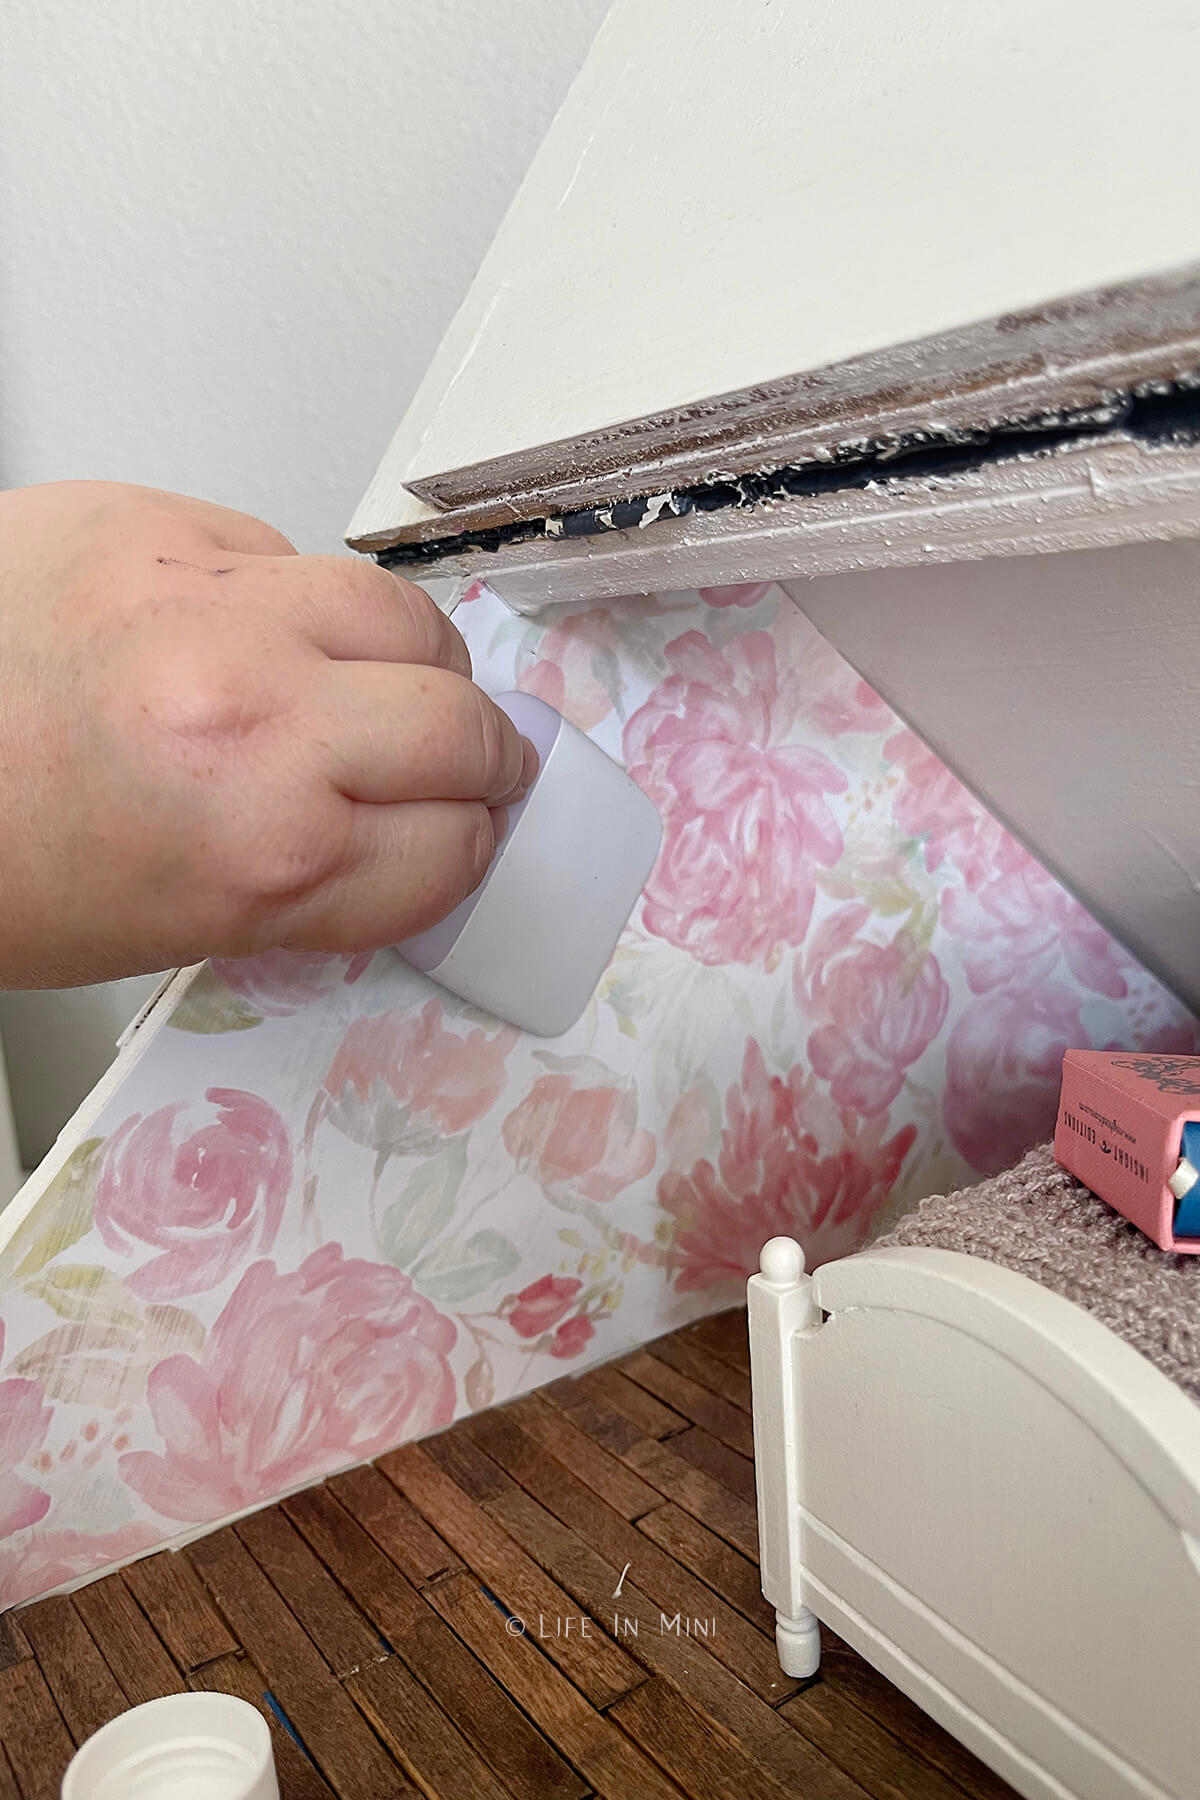
6. Very carefully, align the wallpaper evenly with the edge of the floor. Working your way up, slowly press it up the wall. You can also start from the ceiling and work your way down. So, press the bottom edge first, keeping the rest of the paper off the sticky wall. As you move up the wall, press the paper gently in place.
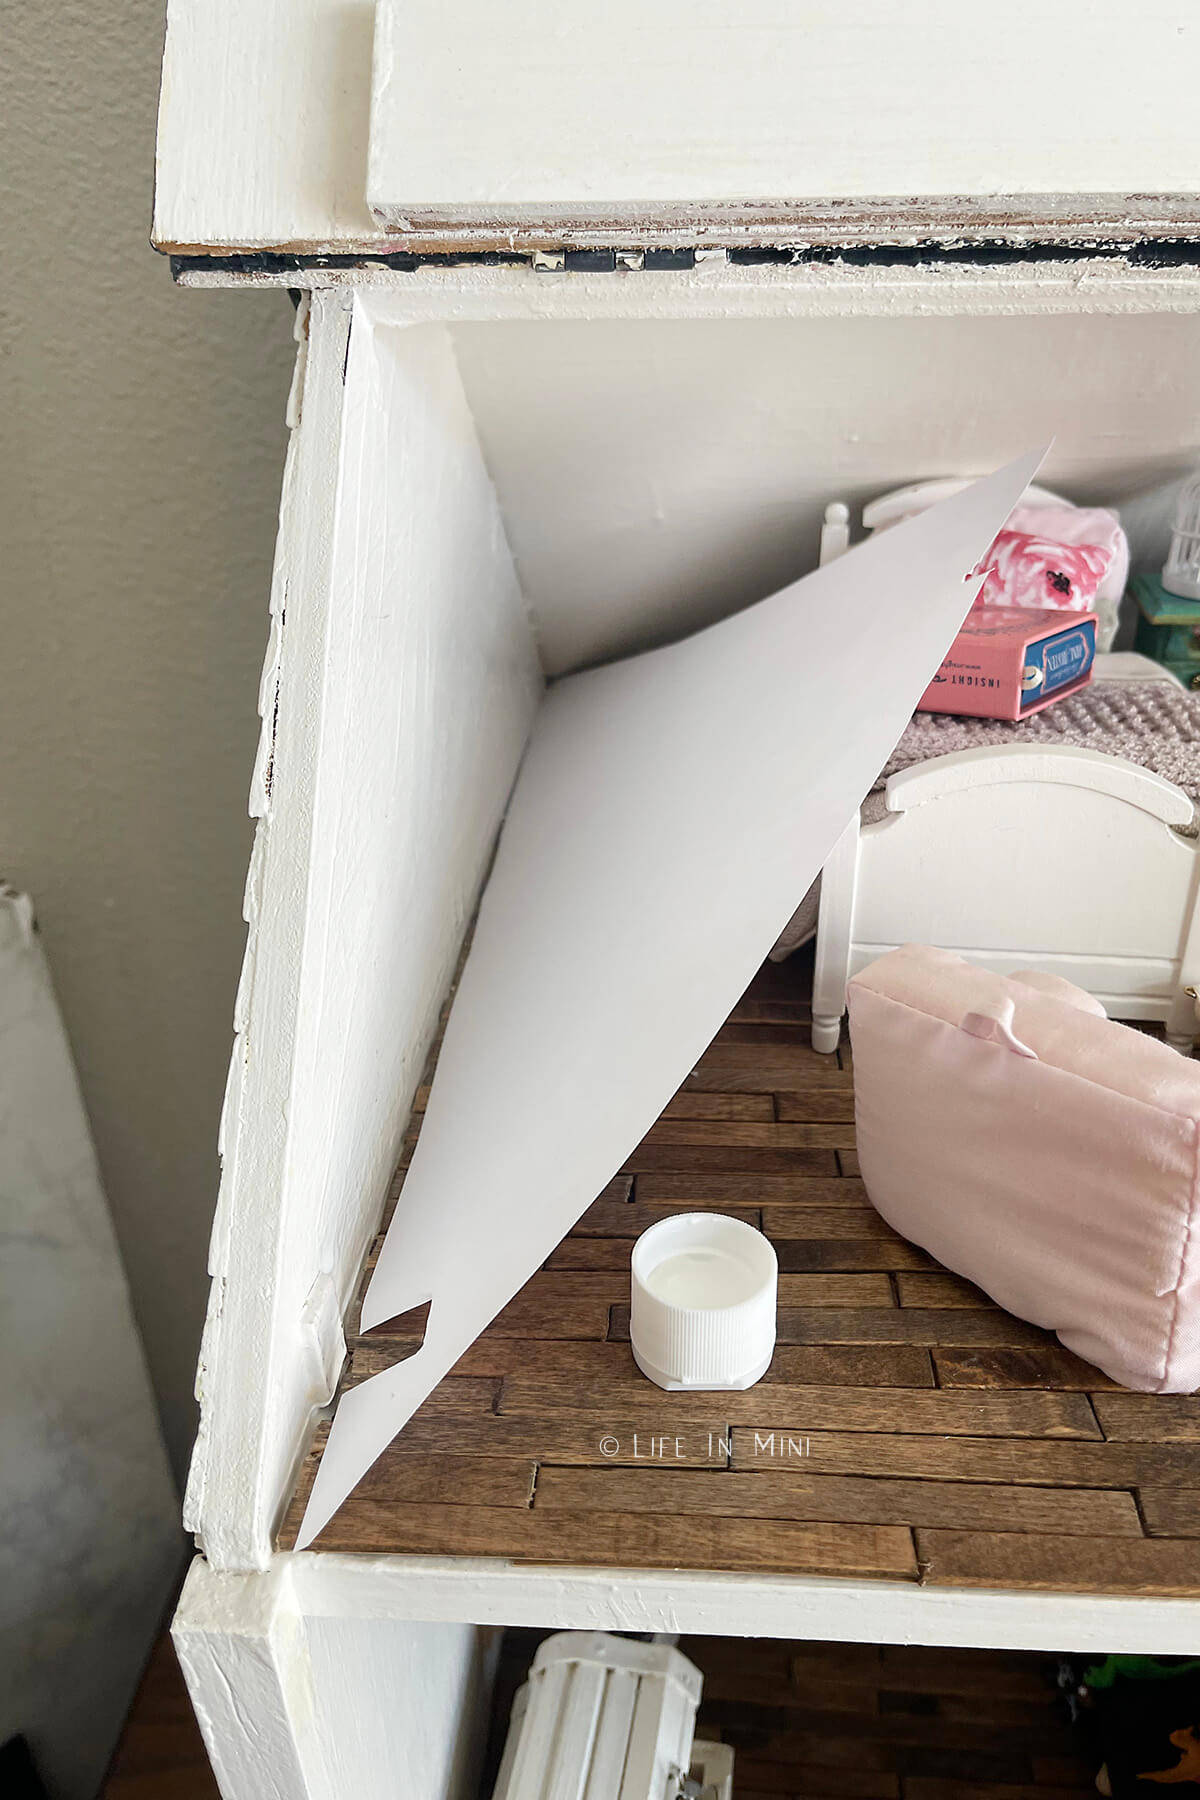
7. Using a scraper or credit card, press and flatten the wallpaper against the wall, smoothing it out. Work it so that you push out any air bubbles that have formed, squeezing them the outer edges.
To finish the wallpaper, you can apply a coat of Mod Podge (matte, satin or gloss) over the paper. This protects the paper, the color and gives it a little sheen. I didn’t do this, as I was still trying to figure out if I liked the final look or whether I wanted to change the paper in a month or two.
Project tips and FAQs
So you see, there are a ton of options and ways to make your dollhouse and rooms pop and look even more realistic. Every time I go to any craft store, I visit their scrapbook paper sections and find what new sheets they bring in – especially during the holidays!
The embossed papers add terrific texture to your scenes. Some look and feel like mini tiles, which are great for bathrooms, kitchens and laundry rooms.
This same technique can be used for paper flooring. If you are using paper for flooring, I strongly advise to adding a layer of Mod Podge to seal and protect it from little foot traffic or just from you rearranging furniture!
And lastly, a little fun. The internet is all a buzz with the leaps and bounds AI has made. I am happy to let you all know that these pictures are all mine and of real miniatures.
This tutorial and everything I write on both of my blogs are written by me. I do not use AI to research or write my posts.
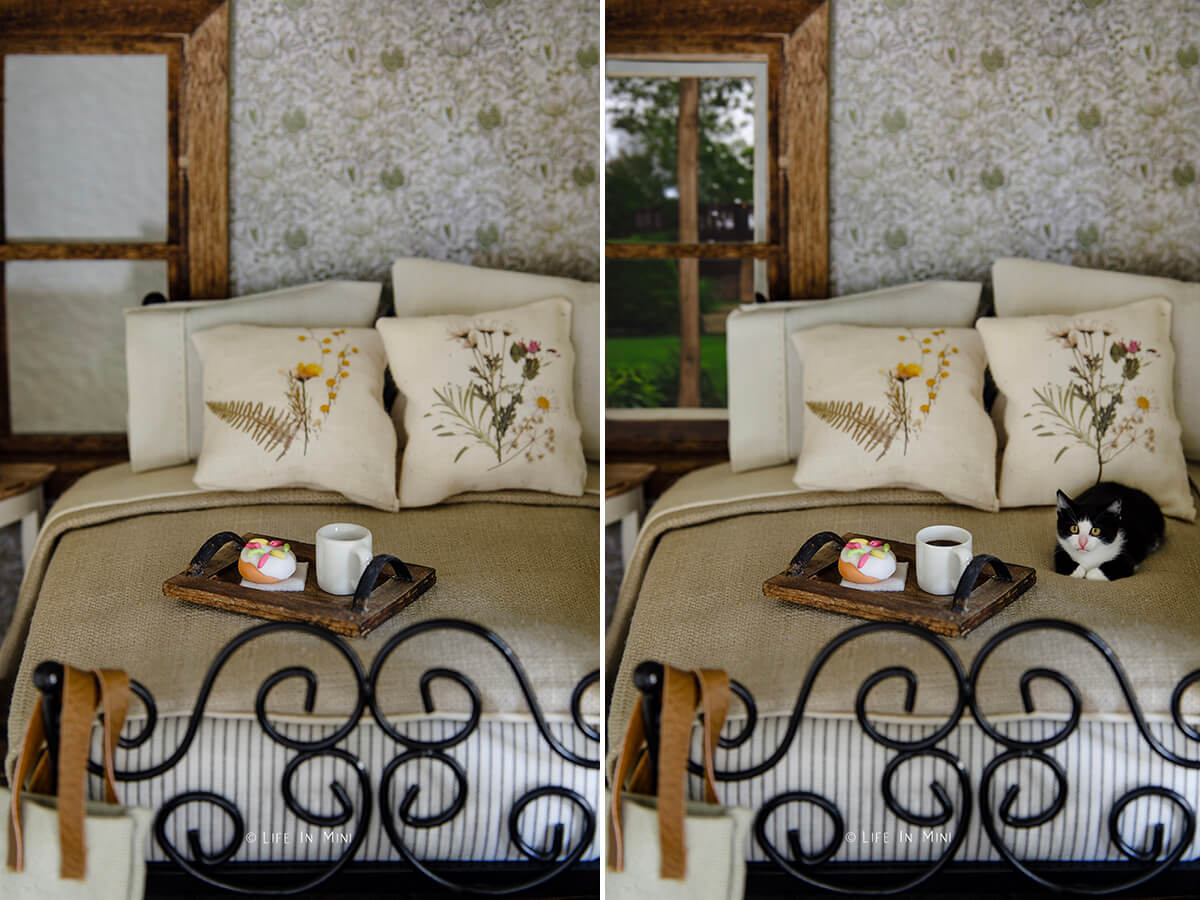
BUT, that doesn’t mean you can’t have fun with these tools. Adobe Photoshop has a new tool where you can add “elements” to your images and I did play around with it this week for the first time.
Below you can see my image of a mini wood tray I made with a mini donut and mug on the bed on the left. On the right I used AI to add a kitty on the bed, coffee in the mug and a backyard view for the window.
What do you think?!
I love using scrapbook paper to wallpaper my dollhouse rooms. There are many terrific and beautiful designs that make great options to use in miniature rooms. Some come embossed or offer up other textures, giving the walls dimension. You can also print your own wallpaper designs at home.
If your design has a lot of color, you want to use a paper that hold the printer ink well. Too thin of a paper and you can develop wrinkles when adhering the wallpaper with glue. I like to use presentation paper for high resolution printing so that the details can be clear and the colors pop!
I have had a great success using Mod Podge for my wallpaper glue. You can also water down white craft glue that dries clear. You do not need much glue to make the paper stick to the walls. Brush a thin layer over the walls, then carefully align and press the paper to the walls. For a short term option, you can also use double sided tape.
If you are enjoying my blog, why not sign up for my newsletter so you won’t miss out on the mini adventures!
How to wallpaper your dollhouse
This tutorial gives you detailed step-by-step instructions on how to install dollhouse wallpaper. It is a great way to add details to a scene and finish a room.
Materials
- Scrapbook paper or printed dollhouse wallpaper
- Mod Podge
Tools
- Ruler
- X-acto blade
- Cutting mat
- Small paint brush
- Scraper tool
- Pencil
Instructions
- Take measurements of the wall or walls you want to cover in wallpaper.
- Use these measurements to create a template for your wallpaper.. This is important when your wall has window openings or odd shapes. Cut out the template.
- Make sure the template fits your wall to your liking, then place this over your scrapbook paper and use a pencil to trace out the shape and cut it out
- If you need more than one sheet of wallpaper and will have a seam, overlap the paper and line the patterns up. You can tape them together from behind or use dabs of glue so they stick together.
- Place the final cut paper over the wall you want to cover BEFORE adding glue to make sure everything fits properly.
- Brush a thin layer of Mod Podge over the wall you want to cover, especially along the wall edges. I prefer brushing it to the wall and not the paper as this helps you create a smoother wall.
- Very carefully, align the wallpaper evenly with the edge of the floor. Working your way up, slowly press the paper up the wall. You can also start from the ceiling and work your way down.
- Using a scraper or credit card, press and flatten the wallpaper against the wall, smoothing it out. Work it so that you push out any air bubbles that have formed, squeezing them to the outer edges.
- To finish the wallpaper, you can apply a coat of Mod Podge (matte, satin or gloss) over the paper. This protects the paper, the color and gives it a little sheen.
Notes
You can also print your wallpaper designs at home. I prefer to use presentation paper when printing for better details and more vibrant colors. Let your printout completely dry before gluing to the walls.
You can also use watered down white glue as your wallpaper adhesive or double sided tape.
PS If you try this craft, why not leave a star rating in the direction card right below and/or a review in the comment section further down the page? I always appreciate your feedback.
You can also follow me on Pinterest, Facebook or Instagram. Sign up for my eMail list, too!


Jen says
This room is so sweet. I would love to know where you got that bed.
Laura says
Hi Jen-
Thank you! The white bed came from a Pottery Barn dollhouse furniture set I bought for my daughter 10-15 years ago? The black metal bed we found at a second hand store.
Laura
Britt says
Good tutorial! If you searching for more wallpaper, I make and sell wallpaper on Etsy, Here can you find them!
https://www.etsy.com/se-en/shop/Smallthingsandmore?ref=seller-platform-mcnav§ion_id=22491830
Hugs Britt
Here is my blog:
https://brittsvirkochminiatyr.blogspot.com