It is very easy to create a miniature gallery wall for your dollhouse. I share my tips on how to make miniature picture frames and provide a free PDF for you to print out beautiful vintage botanical artwork at home.
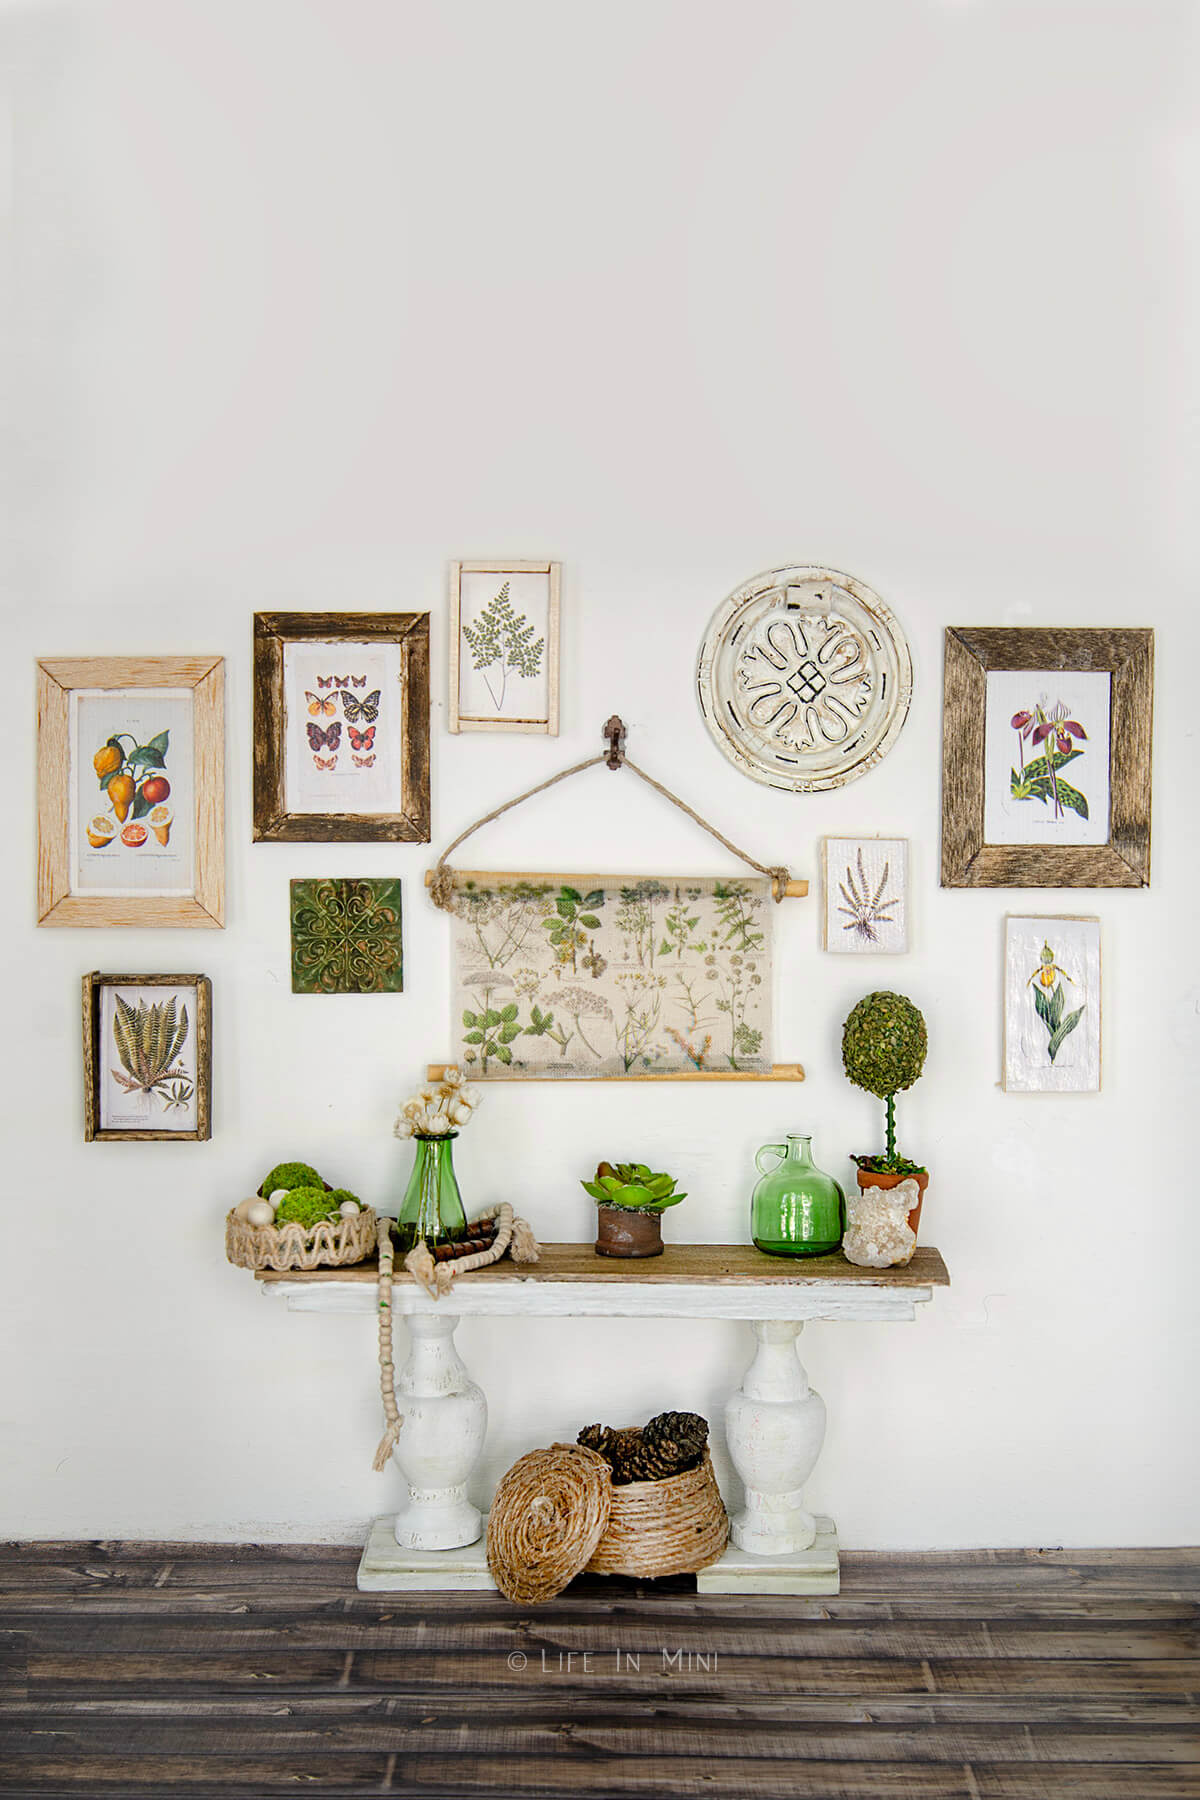
Last month marked my first year in my new place. My daughter and I really love our new home and have made it comfy, cozy and a perfect reflection of us.
After sifting and purging over 20-years of “stuff” from our old place, I kept what I loved and spent a lot of time lurking at thrift stores and antique stores looking for unique pieces. My current vibe is natural, vintage with a bit of crazy plant lady mixed in.
I recently created a gallery wall in my dining room using an assortment of botanical prints, baskets and architectural pieces. I loved it so much I decided to do something similar in miniature for the dollhouse.
I have already shared how to create dollhouse artwork by mod-podging printouts onto mini canvas and pieces of wood. This time I wanted to include framed pieces, but miniature picture frames are pricey and a bit too fancy for my taste.
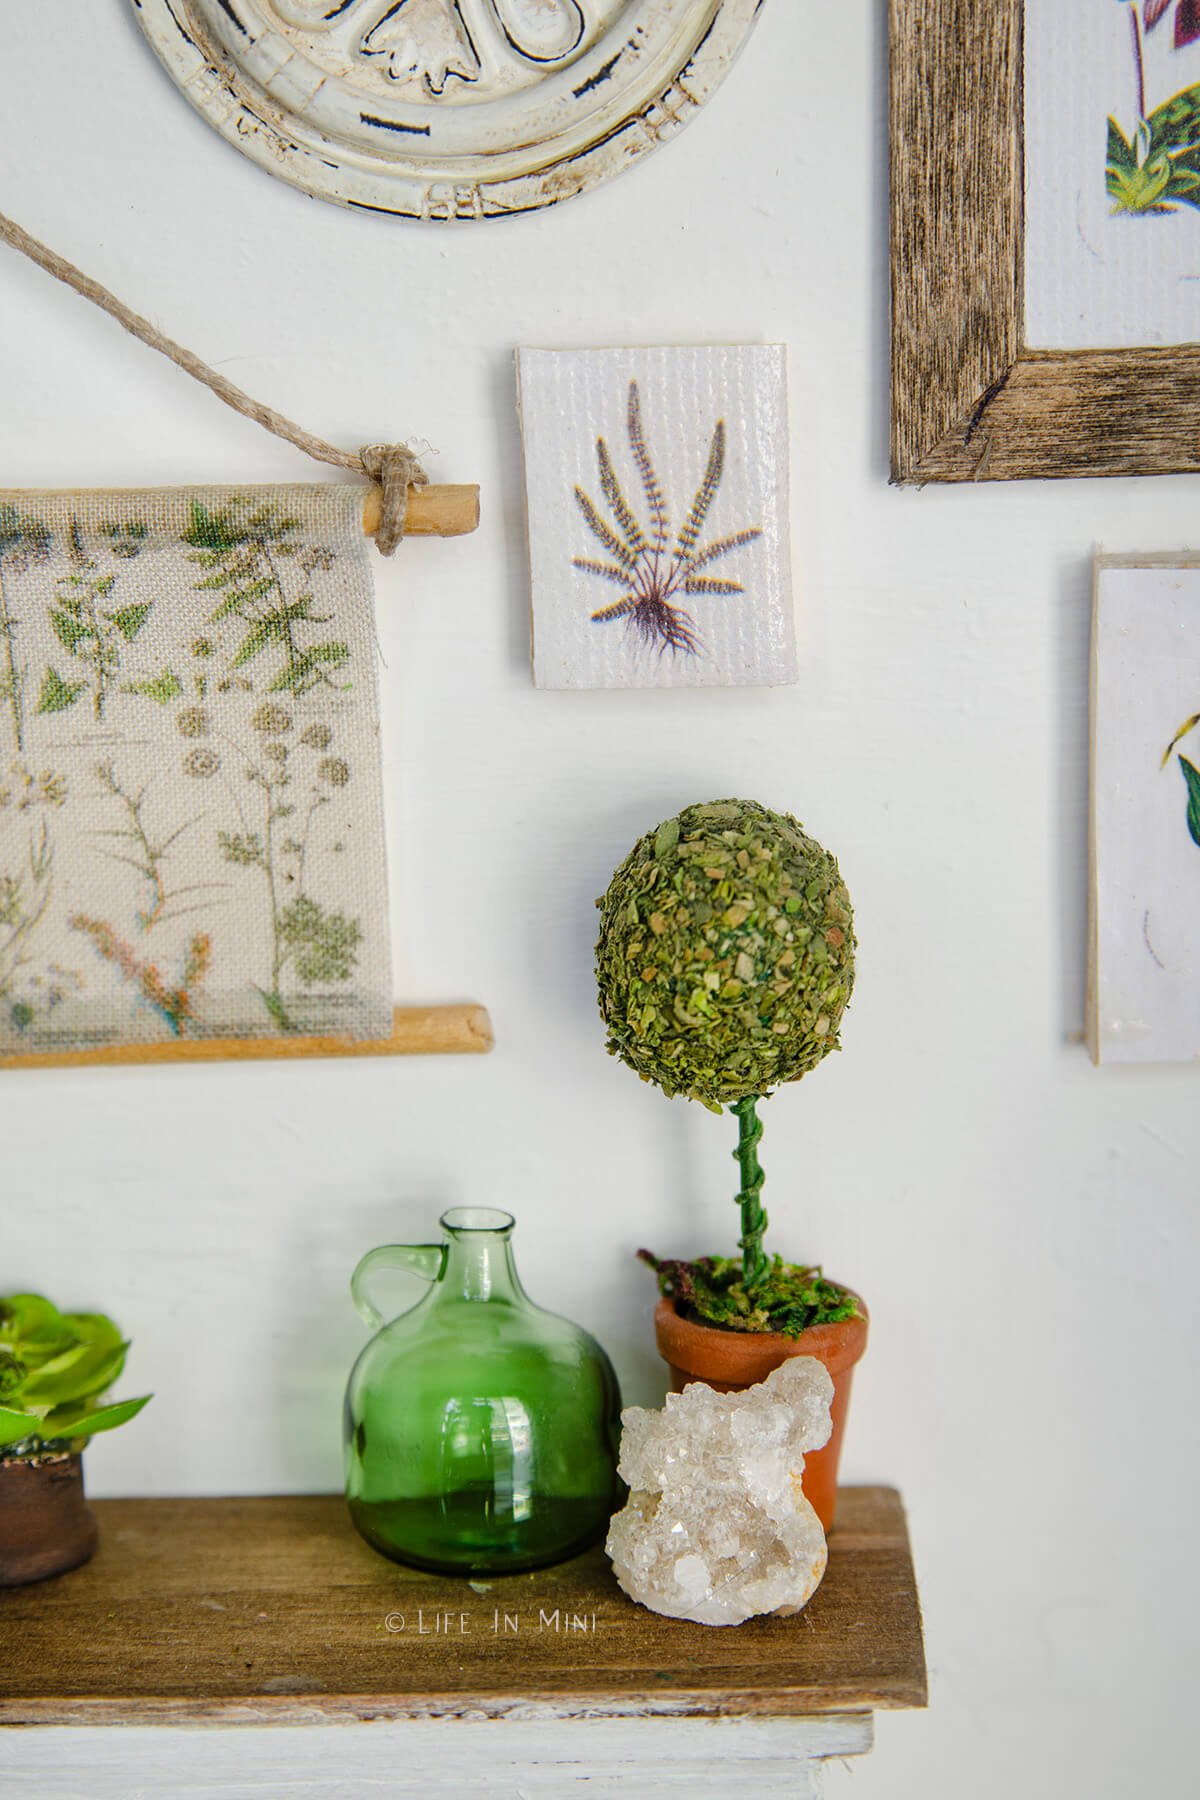
So, I created my own frames using scrap wood and popsicle sticks. I think everything turned out super cute and I hope you enjoy this project as much as I did. And if you love vintage botanical prints, I have a free PDF for you to use in your own dollhouse, too.
When I showed this scene to my daughter, she giggled with delight and said it reminded her of our place. Mission accomplished!
Supplies you need
This post contains some affiliate links for your convenience (which means if you make a purchase after clicking a link I will earn a small commission but it won’t cost you a penny more)! Read my full disclosure policy.
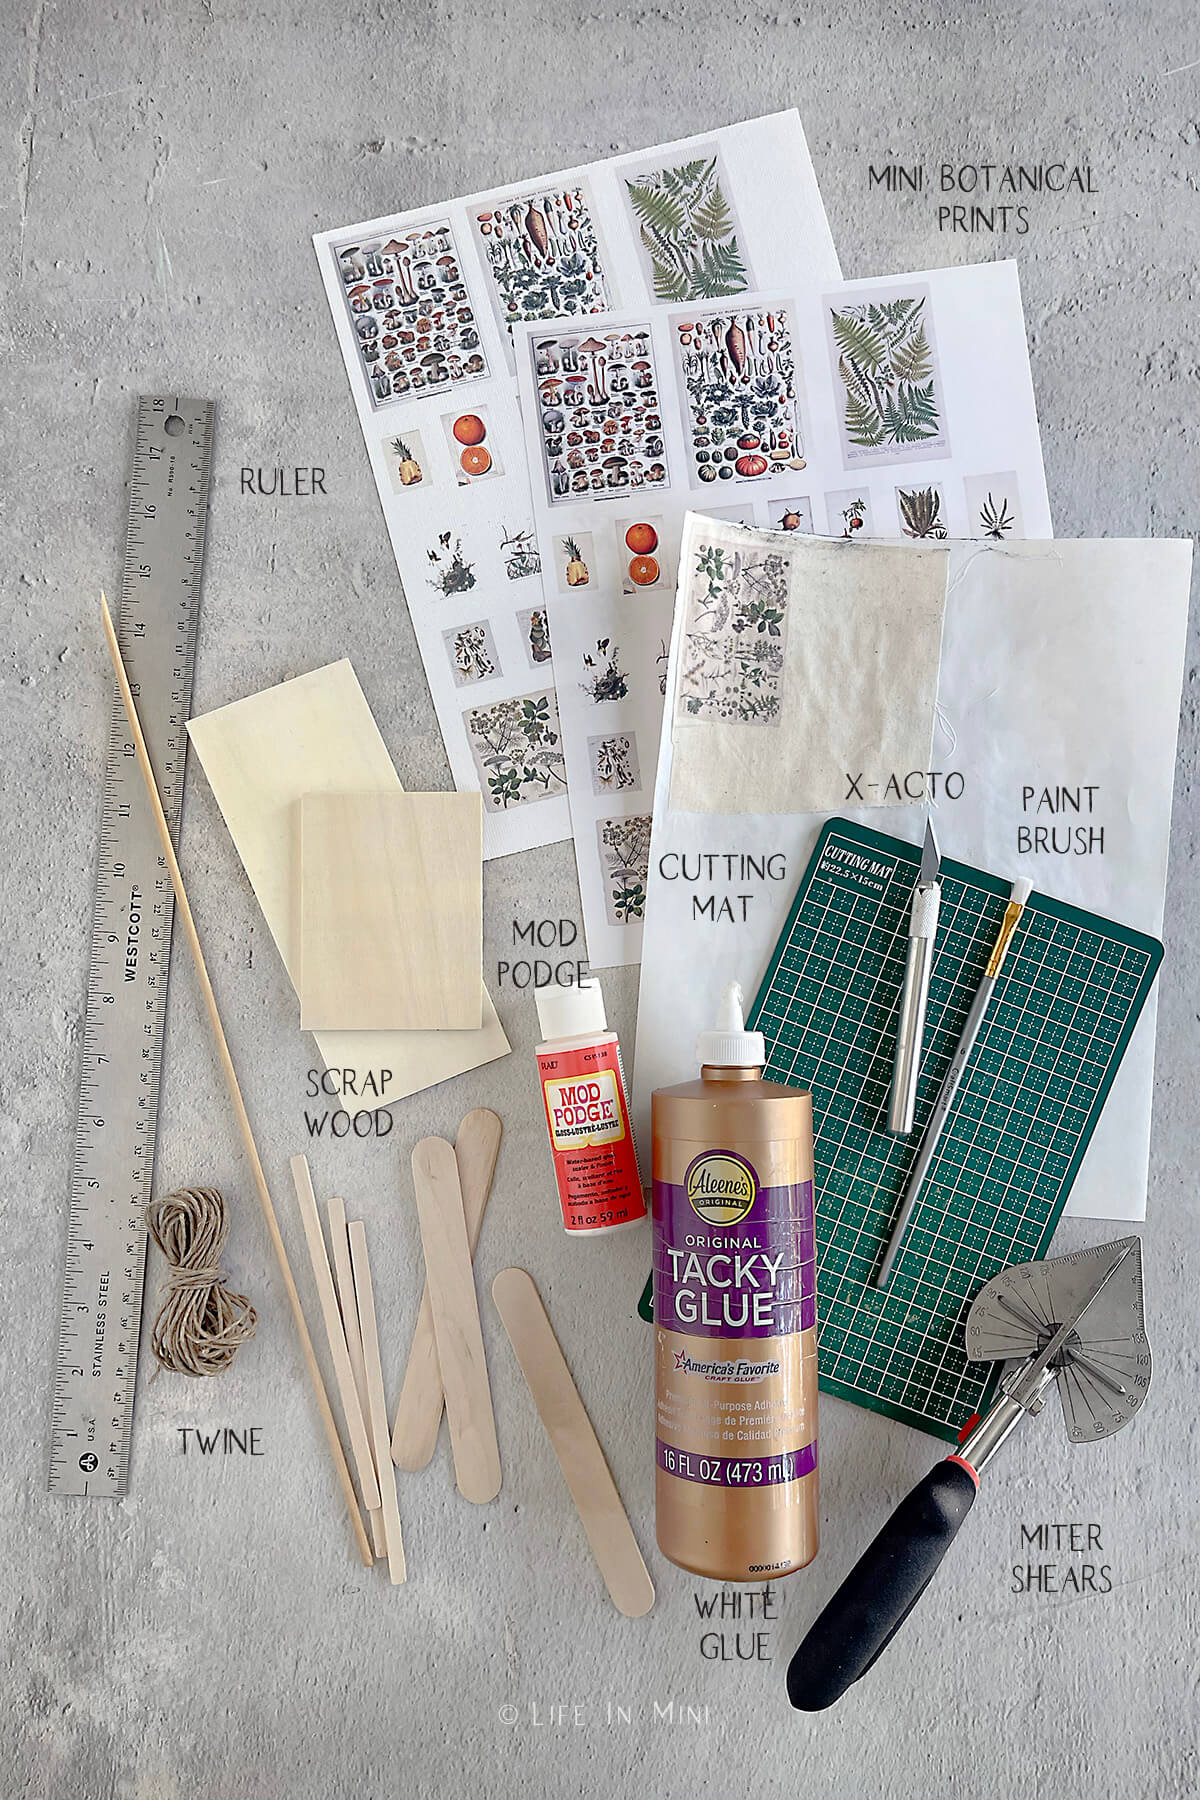
- Digital image: You can use your own miniature images or the miniature botanicals PDF I created for this specific project. If you are using your own images, be sure that the resolution is a minimum of 300 dpi and the color mode is set to CMYK (RGB is used strictly for online images).
- Scissors: You will need to cut out the mini printouts. You can use an x-acto and straight edge, scissors, or a paper cutter. You will also need a cutting mat to protect your work surface.
- Scrap wood: For the frames, you can use scrap wood or popsicle sticks. I also used the thinner coffee stir sticks. You can keep it natural wood, stain it or paint the frames. If you want the wood stained, you should stain the wood first, cut then glue. You will also need scrap wood, cardboard or card stock for the backing of the frame.
- Miter shears: To cut the wood pieces for your frames, miter shears are pretty easy and awesome to use.
- Sand paper: When cutting wood, it’s always good to have a little sand paper on hand to smooth the rough edges.
- Mod Podge: You can use gloss or matte finishes of Mod Podge, depending on what you prefer.
- White glue: I love my Aleene’s Tacky Glue to secure the wood frame pieces. You need a glue that dries clear.
- Bamboo skewers and twine: For the tapestry, I glued it to bamboo skewers and finished with some twine.
Step-by-step directions
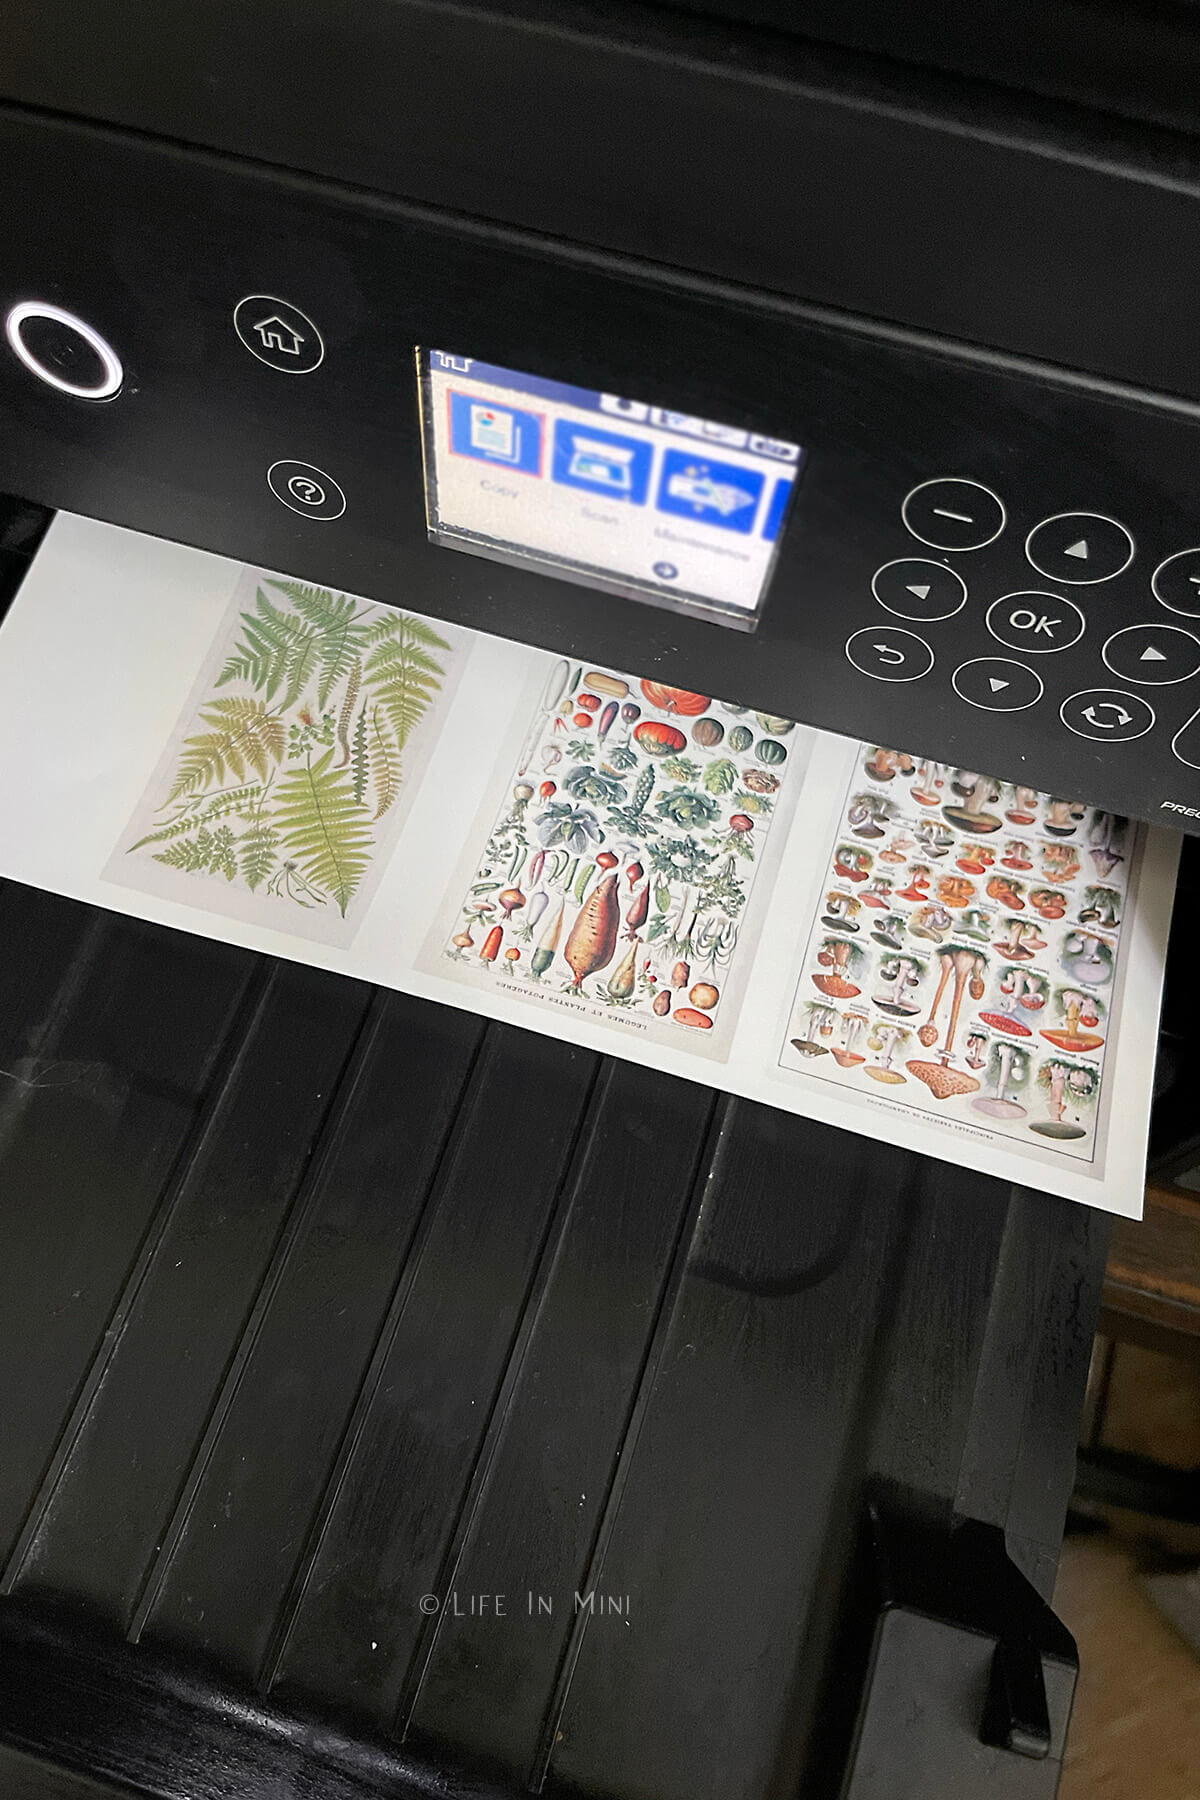
1. Print your images. You can either use the botanical images I have provided for you (see link in the supplies list) or use your own. Again, be sure that the images are at least 300dpi. You can learn all about resolution and how to have sharp images for miniatures in this post.
Once printed, let it completely dry before using them, as you don’t want the Mod Podge to make the colors bleed.
2. Cut the wood. Using miter shears, you can cut your pieces of wood (I liked using popsicle sticks and coffee stirrers) to the length you need. Adjust the angle of the cut to 45º and cut. Use your image as a guide to the length you need. Sand the wood before gluing.
If you want the frames to be stained, do this now or before cutting. Wood stain does not penetrate glue and gives a splotchy look. You CAN paint your frames after glueing.
You will also need a piece of wood for the backing of your printouts. Use your miter shears to cut from balsa or basswood. Use scissors or an x-acto to cut from cardboard, kraft board or card stock.


3. Assemble. Mod-Podge your print onto your cut piece of scrap wood or whatever you are using as the backing of your frame and let it dry.
Before you glue the frame pieces together, make sure the pieces fit snugly around your image. I used tacky glue that dries clear to glue the frame together and it held up great.
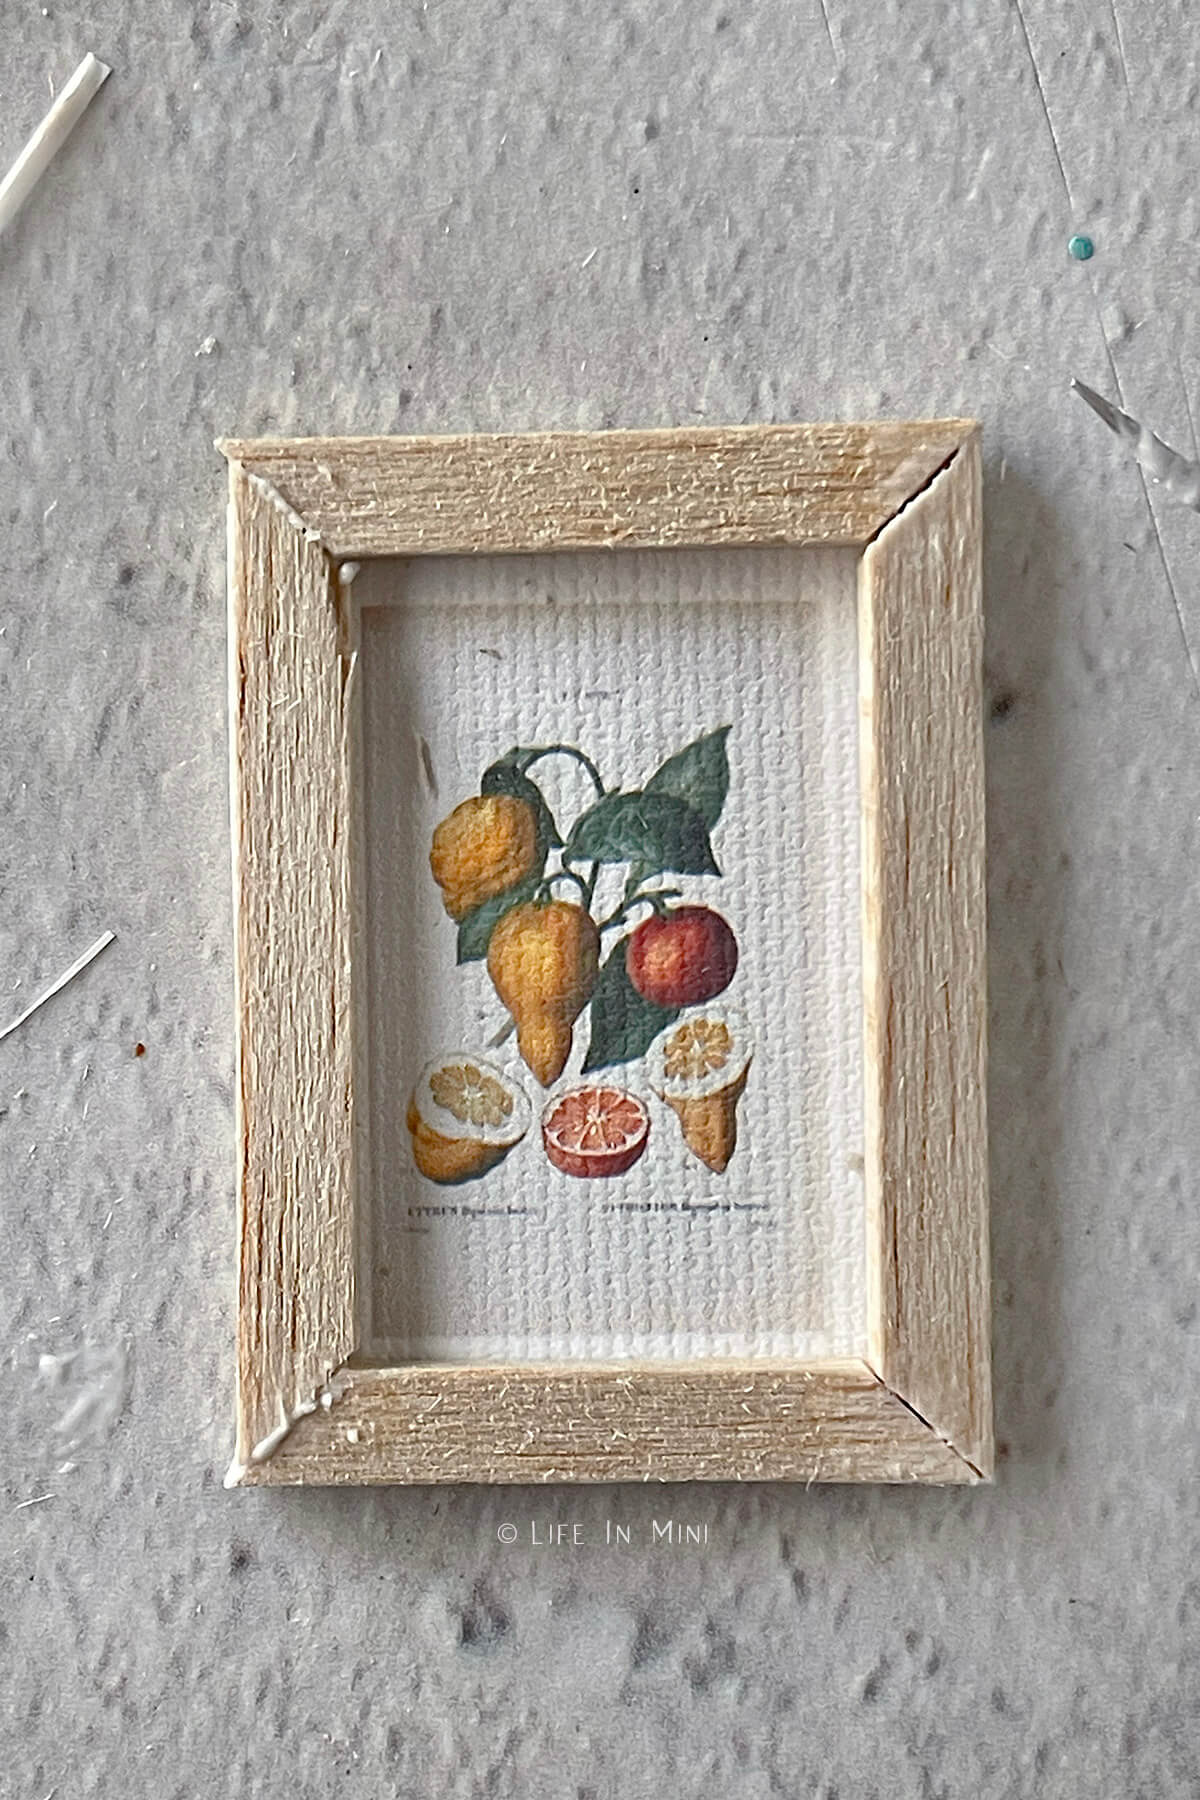
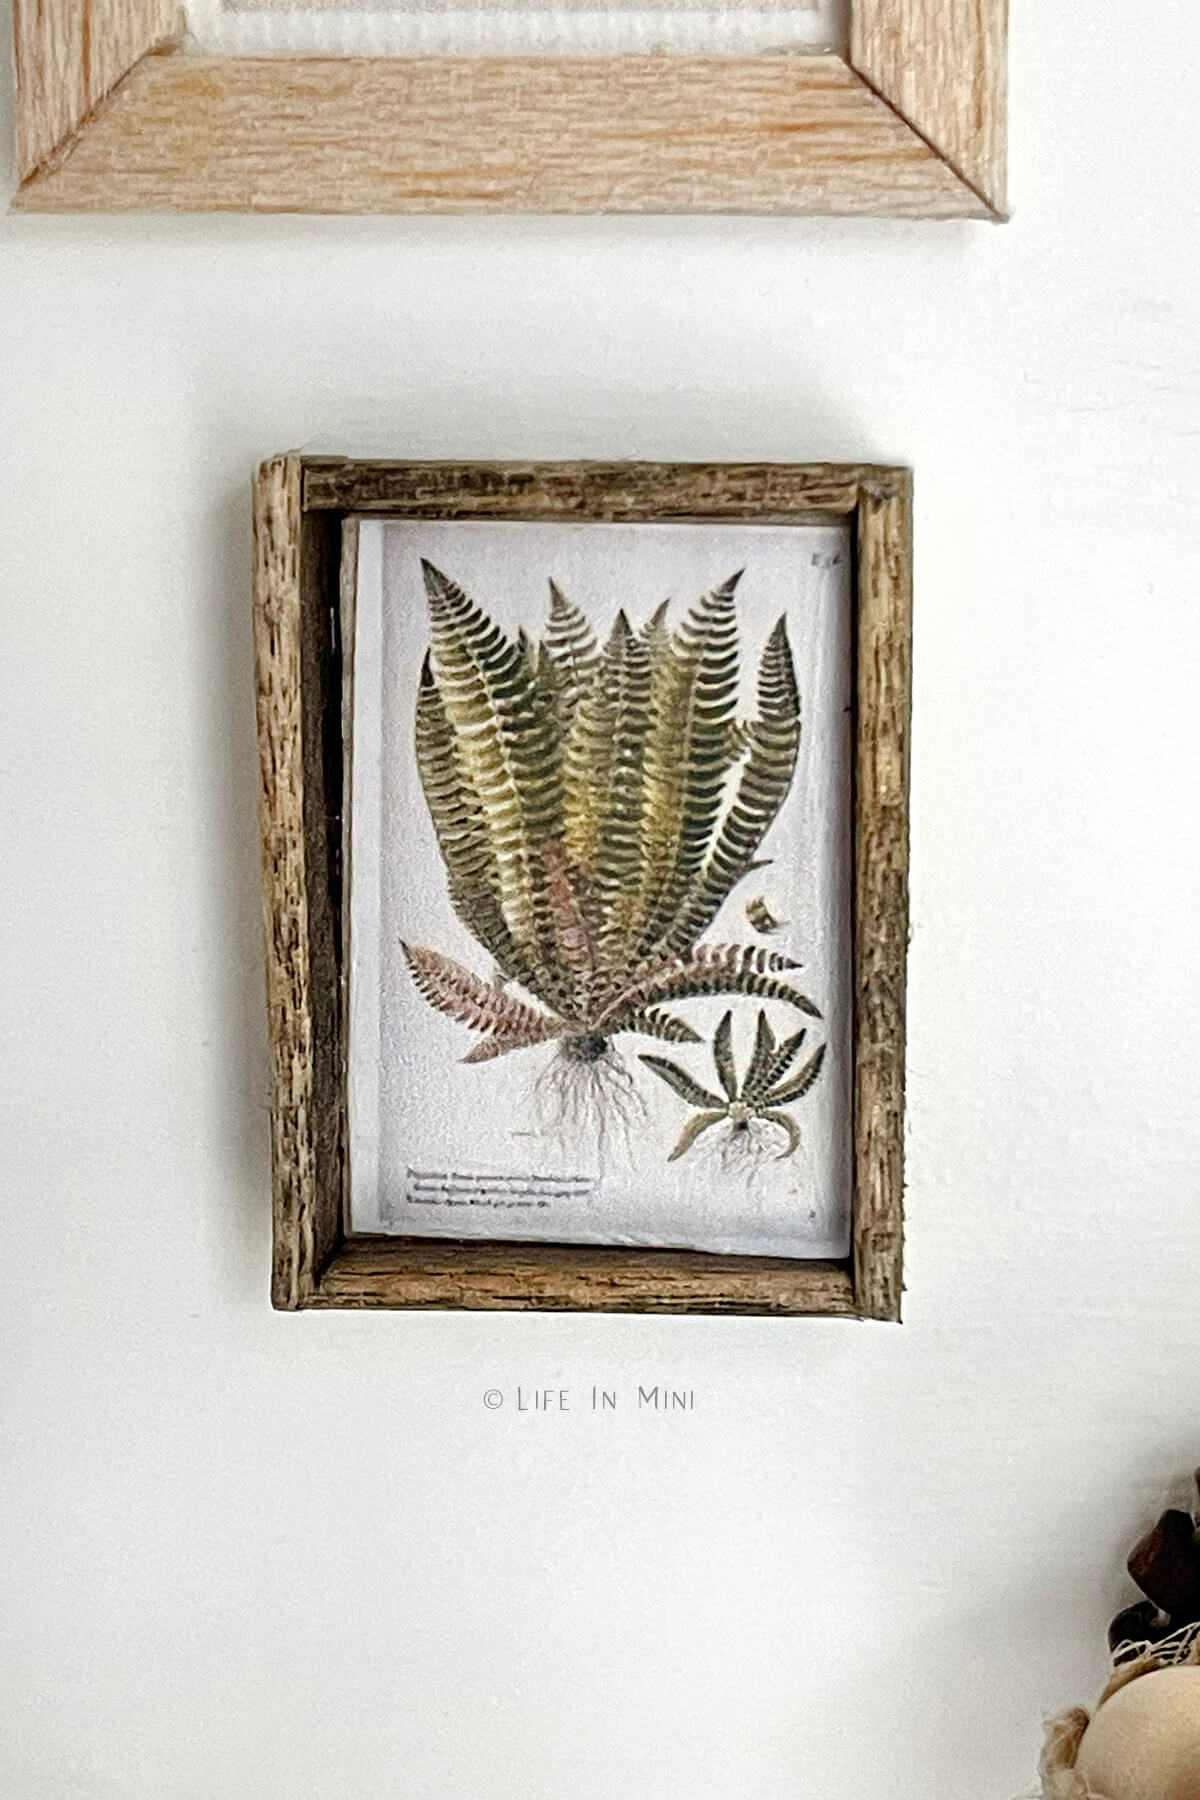
4. Make more frames! I mixed different wood tones and frames in my scene to make this look thrifted and add some character. For some of the frames I cut the wood in straight lines to create a more modern box frame.
You can do this with thicker popsicle sticks to create a mini shadow box, too!
Expert tips and FAQs
I decided to experiment and printed these images on some canvas paper. As you can see, the image isn’t as clear on the canvas as it is on the presentation paper. But I liked the textured look of the canvas so I used a few of these printouts in my scene.
I also printed one of the images on fabric so it had the look of tapestry. I used the same technique I did in this post on how to make dollhouse rugs. I used freezer paper attached some cotton fabric I purchased at Daiso.
Let it dry a bit before cutting it out. I glued it onto two pieces of bamboo skewers that I cut down. Wet glue made the ink bleed a bit, so I suggest using less glue (add it to the stick and then wipe most of it off) or try using a spray adhesive.
Tie on some twine, glue the knots to secure it completely and it was done.
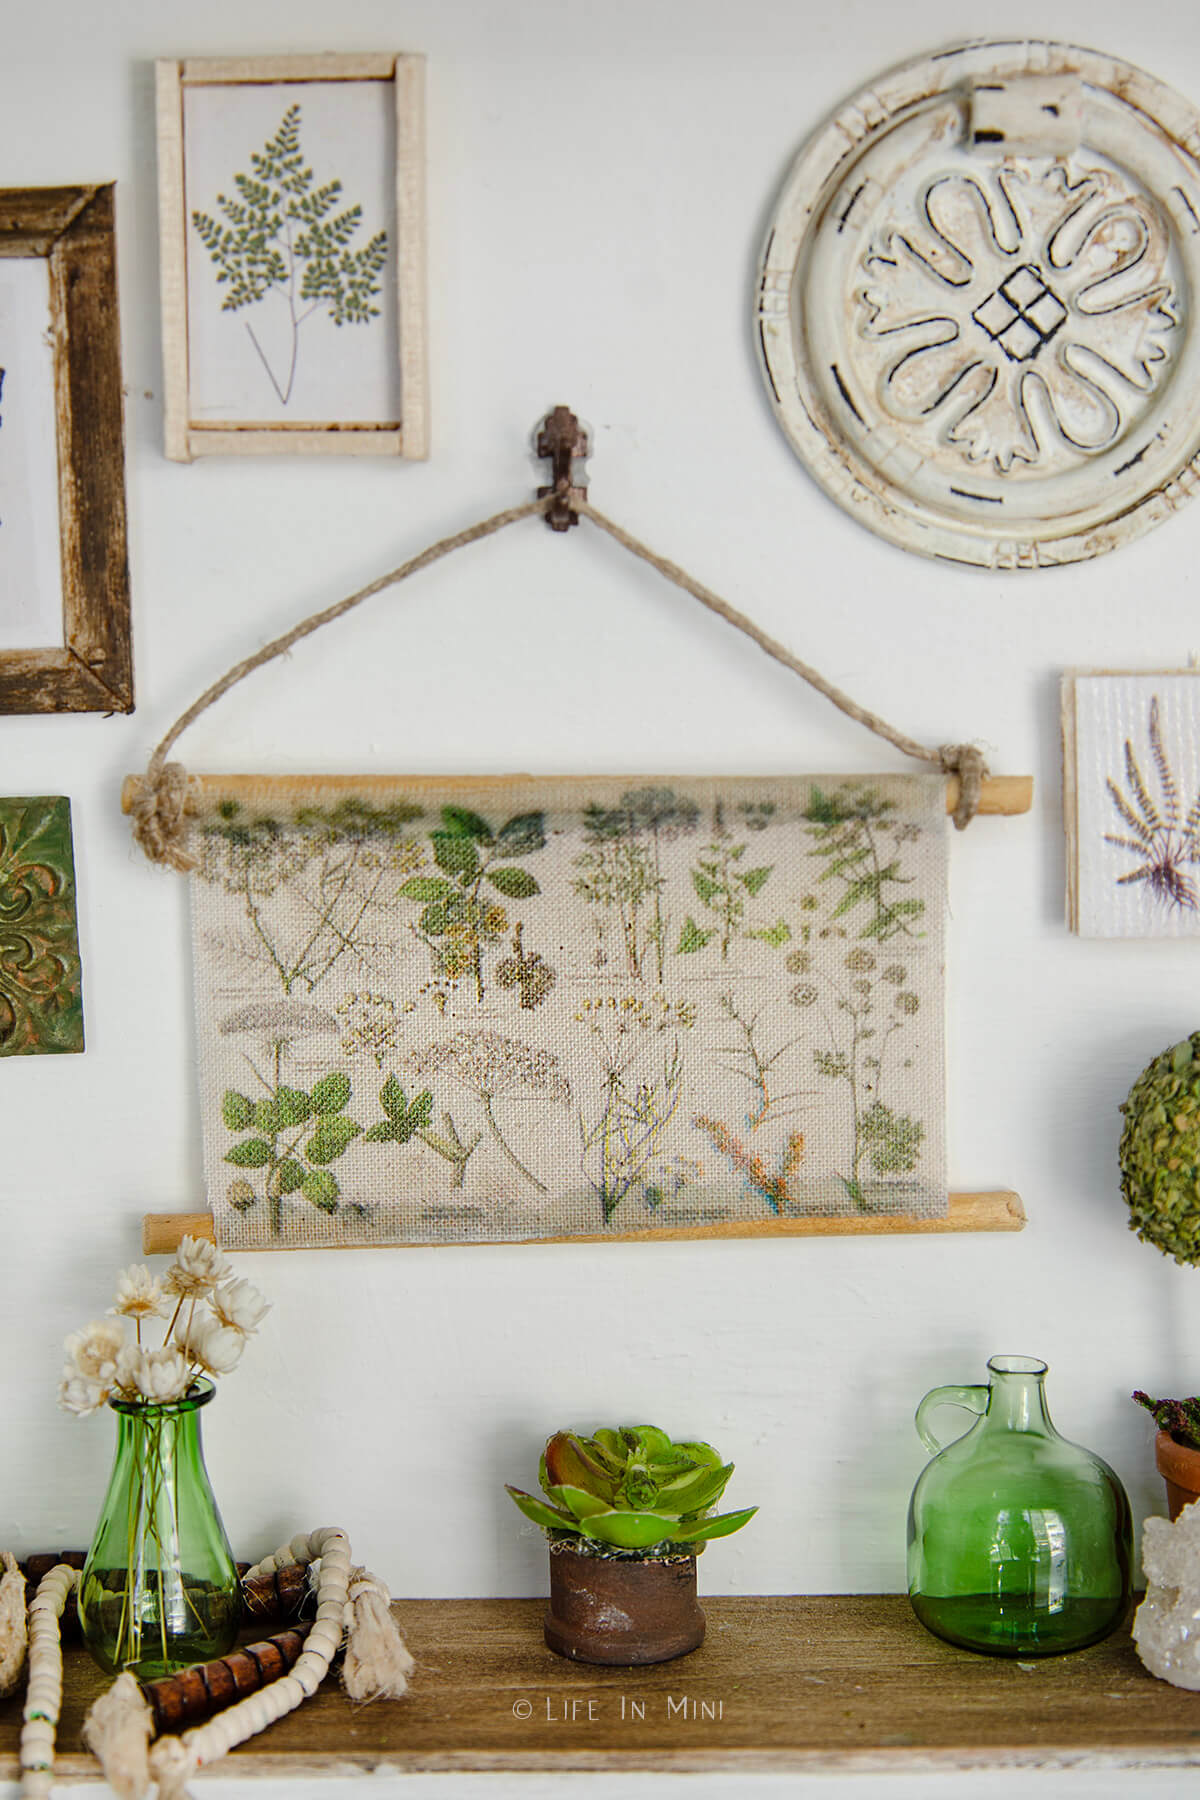
I had tremendous fun decorating this piece. I added some of my homemade mini baskets that I shared in a previous tutorial. The key to decorating with this neutral natural palette is mix textures, so I used burlap, twine, muslin, glass and wood.
My parents are geologists so I have lots of rocks, crystals and fossils. A little piece of a crystal broke off during my move so I popped it into the dollhouse! I also scavenged thru my old embellishments from my scrapbooking days and added the tile and metal-looking round piece.

I sealed all my printouts (on canvas and on presentation paper) with some gloss Mod-Podge. If you are printing on fabric, like I did for the muslin piece, do not add Mod-Podge as it makes the ink smudge. If you want to seal it use a light coat of spray sealant.
My frames did not use any glass or acrylic, but you could totally cut a pane of acrylic if you want that look.
Don’t have a printer? You can find lots of dollhouse artwork from scrapbook paper, greeting cards, magazine clippings and old books.
If you are enjoying my blog, why not sign up for my newsletter so you won’t miss out on the mini adventures!
Miniature Picture Frames

Create a miniature gallery wall for your dollhouse with this easy tutorial to make miniature picture frames. I also provide a free PDF for you to print out beautiful vintage botanical artwork at home.
Materials
- DIgital image
- Scrap wood, cardboard or card stock
- Popsicle sticks
- Coffee stir sticks
- Mod-Podge
- White glue
Tools
- Scissors
- X-acto
- Straight edge
- Cutting mat
- Miter Shears
- Sand paper
Instructions
- Print your miniature images. You can either use the botanical images I have provided for you (see link in the post) or use your own. Be sure that the images are at least 300dpi. Learn more about high resolution printing here.
- Once printed, let it completely dry before using them, as you don't want the Mod-Podge to make the colors bleed.
- Using miter shears, adjust the angle of the cut to 45º and cut cut your pieces of wood for the frames (I liked using popsicle sticks and coffee stirrers). Use your image as a guide to the length you need.
- Sand the wood before gluing.
- If you want the frames to be stained, do this now or before cutting. Wood stain does not penetrate glue and gives a splotchy look. You CAN paint your frames after glueing.
- You will also need a piece of wood for the backing of your printouts. Use your miter shears to cut from balsa or basswood. Use scissors or an x-acto to cut from cardboard, kraft board or card stock.
- Mod-Podge your print onto your cut piece of scrap wood or whatever you are using as the backing of your frame and let it dry.
- Before you glue the frame pieces together, make sure the pieces fit snugly around your image. I used tacky glue that dries clear to glue the frame together and it held up great.
- For some of the frames I cut the wood in straight lines to create a more modern box frame. You can do this with thicker popsicle sticks to create a mini shadow box, too.
Notes
I printed these images on some canvas paper, as well. As you can see, the image isn't as clear on the canvas as it is on the presentation paper. But I liked the textured look of the canvas so I used a few of these printouts in my scene.
I also printed one of the images on fabric so it had the look of tapestry. I used the same technique I did in this post on how to make dollhouse rugs. I used freezer paper attached some cotton fabric I purchased at Daiso.
Let it dry a bit before cutting it out. I glued it onto two pieces of bamboo skewers that I cut down. Wet glue made the ink bleed a bit, so I suggest using less glue or a spray adhesive.
Tie on some twine, glue the knots to secure it completely and it was done.
PS If you try this craft, why not leave a star rating in the direction card right below and/or a review in the comment section further down the page? I always appreciate your feedback.
You can also follow me on Pinterest, Facebook or Instagram. Sign up for my eMail list, too!


Leave a Reply