Creating modern dollhouse paintings and artwork in miniature is not as difficult as you may think. There are several ways you can make your mini wall art and I share these tips with you.
There are some tedious and painful steps when it comes to refurbishing a dollhouse. But when you’ve been bitten by the miniature bug, you learn to plow right thru these challenges because the fun part is next: decorating the dollhouse!
My kids are teenagers and think their mom has gone a little crazy missing her young babies because my free fun time is spent on my mini making. But for me, it’s not only a creative way to express myself, but also to decorate a house EXACTLY as I want it.
That’s right, it’s all about me and what I like!
I was already envisioning how the interior of my dream house would be decorated before the repaint was even dry. Like most miniaturists, we have an assortment of furniture and accessories before the dollhouse is ready or in some cases, built.
So I spent several hours searching online for the perfect artwork for freshly painted bare dollhouse walls. These were so easy to create that I began creating dollhouse paintings for different seasons and holidays, so I could rotate them throughout the year.
Can’t do that in real life. Who has that kind of storage space?!
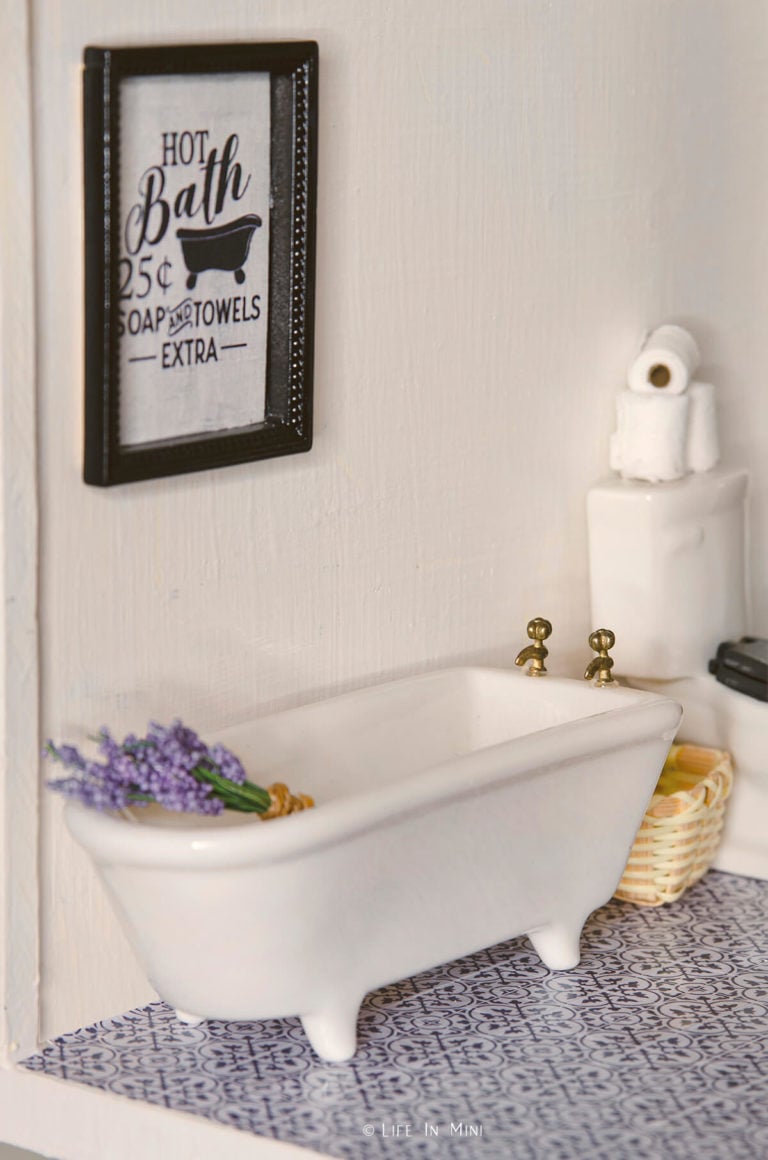
Choosing the right miniature artwork
Most people who get into dollhouses already have an idea of how they are going to decorate it before they even build their homes. You could be creating a room box, diorama or a themed mini world.
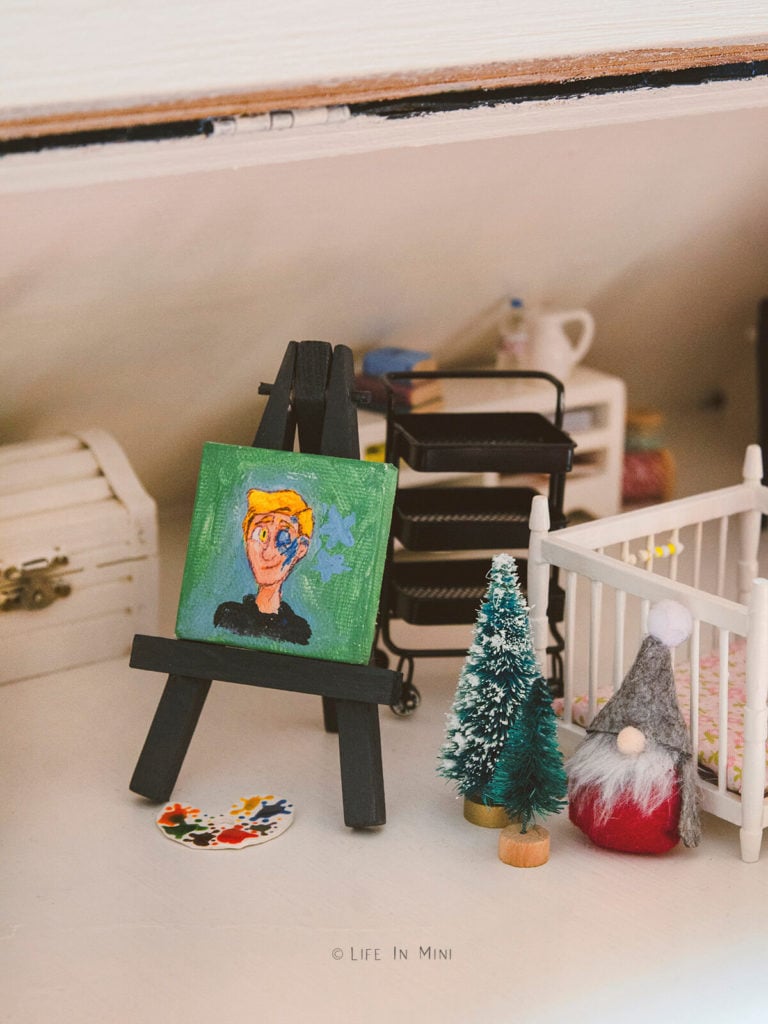
You can find inspiration all around you. If you are a painter, you might paint some mini landscapes or abstract art. This one mini painting I have in my dollhouse was painted by my daughter’s very talented friend.
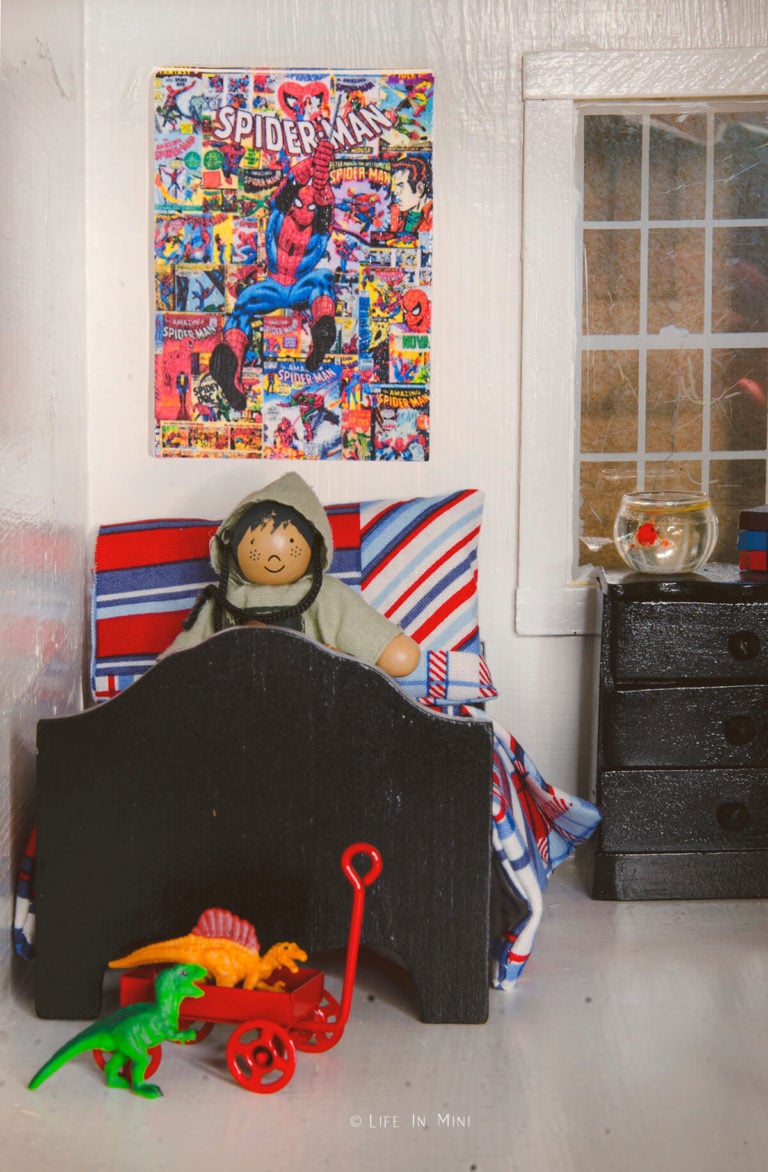
Scrap paper comes in so many different varieties of textures and colors and can be cut and framed, too. Maybe you found a beautiful picture in a magazine you can cut out, or received a beautiful car. All of these things can be transformed into miniature wall art.
You can create your own graphic art using computer software. Are you an amateur photographer? Want to display family photographs? Reduce them in size and print them out.
This post contains some affiliate links for your convenience (which means if you make a purchase after clicking a link I will earn a small commission but it won’t cost you a penny more)! Read my full disclosure policy.
Craft stores today sell all kinds of beads, pendants, laser wood cut outs that can make terrific wall art for your dollhouse. Almost anything you see and like in full size, can be replicated in miniature.
Even if you have zero creative instincts, you can still create mini paintings and artwork easily by yourself. Once you know the general feel you are going for, then just let the internet help you.
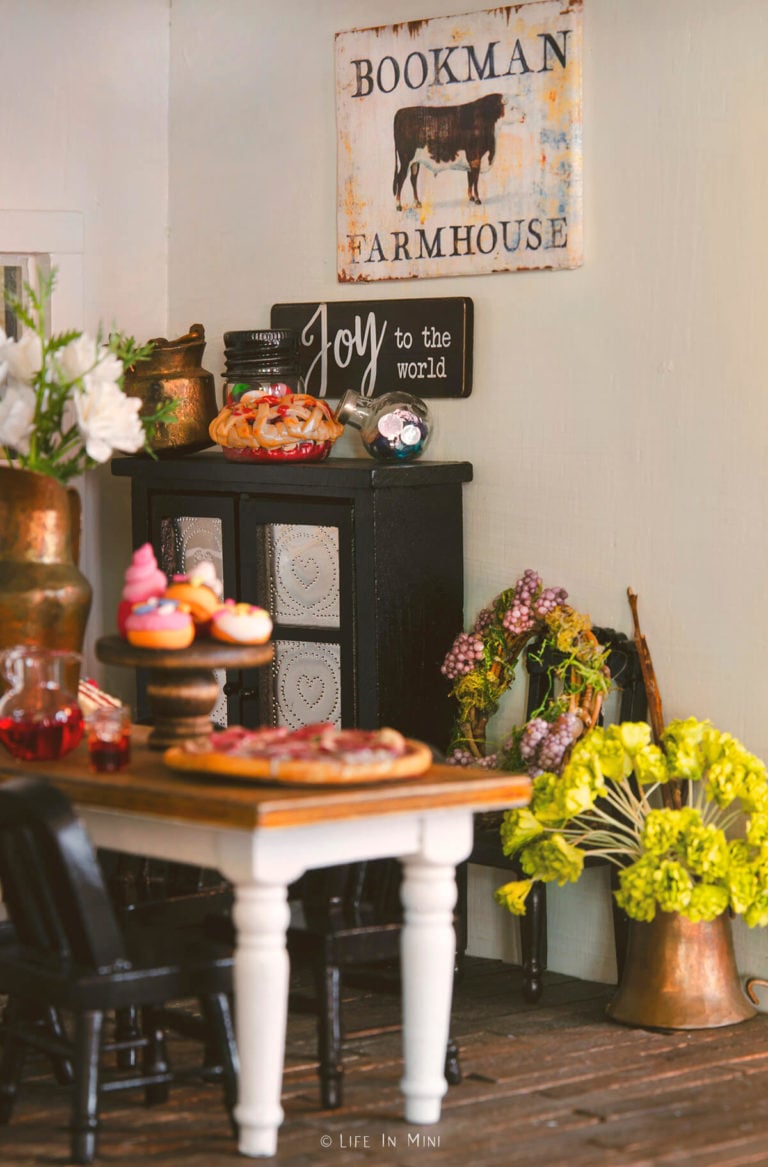
Going for a farmhouse feel? Search for farmhouse, barns, windmills, cows, chickens, goats, produce, herbs, botanical or tractors art prints.
Feeling all modern? Search for modern, contemporary, abstract, or Scandanavian art prints.
Other fun themes and keywords you can use: vintage Victorian, vintage posters, farmhouse Christmas, vintage halloween or vintage architecture blueprints.
Don’t have a printer? You can find lots of dollhouse artwork from scrapbook paper, greeting cards, magazine clippings and old books.
How to make it in mini
Once you have found the mini artwork online, you need to print it. If you are using images you have cut out of magazines, cards or other sources, have them cut and ready for the next step.
For the digital images, they will need to be sized using Photoshop, Canva or PicMonkey. Luckily for miniaturists, we do not need the images to be very large and what we fine online is just right. Sometimes, you need to tweak the size to make it fit in the space you want.
Remember, the images you are using are coming from others. You are doing this for your own personal use and not to resell. Be respectful to copyrighted materials and the laws that protect them.
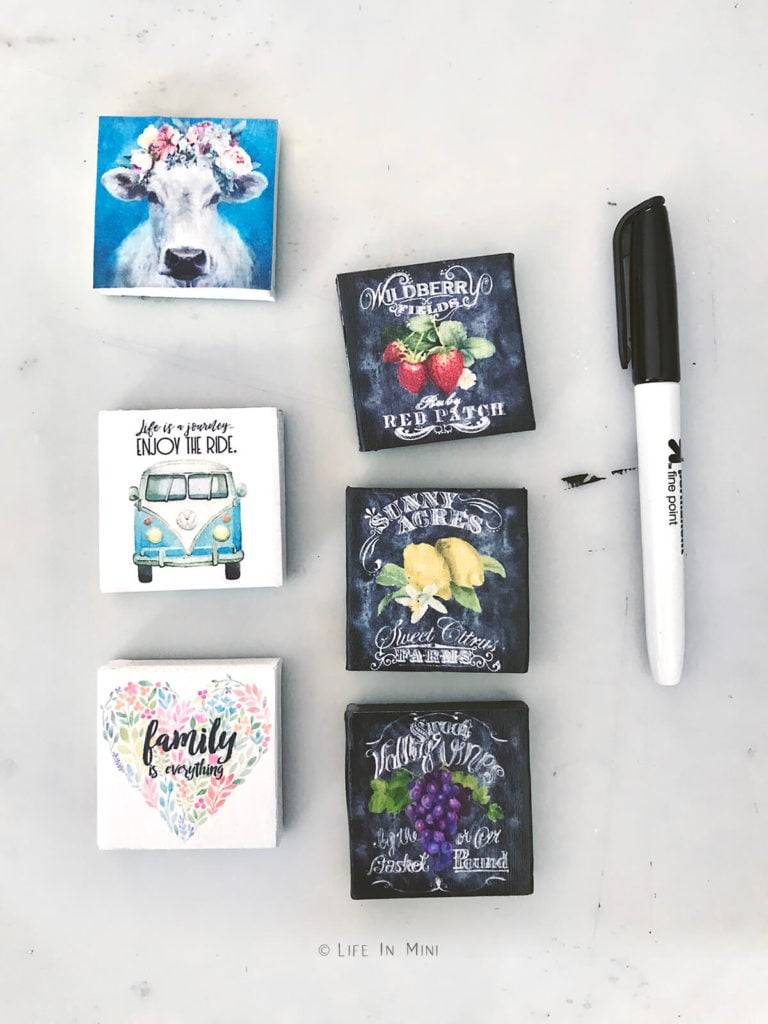
You can find the free heart printable stating the ‘Family is Everything’ here on my other blog. Just reduce it to the size you want for your dollhouse.
Because we are working with such a small size, you fit a whole house of mini artwork on a sheet of paper. You will need the resolution to be 300dpi, no matter what the size of the final product. This is the minimum resolution you need when it comes to printing.
Print on regular printing paper or textured linen paper for a canvas feel.
Once the printouts are dry, it is time to cut them and mount them. And mounting has several options.
Miniature Frames
I like the look of paintings on canvas. You can find mini canvas frames in a variety of small sizes. Some come on just canvas wrapped on cardboard while others have the canvas stretched on a wood frame.
These are my personal choices for mounting the images. And all that requires is using Mod Podge to glue and seal the print onto the canvas.
I have also Mod Podged the paper print directly onto pieces of wood. The text of the wood gives the “painting” a rustic feel.
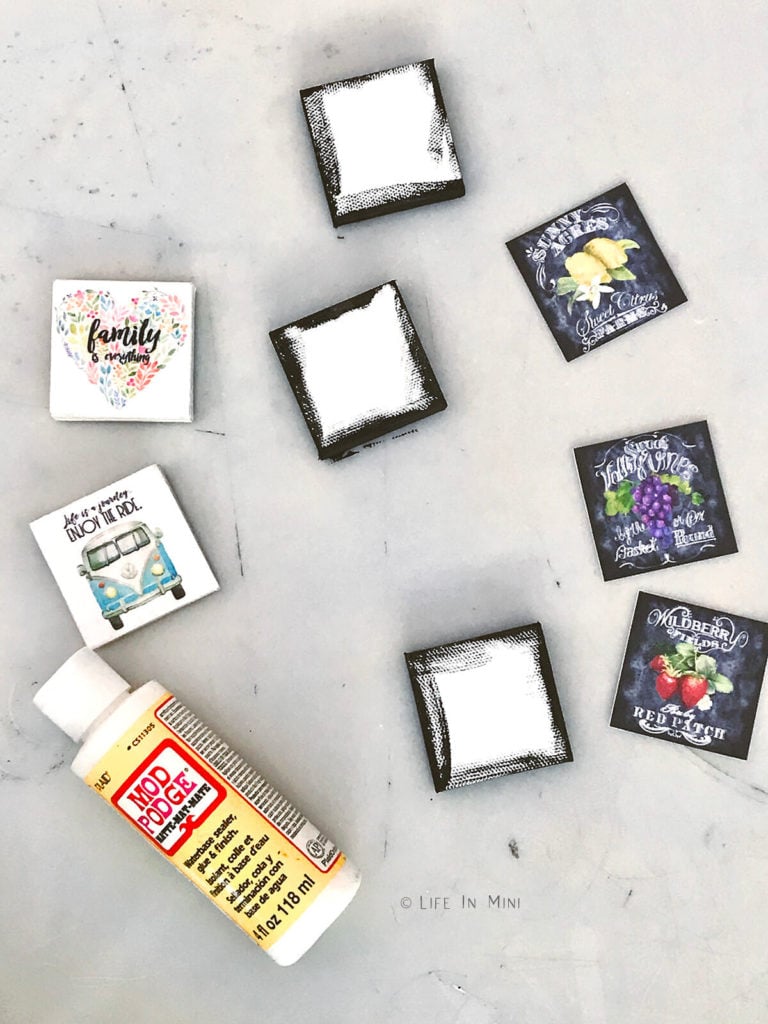
For the chalkboard images, I painted the outer edges of the canvas black before I Mod Podged the image over it. Be sure to use a sharpie and blacken the edges of the paper before gluing it all down.
If you are doing a more formal frame job, you still need to seal the print. Mod Podge the image onto a piece of cardboard cut to size. Once dried, you can attach a pre-made mini picture frame or make a frame using a miter box to cut the angles of your wood.
The Mod Podge not only glues the print but also gives you a nice sheen that protects the print. You can use either matte or gloss versions.
Securing your mini art to the wall
When it comes to the final step of hanging your mini artwork in your dollhouse, you have again have a few options. If you are not planning on removing the art, ever, you can use Gorilla Glue and glue it directly onto the wall.
I like rotating my art in my ever changing dollhouse, so I use double sided tape. You can also use adhesive putty, which is stronger than tape and works better for heavier objects.
If you are enjoying my blog, why not sign up for my newsletter so you won’t miss out on the mini adventures!

Leave a Reply