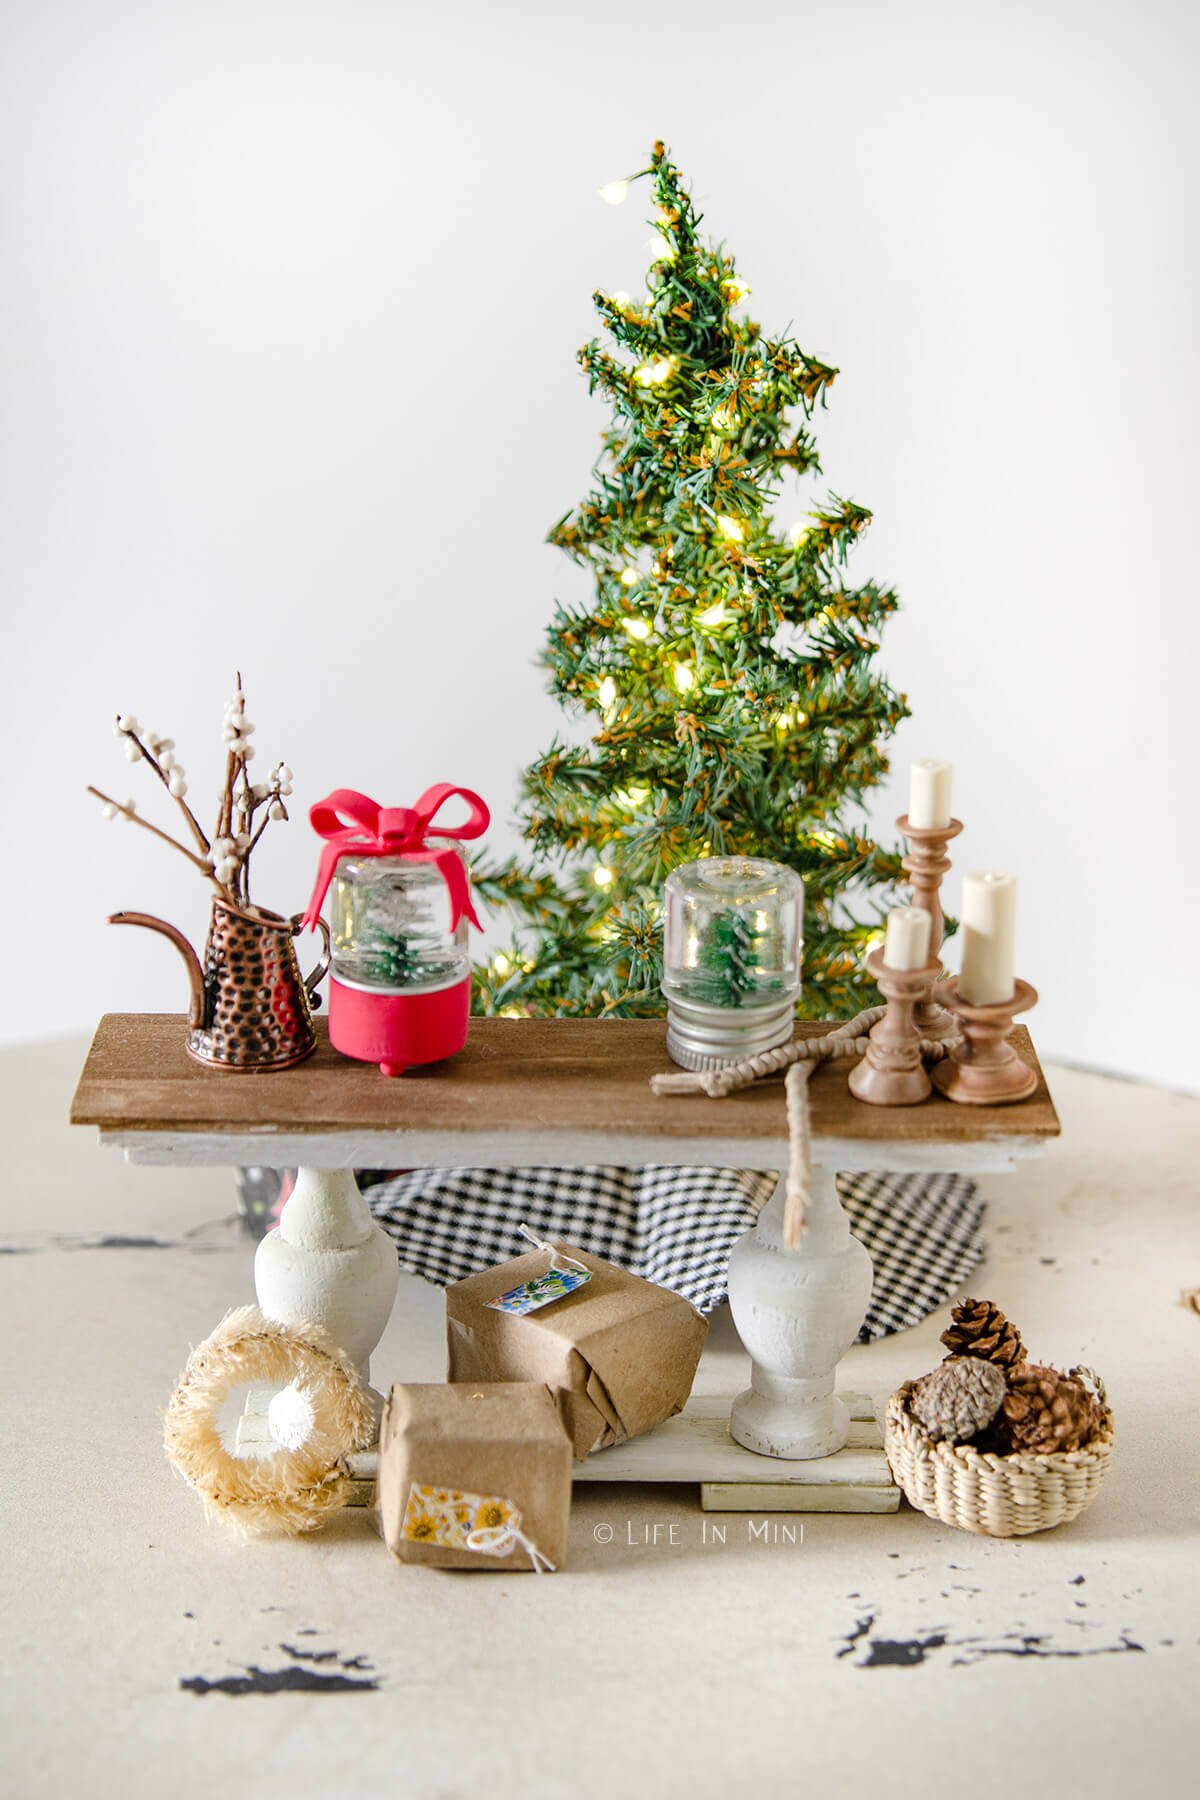
These cute mini snow globes are easy to make and cost very little if you are a shrewd shopper. It is a fun way to accessorize your dollhouse and decorate it for the holidays.
Well, we did it. My daughter and I are currently living with my parents until I can figure out where we are moving to next. Until then, I have our stuff in about 3 different places and I find myself wandering around trying to figure out where I packed something I apparently need.
But we are settling into our new routine, nevertheless. I have not resumed my food photography projects as I do not have a good space to work in as of yet. And my miniatures are mostly packed away with the dollhouse.
I do have my crafty go-to bag with me and of course, I’ve been finding miniatures everywhere because of the holidays. I wanted to share one dollhouse diy project with you before the year ends, so here we go!
When my kids were little, we used to make homemade snow globes using mason jars. It was a fun project and the kids enjoyed customizing their snow globes any way they wanted.
It was these homemade snow globes that were my inspiration to make mini snow globes. And just like their larger counterparts, you can easily make them without breaking the bank.
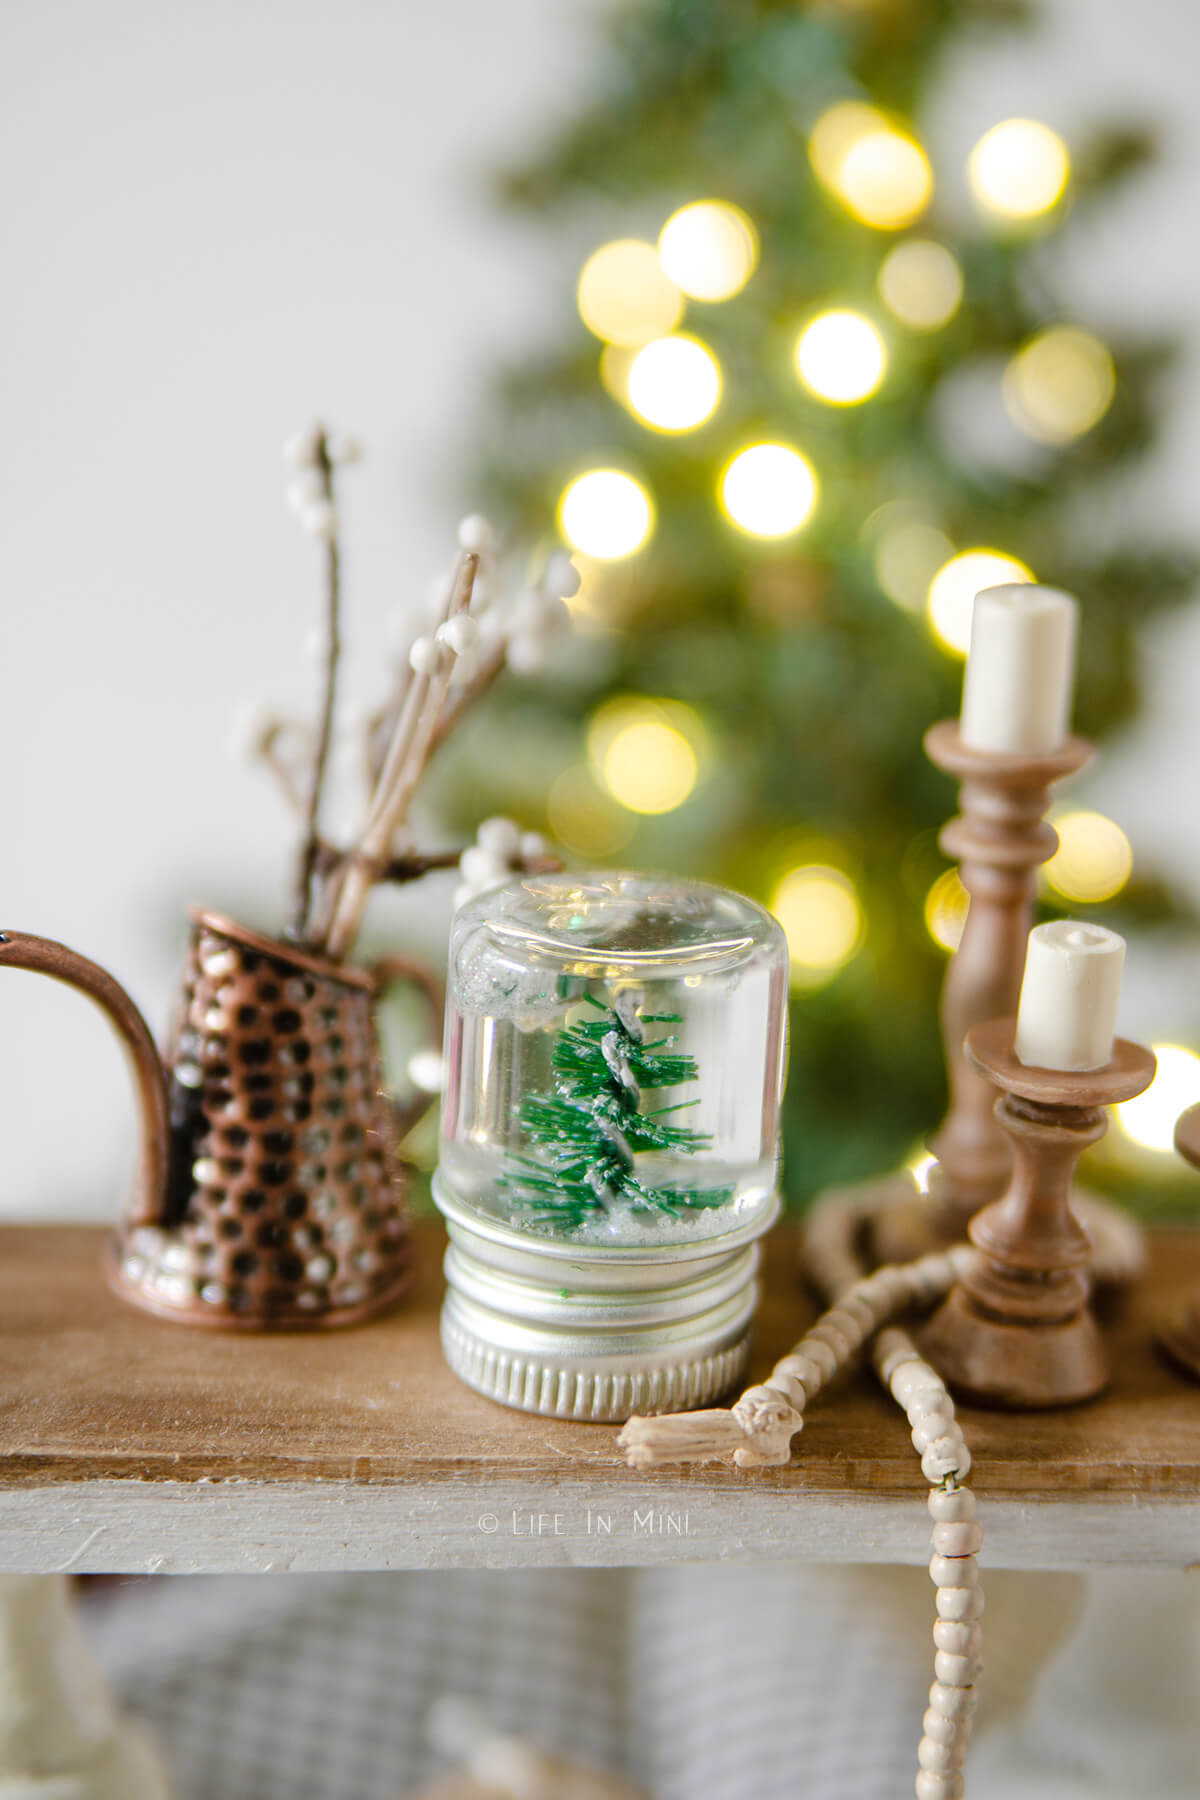
I have made miniature mason jars using UV resin, but alas, everything was packed away. So I could have used those small jars for my mini snow globes, but this option is more expensive and time consuming. I wanted a simpler project.
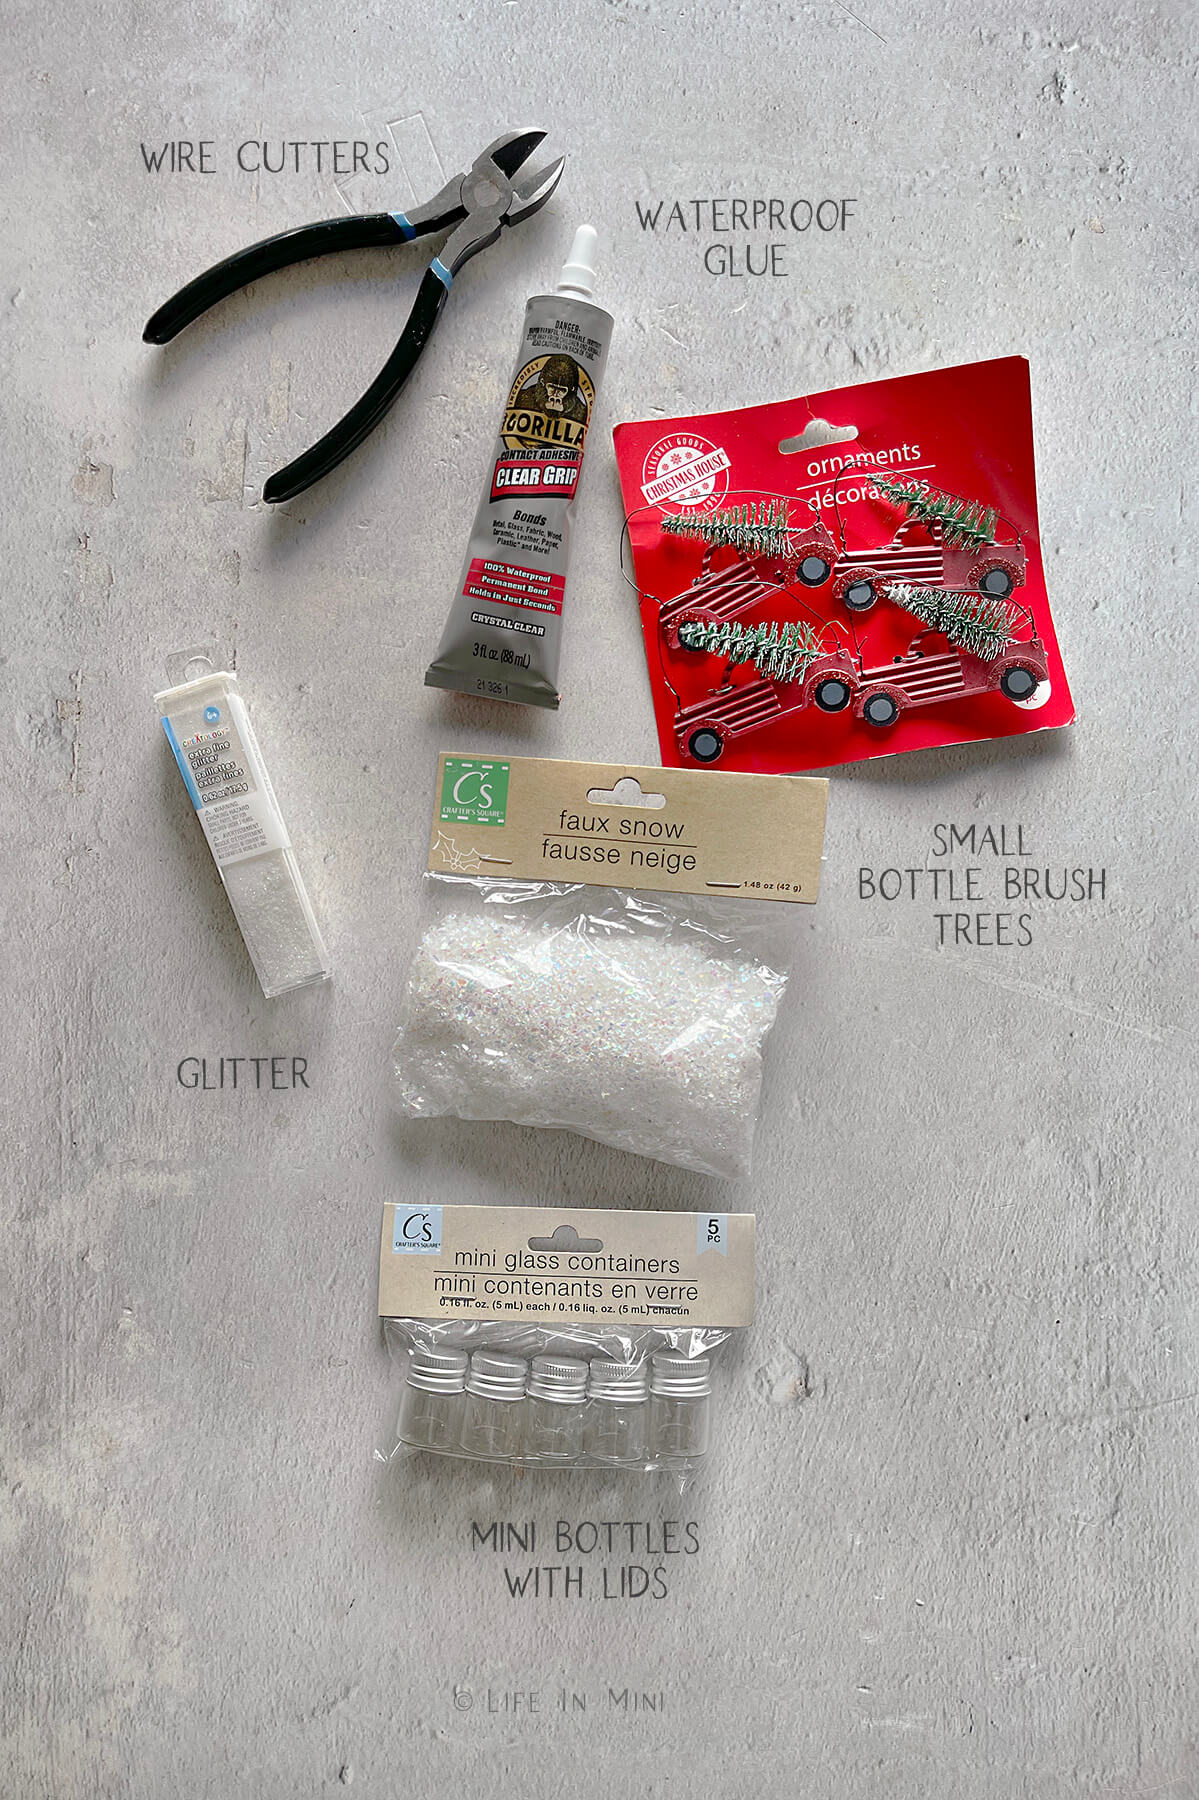
On a recent trip to my favorite craft supply store, The Dollar Tree, I found they still had a large selection of mini glass bottles. I grabbed a pack of the ones with the screwable lids and saw mini snow globes. They are 5 in a pack costing $1.25, making each bottle cost 25¢ each – BARGAIN!
I packed away all of my bottlebrush trees, but I found these ornaments at the Dollar Tree and figured I could cut these to fit inside my bottles. My wire cutters were packed away and luckily I snagged another pair for, you guessed it, $1.25.
I already had my waterproof glue. Glitter? Dang it. Packed away. But again, found a small batch for about $1.50 because the Dollar Tree was out. I probably could have scrounged up some glitter off the floors of Michael’s this time of the year and used that – for FREE!
Normally with regular homemade snow globes, you use distilled water and a few drops of glycerin so that the glitter would float after being shaken and not just sink. I added a little glycerin to my mini globes and it made the glitter blob up so I didn’t bother with it.
The bigger plastic confetti? They would just float to the top. The cheap regular tiny glitter works best for this project. Feel free to use any color glitter you want.
Supplies you need
This post contains some affiliate links for your convenience (which means if you make a purchase after clicking a link I will earn a small commission but it won’t cost you a penny more)! Read my full disclosure policy.
- Mini jars: I used the little screw top jars you find at The Dollar Tree, craft stores or online. You can also use this cork top bottles, but remember that you can’t flip these over.
- Small bottle brush trees: You can find these everywhere. I found mine off of Dollar Tree ornaments. Use any color tree you want.
- Glitter: I found that fine glitter works better than big pieces as we are talking about very little space in the bottle. But you can use various sizes, if you want. For snow, I used white, but you can also use silver, gold, light blue or any other color and variety.
- Waterproof glue: Now The Dollar Tree has water resistant glue, which is not the same as waterproof glue. Super Glue is NOT water proof. Hot glue is NOT water proof. If you want this mini water globe to last, use waterproof glue.
- Wire cutters: You will need these to snip the bottle brush trees to fit your mini bottles.
- Distilled water: You don’t want impurities in your mini globes, so I suggest using distilled water. Remember, you aren’t using much. If you use regular tap water just remember that it may turn cloudy over time and the water will need changing.
- Clay: You find little packets of air dry clay at The Dollar Tree. You can use this to wrap around the lid of the mason jar to make it more festive. Air dry clay is NOT waterproof, so it should not be placed inside the mini snow globe.
Step-by-step directions
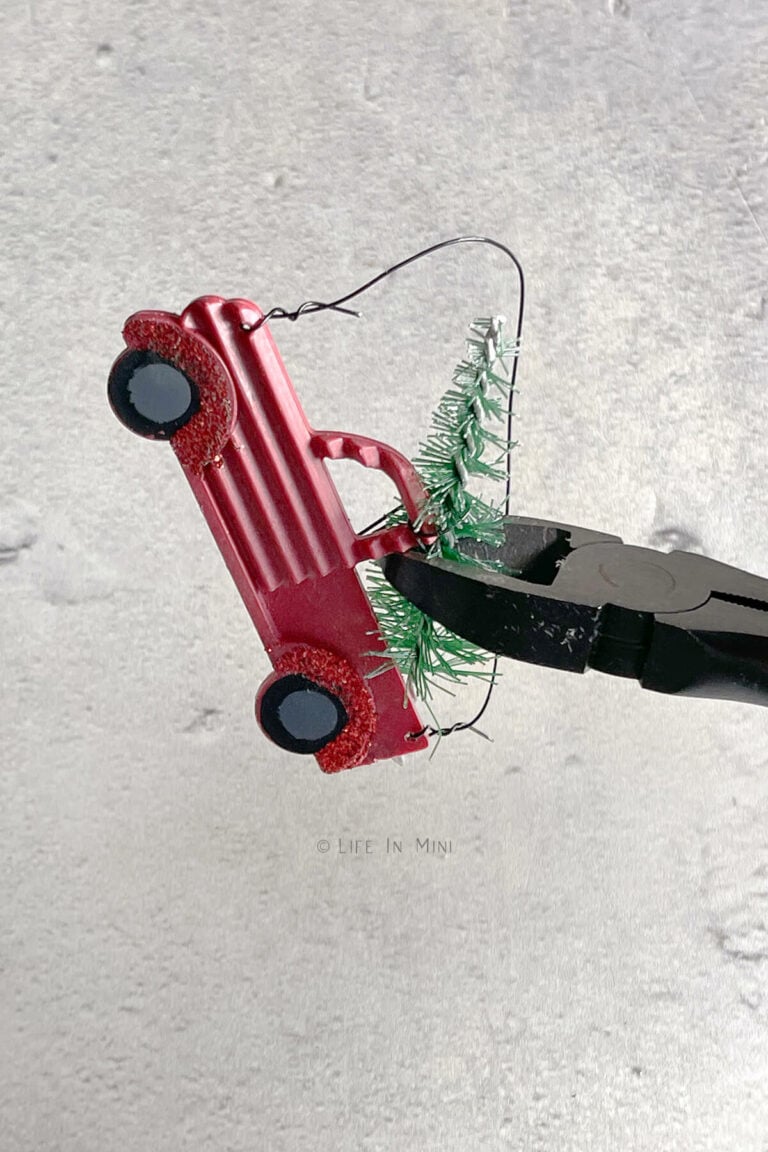
1. Measure out how tall your bottle brush tree needs to be to fit in your small bottle. Use wire cutters to cut the tip off for your tree.
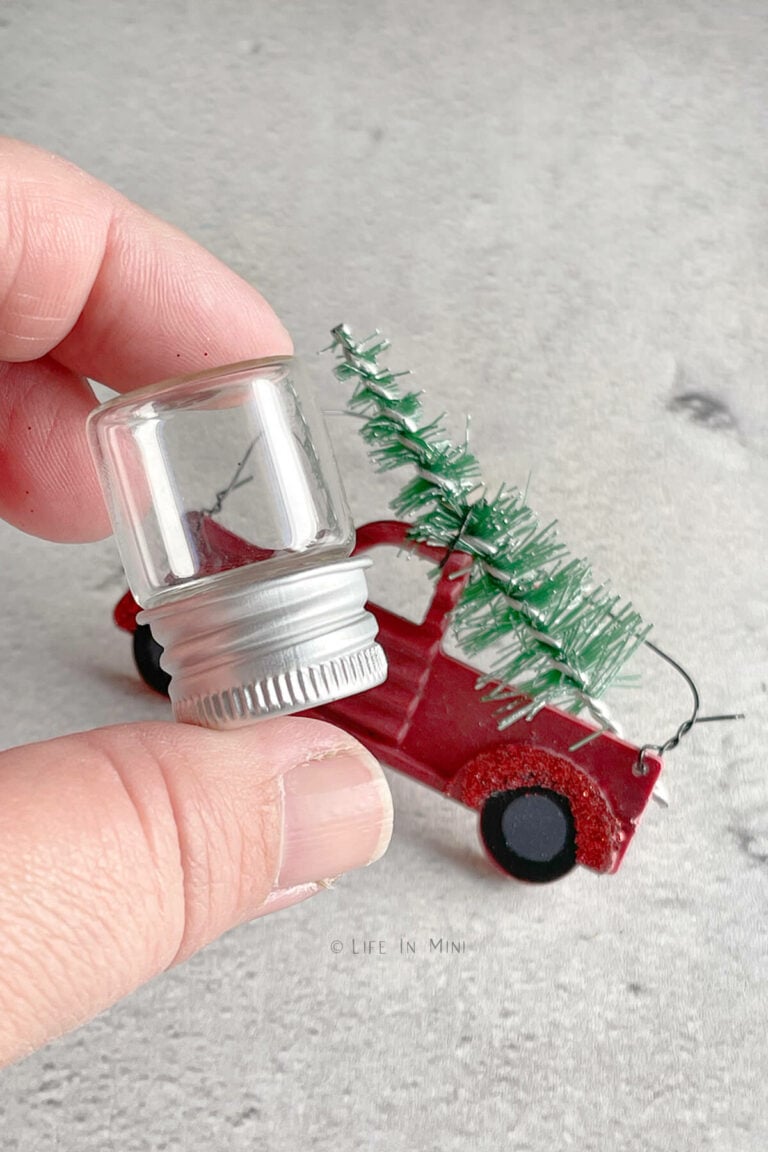
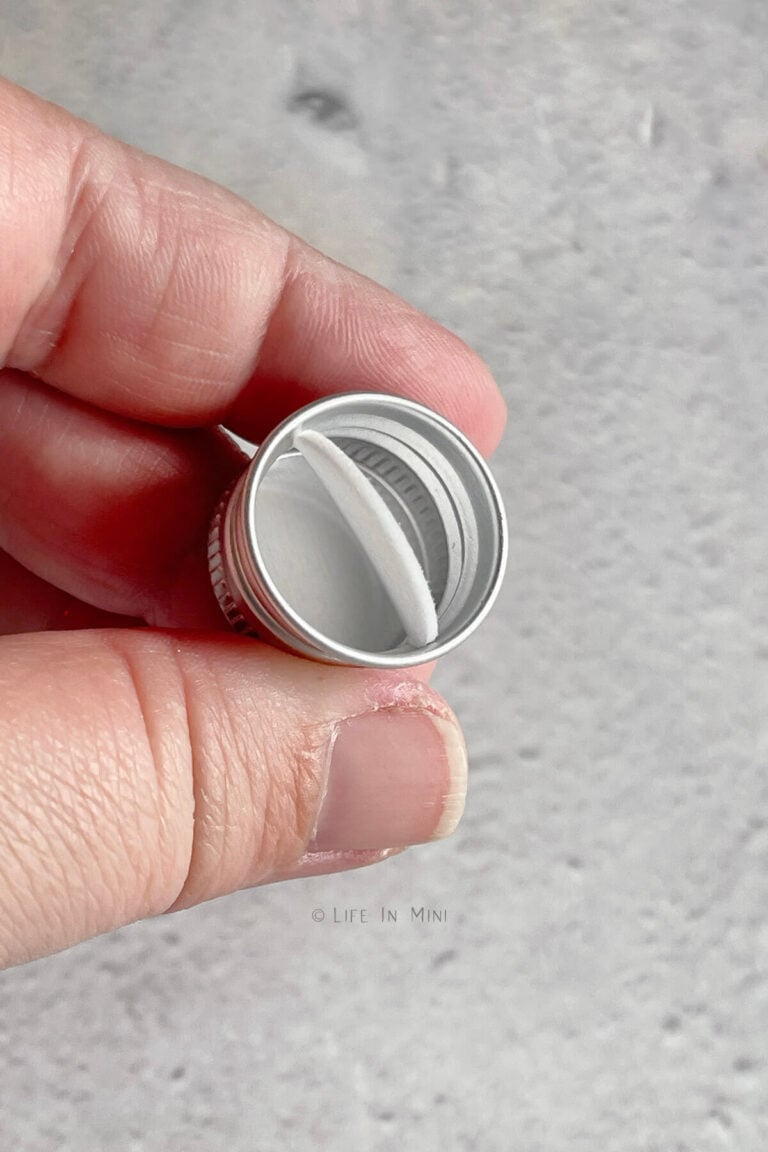
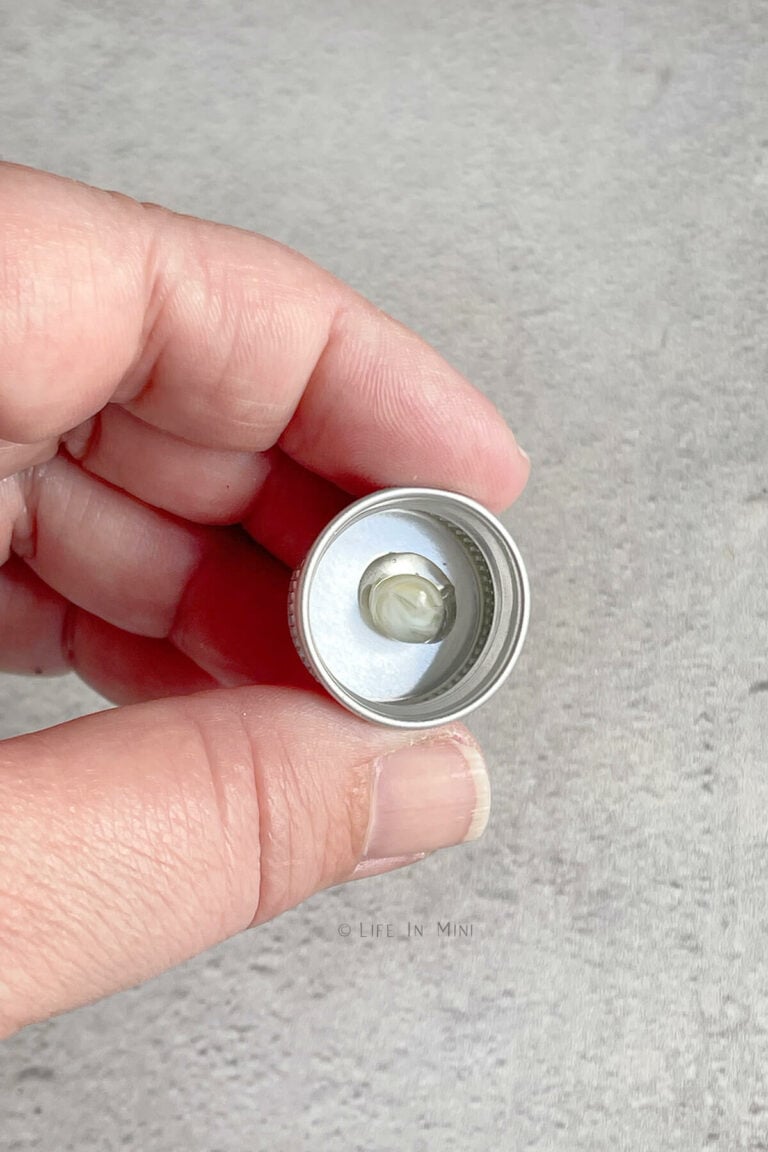
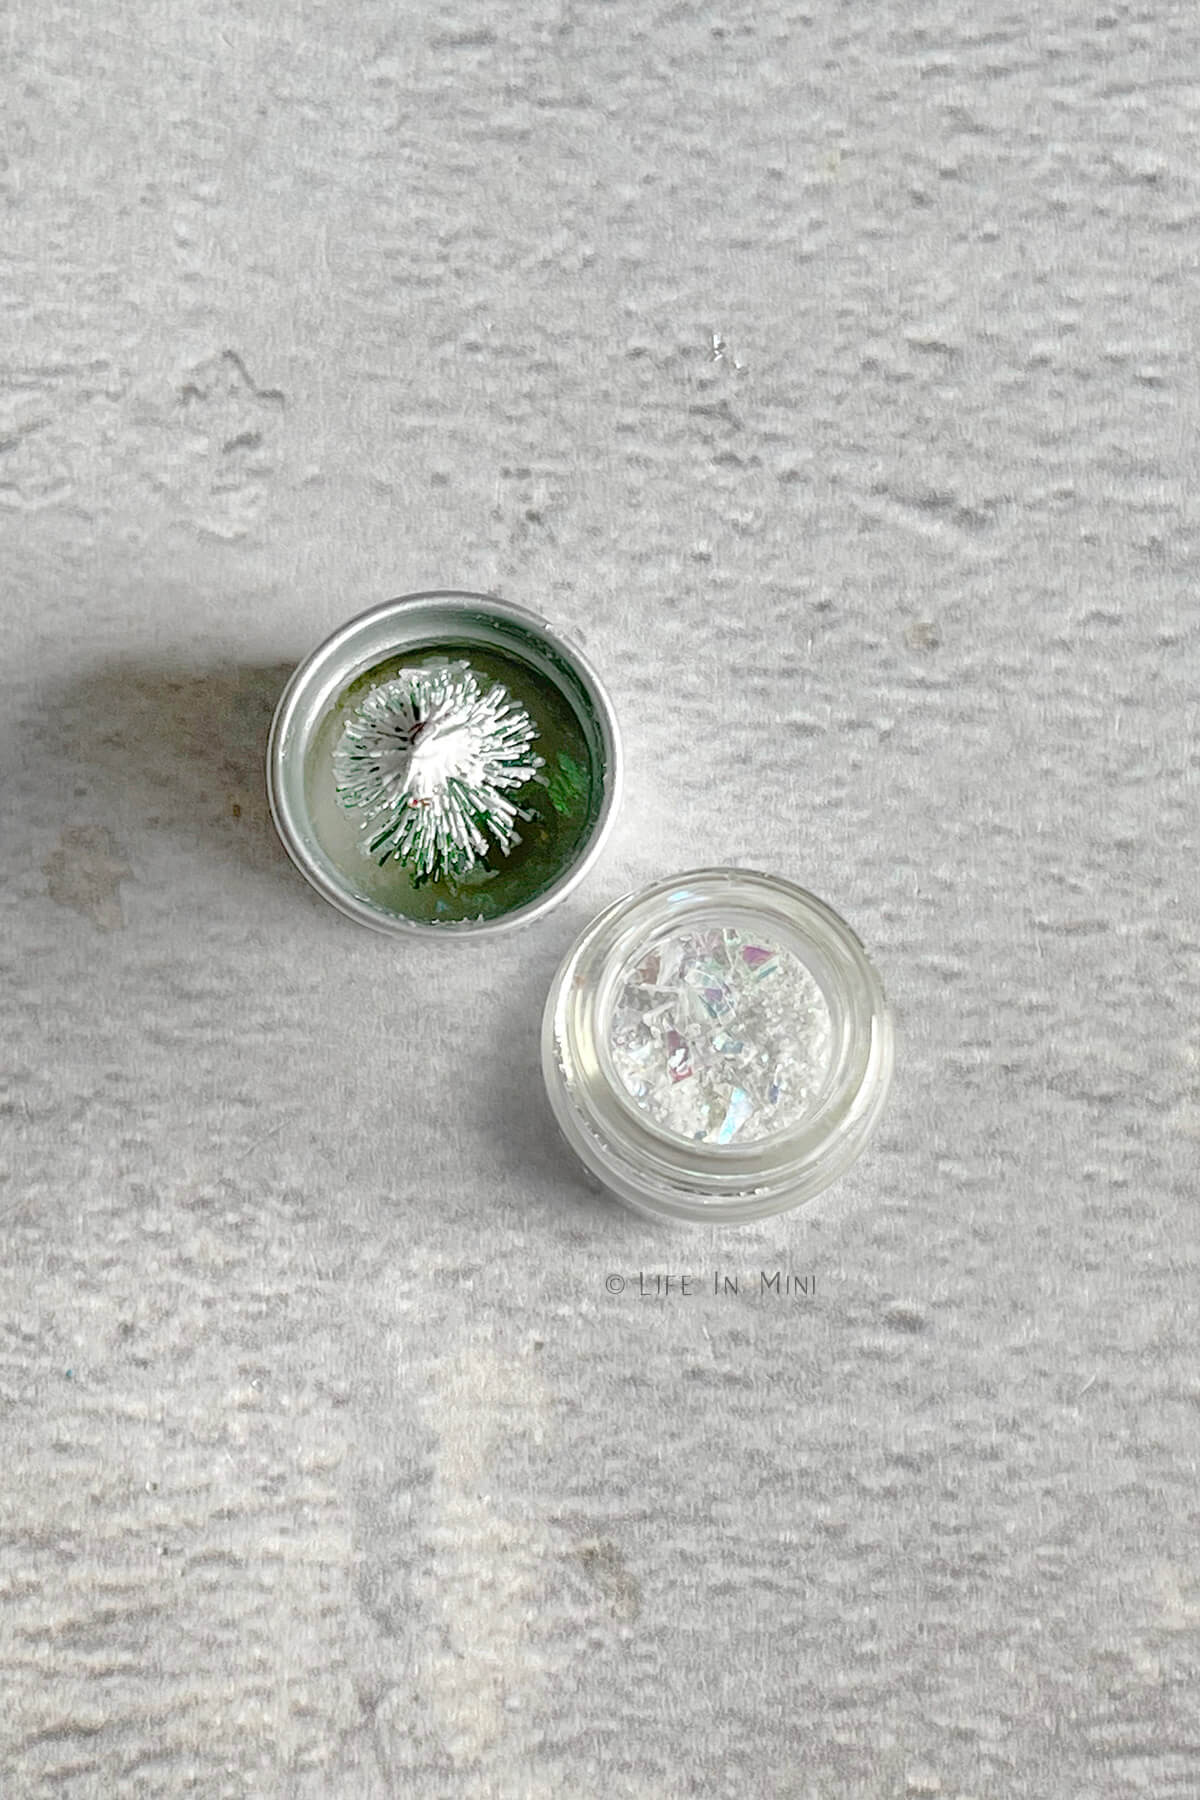
2. Unscrew your mini jar and remove the paper inside the lid. Add a glob of waterproof glue to the inside of the lid and place your tree in the middle of it. Be sure to not add too much as you don’t want it to get stuck onto the sides of the lid.
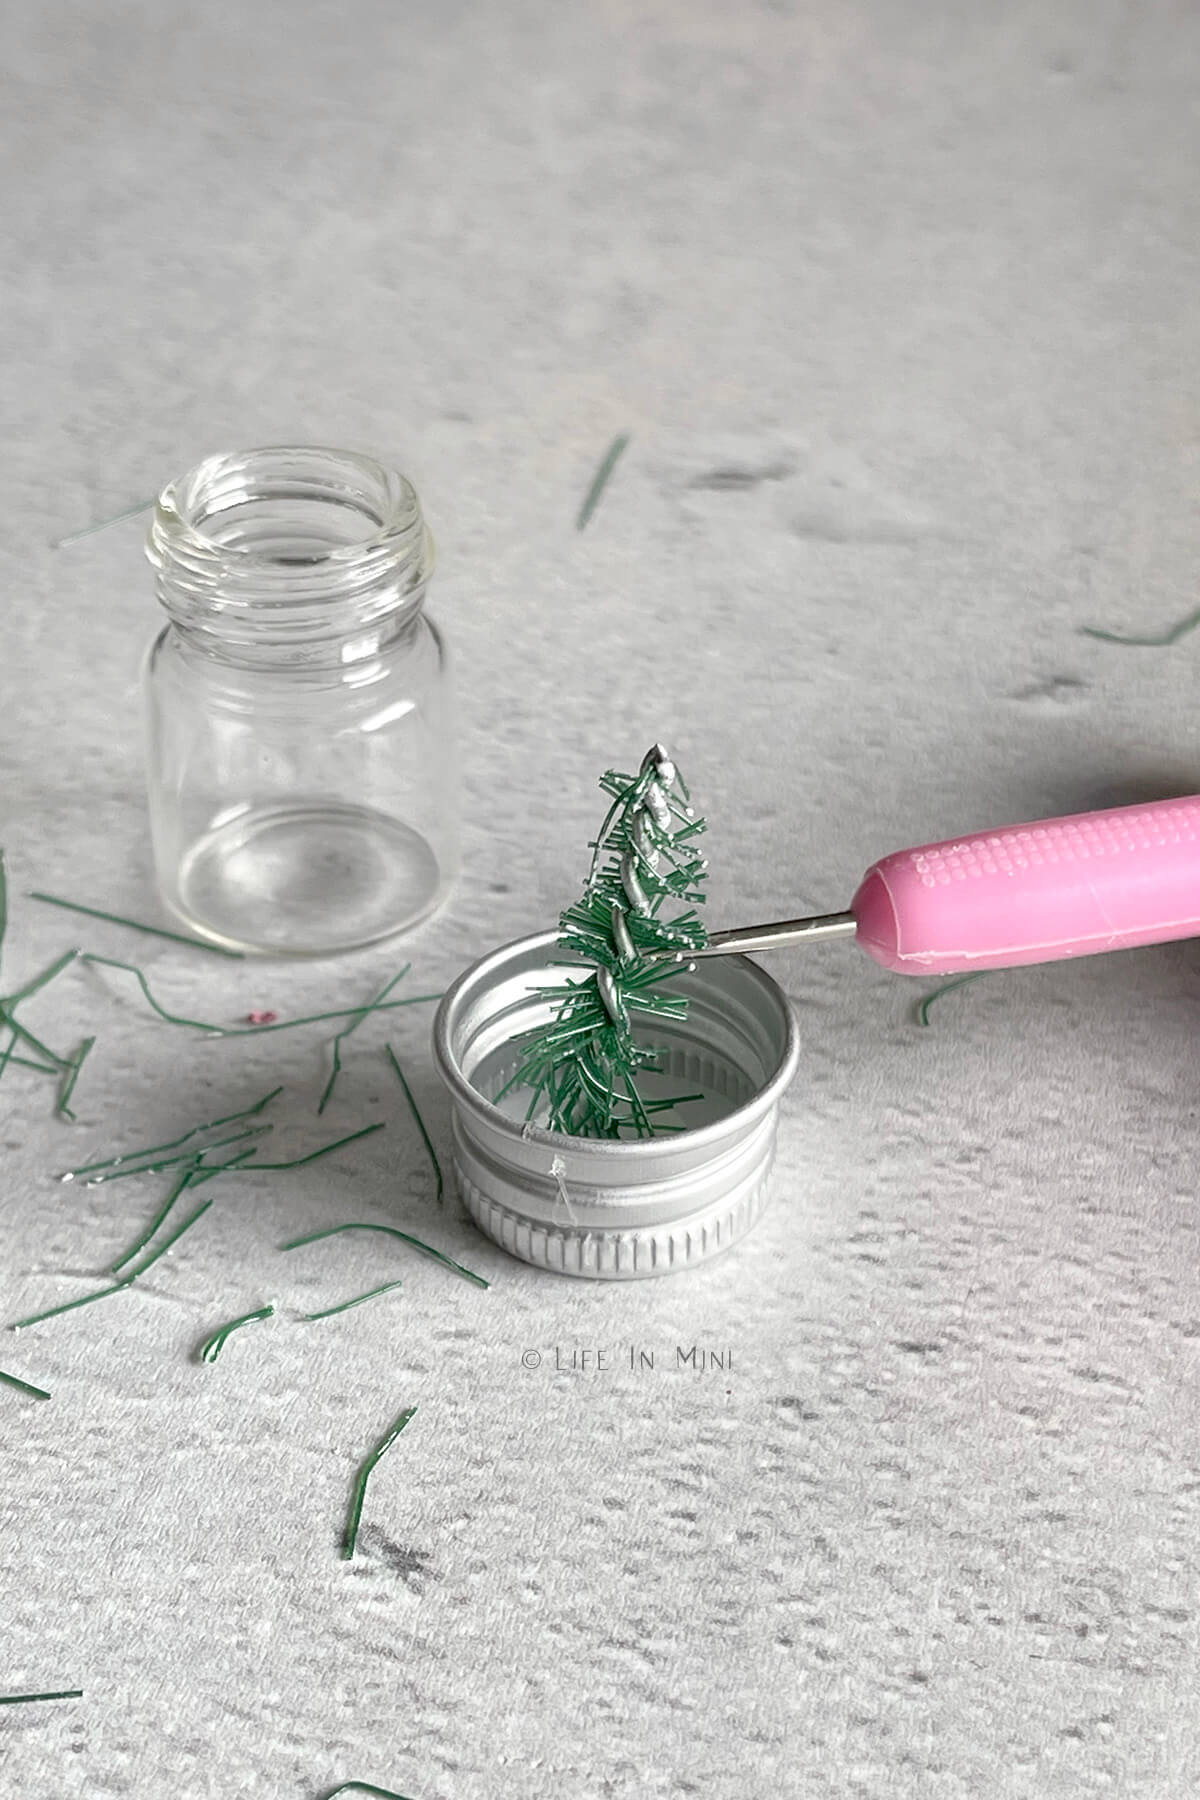
3. Use toothpicks or pens to keep your tree straight while the glue dries. Let the glue cure OVERNIGHT before adding the water.
3. Add a few dashes of glitter inside your glass jar, then fill with distilled water.
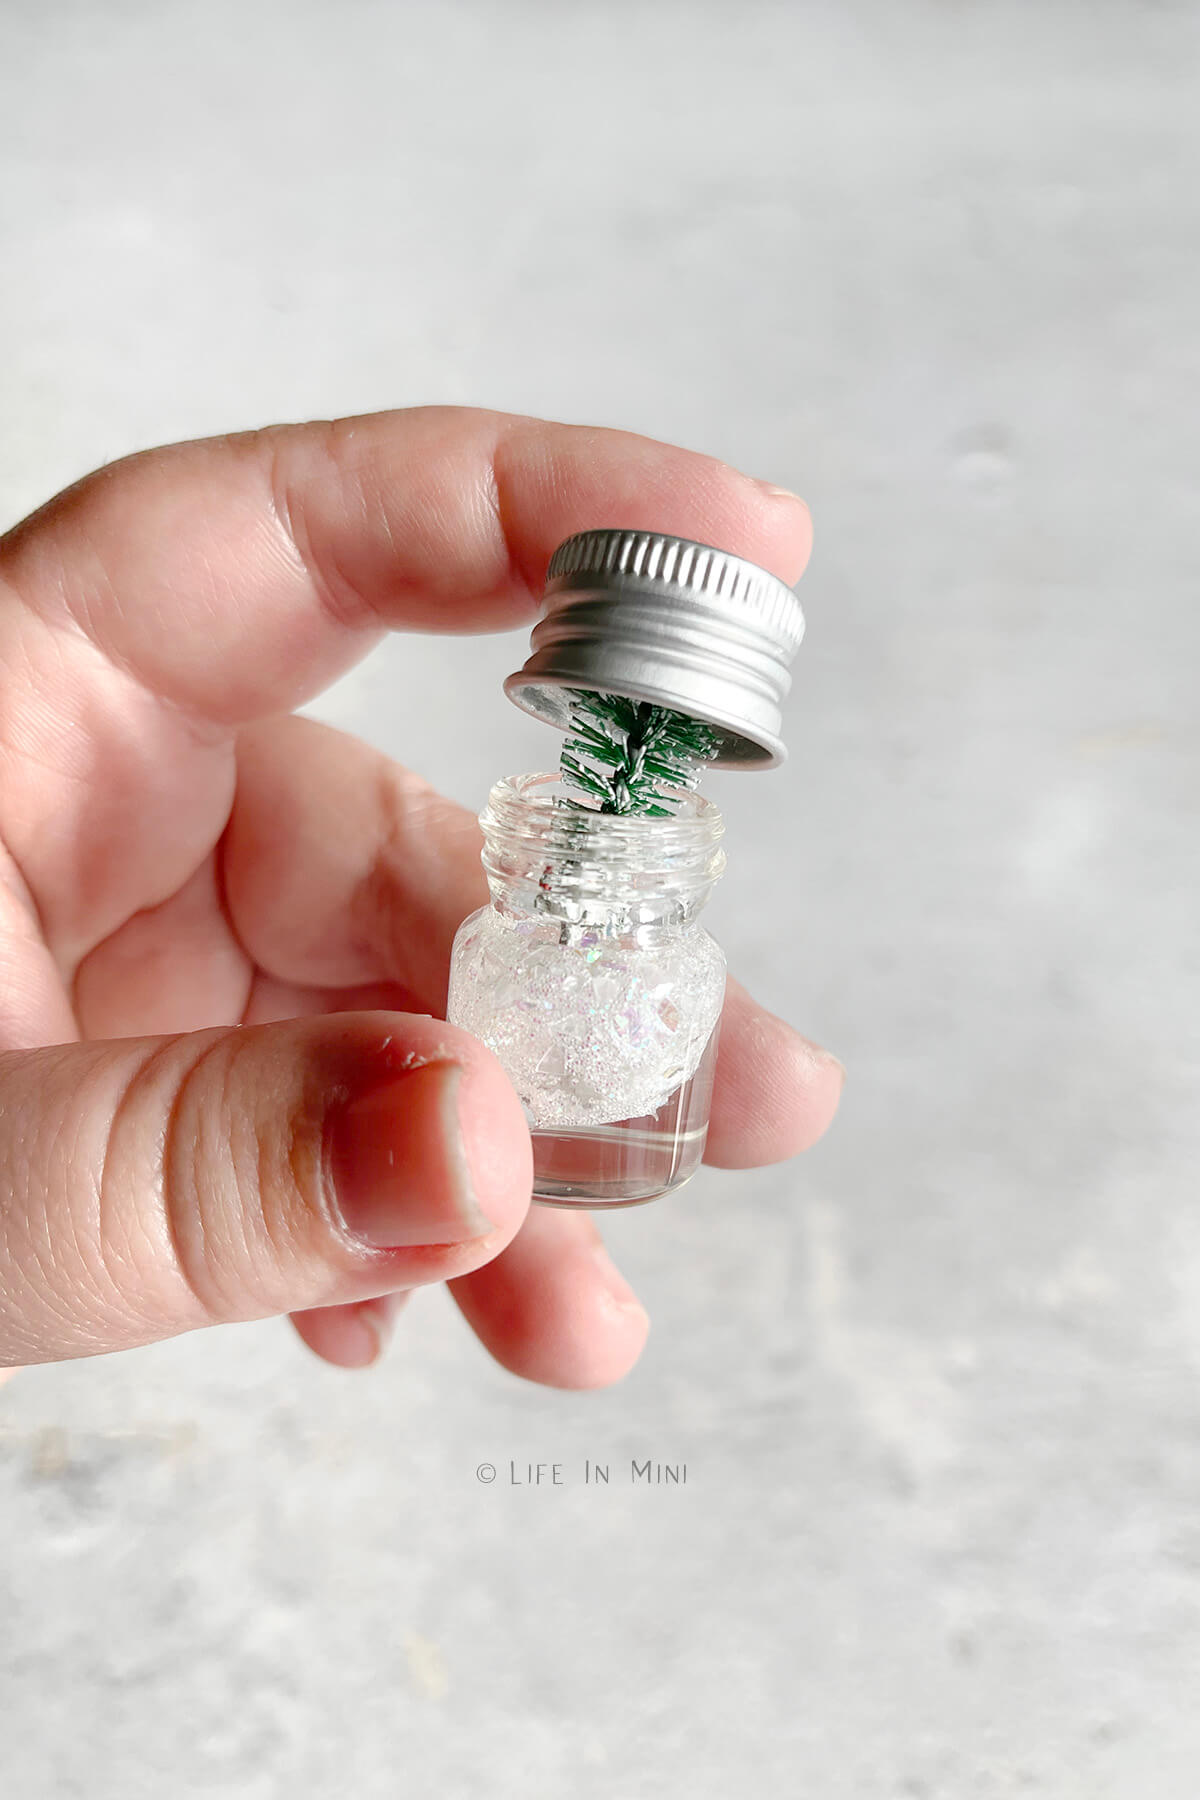
4. Carefully screw the lid securely back onto the jar, flip over, shake and enjoy!
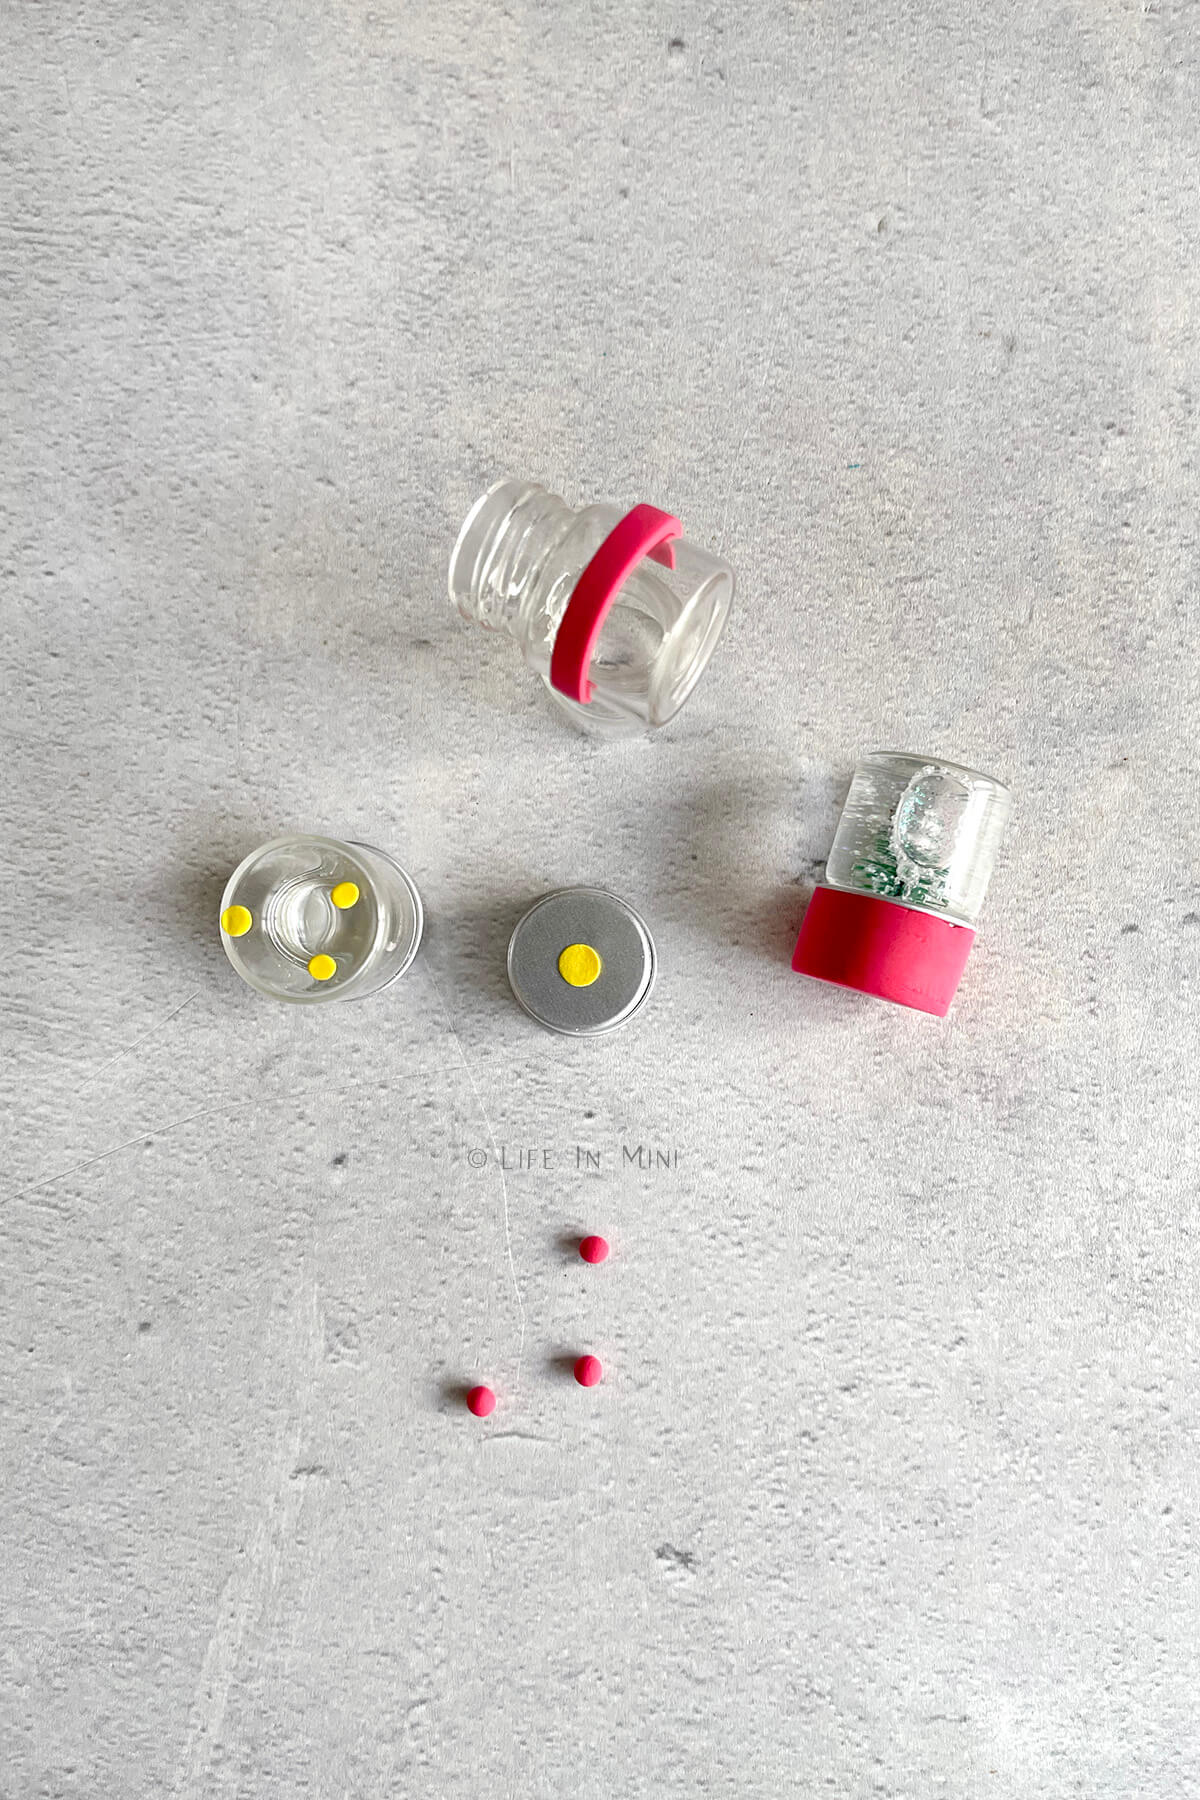
5. If you want, while the glue cures overnight, press on some air dry clay around the lid and/or bottle. You can also decorate using acrylic paint.
Working with clay and water
So, since I moved, one of the first things I packed was my polymer clay and all of my tools. Of course, I got all sad and stressed and wished I had clay to play with. That’s when I bought myself a tub of air dry clay to keep my fingers occupied.
Air dry clay is a lot of fun and has a lot of great qualities. And limitations. If you want to add some clay figurines inside your mini snow globe, air dry clay is NOT recommended. Air dry clay will eventually fall apart when immersed in water.
You can make and bake a figurine using polymer clay and glue THAT inside your snow globe because polymer clay is oil based. Again, I don’t have my polymer clay, tools or oven so that wouldn’t work for me.
Now I read that you can waterproof air dry clay and that intrigued me. Apparently, once your clay figure is dried and hard, you can coat it with epoxy resin and let it cure. Once cured, it is waterproof and can be added to your snow globe.
Funny enough, I found some small tubes of epoxy resin at, you guess it, The Dollar Tree. Go figure. So I will experiment with all of these items and will let you know how everything works out with this option.
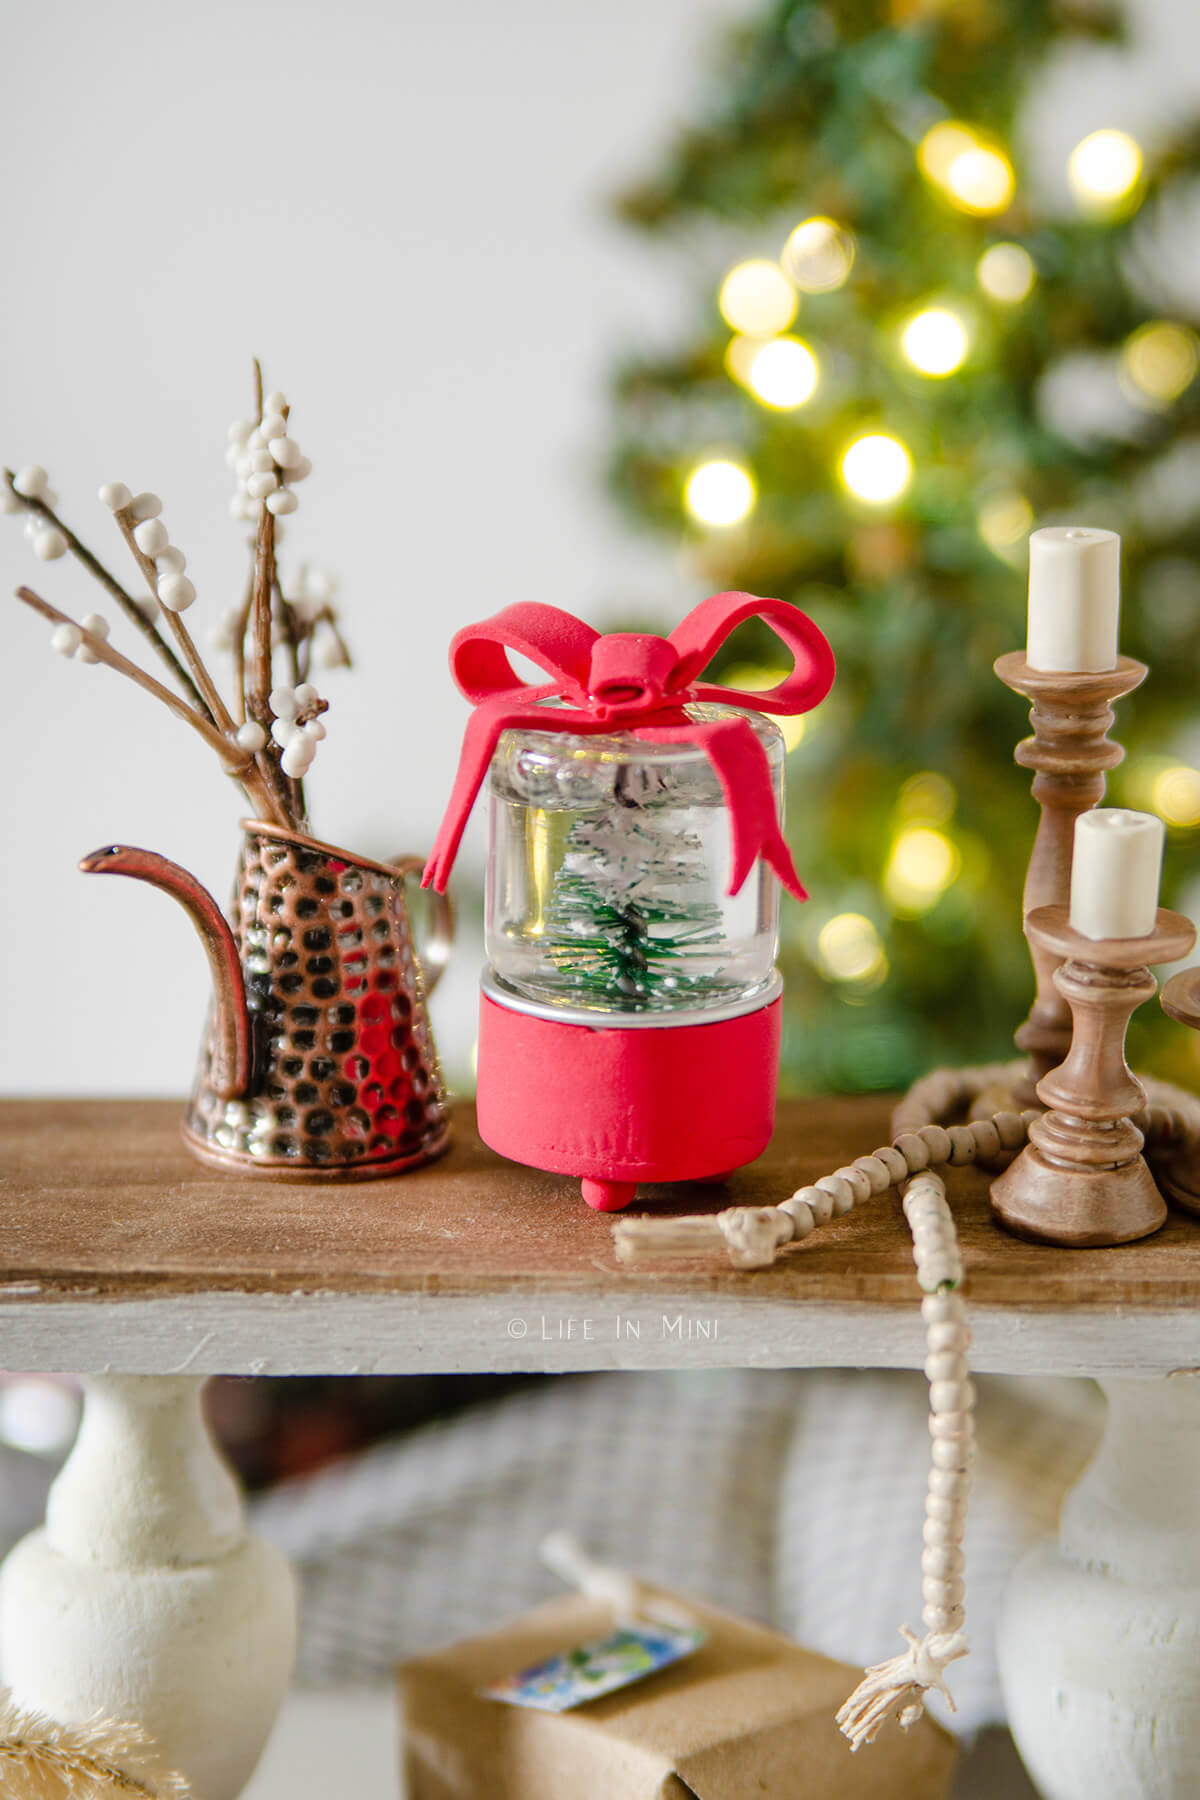
What I did do was use the air dry clay to decorate one of my mini snow globes on the OUTSIDE. I found packets of red, yellow and blue at The Dollar Tree and used the red variety.
So what do you think? Do you like these snow globes plain or with the clay?
Laura’s Top Pick:
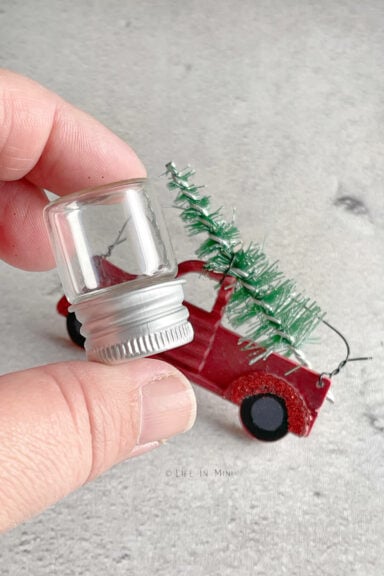
For the snow globes you will need a wide top mini jar with a screw on lid like this one.
Project tips and FAQs
Different bottle brushes come in different materials and sizes. Some are slimmer and their tips work really well in these miniature snow globes. Others are poofier and need a little trimming to make them fit in the bottles.
You can also use the green trees or other colors like cream, red and pink.
The key here is to use waterproof glue. Don’t believe all these cute videos you see online where hot glue is used to secure items in a snow globe. It will not hold in when immersed in water for very long.
Invest in a tube of waterproof glue, let it cure and you won’t have to worry about your snow globe falling apart.
Want more cheap projects I have made with Dollar Tree hacks? I glammed up a simple Dollar Tree dollhouse dresser using rub on transfers.
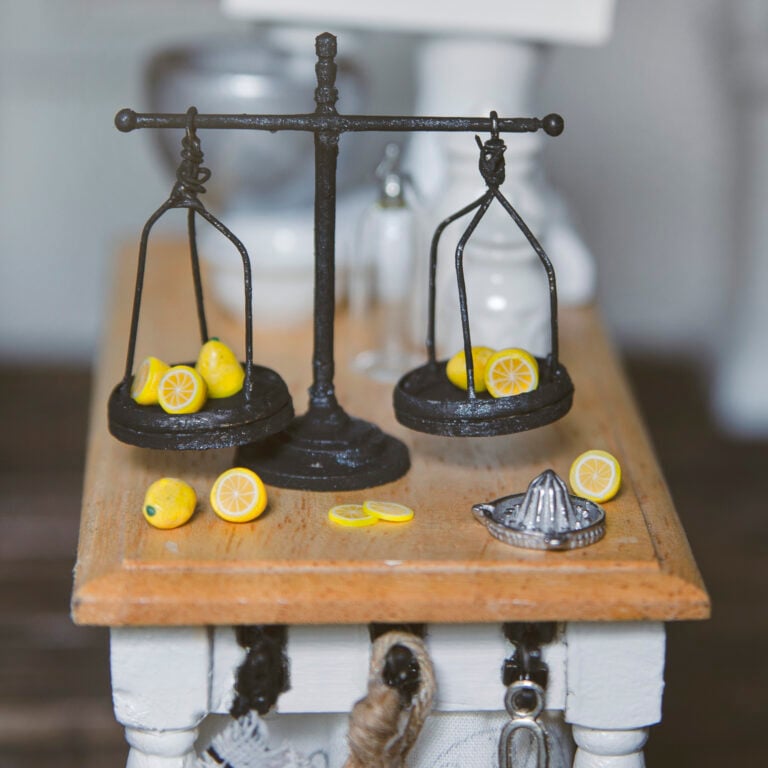
For my dollhouse, I make mini snow globes with mini glass bottles I found at the Dollar Tree. Some waterproof glue is needed to secure a tree or whatever you want to the lid of the jar. Then some glitter and water and your miniature snow globe is done!
If you are willing to change out the water regularly, you can use tap water for your mini snow globes. Distilled water, though, is preferred to keep your water from turning cloudy from impurities. Bigger snow globes should have a few drops of glycerin or baby oil to help the glitter float after shaken. But, these mini globes don’t need it as it can get clumpy.
Distilled water is free from impurities and is best to use in snow globes. If you do not have distilled water, you can use tap water. But understand that you need to pour it out and fill it again with clean water and glitter.
If you are enjoying my blog, why not sign up for my newsletter so you won’t miss out on the mini adventures!
How to Make Mini Snow Globes
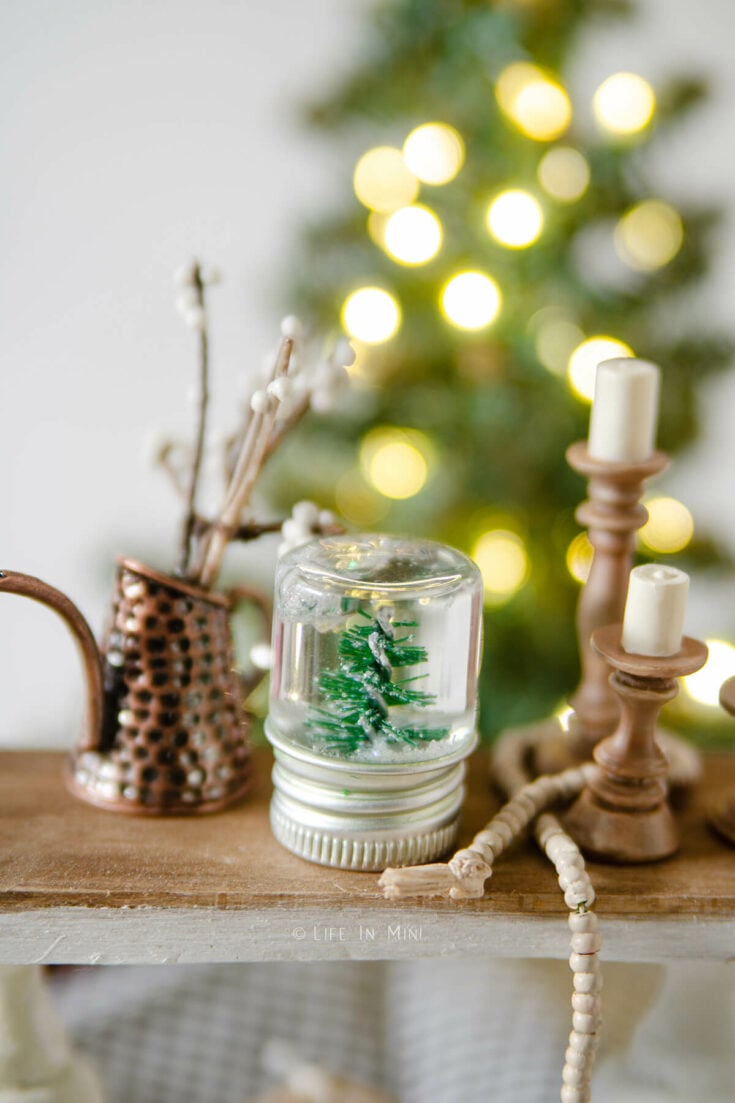
These cute mini snow globes are easy to make and cost very little if you are a shrewd shopper. It is a fun way to accessorize your dollhouse and decorate it for the holidays.
Materials
- Mini jars
- Small bottle brush trees
- Glitter
- Waterproof glue
- Distilled water
- Air dry clay
Tools
- Wire cutters
Instructions
- Measure out how tall your bottle brush tree needs to be to fit in your small bottle. Use wire cutters to cut the tip off for your tree.
- Unscrew your mini jar and remove the paper inside the lid. Add a glob of waterproof glue to the inside of the lid and place your tree in the middle of it. Be sure to not add too much as you don’t want it to get to the sides of the lid.
- Use toothpicks or pens to keep your tree straight while the glue dries. Let the glue cure OVERNIGHT before adding the water
- Add a few dashes of glitter inside your glass jar, then fill with distilled water. Too much glitter will clump up in the teeny tiny jars, so less is more here.
- Once the glued is cured, carefully screw the lid securely back onto the jar, flip over, shake and enjoy
- If you want, while the glue cures overnight, press on some air dry clay around the lid. You can also decorate the lid with acrylic paint.
Notes
You can place anything small and waterproof inside your mini bottles.
If your bottles use a cork top, you will need to seal the jar completely or it will leak water when turned over. You can do this with a little UV resin.
PS If you try this craft, why not leave a star rating in the direction card right below and/or a review in the comment section further down the page? I always appreciate your feedback.
You can also follow me on Pinterest, Facebook or Instagram. Sign up for my eMail list, too!


Sandi says
These snowglobes are darling! I love seeing your creative spark!
Laura says
Thank you, Sandi! These were tremendous fun to make!
Laura