Accessorize your dollhouse with mini baskets and bins using just twine, white glue and plastic bottle caps of all shapes and sizes. This easy tutorial shows you how to make miniature baskets of all sorts to fit the decor of any style dollhouse and for any scale.
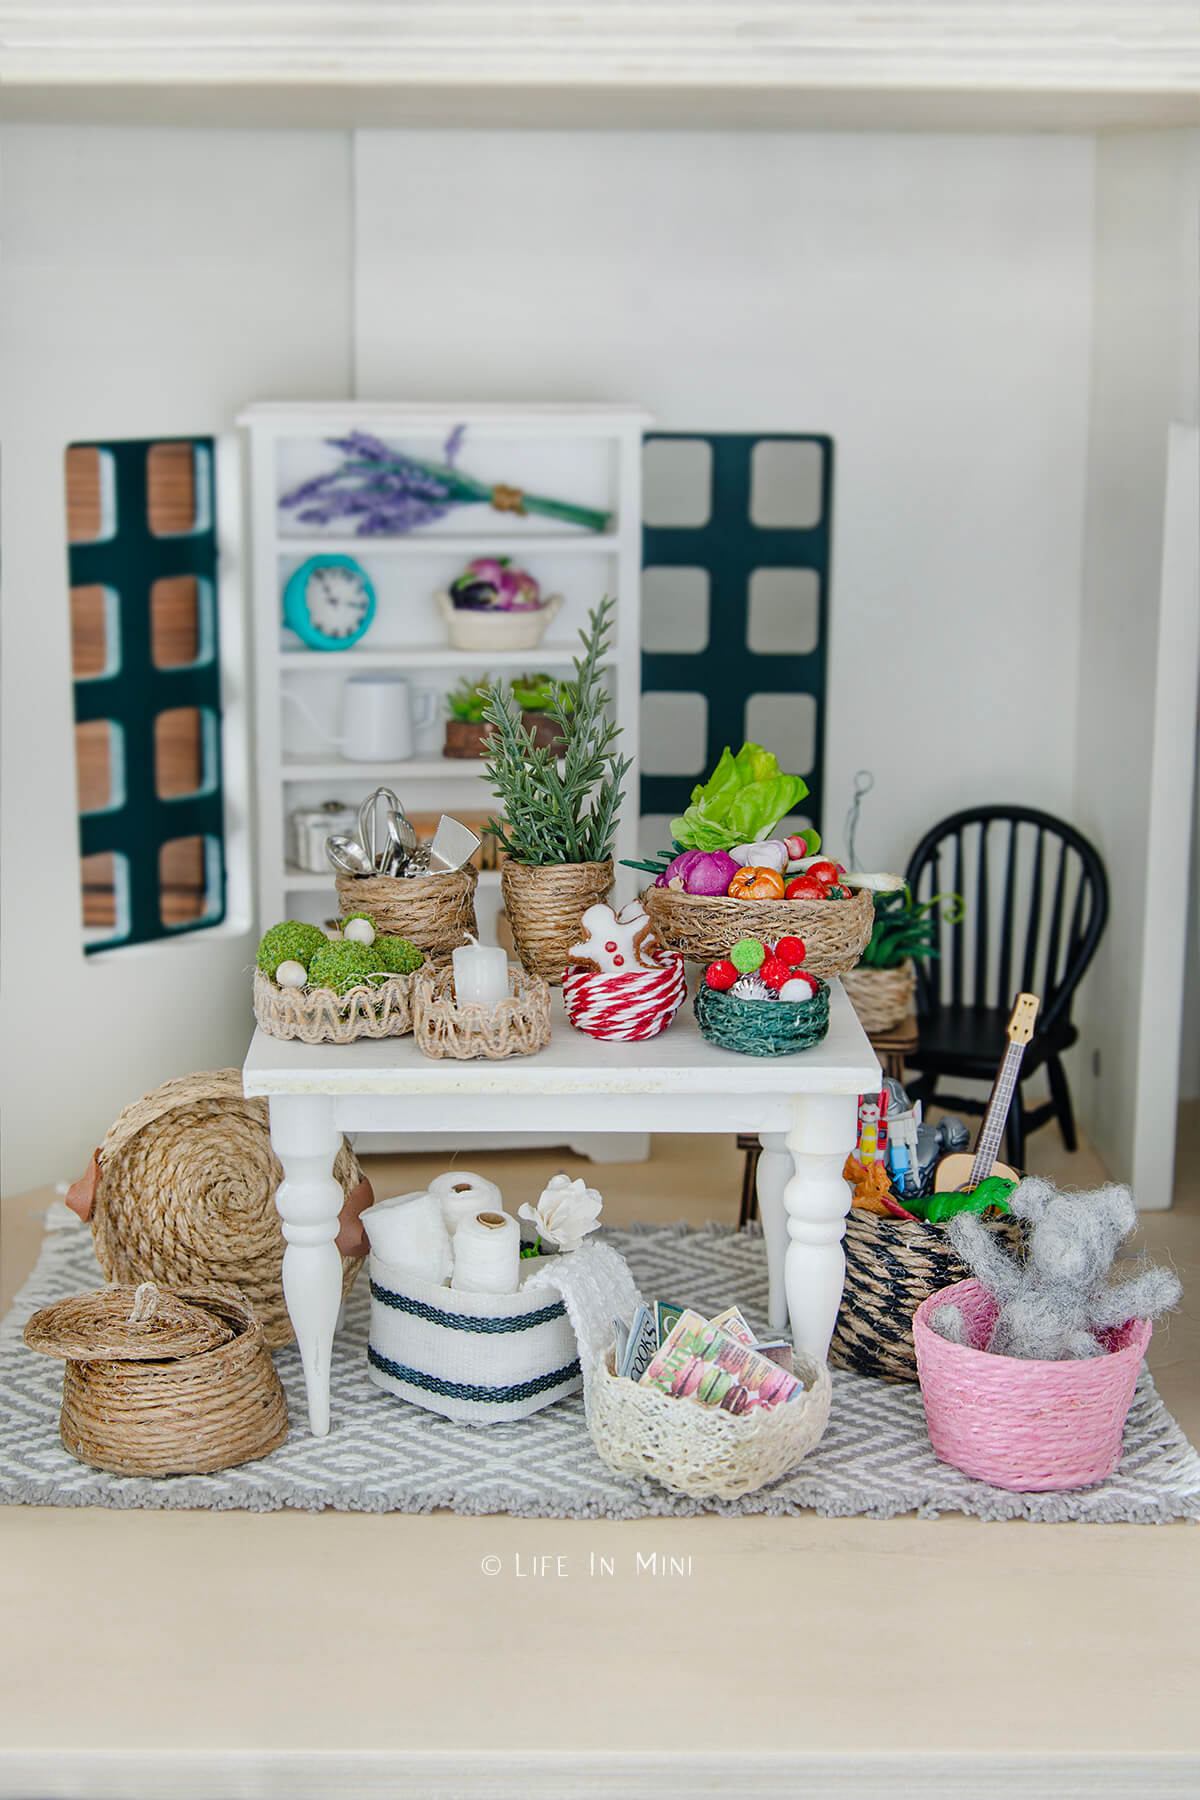
I have an obsession with baskets and bins. If you come to my house you will see them everywhere: wicker baskets holding plants, a cotton rope basket holding a blanket, bins to stay organized and still look stylish, baskets of all styles everywhere.
So needless to say, my dollhouses needed to get filled up with baskets, too.
When I relit my miniature obsession, I did what many of you did: I looked for pre-made minis online. I bought a few mini baskets and wasn’t very impressed with the quality, mostly because my budget was small and all I could afford were cheaply made items.
You can also find baskets made from resin. They show some of the basket weave, but they certainly don’t feel like real baskets. It was at the local miniature show here in San Diego where I first saw skilled artisans and the amazing miniature baskets they weaved by hand.
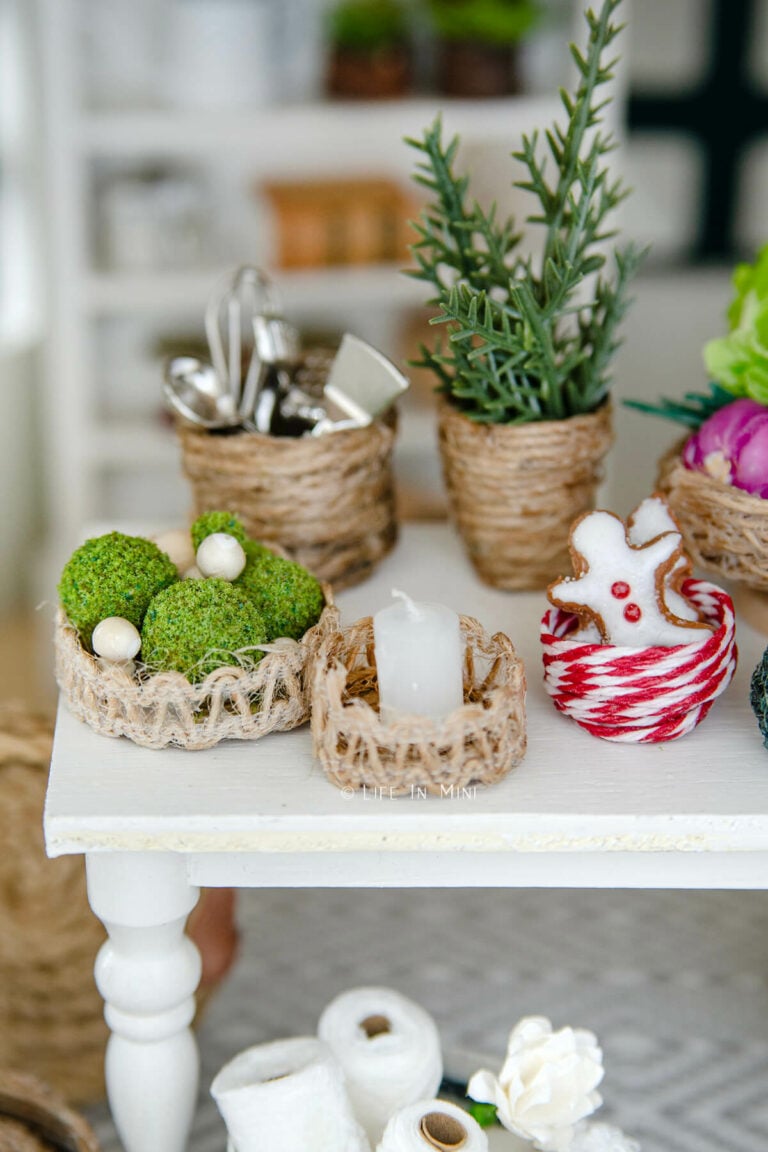
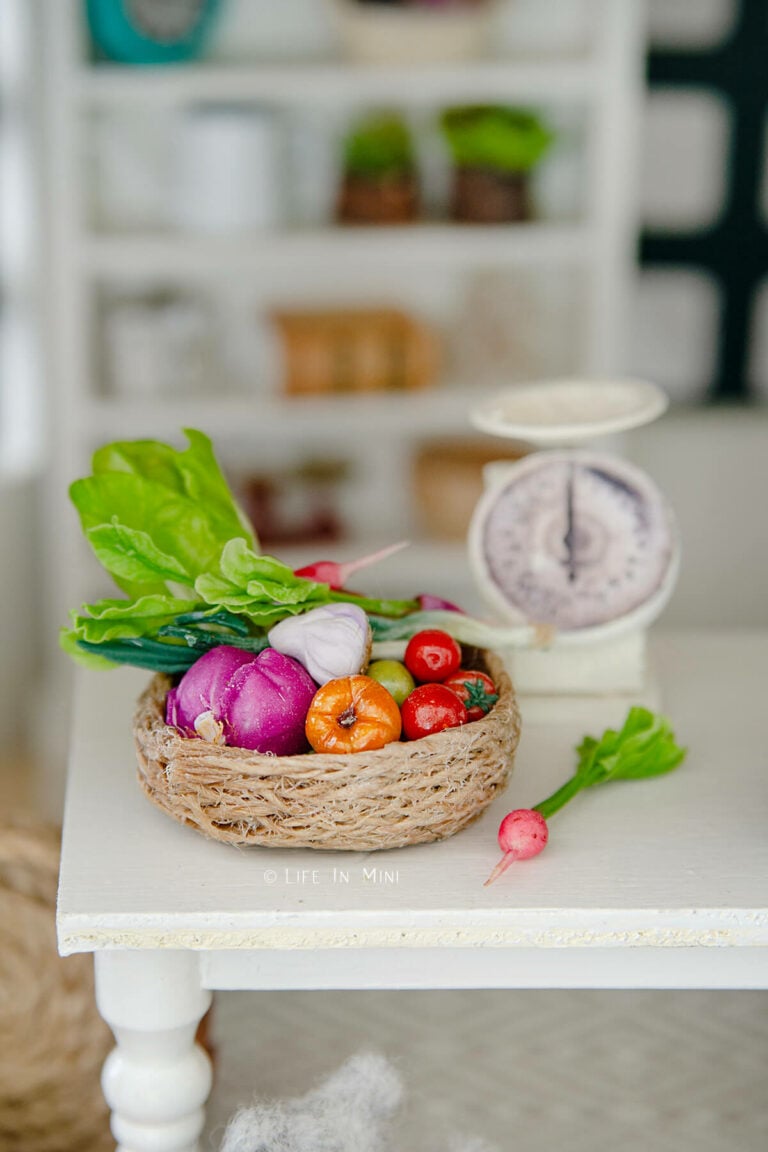
And as much as I admired and respected their awe inspiring talent, and boy are they talented, I didn’t have the money to pay for those gorgeous miniatures. Sigh.
There are many tutorials on how to weave your own basket, but let’s be honest. I do not have the time or patience to do this. Maybe one day, but not today.
So I decided to cheat a little, with some white glue and twine. I was so giddy with my first basket creation that I realized I needed to make more. And when a reader asked if I bought or made a particular basket featured in miniature ornament tutorial, I knew I had to write up a tutorial for making baskets.
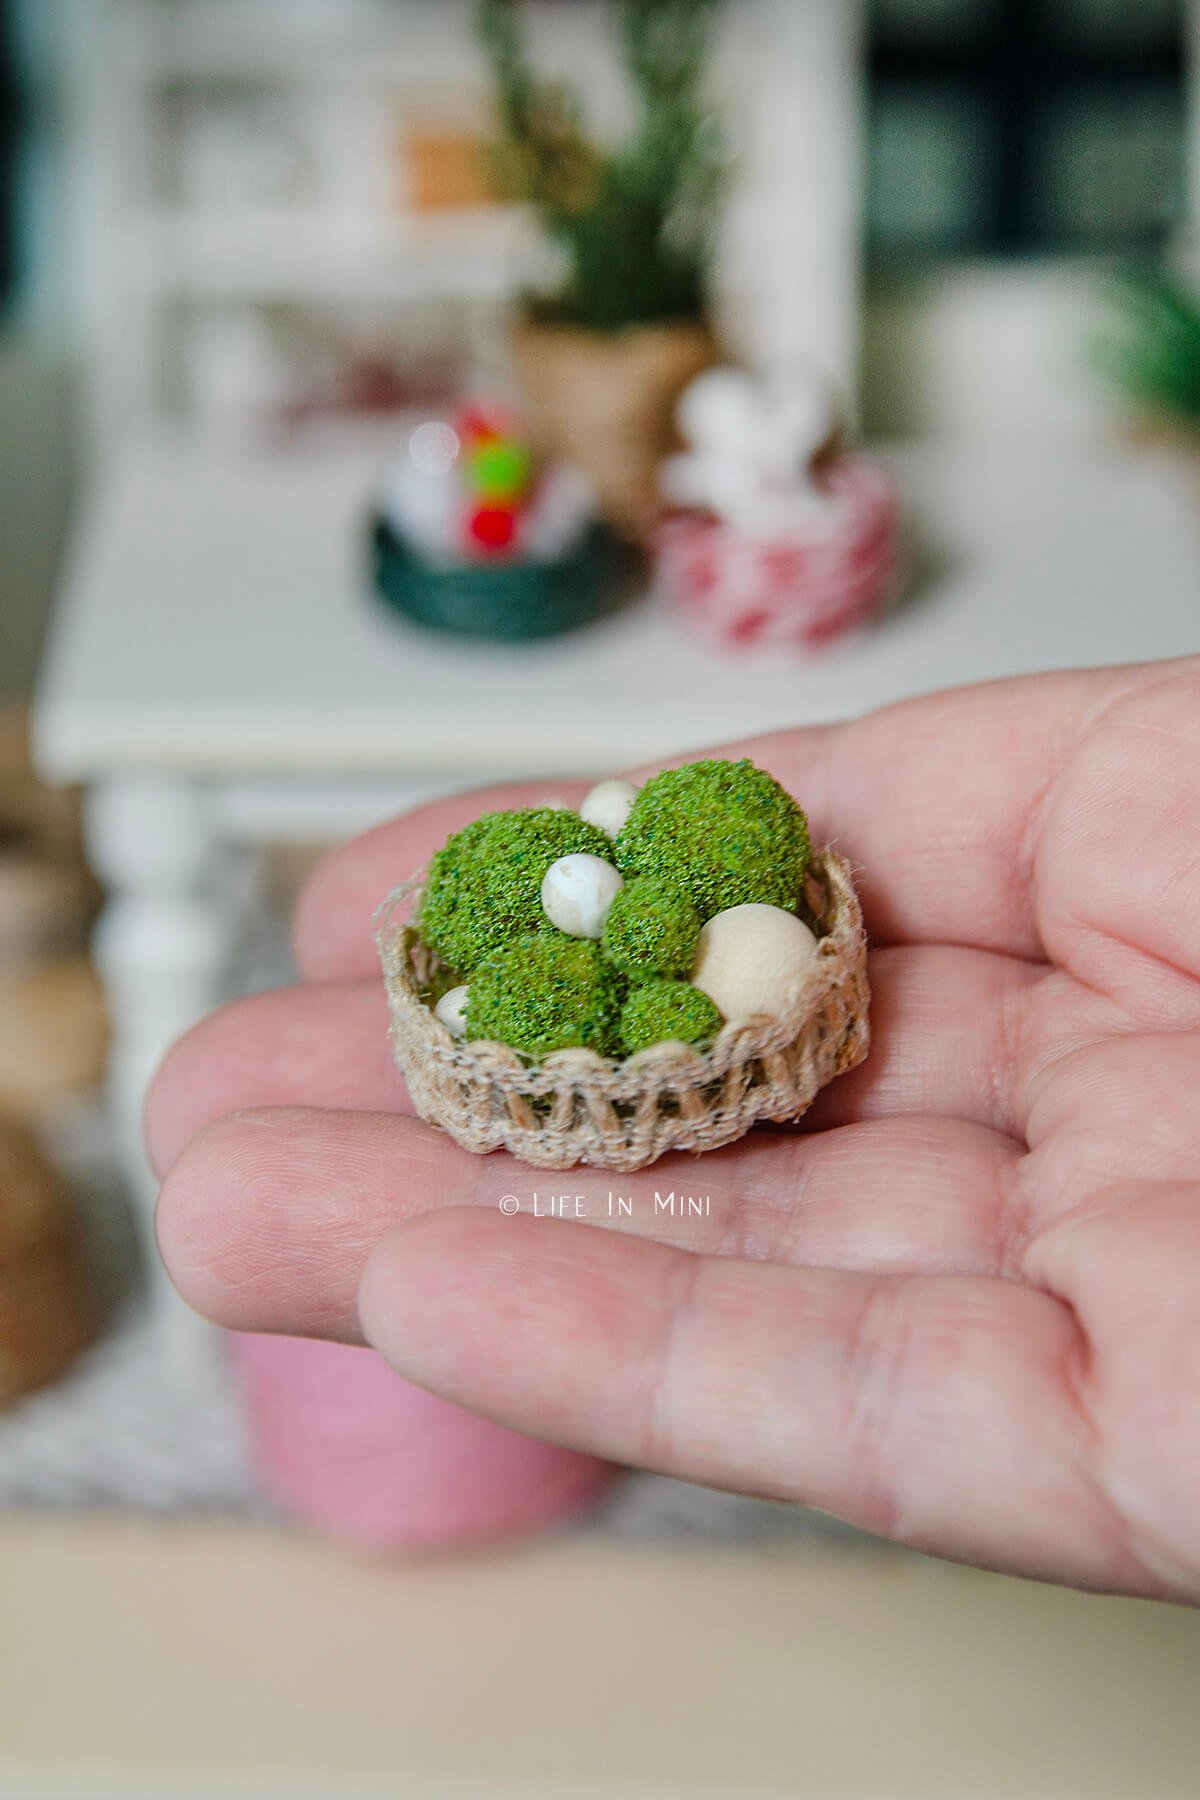
Now this technique is nothing new and many of you probably already know how to make mini baskets this way. But maybe you will see something that will inspire to branch out and try a different kind of ribbon or shape.
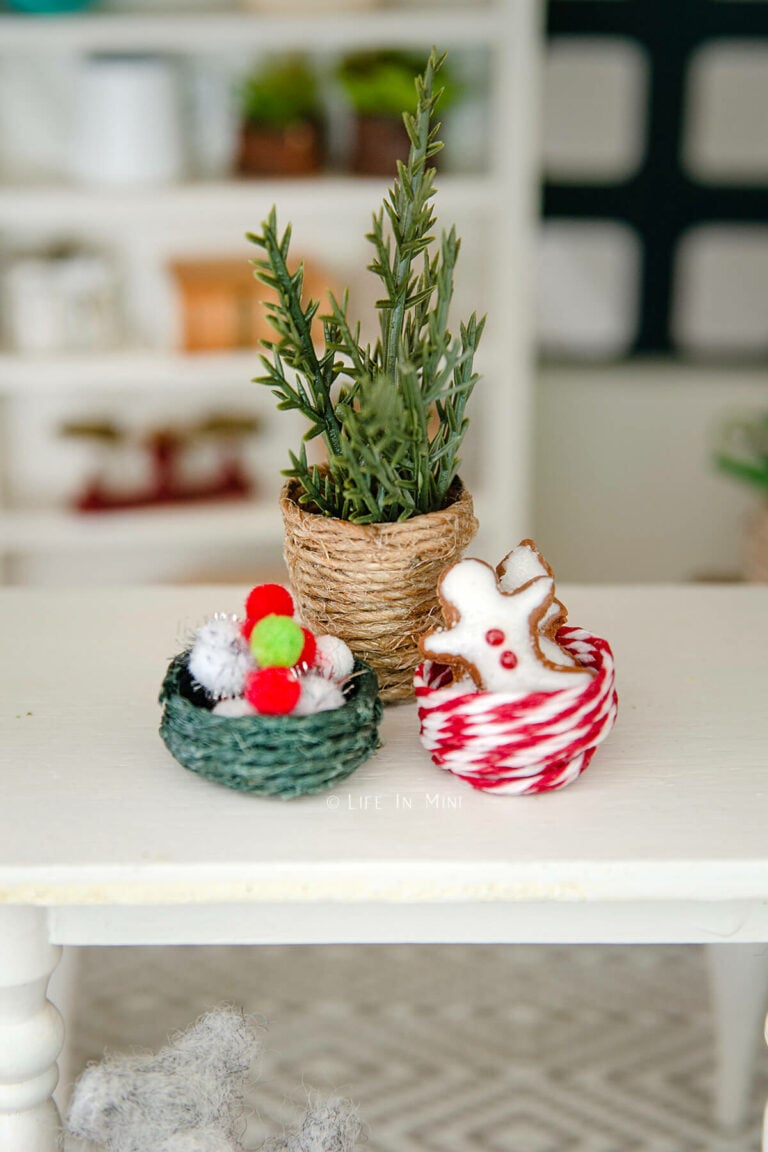
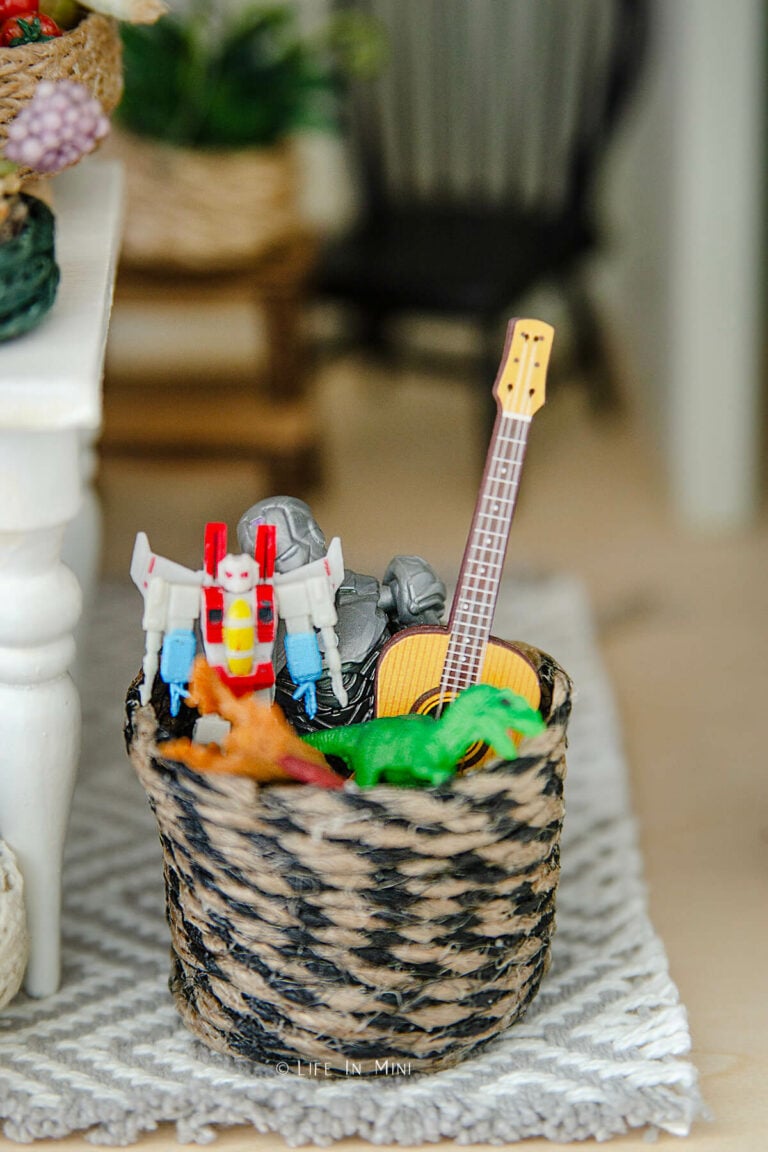
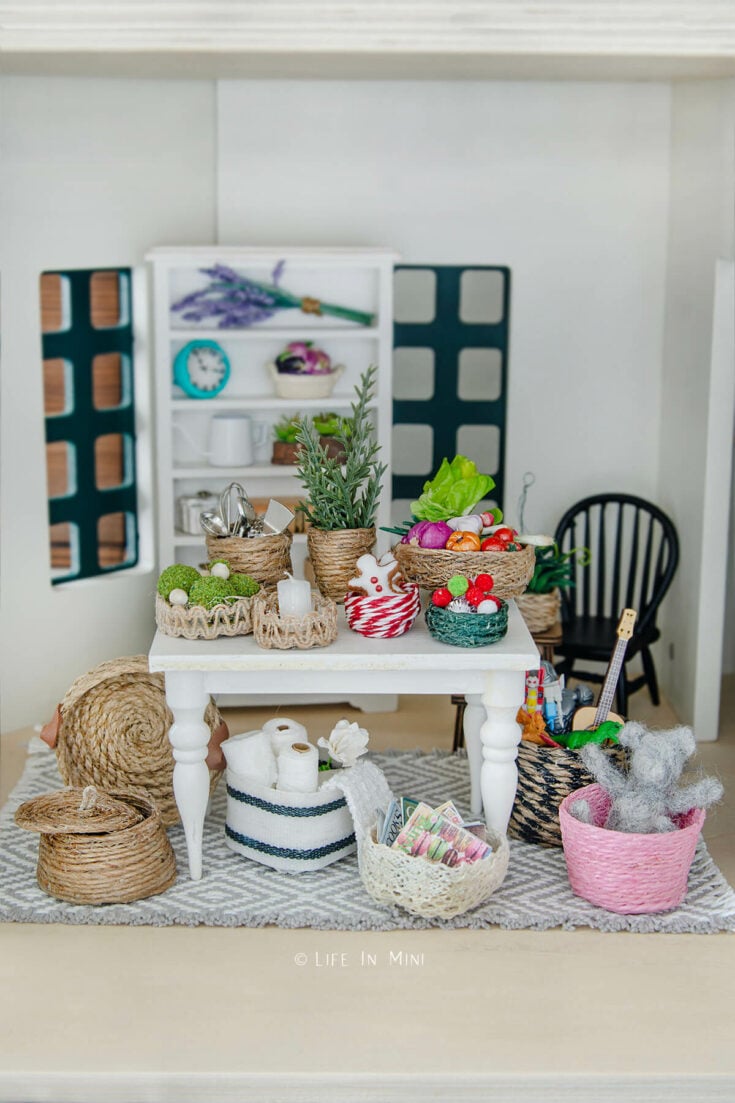
As you can see, the possibilities are endless. You can make baskets with lids, large baskets, small baskets, bowls and platters. I even made a vase using an Afrin cap for my base form.
I won’t lie, this is a sticky and a little messy project, so keep a bowl of water for your fingers handy. And remember it’s just glue and washes off your work surface easily.
Supplies needed
This post contains some affiliate links for your convenience (which means if you make a purchase after clicking a link I will earn a small commission but it won’t cost you a penny more)! Read my full disclosure policy.
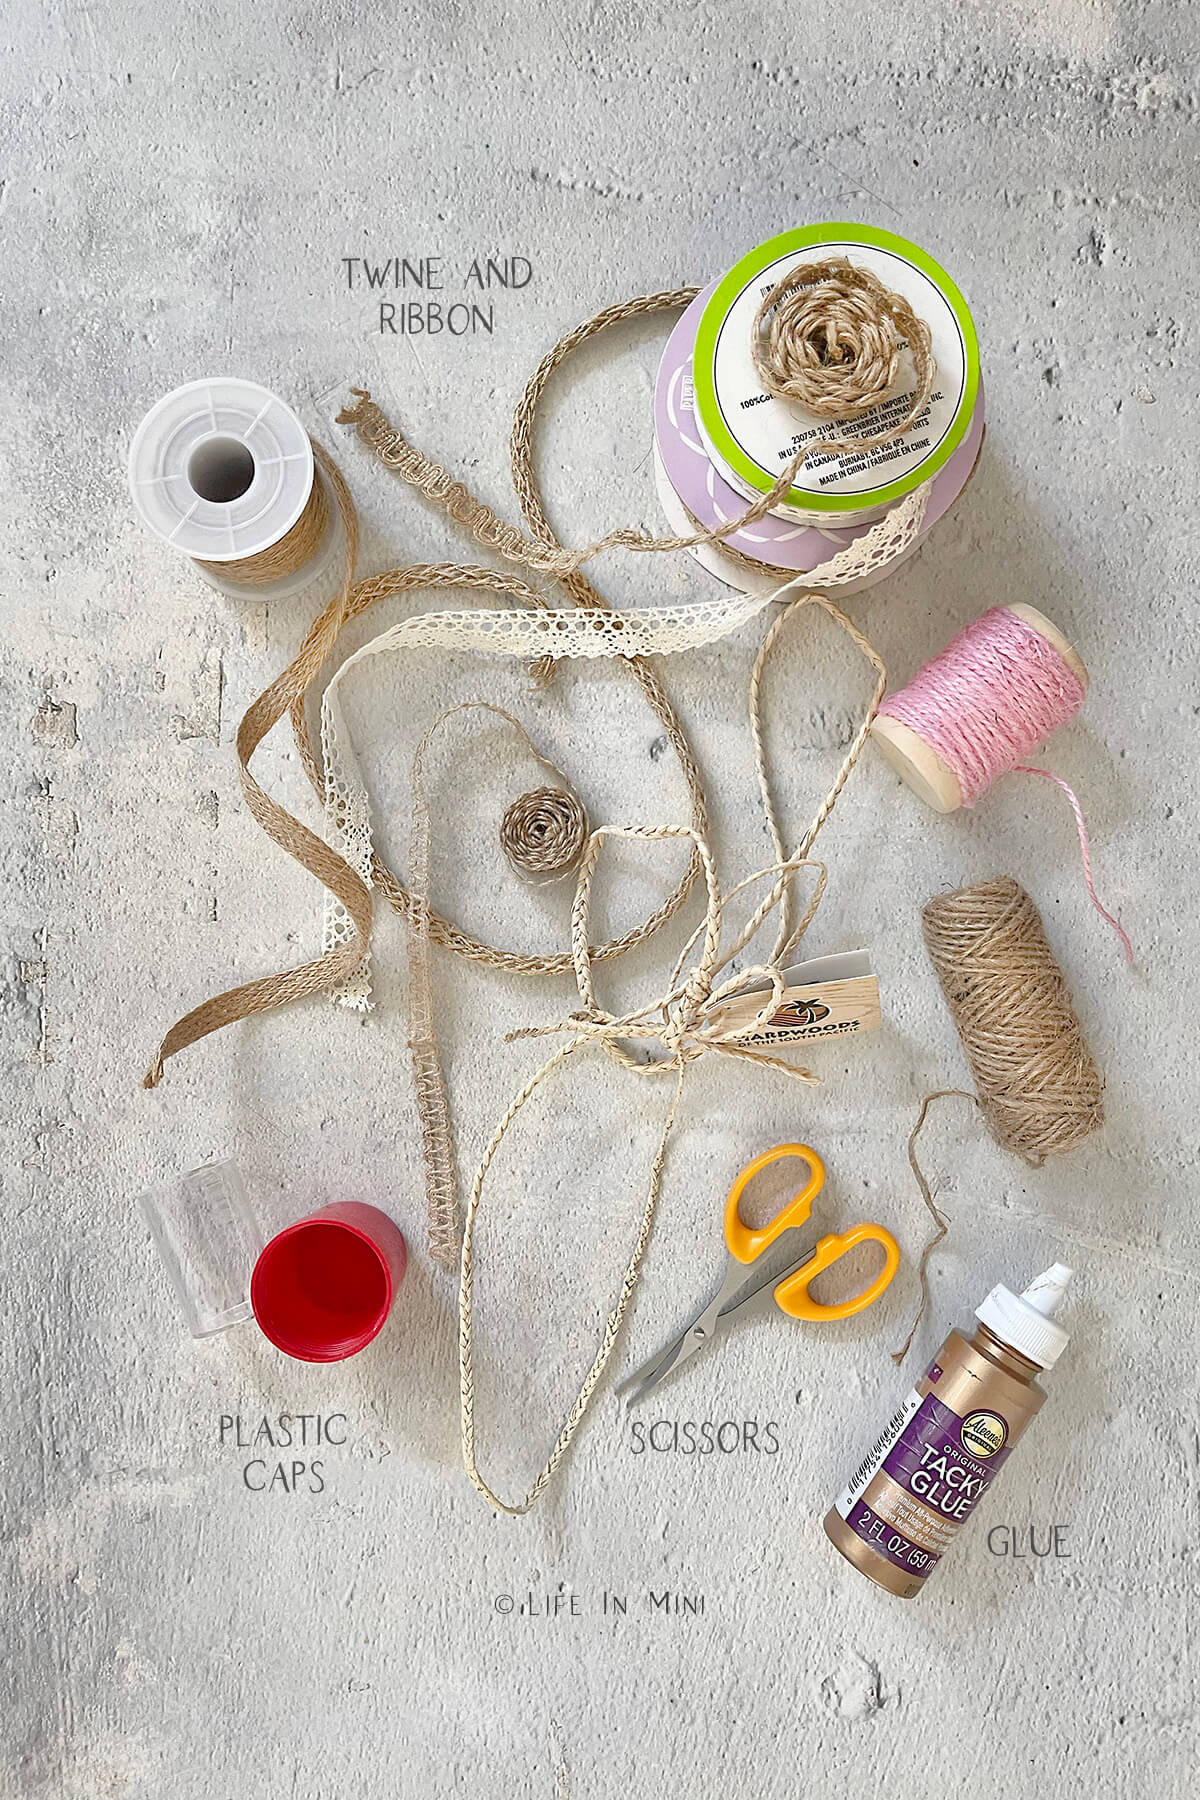
- Glue: You will need a glue that dries clear. This can be Aleene’s Tacky Glue or even Elmer’s Glue. I have done this with Mod Podge, too.
- Twine: Here is where you can go all out. I have used a variety of twines and strings, as you can tell from my pictures. You can thick twine to thin, to mimic natural weaves. You can use cotton, jute or hemp twine depending on the look and texture you like. You can also use dyed twines or baker’s twine. I have found terrific burlap ribbons and jute ribbons online and at the dollar stores. You can also use this technique using cotton ribbons or even lace. I have a small collection of twine and ribbons I’ve snipped from clothes and blankets I have purchased and used some of them.
- Scissors: This is simply to cut your twine, string or ribbon.
- Plastic caps: I used various shapes of plastic caps to wrap the twine to form the shapes. You can also use various sizes. Some of the caps I used came from my hair gel spray, medicine dose cups, nail polish remover bottle, even my nasal spray cap.
- Water: Your fingers will get sticky and dipping them into water helps you get back to rolling, wrapping and gluing. And if you use a thicker glue, like Aleene’s, you might need to thin it out a little with water while you work.
- Lotion: To help keep the glue baskets from sticking to your forms, I use a little hand lotion on the forms. You can also use Vaseline but that is pretty thick. Honestly any bit of lotion or conditioner (yes hair conditioner) you have on hand will work. I also rubbed a little lotion on my cutting pad to keep the glued baskets from sticking while they dried.
- Toothpick: Sometimes for touch ups or for last minute gluing a toothpick helps. Especially after cleaning your hands a hundred times and you don’t want to get sticky again!
- Disinfecting Wipes: This helps clean off your caps and tools from all the sticky glue.
Step-by-step directions
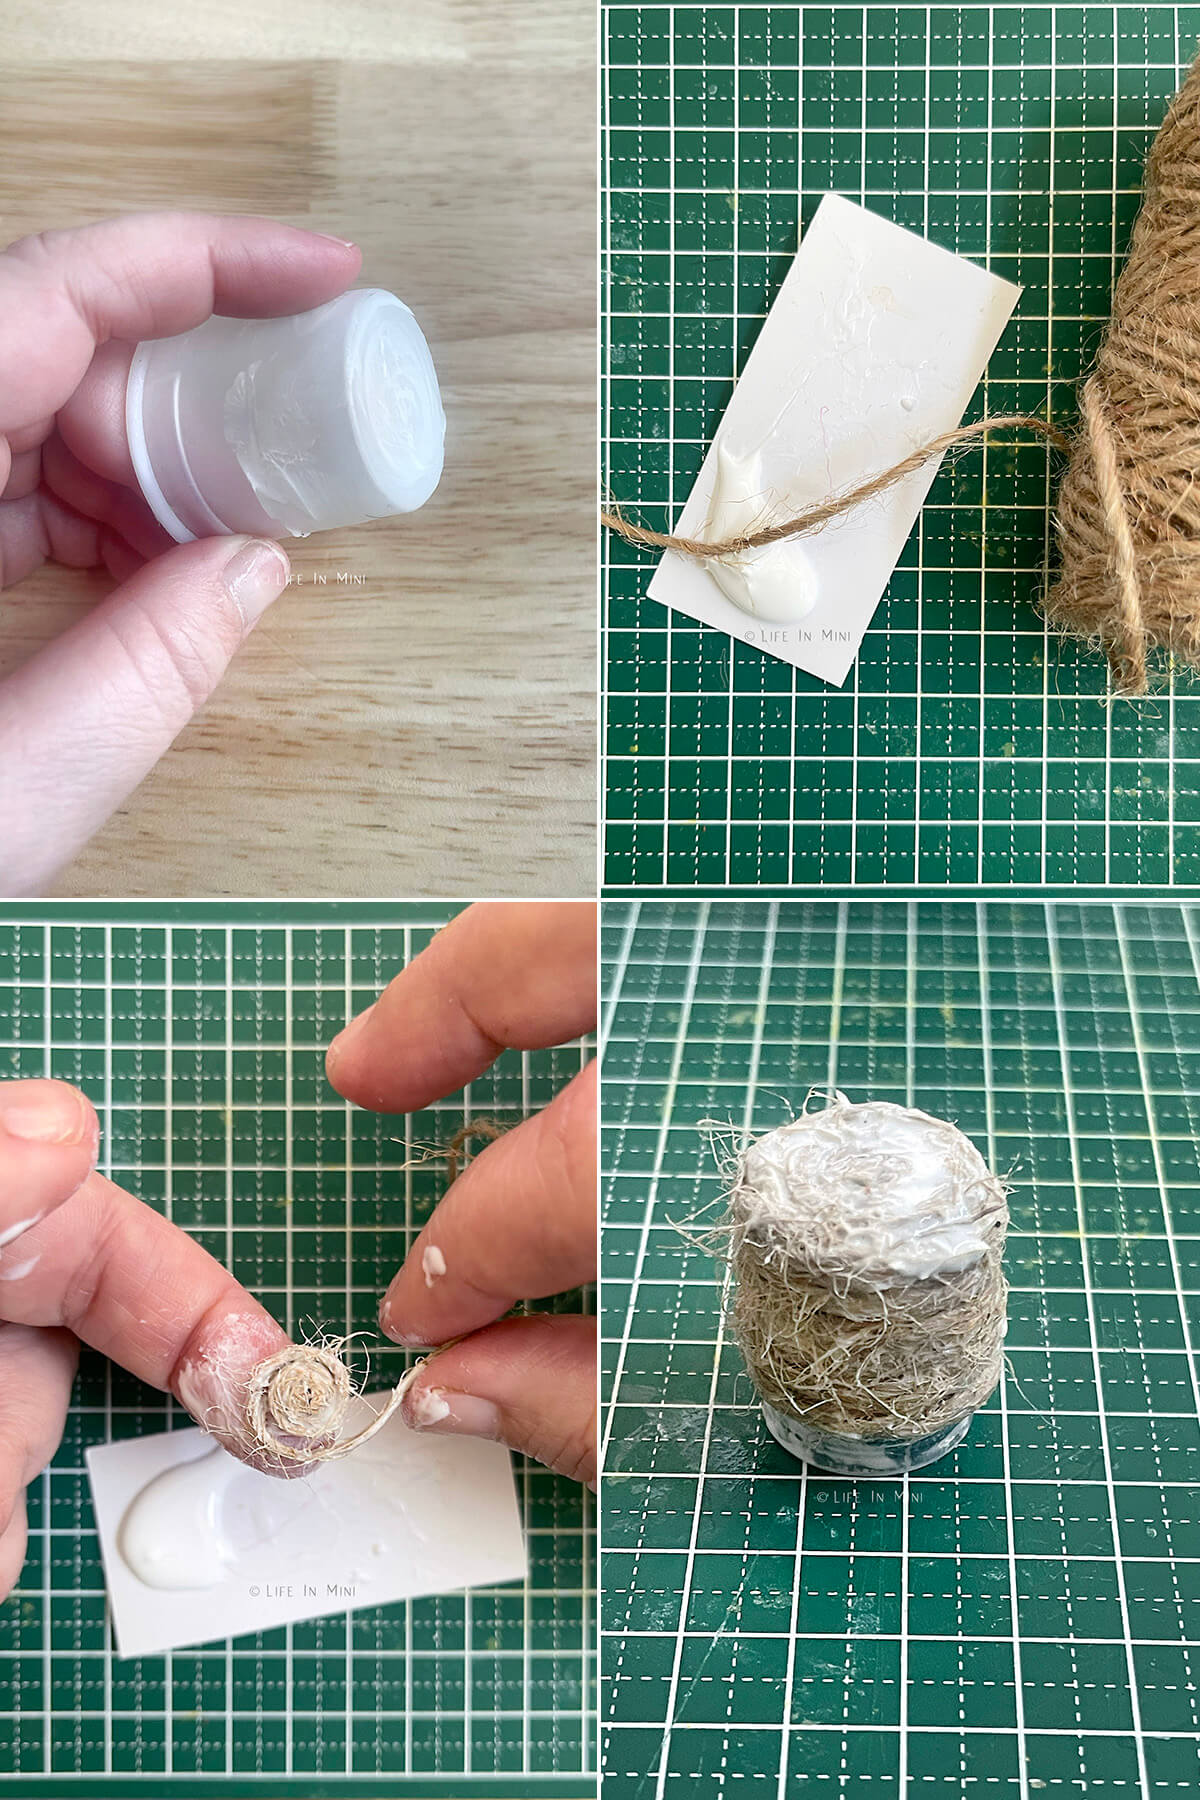
- Coat your form. If you are making tall baskets or using an oddly shaped cap, lightly coat the bottom and sides with a little hand lotion first.
- Coat the twine. Coat your twine in glue and and start wrapping it around amongst itself. I usually start with the bottom of the basket and start making a circle with the wet twine. As you use more of the string, coat it with glue.
- If your glue is thick and you need to thin it, dip your fingers in the water and run them over the string. The water is also there to help keep your fingers from getting gloopy and sticky. You only need a little, as this glue is water soluble.
- Wrap the sides. When your circle is the same size as the bottom of your cap, place it over the cap and start wrapping the glue covered twine around the cap. Again, keep the layers tight and snug.
- Finish the basket. When you get to the height you like, cut the twine and press the end along the top of inside of your basket. Sometimes I tuck it under the layer of string beneath it. Either way, there is enough glue to keep it secured.
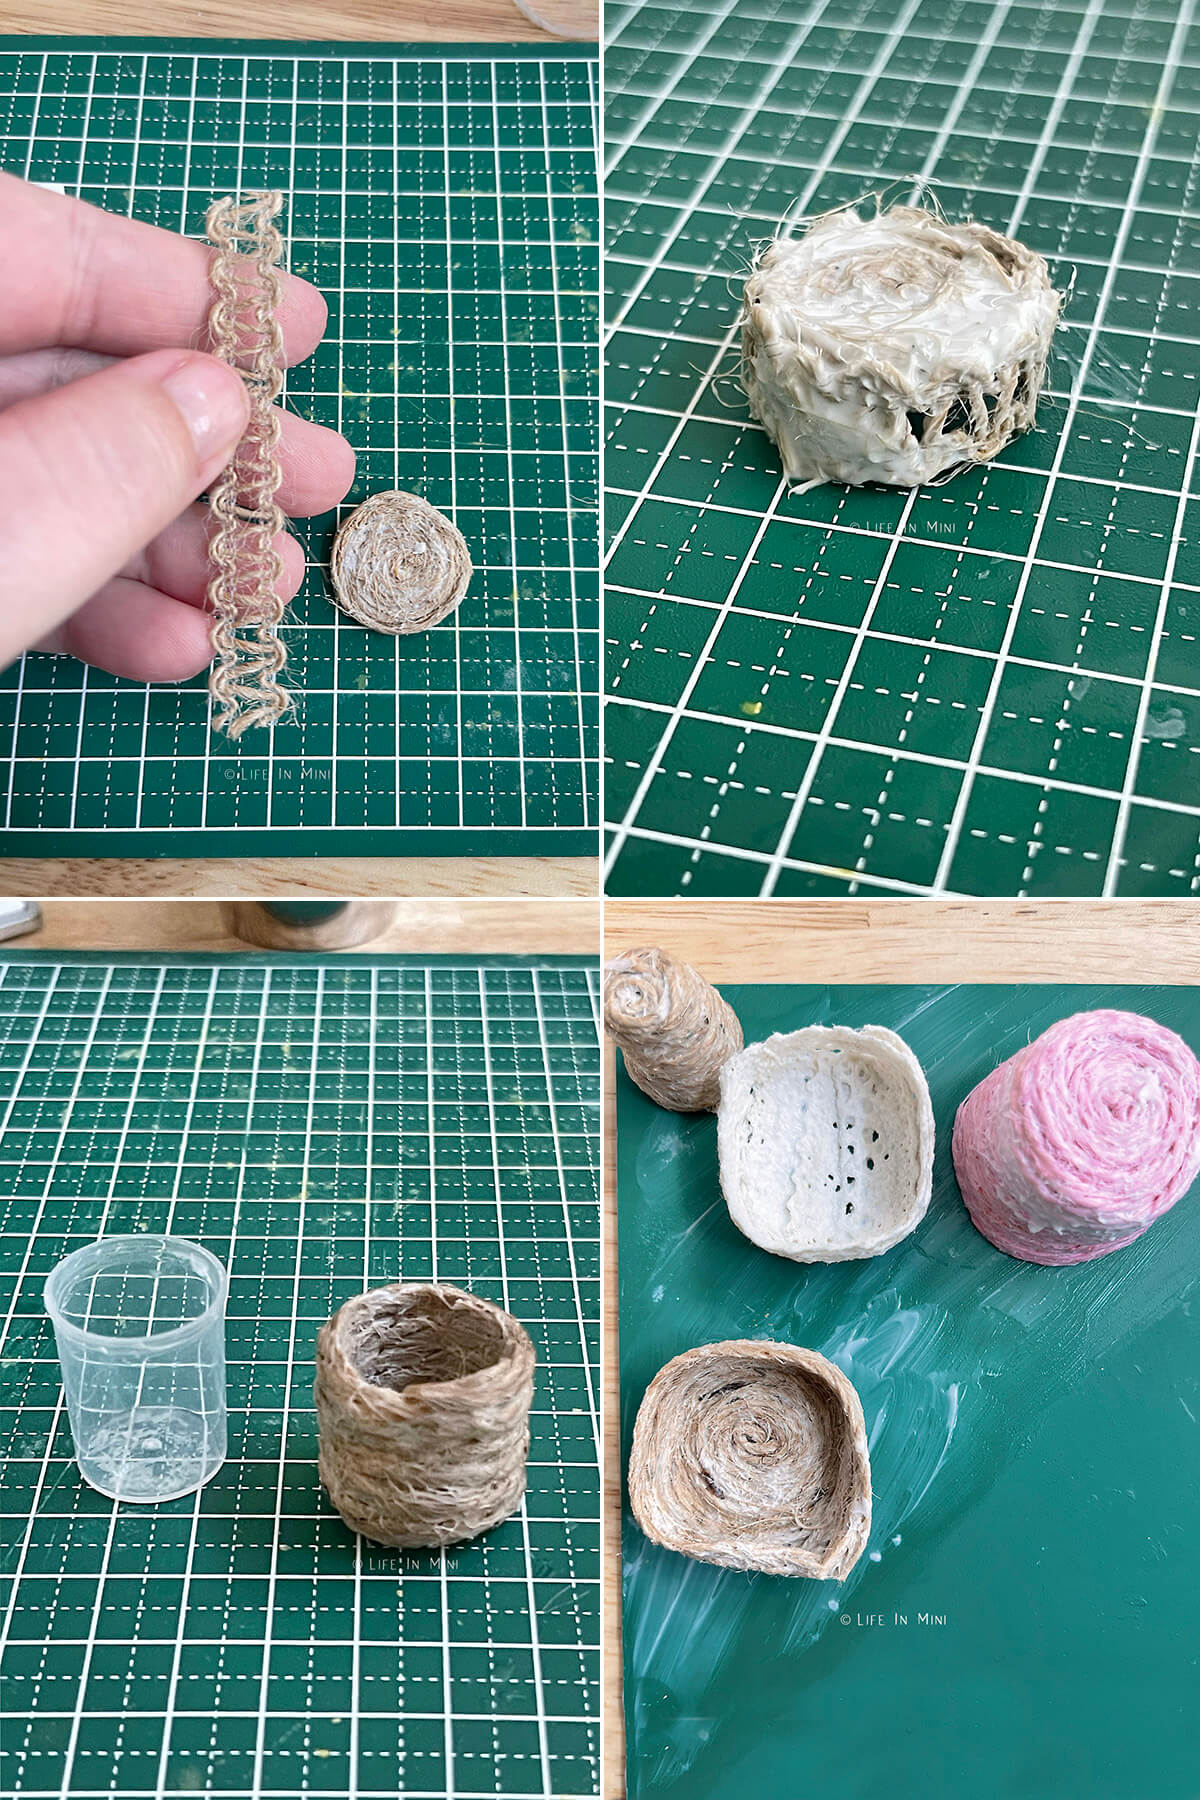
- Mixing materials. Sometimes I use two different kinds of twine to make a basket. When this is the case, I make the round first, cut the twine and secure it. Wrap the second glue covered twine or ribbon along the bottom round, cut and secure with glue.
- Coat with glue. I like to add a final thin layer of glue all along the bottom and sides of the basket to make sure everything is solid and secure. You can do this now or after it dries, if you notice that the basket needs more support.
- Let it dry. Place your basket on a piece of wax paper or parchment paper to dry. You can also use a silicone mat or add a thing coat of hand lotion on any work surface and use that. This keeps the glue from sticking to your work surface while your basket dries.
For the larger baskets, when they are partially dry, give it a little twist and turn on the cap to make sure it is not sticking. For the shallow baskets that are like plates and small bowls, I usually slip them off when halfway dry and let them air dry like this.
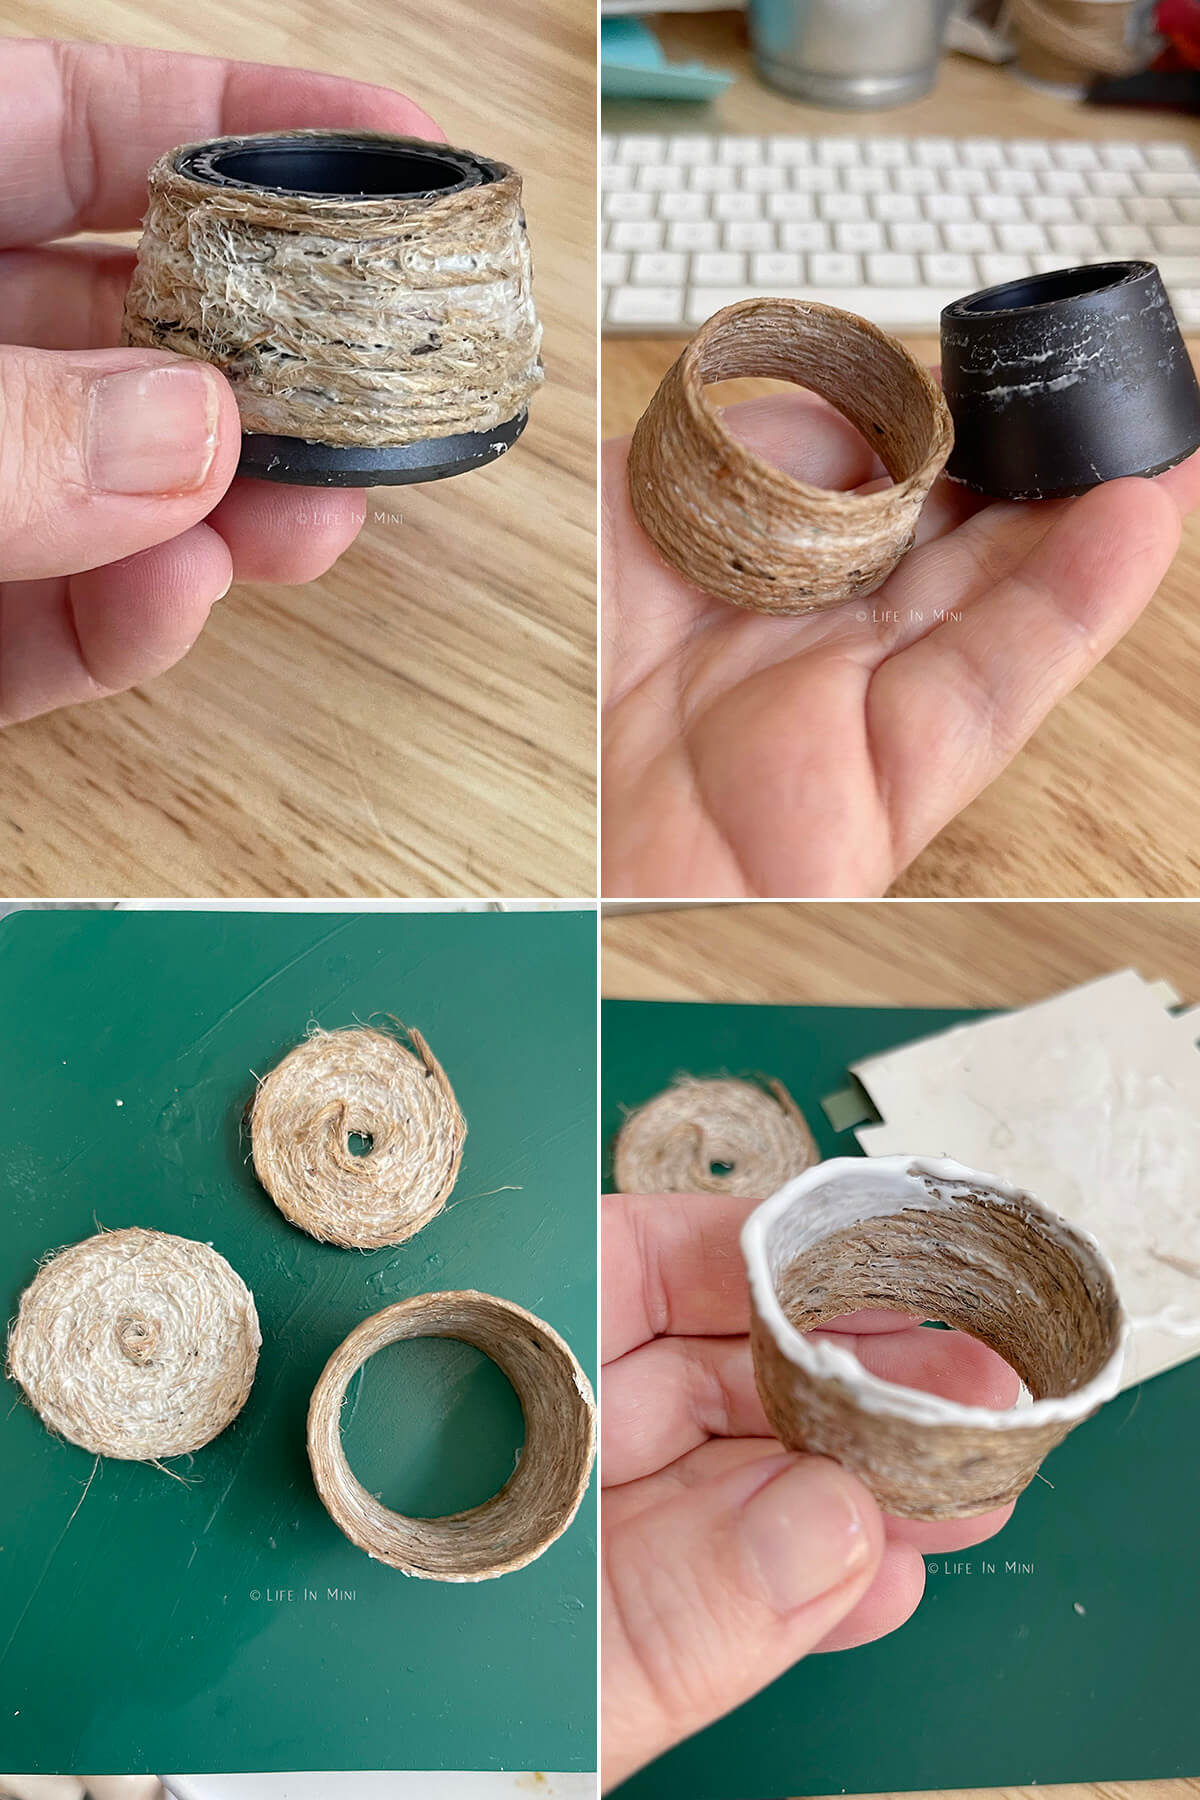
- Special baskets. For baskets where the bottom is larger than the opening, I make them in two separate pieces first then glue them together. For this one with the top, I made the bottom round first. While it was drying, I made the cone like basket by wrapping the glue covered twine around the cap (which came from an empty bottle of nail polish remover).
- When it was dry enough to hold its shape, I removed it from the cap and made the round basket lid. For this one, I couldn’t get the very center to stay in place and it gave me small hole, so I added a little handle thru the hold and secured it with glue.
Expert tips
My first basket was this large tray-like basket that I made to hold my first few polymer clay vegetable creations. For this one, I blued on handles, which are little strips of brown foam sheets. I thought they looked very much like leather handles.
You can add any embellishments you like to your baskets. You can also add openings while you wrap the twine around the basket for handles. Another option is to blue some fabric to the inside of your basket to line it.
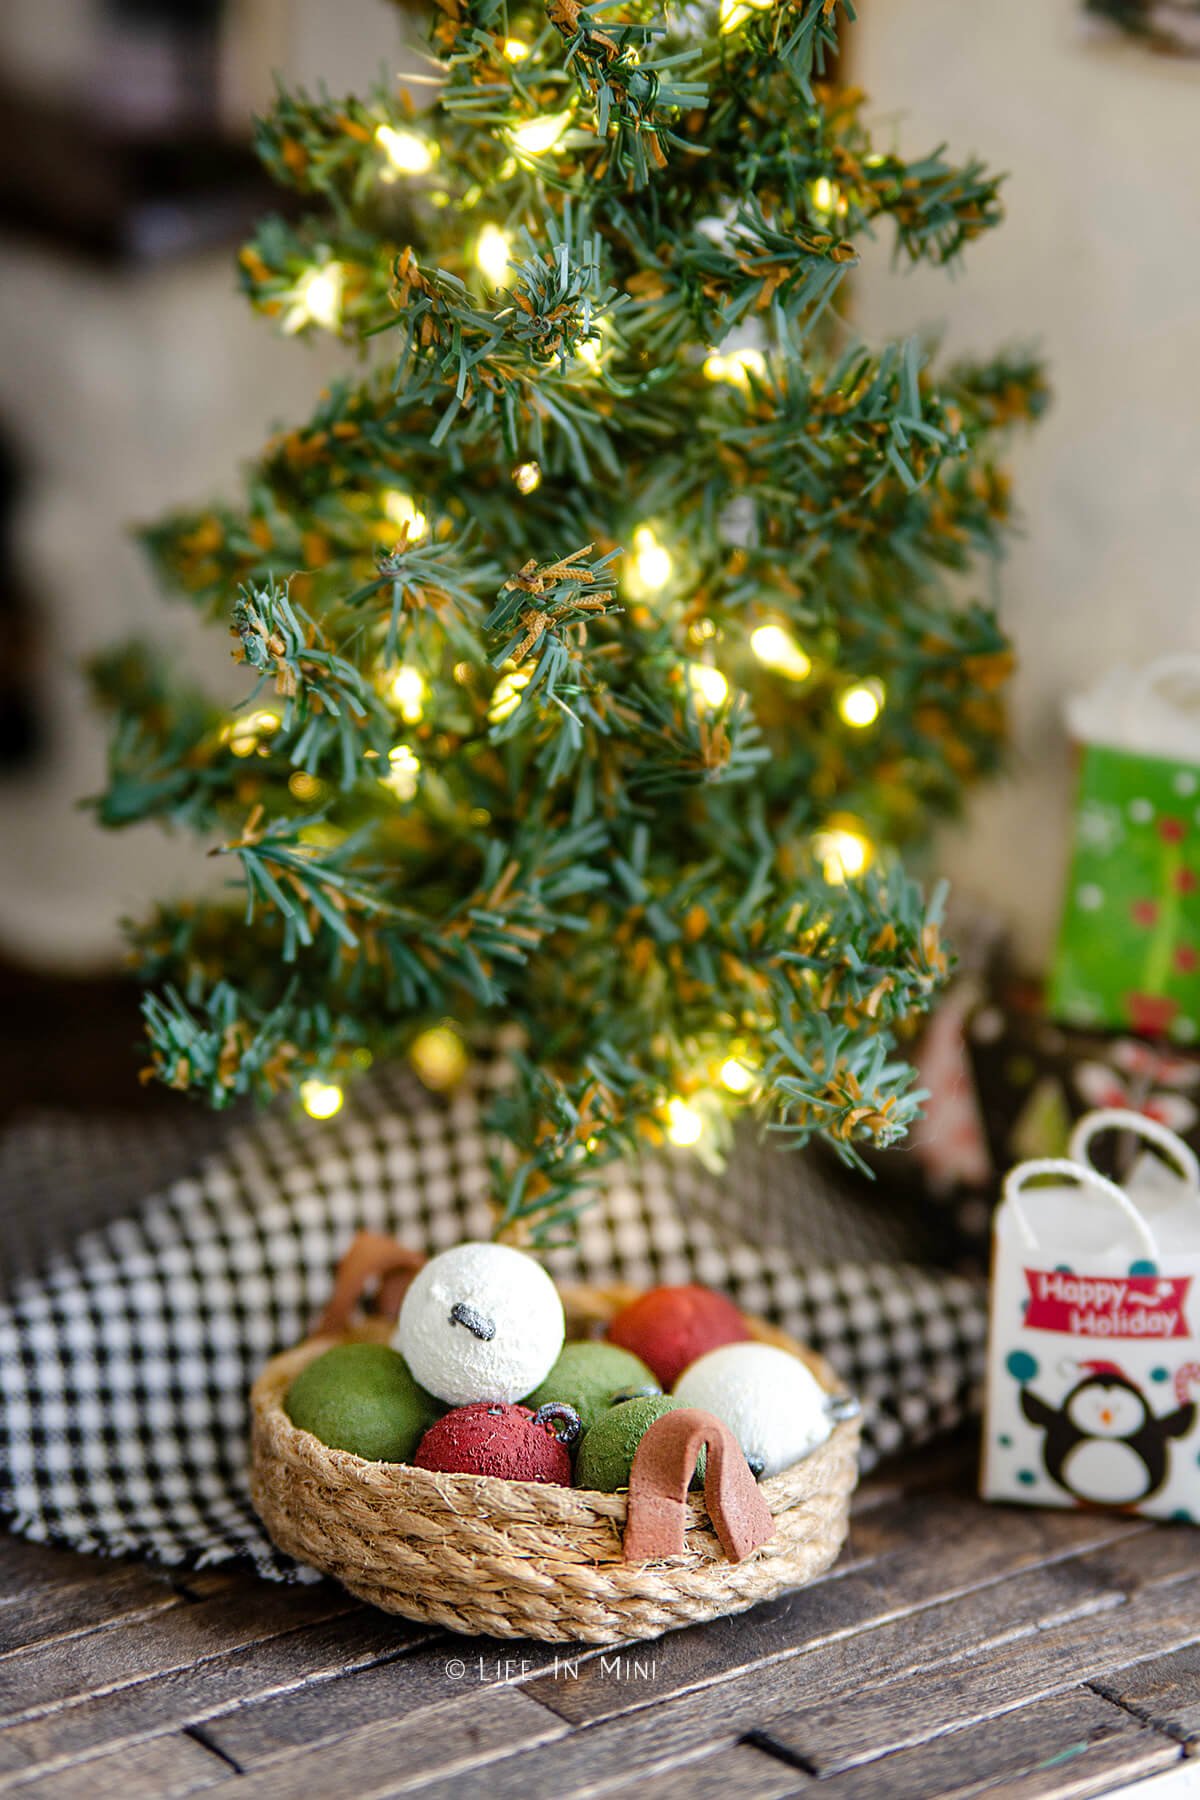
Get creative and use any kind of twine, string or ribbon you can find. You can make round or square baskets, shallow or deep.
Use the water to keep your fingers from sticking together and to clean your tools. I also like to use disinfectant wipes to clean my scissors and work surface, because my sticky fingers seemed to touch everything!
If you have small gaps in your basket, just add a bit more glue. It will fill up the hole and dry clear.
Don’t man handle the baskets when they are very wet as they lose their shape easily. So if you want to misshape them, do it while they are wet! This is why I remove them from the caps when they are partially dry.
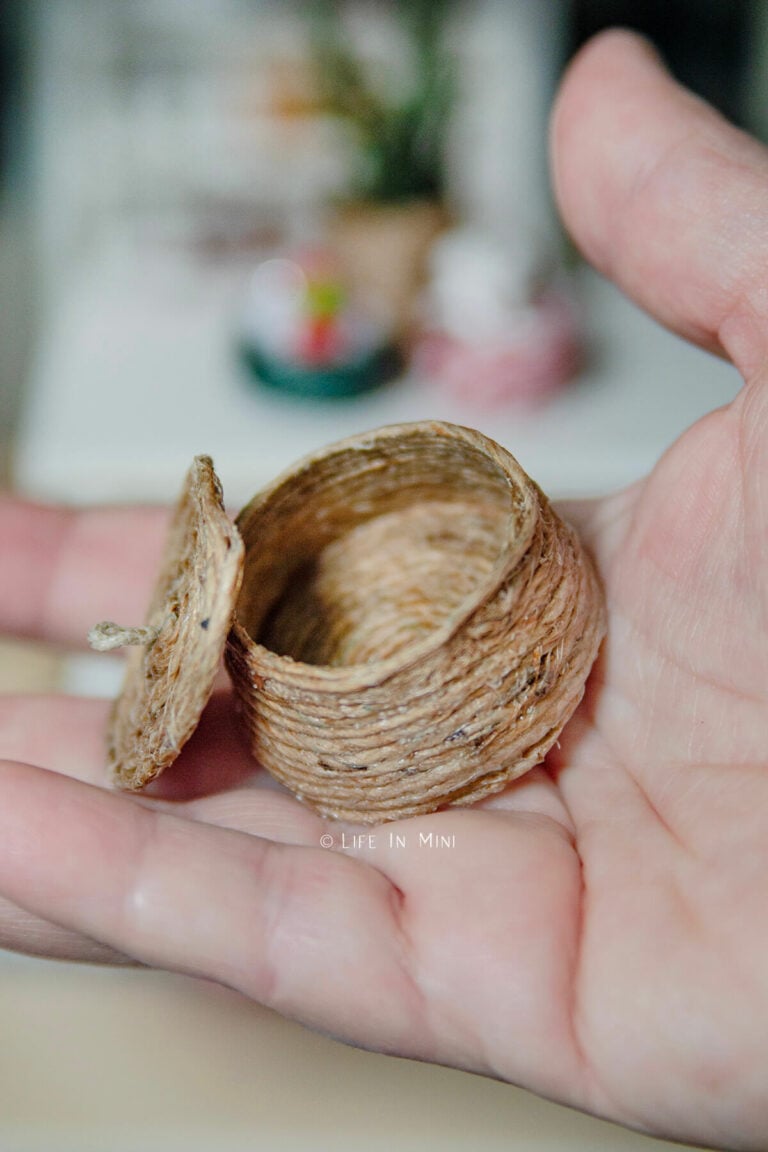
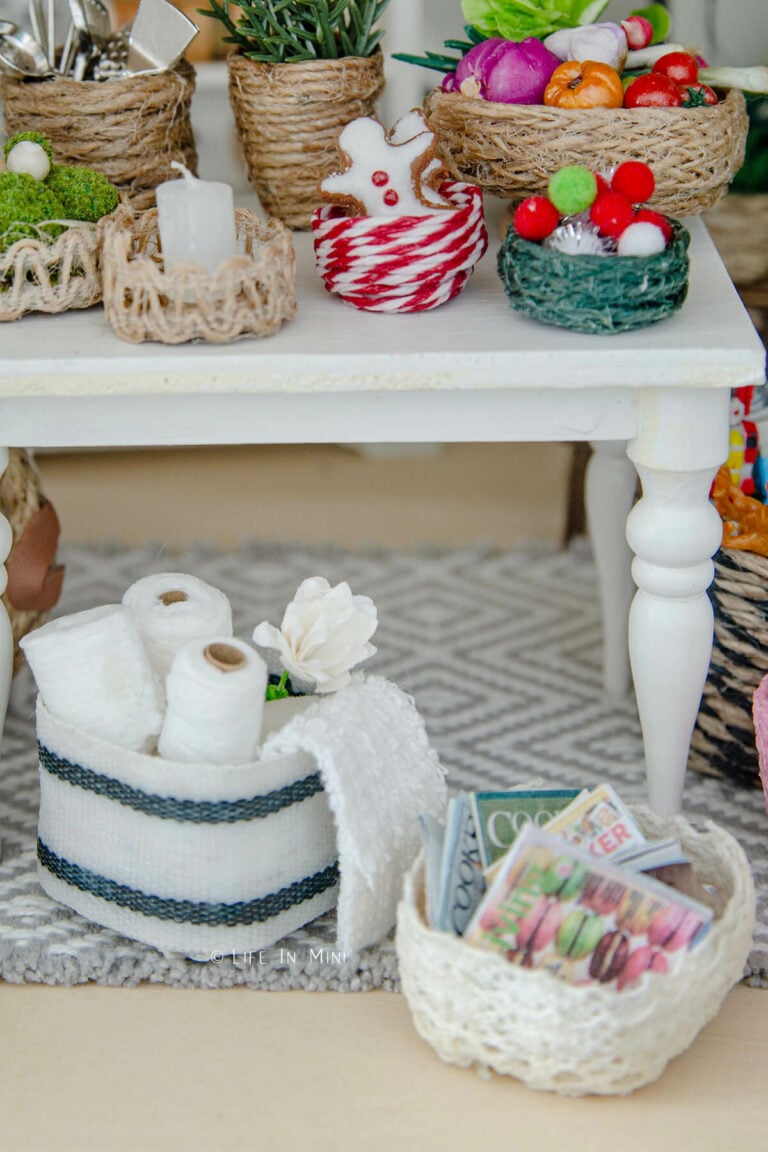
I made my first basket about 4 years ago and it is still doing great and hasn’t fallen apart. I had so much fun making the baskets I’m featuring in this post. I started with some basic ones and went all in and started making more complicated baskets.
You can use any size twine or rope, make them for most any scale of miniatures and create something beautiful and unique.
So have fun and let your imagination go wild!
If you are enjoying my blog, why not sign up for my newsletter so you won’t miss out on the mini adventures!
How to make mini baskets
Accessorize your dollhouse with mini baskets and bins using just twine, white glue and plastic bottle caps of all shapes and sizes. This easy tutorial shows you how to make miniature baskets of all sorts to fit the decor of any style dollhouse and for any scale.
Materials
- Glue that dries clear
- Twine
- Plastic caps
- Water
- Hand lotion
Tools
- Scissors
- Toothpick
- Disinfectant wipes
Instructions
- If you are making tall baskets or using an oddly shaped cap, lightly coat the bottom and sides with a little hand lotion first.
- Coat your twine in glue and and start wrapping it around amongst itself. I usually start with the bottom of the basket and start making a circle with the wet twine. As you use more of the string, coat it with glue.
- If your glue is thick and you need to thin it, dip your fingers in the water and run them over the string. The water is also there to help keep your fingers from getting gloopy and sticky. You only need a little, as this glue is water soluble.
- When your circle is the same size as the bottom of your cap, place it over the cap and start wrapping the glue covered twine around the cap. Again, keep the layers tight and snug.
- When you get to the height you like, cut the twine and press the end along the top of inside of your basket. Sometimes I tuck it under the layer of string beneath it. Either way, there is enough glue to keep it secured.
- Sometimes I use two different kinds of twine to make a basket. When this is the case, I make the round first, cut the twine and secure it. Wrap the second glue covered twine or ribbon along the bottom round, cut and secure with glue.
- Add a final thin layer of glue all along the bottom and sides of the basket to make sure everything is solid and secure. You can do this now or after it dries. This makes the twine stiff and gives the basket more support.
- Place your basket on a piece of wax paper or parchment paper to dry. You can also use a silicone mat or add a thing coat of hand lotion on any work surface and use that. This keeps the glue from sticking to your work surface while your basket dries.
- For the larger baskets, when they are partially dry, give it a little twist and turn on the cap to make sure it is not sticking. For the shallow baskets that are like plates and small bowls, I usually slip them off when halfway dry and let them air dry like this.
- For baskets where the bottom is larger than the opening, I make them in two separate pieces first then glue them together. For this one with the top, I made the bottom round first. While it was drying, I made the cone like basket by wrapping the glue covered twine around the cap (which came from an empty bottle of nail polish remover).
- When it was dry enough to hold its shape, I removed it from the cap and made the round basket lid. For this one, I couldn’t get the very center to stay in place and it gave me small hole, so I added a little handle thru the hold and secured it with glue.
- Use a toothpick to help push down twine and tweak your basket shape and the twine when your fingers are too sticky or too fat to work it.
Notes
Feel free to add any embellishments you like to your baskets. Cut little pieces from a sheet of foam to make leather-like handles. You can also add openings while you wrap the twine around the basket for handles.
Another option is to blue some fabric to the inside of your basket to line it.
You can use an assortment of twine, burlap ribbon, lace or cotton strips to make your baskets. You can also make lids for your baskets by making a circle like you do for the bottom of the basket.
PS If you try this craft, why not leave a star rating in the direction card right below and/or a review in the comment section further down the page? I always appreciate your feedback.
You can also follow me on Pinterest, Facebook or Instagram. Sign up for my eMail list, too!
Written by Laura Bashar
I’m a food blogger and cookbook author that loves miniatures and crafting. I started this blog to share my passion for minis, including tutorials and free printables.


Sue says
Thank you so much for making the process so easy to follow. A great idea and beautifully crafted.
Laura says
Hi Sue-
Thank you for your kind words! I’m learning as I go!!
Laura
Sally E. Goff says
I love making any minis . Your baskets is going to be my next project,I love them. Thanks for the tutorial.Sally
Laura says
Hi Sally-
Can’t wait to see what you make!
Laura