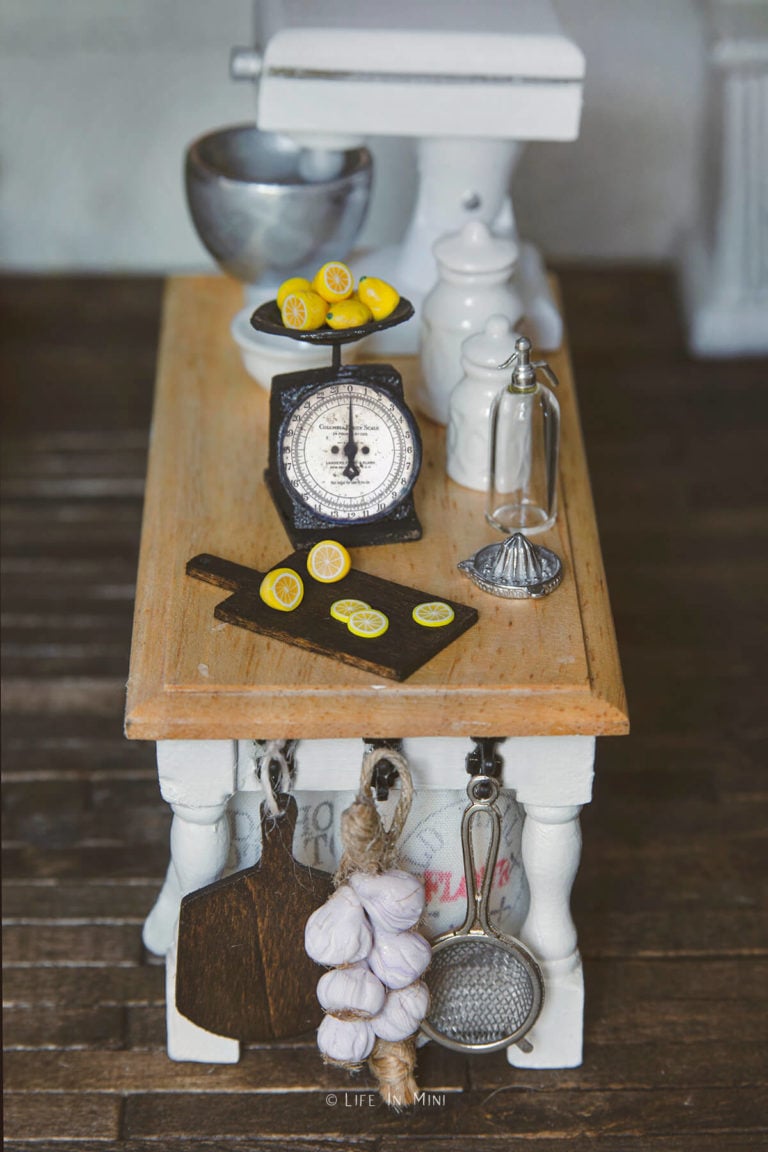
The perfect dollhouse accessory for your miniature kitchen is the cutting board. This particular SVG file has 17 different designs for you to cut out using your Cricut maker.
This post contains some affiliate links for your convenience (which means if you make a purchase after clicking a link I will earn a small commission but it won’t cost you a penny more)! Read my full disclosure policy.
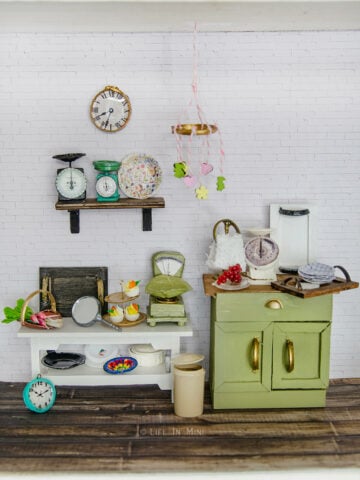
Just like in real life, I appear to be stuck in my dollhouse kitchen! I am working on small accessories since I am avoiding big projects like electricity and the upstairs flooring.
I have also discovered that I am not very good at cutting straight lines, especially with wood. My husband has a garage full of tools that are a bit overkill in making miniatures – plus, I really don’t know how use them.
So, I recently bought a Cricut maker for my mini making projects. And of course, I started with BIG projects, like a kitchen stove. And after a few tries, I’m super close to being done with that.
But, while I was struggling to learn the Cricut and making my own SVG files, I decided to try some smaller projects to make with my Cricut. So I decided to make some cutting boards.
Supplies you need

- Cricut maker: I provide you with an SVG file which is compatible with a variety of wood cutting machines. I have tested this out with this Cricut maker.
- Cricut knife blade: Since we are cutting balsa wood, you will need the knife blade.
- Cricut strong grip mat
- Sheet of basswood
- Painters tape: You will need to adhere the bass wood sheet onto the cutting mat.
- Sand paper: Some of the pieces might need light sanding once cut.
- Wood stain: You can leave it natural or use apply wood stain. I used minwax espresso.
Step-by-step directions
1. Upload your SVG file into Cricut Design Space. Place the image into a new project. As is, the cutting board images are scaled for 1:6. You will need to shrink it down a bit for 1:12. Because they are cutting boards, they can be large or small. You can cut all of the cutting boards or just a select few.
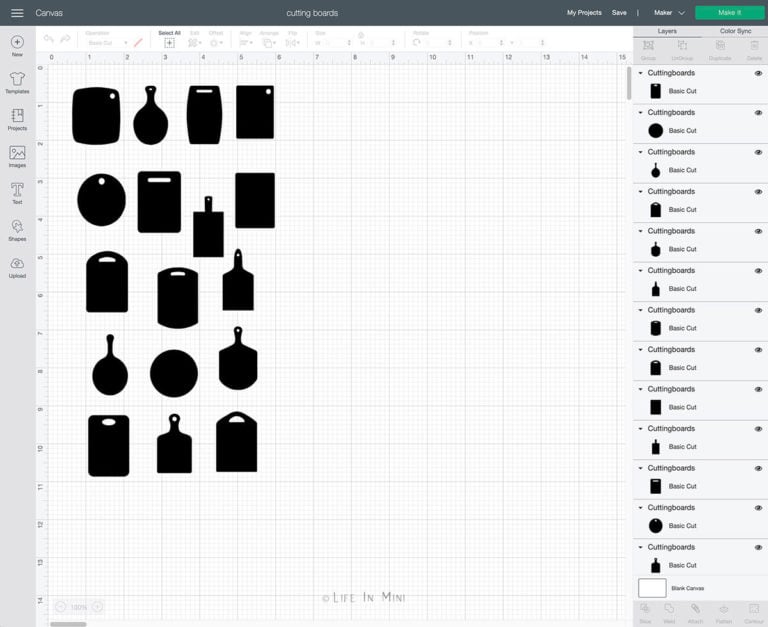
3. Select “Make It” then set material size.
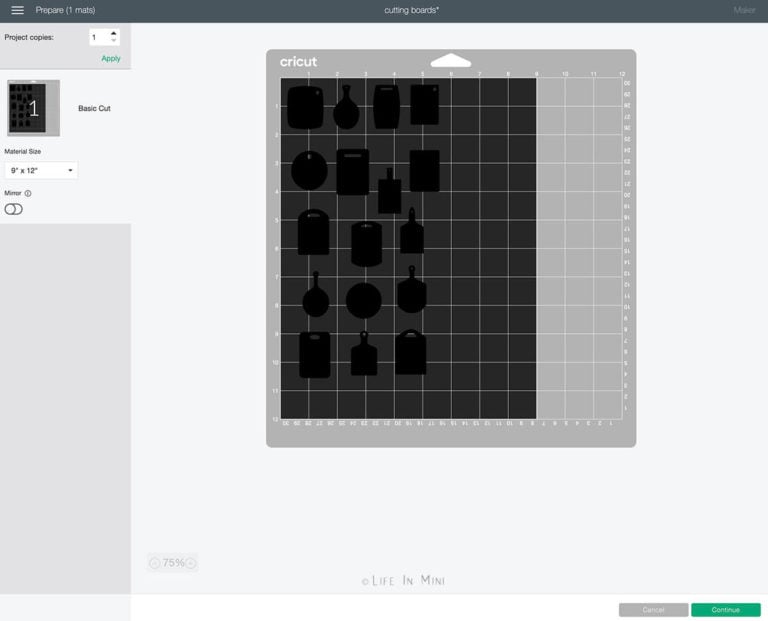
3. Place your basswood sheet onto your cutting board and tape down. Insert into the Cricut maker, making sure that the rollers are moved all the way to the right.

4. Insert the knife blade into your Cricut maker.

5. Using Cricut Design Space, select basswood as your material size. Once everything is loaded and ready press the Go button on your machine to begin cutting.

6. Once cut, gently remove the cutting boards and sand edges, if needed.
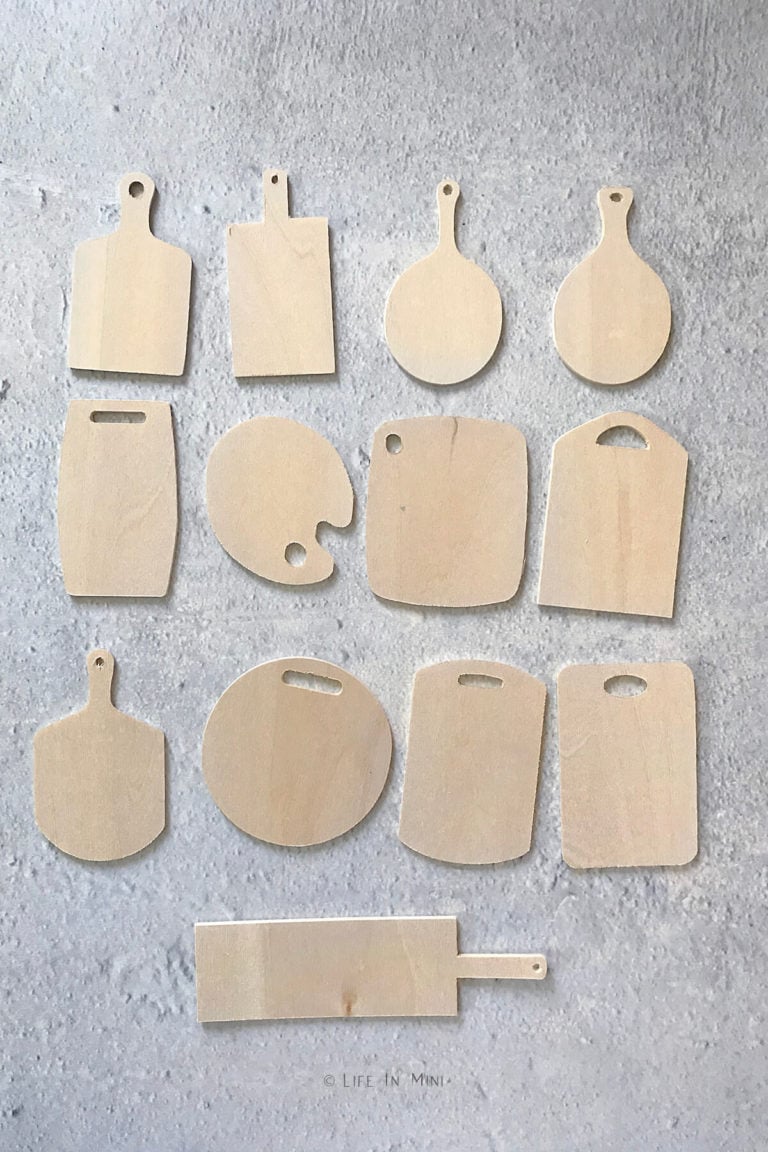
7. You can leave them natural or apply stain. For shine, add a coat of clear polyurethane. You can also rub some wood wax all over it.
Project tips and FAQs
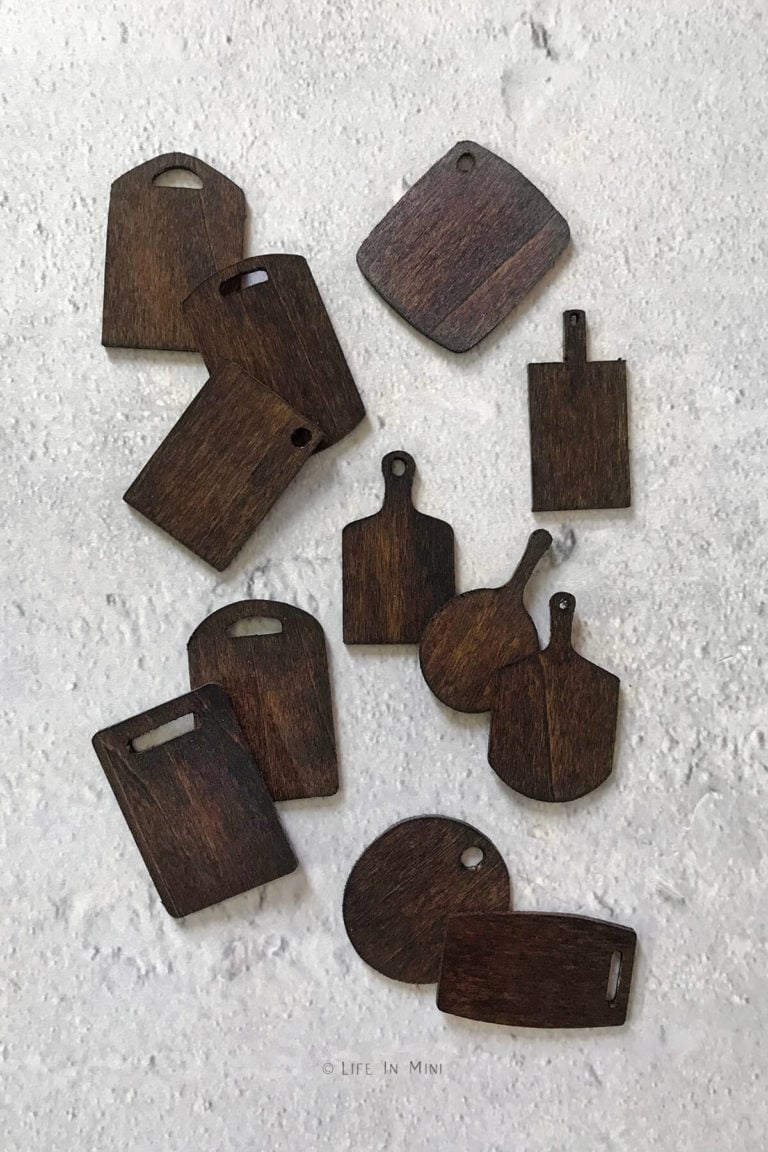
I give you a variety of different cutting board shapes and sizes to play with and accessorize in your dollhouse. I even added a paint palette. In total there are 17 different pieces in this SVG file.
I used Cricut basswood sheets, which are only 1/16th of an inch thick. You can cut two out and glue them to make the board thicker. You can also use chip board and give it a faux wood paint finish.
Laser cutters can cut thicker pieces of wood, but alas, I do not own one. At least, not yet!
Click here to purchase this miniature cutting board SVG bundle.

Miniature Cutting Boards for Your Dollhouse Kitchen
The perfect dollhouse accessory for your miniature kitchen is the cutting board. This particular SVG file has 17 different designs for you to cut out using your Cricut maker.
Materials
- Sheet of basswood
- Painters tape
- Wood stain
Tools
- Cricut maker
- Cricut knife blade
- Cricut strong grip mat
- Sand paper
Instructions
- Upload your SVG file into Cricut Design Space. Place the image into a new project. As is, the cutting board images are scaled for 1:6. You will need to shrink it down a bit for 1:12. Because they are cutting boards, they can be large or small. You can cut all of the cutting boards or just a select few.
- Select “Make It” then set material size.
- Place your basswood sheet onto your cutting board and tape down. Insert into the Cricut maker, making sure that the rollers are moved all the way to the right.
- Insert the knife blade into your Cricut maker.
- Using Cricut Design Space, select basswood as your material size. Once everything is loaded and ready press the Go button on your machine to begin cutting.
- Once cut, gently remove the cutting boards and sand edges, if needed.
- You can leave them natural or apply stain. For shine, add a coat of clear polyurethane. You can also rub some wood wax all over it.
- To make it used and more realistic, gently add some cuts and dents into your mini cutting boards.
Notes
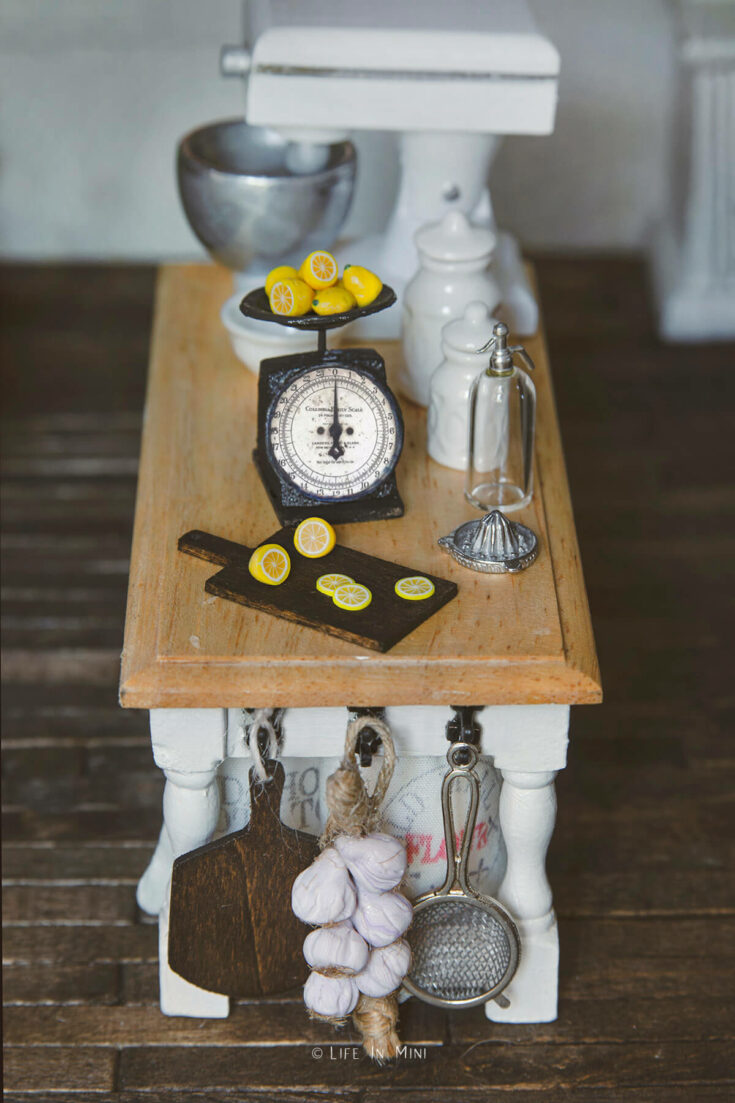
You can use these plain or glue polymer clay foods onto the boards.
If you are enjoying my blog, why not sign up for my newsletter so you won’t miss out on the mini adventures!

Sandi says
Those cutting boards are absolutely darling Laura! I would want to escape to that kitchen too. You are really making it feel life-like!