Take your love of gardening to a whole new level, a tiny level and learn how to make mini terrariums. You can choose to make a closed or an open terrarium using live moss to create a miniature living garden in a bottle.
My parents live in a townhouse and don’t have an enclosed yard. So I find myself walking my 9-year old pup 4 to 5 times a day for bathroom breaks.
I have missed gardening since I am ‘in between’ homes right now. I have brought my many, many potted plants with me, although there are some casualties after these crazy rains and real cold temperatures.
Among my collection of pots and plants are my fairy gardens. I have several and if you love combining gardening and miniatures, check out my post on how to make a fairy garden.
After weeks of much needed rain, San Diego is soggy and certainly not used to such extreme wetness. I’m not walking in a forest or mountains, just a beautiful neighborhood with grass and plants. Needless to say, I was excited when I started noticing patches of moss growing in different areas, usually in shady areas that get little sun. And it got me thinking.
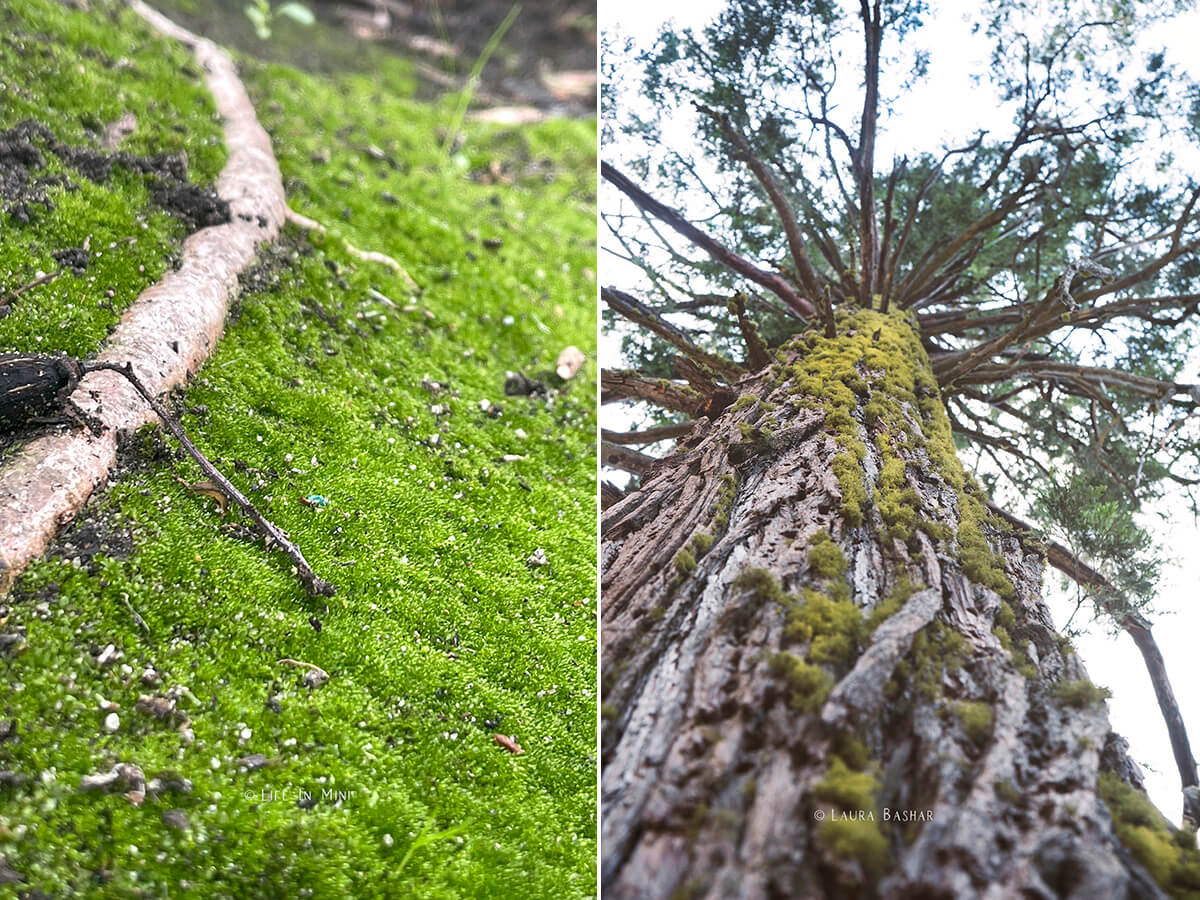
I have always wanted to make a terrarium for my home. Of course I did. A small miniature garden that fits on my table. Why wouldn’t I love that?!!
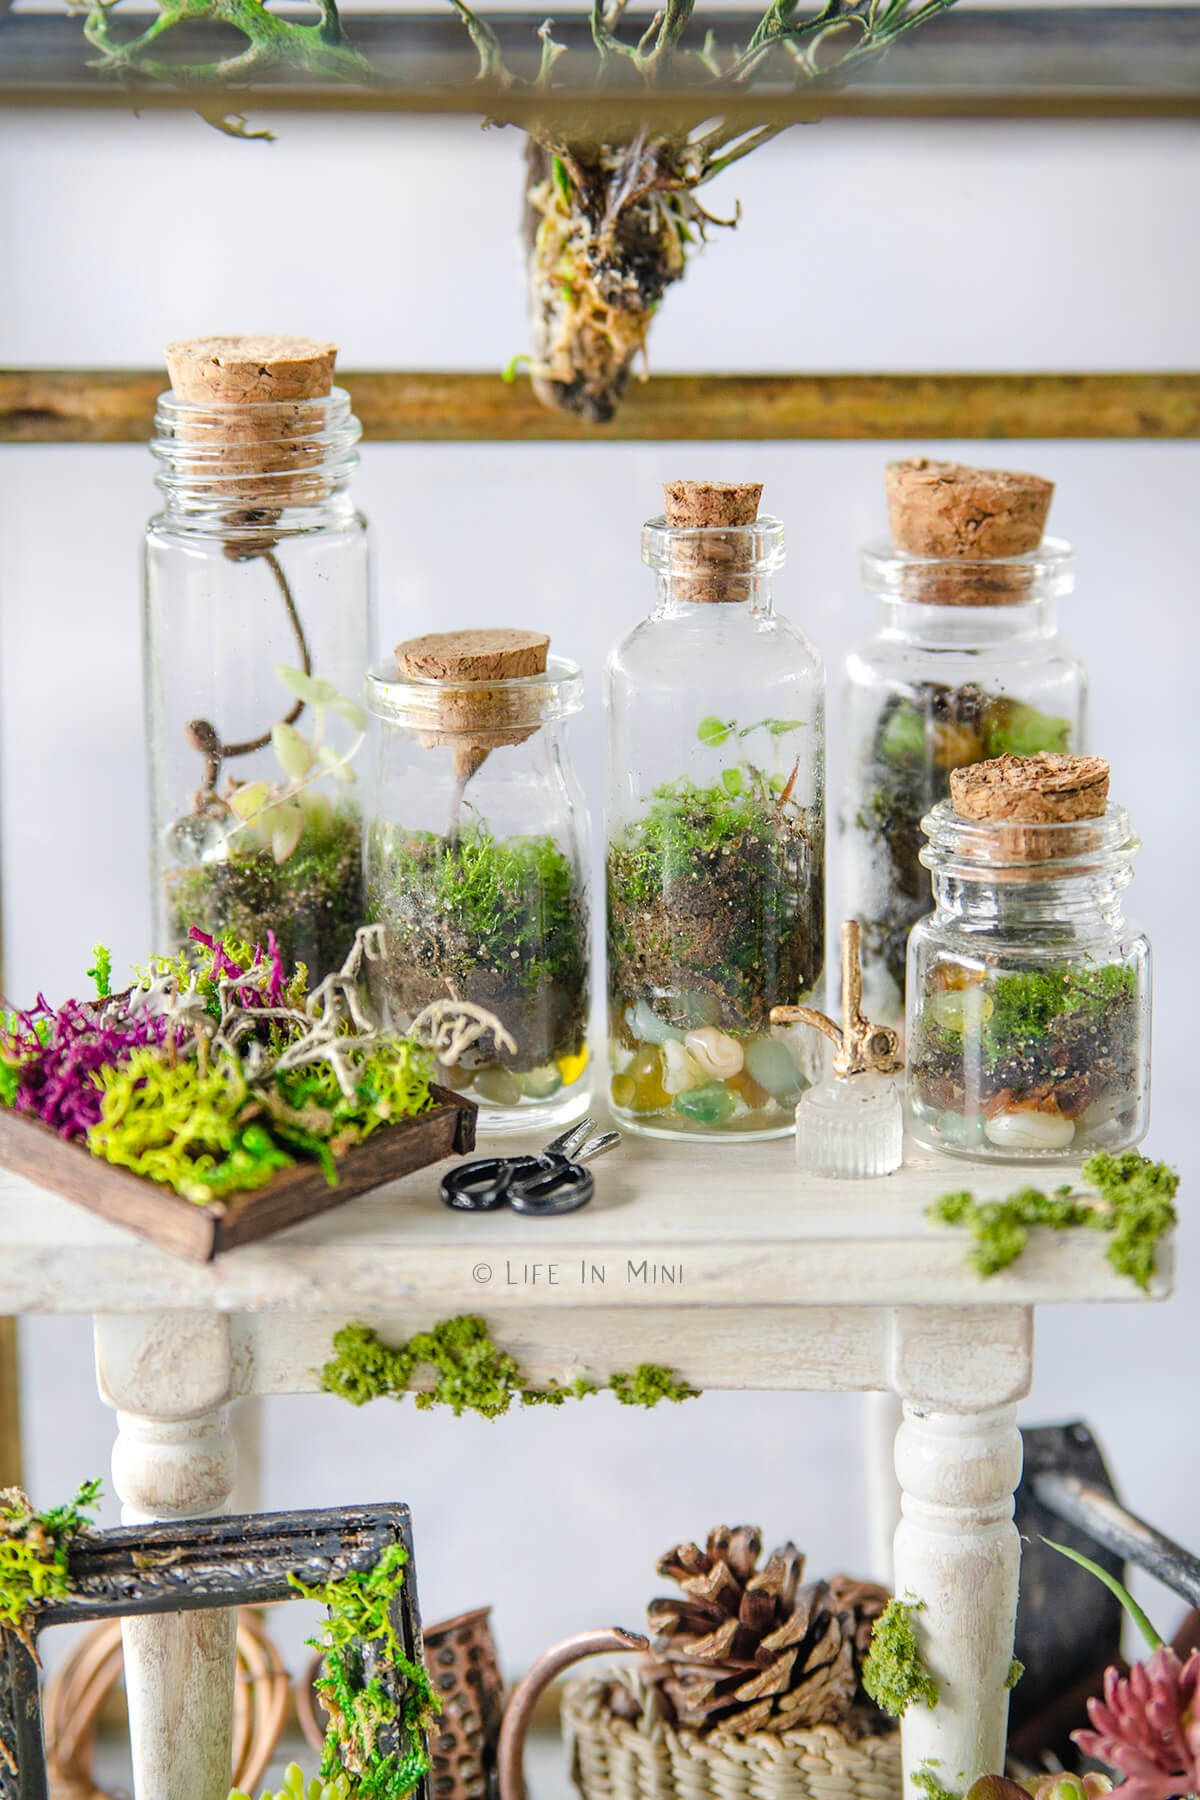
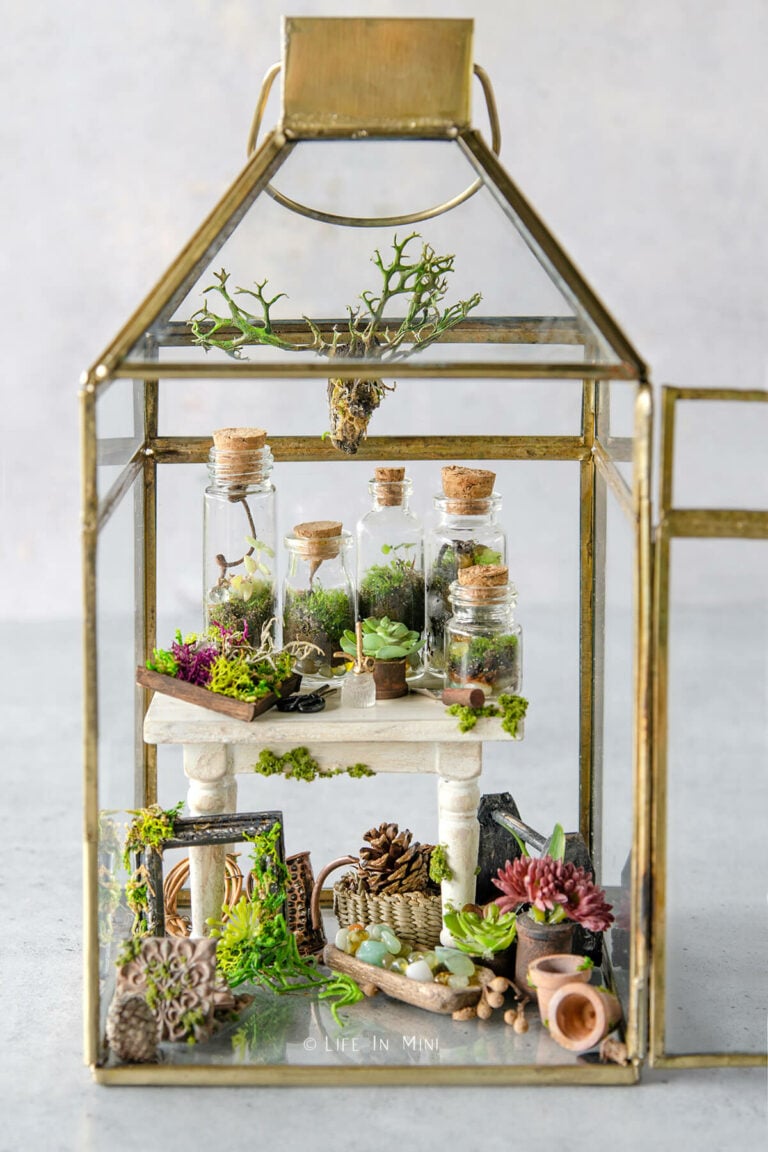
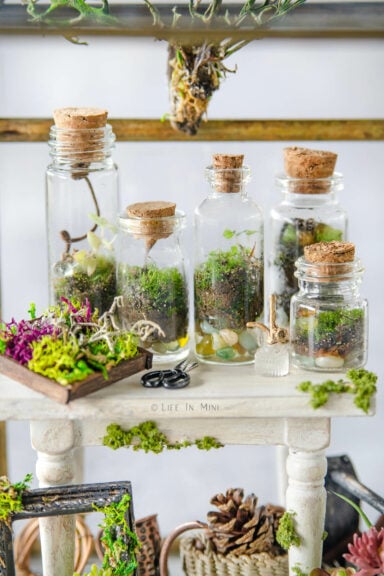
I started to make an assortment of miniature terrariums, using some of the random glass bottles I had brought with me. I also made a special trip to The Dollar Tree to pickup the longer bottles.
I kept the lids closed on these, but I did periodically open the bottles as they do get foggy inside. I open the bottles to clean the sides and cork them up again so I can enjoy the view inside. The fogging up is normal and shows you that your terrarium is doing its thing.
Supplies you need
This post contains some affiliate links for your convenience (which means if you make a purchase after clicking a link I will earn a small commission but it won’t cost you a penny more)! Read my full disclosure policy.
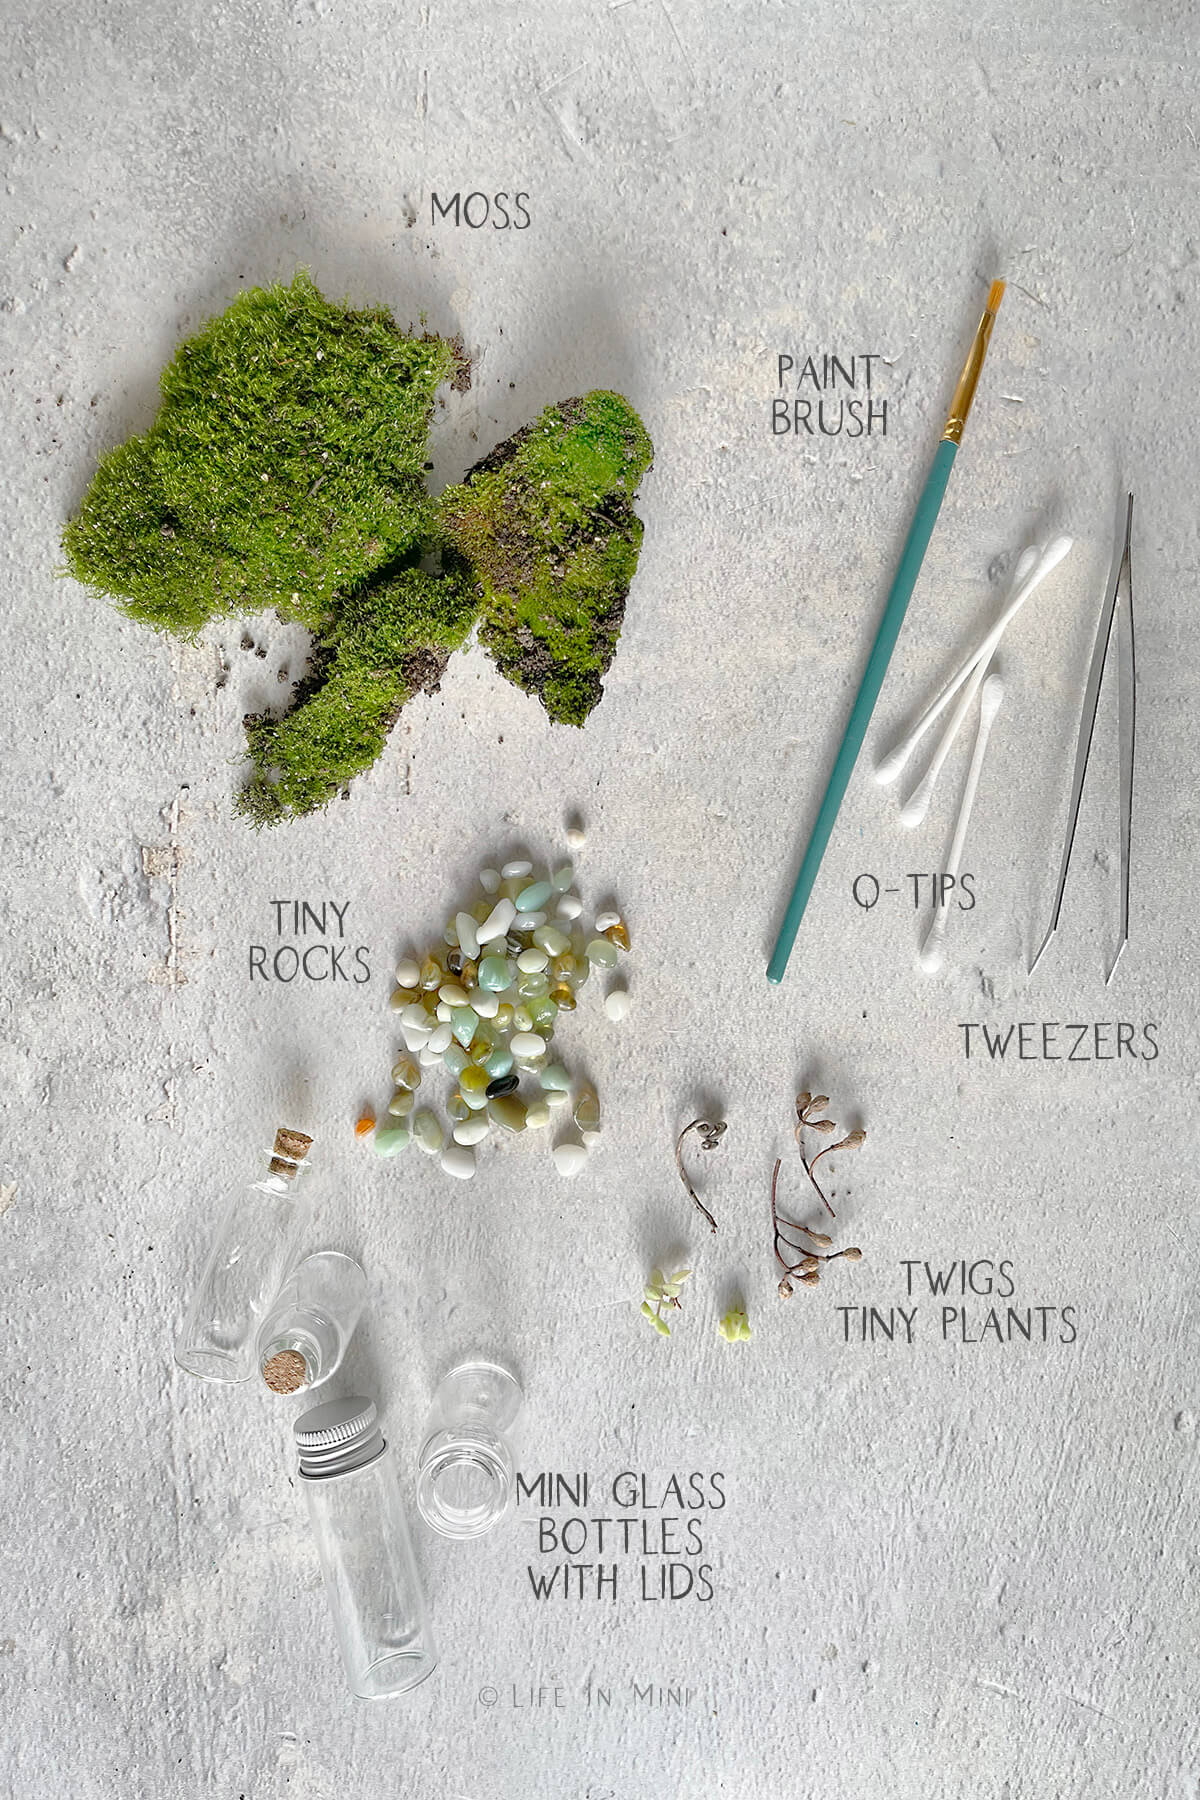
- Mini glass bottles with lids: I used an assortment of miniature glass bottles to show you the various sizes and shapes you can use for this project. Taller bottles are preferred, wide bottles are also useful. I used bottles from The Dollar Tree as well as some glass medicine vials I had laying around. Some extra bottles I had laying around were missing tops, so I bought a variety of cork tops on Amazon.
- Moss: This tutorial is for a live terrarium so I am using real living moss with roots and dirt, not the dried preserved moss. You can use dried moss if you do not want worry about water, mold, insects, etc.. I did use the dried preserved moss for the miniature accessories I made for this gardening scene. For the terrariums, you can use moss that you find in your garden, like I did, or buy it online or at your local gardening store.
- Mini rocks: Water will accumulate in your terrarium and you don’t want the moss or plants to rot. A layer of rocks is added to the bottom to keep help aerate the moss and roots. Larger terrariums use charcoal, but we don’t need that in this tiny version.
- Long tweezers: You can get a pack of tweezers at the Dollar Tree, craft store or online. These are needed to help you add your plants and supplies into your mini bottles.
- Paint brush: You can use the brush to clean the inside of the bottle. I also like to use the handle to help push the moss and dirt down.
- Q-tips: I dampen and use these to clean the inside of the bottle when finished assembling.
- Mini plants: You can use just moss for your terrarium or add miniature plants. You want to use slow growing plants that can survive in a terrarium environment. I used some small succulents like crassula baby necklace. These stay small and grow ever so slowly. I also used some sedum little missy as I had a lot in one of my pots. Sedum dasyphyllum minor is another beautiful mini succulent I love. Succulents require very little water and these tiny terrariums cannot hold a lot of water. You do not need a rooted succulent, just a tiny cutting to rest on top of the moss. Succulents will also thrive in an open terrarium.
- Small twigs and natural “stuff”: If you have room, you can add some texture and interest to your mini terrarium by adding small twigs, seed pods, grapevines and any other natural things. Resin and fired clay figurines can also be added as long as they are waterproof.
Step-by-step directions
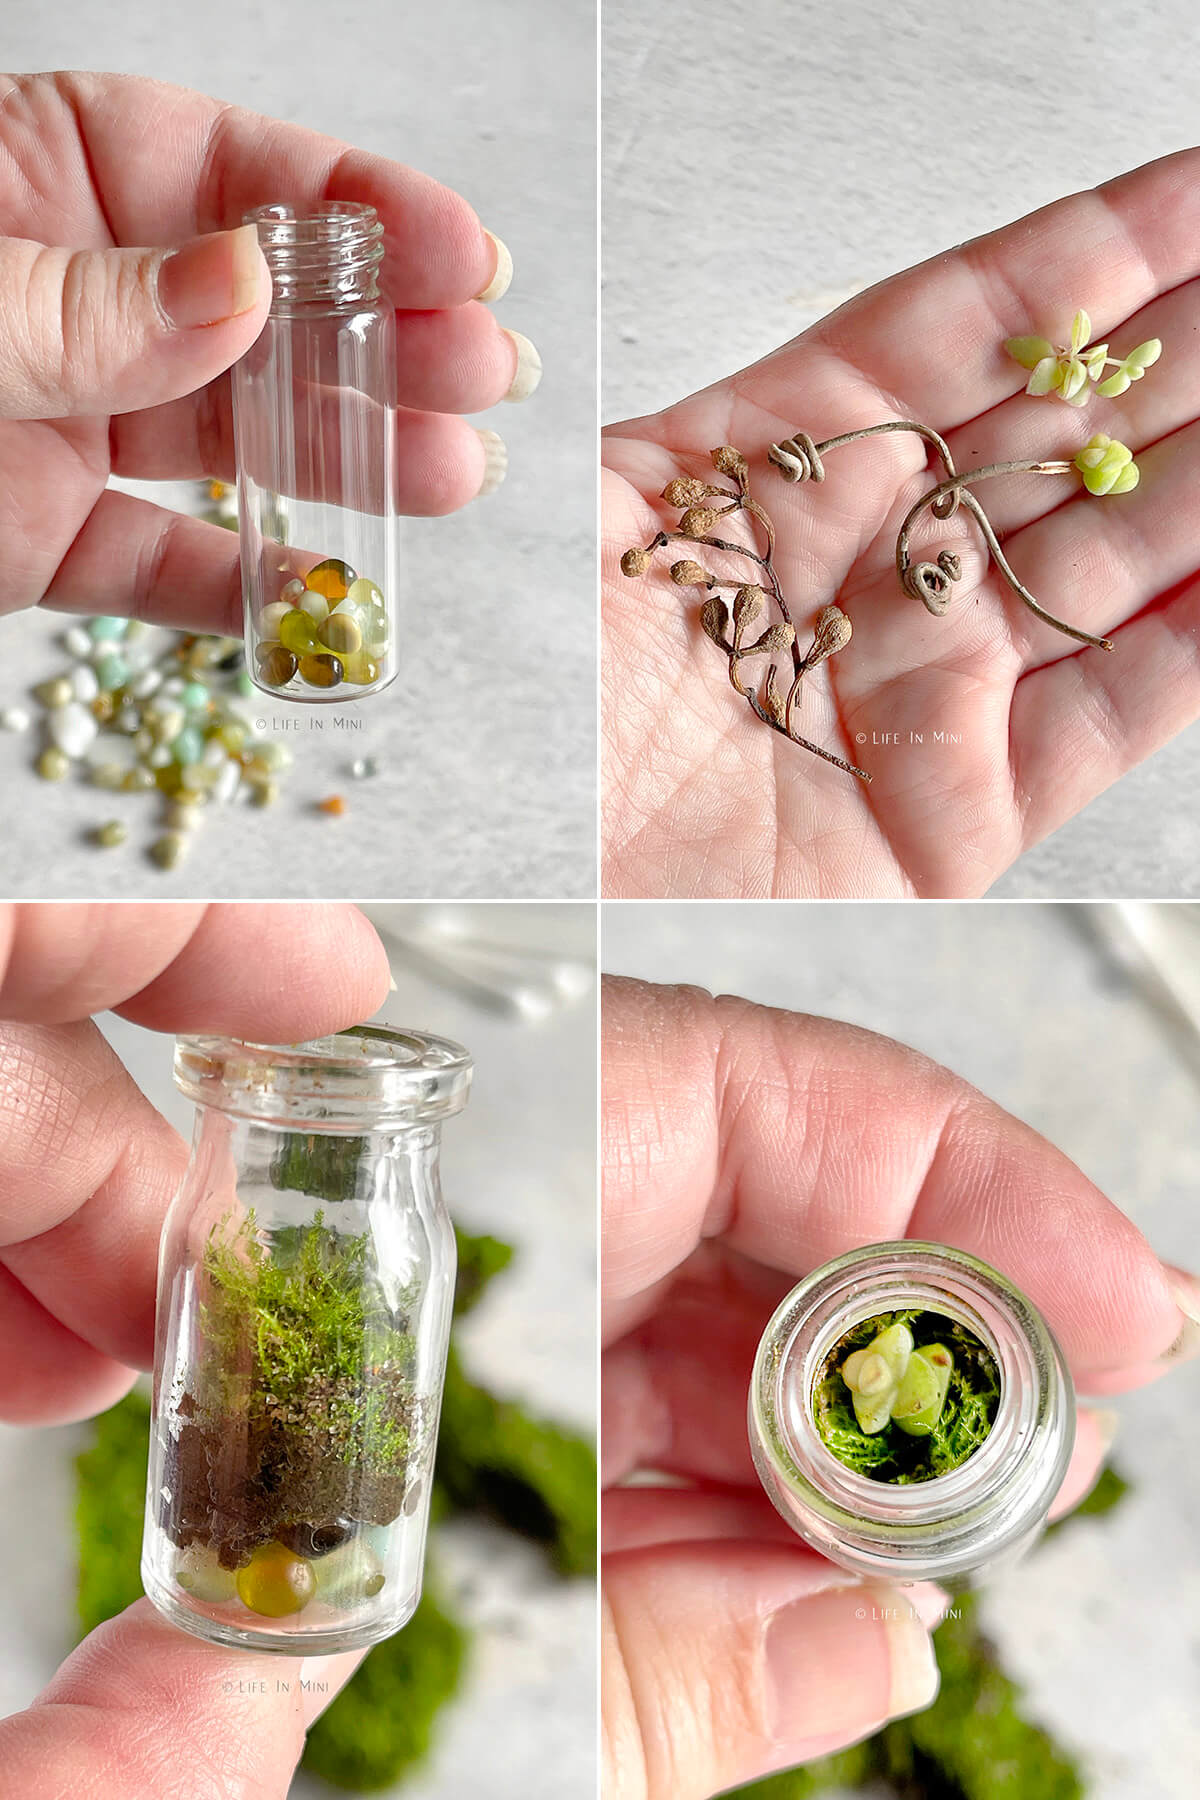
- Add a layer of small rocks to the bottom of your glass bottle.
- Over the rocks add your moss. You don’t need much dirt, but you do need some dirt. Using your paintbrush handle, press down the dirt and moss.
- Add any tiny plants, twigs or rocks on top of the moss.
- Sprinkle a few drops of water and your done!
Project tips and FAQs
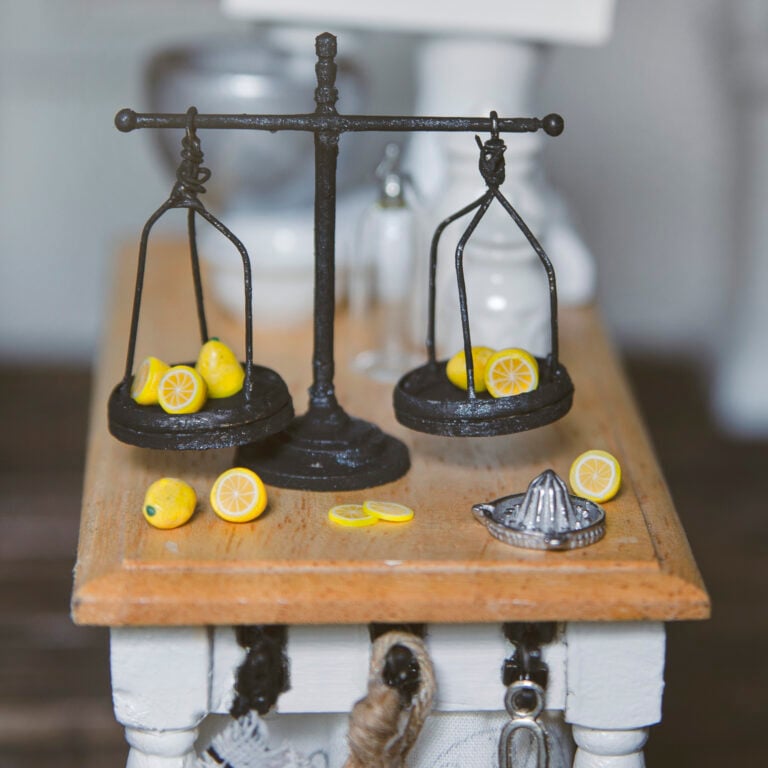
After I made my mini terrariums, I went down the rabbit hole and started creating a bunch of miniature accessories to go with them. I have always wanted to make a miniature garden scene and this project was just the inspiration I needed.
I made a miniature water mister by making a mold using silicone putty. I used the cap of a bike or car tire as the basic shape and pressed it into the putty. This stuff is magic and the mold is ready in a few short minutes.
I go into more detail on how to make silicone molds here.
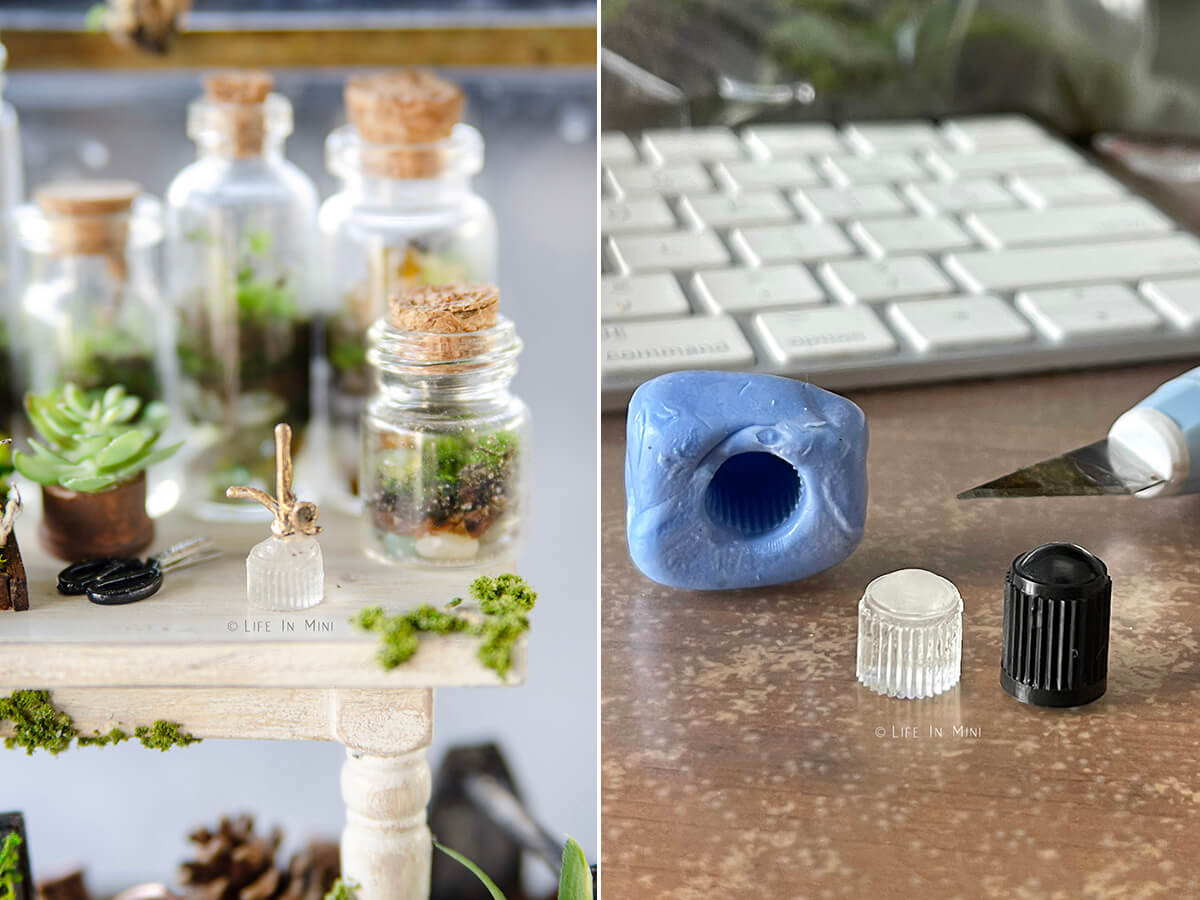
I’m so glad I didn’t pack this putty up. I did break down and buy a small bottle of resin when I saw some on clearance at Michaels. In my box of random crap from the junk drawer that came with me, I found a UV flashlight and I was back to making miniatures with resin.
The rest of my mister came from reshaping paper clips. A little gold paint I borrowed from my dad (he’s a model railroader) and I was giggling with delight.
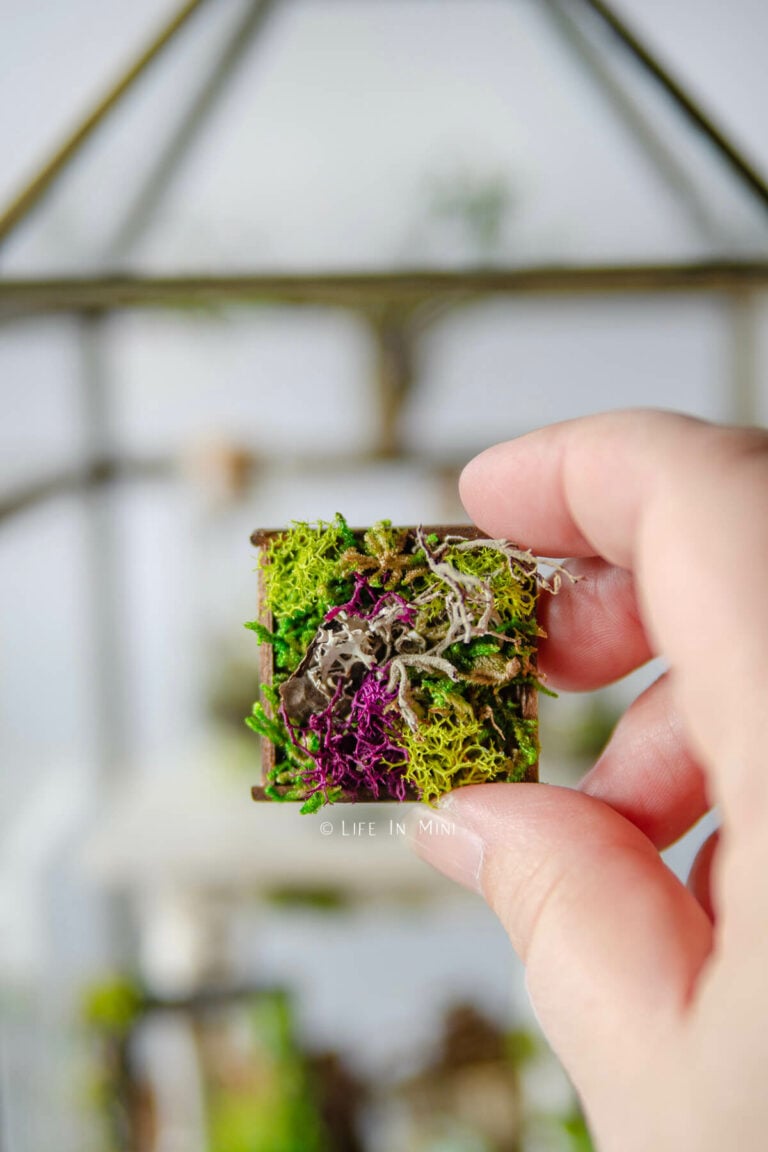
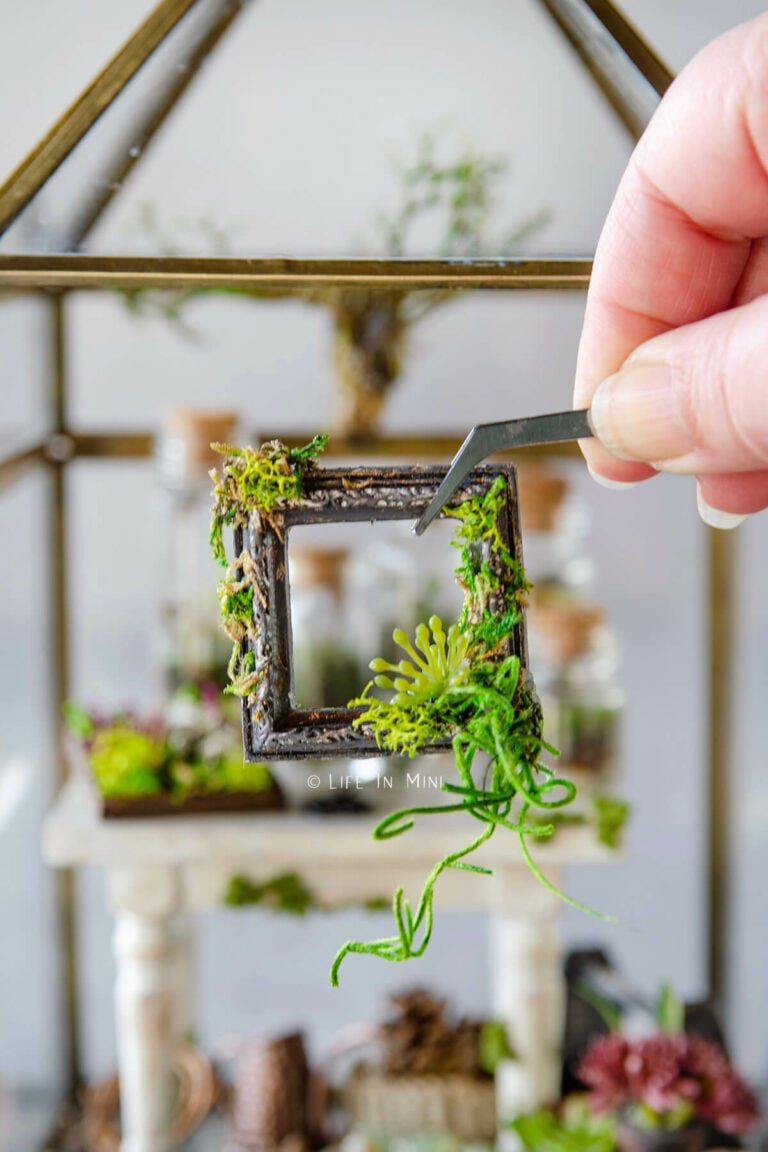
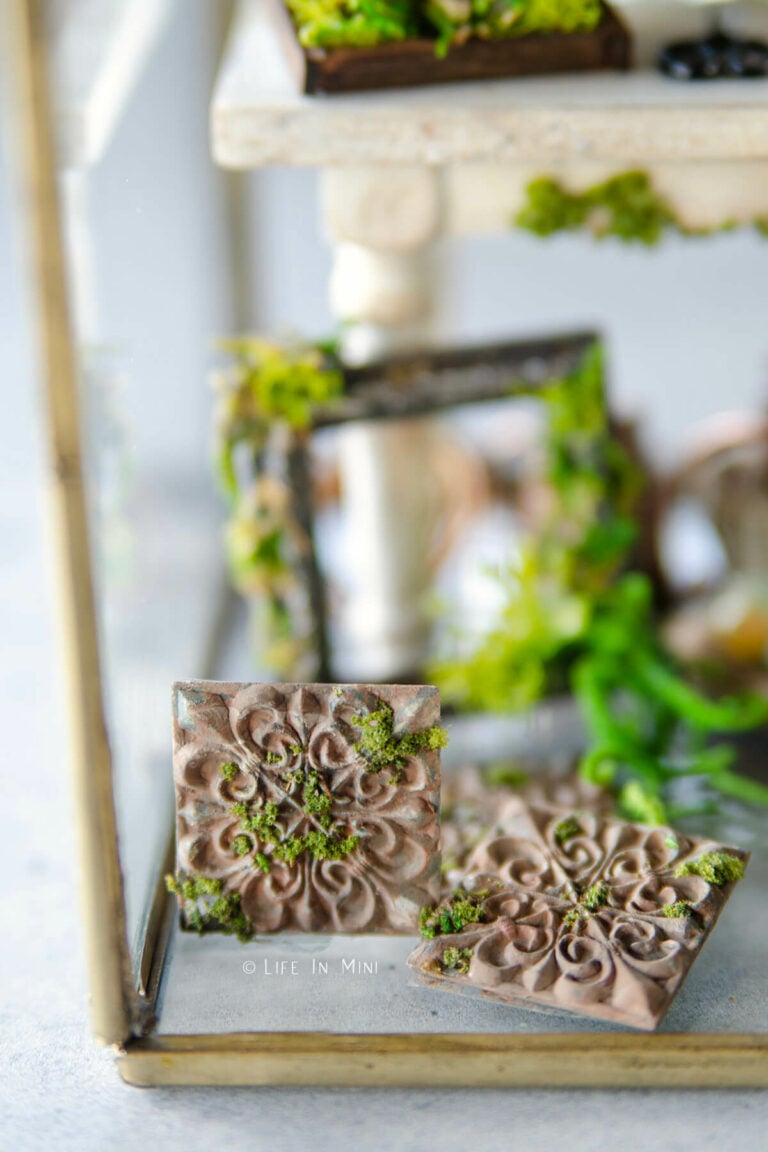
I used preserved moss to age the mini pots and tiles. I went moss crazy and weathered my miniature table with more moss. Some paint, glue and more moss and I had a beautiful frame with succulents and moss.
I even made a miniature moss tray. I can’t help myself. I’m moss cray cray!!!
My miniature staghorn fern? My moss bag and had one variety of grey moss that resembled a mini staghorn fern. I painted it green, so it wouldn’t look dried and dead, and glued it to a piece of bark with some tiny bits of sphagnum moss.
The dirt and moss I added to my miniature jars were already pretty moist. I did add a drop or two of additional water to keep it wet and happy. The terrariums I’m showing here were made a month ago and are thriving.
As I mentioned before, I do open them up to air them out and see my plant babies. I will keep you updated on my tiny terrariums, but I am very confident that they will continue to thrive. The extra moss I dug up is still in resealable baggies sitting on my desk.
What?! You don’t keep bags of dirt and moss on your desk? Go figure….
Laura’s Top Pick:
These mini bottles with cork tops come in a variety of sizes and can be used in so many mini projects.
You need a small bottle to hold your terrarium then line the bottom with small pebbles. Then add a layer of potting soil and moss. Add some miniature plants like succulents, as well as small pieces of wood, vine or seed pods for interest. Add drops of water and secure the lid.
Honestly, a perfectly balanced closed terrarium can live on indefinitely. The terrariums I made here are over a month old and thriving.
Yup. This is a natural by product of terrarium life. This is why I like to open my miniature terrariums to air them out, prevent mold growth and clean the bottles so I can see and enjoy my baby plants.
If you are enjoying my blog, why not sign up for my newsletter so you won’t miss out on the mini adventures!
How to Make Mini Terrariums
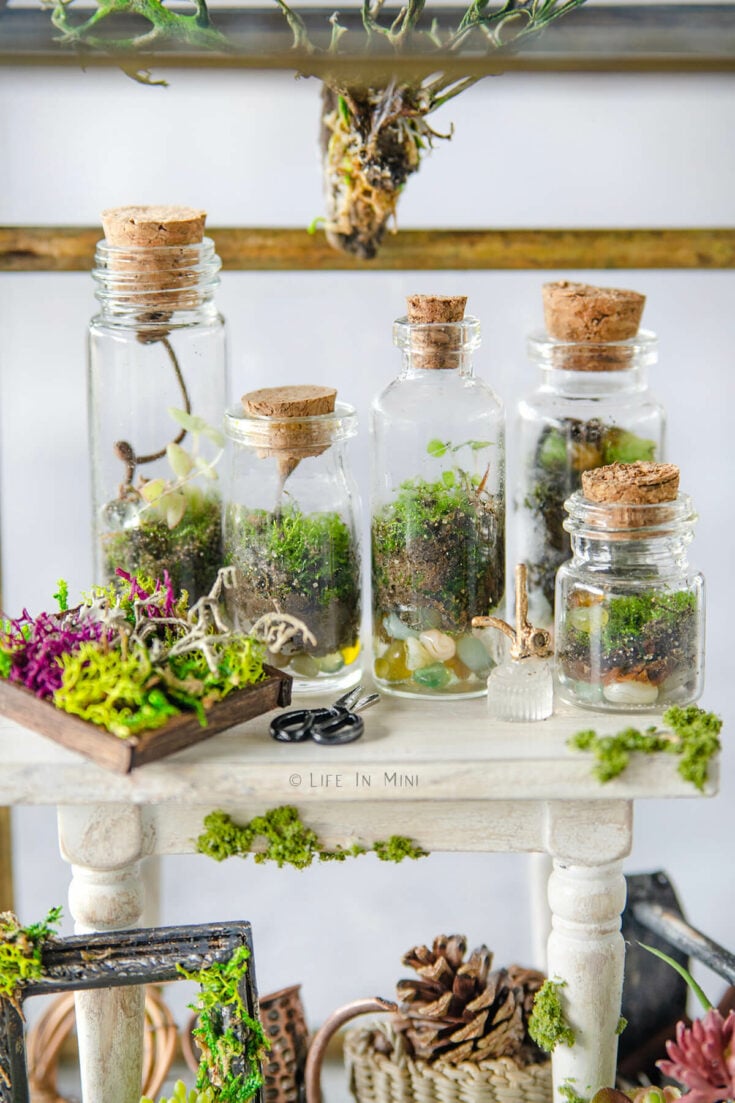
Take your love of gardening to a whole new level, a tiny level and learn how to make mini terrariums. You can choose to make a closed or an open terrarium using live moss to create a miniature living garden in a bottle.
Materials
- Mini glass bottles with lids
- Live moss
- Mini rocks
- Mini plants
- Small twigs and natural “stuff”
Tools
- Long tweezers
- Paint brush
- Q-tips
Instructions
- Add a layer of small rocks to the bottom of your glass bottle.
- Over the rocks add your moss. You don’t need much dirt, but you do need some dirt. Using your paintbrush handle, press down the dirt and moss.
- Add any tiny plants, twigs or rocks on top of the moss.
- Sprinkle a few drops of water and your done! You can seal them with a lid or leave them open.
PS If you try this craft, why not leave a star rating in the direction card right below and/or a review in the comment section further down the page? I always appreciate your feedback.
You can also follow me on Pinterest, Facebook or Instagram. Sign up for my eMail list, too!
Written by Laura Bashar
I’m a food blogger and cookbook author that loves miniatures and crafting. I started this blog to share my passion for minis, including tutorials and free printables.


Abby White says
This is so cute! I couldn’t resist making one. It’s not as cute as yours, but I’m still pretty happy with how it turned out! I loved the tiny terrariums so much I made extra, glued on a little magnet, and use them on the fridge to hold pictures. Thank you for another wonderful tutorial!
Laura says
Hi Abby-
I’m so glad you liked what you made! Keeping them alive can be a challenge, but I love the idea of making them refrigerator magnets!
Laura