Just a simple update to show you how the dollhouse renovation is going, including a look at the second floor and some fun fall inspired miniature polymer clay foods.
I do not have a tutorial this week, but I thought I’d share the progress on my dollhouse for these past few weeks. Sometimes I make things without knowing how they will turn out, so I don’t document my steps. Oops.
But mostly this past week, I decided to finally work on adding the wooden popsicle stick flooring to my second story. Flooring is not one of my favorite projects and the back hallway was tedious to measure and work on.
WOW! I am so thrilled with the transformation that I am chastising myself for not doing this sooner. I started with the master bedroom flooring which spilled into the hallway which led to the stairs and back hallway and then finished with the boy’s bedroom.
I broke it down into 4 sections, again measuring it out first and making a card stock template to glue the flooring onto. Lots of creative sanding and pounding took place to fit it in for the final glue and install.
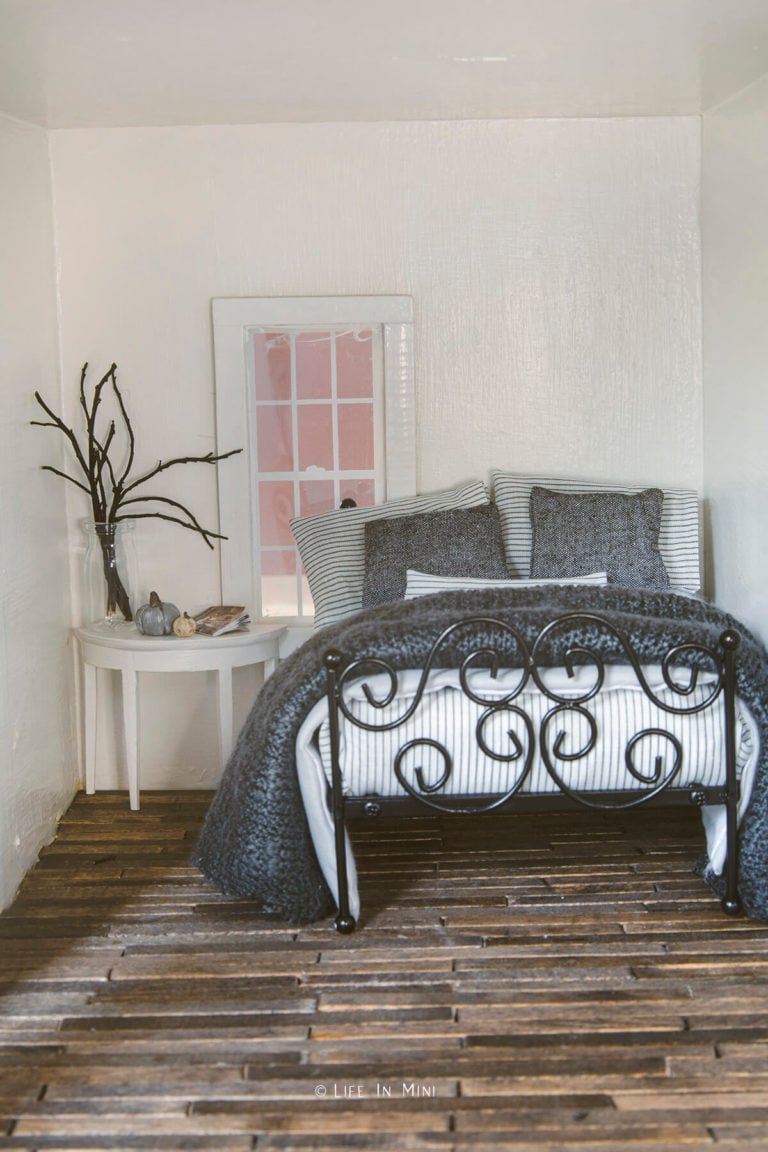
Once the flooring was installed, I immediately sought some instant gratification and updated the bedding for both bedrooms. For the master bedroom, I painted the white metal bed frame black and chose more neutral fabrics for the bedding.
The blanket is an old sweater that I had buried in my closet and had not worn for YEARS. I donate a lot of our things to Goodwill and Salvation army, so I felt one badly made sweater was worth sacrificing for my minis.
I am considering adding some paneling on the walls, but first I am looking for more inspiration online and on pinterest.
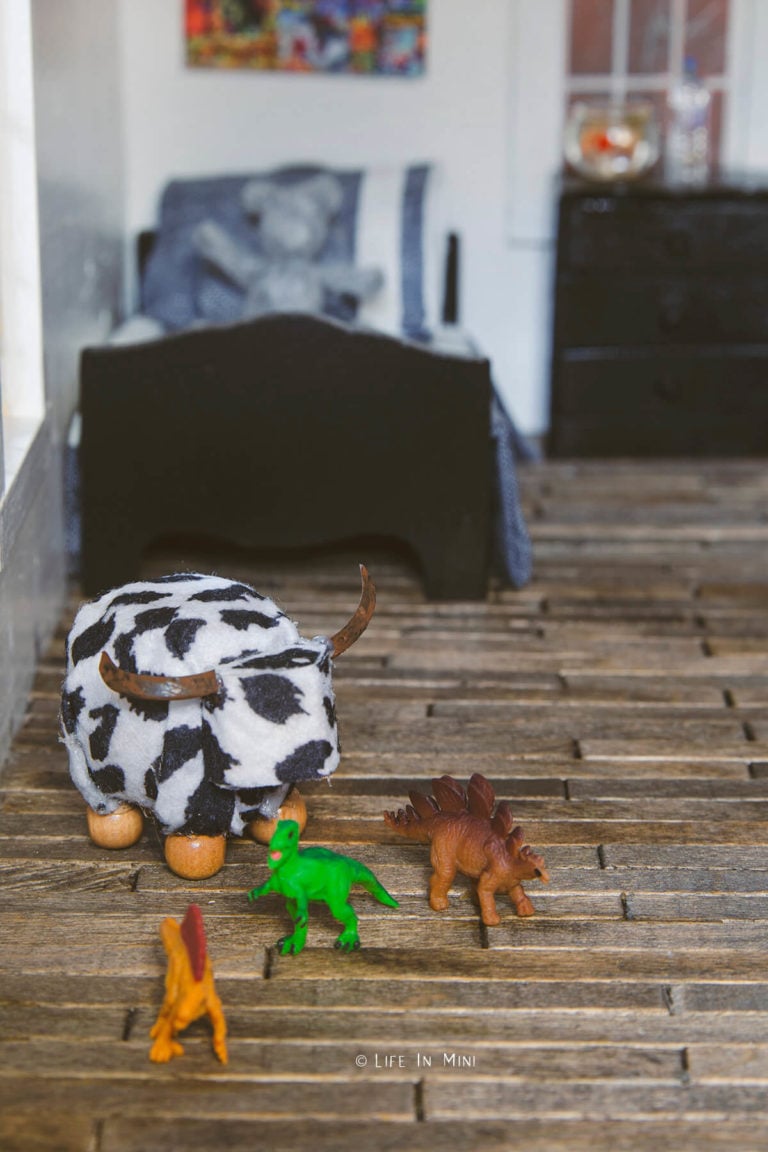
I saw this cute cow print kids ottoman online (I guess Facebook ads work?) and decided to recreate it in miniature. Listed is what I used to make it:
- Base is a round wood bottle cap from cholula hot sauce.
- Batting and cow print felt were hot glued over it.
- Cow head was carved from balsa wood.
- Cow horns was a round pull tab cut in half (the plastic ones from juice cartons) and painted brown. Read my mini wooden tray tutorial to learn how useful these plastic pull tabs are!
- Cow feet were wooden pony beads.
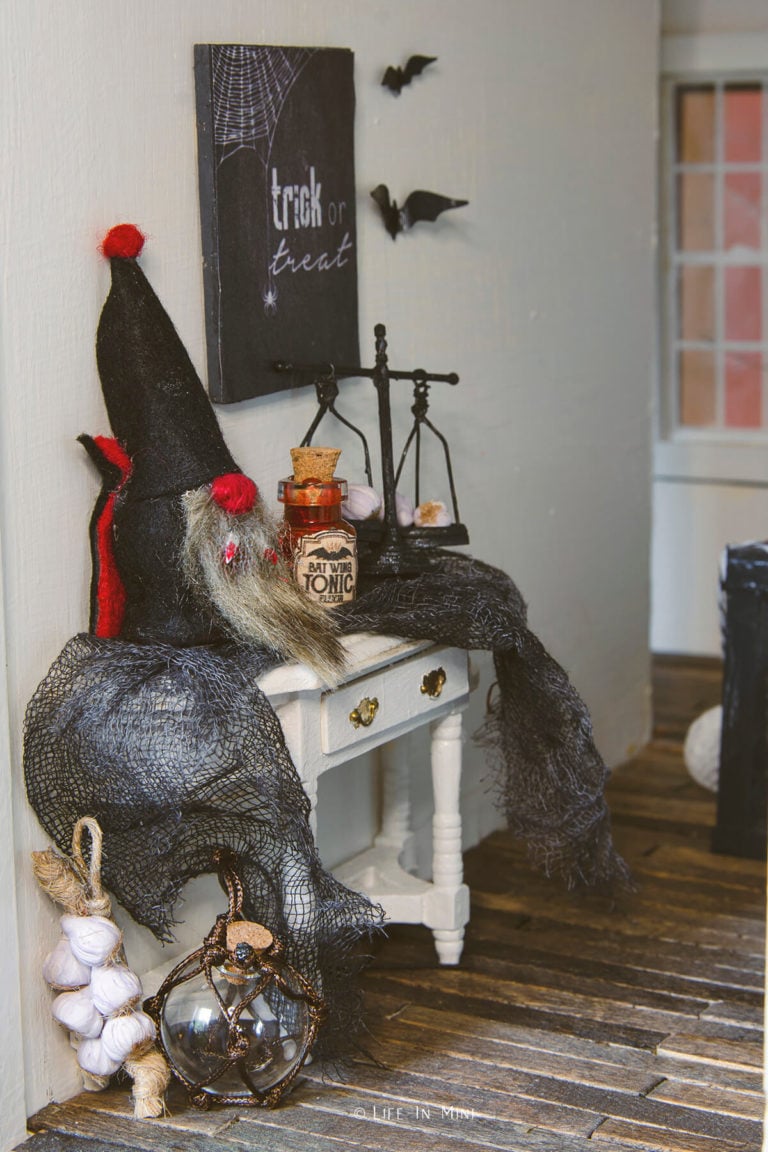
Remember my vampire gnome from my mini gnome tutorial? Well, now everything is sitting on top of some beautiful wood flooring. LOVE IT!
Now just because I was focusing on the second floor, doesn’t mean I wasn’t adding new things downstairs. I made a wood range hood for the kitchen. Badly. I need to triple check those measurements before I share the svg file for that.
The hood is connected to the ceiling by magnets so I can easily remove it and turn on the lights. The back has an opening and I slid some of those $1 fairly light packs (learn more about these in my candle chandelier tutorial) in there – so easy.
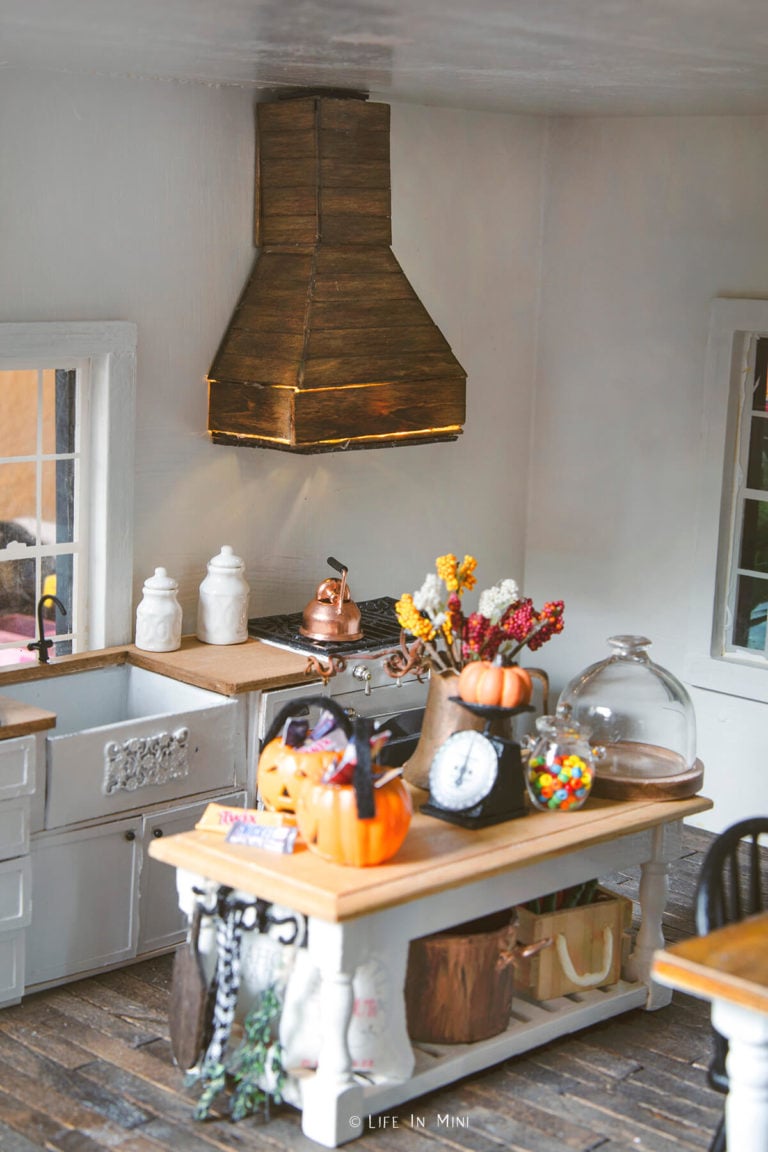
Of course, you can see all the light shining thru the seams. Like I said, badly made ha ha ha! But good enough for the here and now. I still have the rest of the kitchen cabinets to make. Joy.
I also carved wood for the first time. I took a rectangle piece of balsa wood and carved out a wooden bowl. I used an Xacto blade and a metal scraper tool to chisel away, then sanded it and stained it.
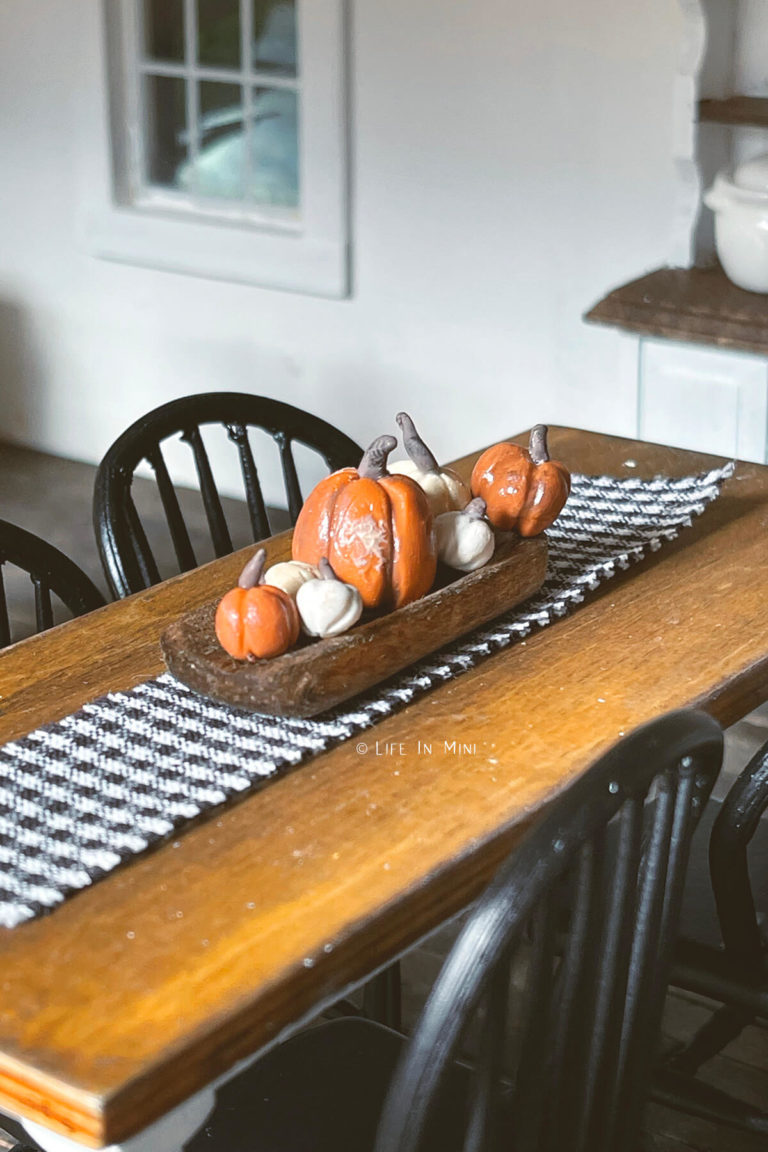
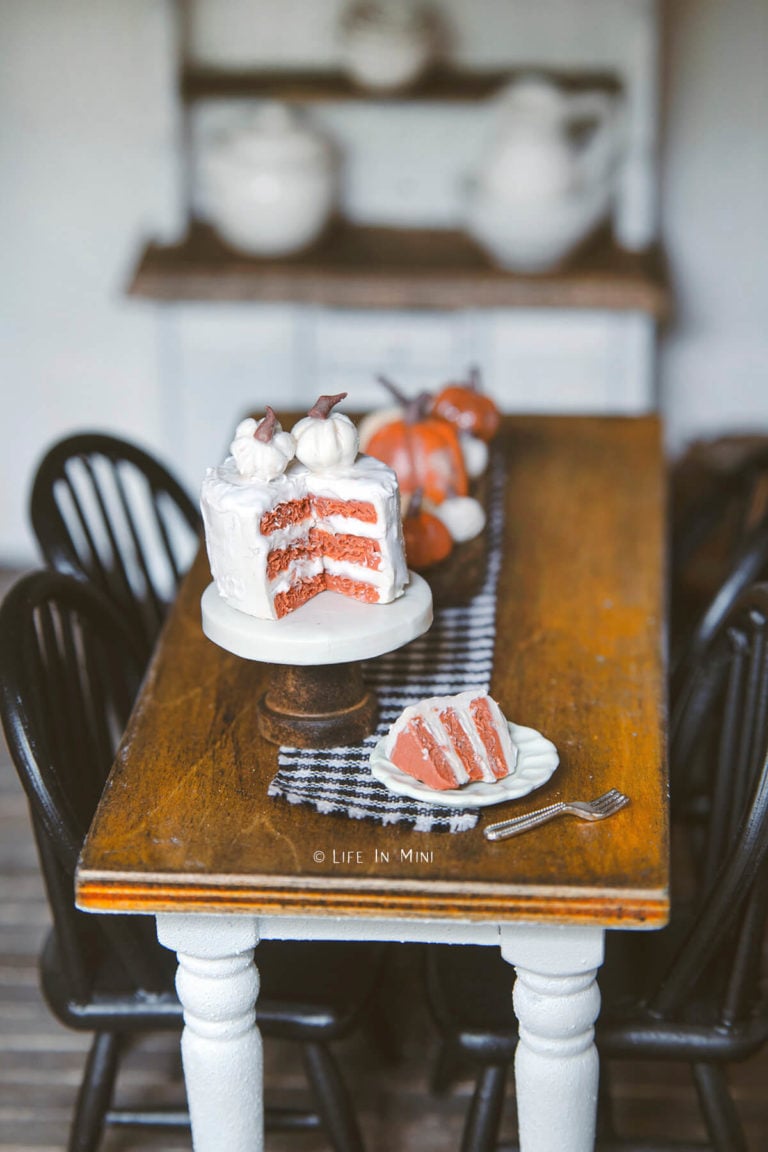
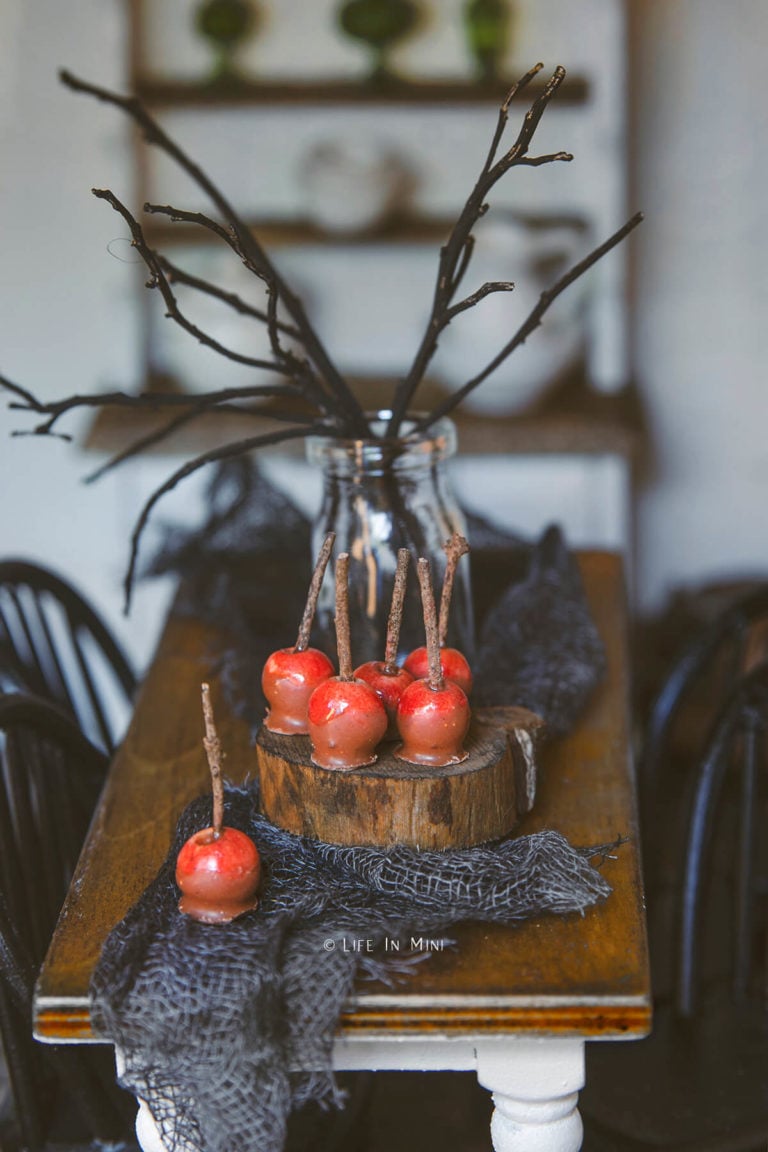
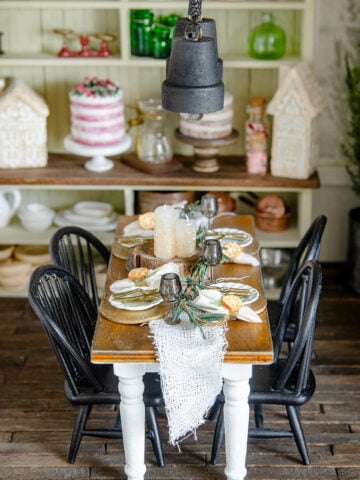
It was just what I wanted to hold the many mini pumpkins I made with polymer clay. Pumpkins weren’t the only clay food I made this week. I also made a pumpkin cake (picture at the top of the post) and some caramel apples.
I used my real caramel apples as the inspiration piece, minus the sprinkles. Clay for the apples, colored with pastels, bit of twig for the handle, liquid clay for the caramel and satin gloss for the finish. Special thanks to Jamie on instagram for the tutorial. It wasn’t that difficult.
I have found these quiet moments where I am working on my minis and the dollhouse to be super relaxing and therapeutic. Even when things don’t turn out exactly as I planned – curse you range hood!!!
If only fixing up my real house was as fun and easy as working with miniatures!
If you are enjoying my blog, why not sign up for my newsletter so you won’t miss out on the mini adventures!

Sandi says
Absolutely darling. You have been really busy getting your mini house ready for fall and I think it looks better than our big real house LOL. Great job!
Laura says
Sandi-
Our halloween decorations are still boxed away in the garage. Um…..
Laura
Scott Belanger says
Your work is fantastic and super inspiring. I’ve been slowly working on an old doll house to Halloween Haunted House and can’t wait to start the inside after seeing all your fall work!
Laura says
Hi Scott-
Thank you for your kind words. It certainly is slow work, but super satisfying. Good luck on your haunted house!
Laura