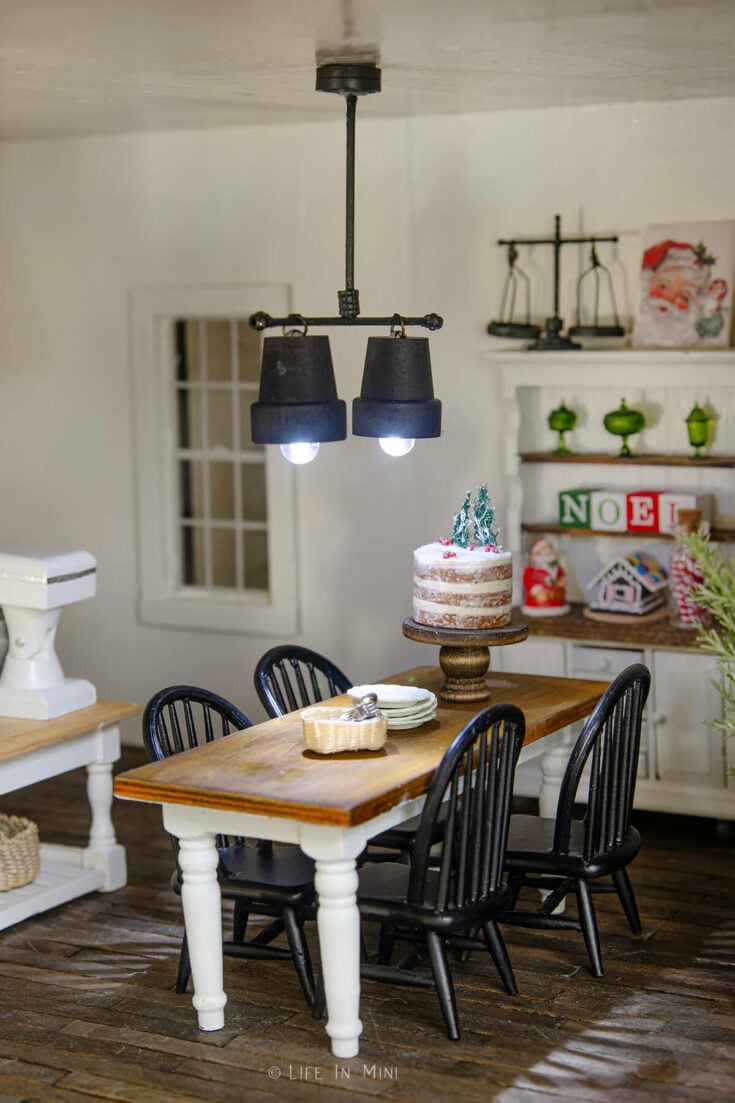
By using balloon lights and mini wood pots, you can create a simple yet elegant dollhouse chandelier that works in 1:12 and 1:6 scale.
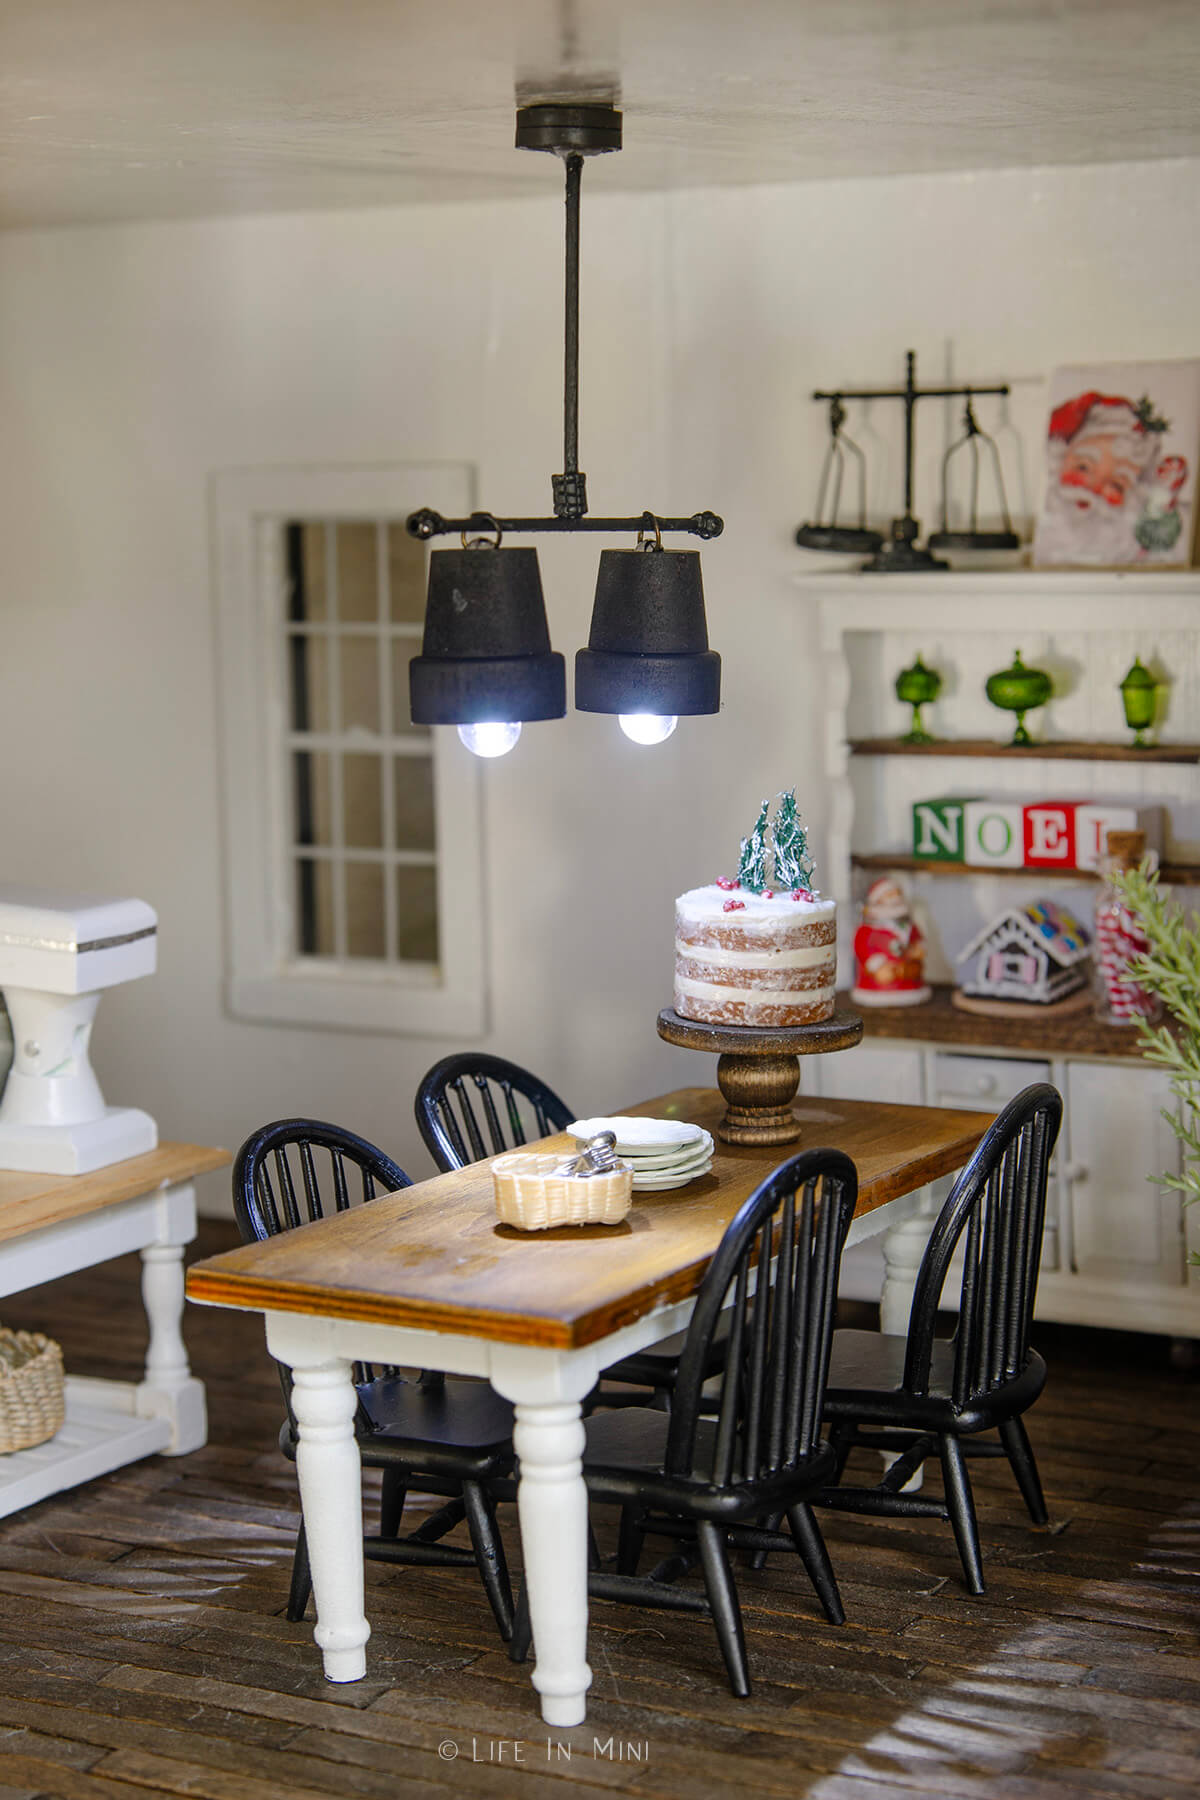
As I am getting more and settled in my new place, I turned my attention to the dollhouse. It sits in my office next to my desk looking sad and neglected and begging for my attention.
My candle dollhouse chandelier tutorial is very popular, so I decided to dabble more in some cheap battery operated lighting. A popular tool in dollhouse lighting is the balloon light.
This little light comes in a variety of shapes and sizes. The little lights I’m using are only 35 mm (1.3 inches) long. They aren’t the smallest lights, but they include batteries and twist to turn on and off. And they are pretty inexpensive, another great feature for miniature lovers.
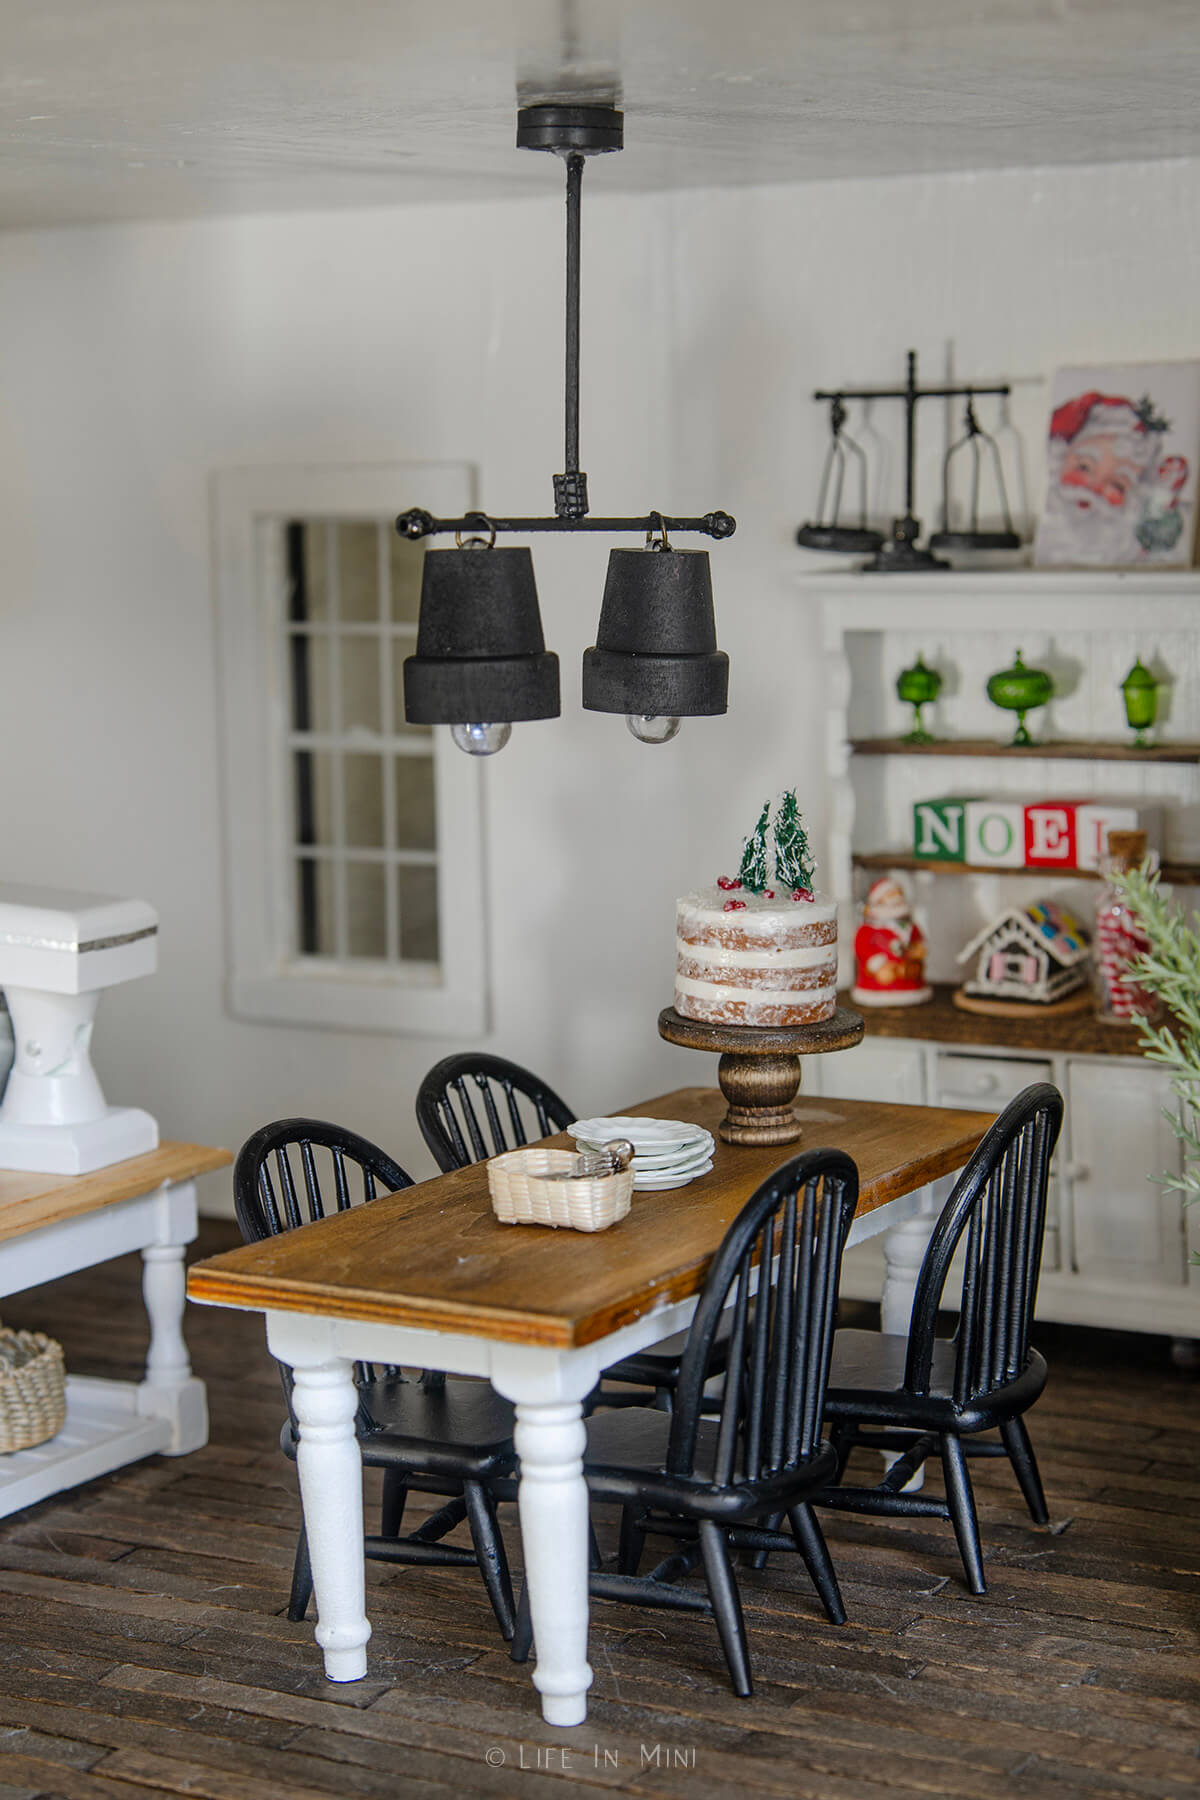
Dollhouse lighting can be ridiculously expensive. This little chandelier turned out way cuter than I thought it would be. It gives some modern farmhouse vibes, not too flashy and with clean simple lines.
I have another balloon light tutorial using a mini lantern ornament that turned out super cute, too.
Supplies needed
This post contains some affiliate links for your convenience (which means if you make a purchase after clicking a link I will earn a small commission but it won’t cost you a penny more)! Read my full disclosure policy.
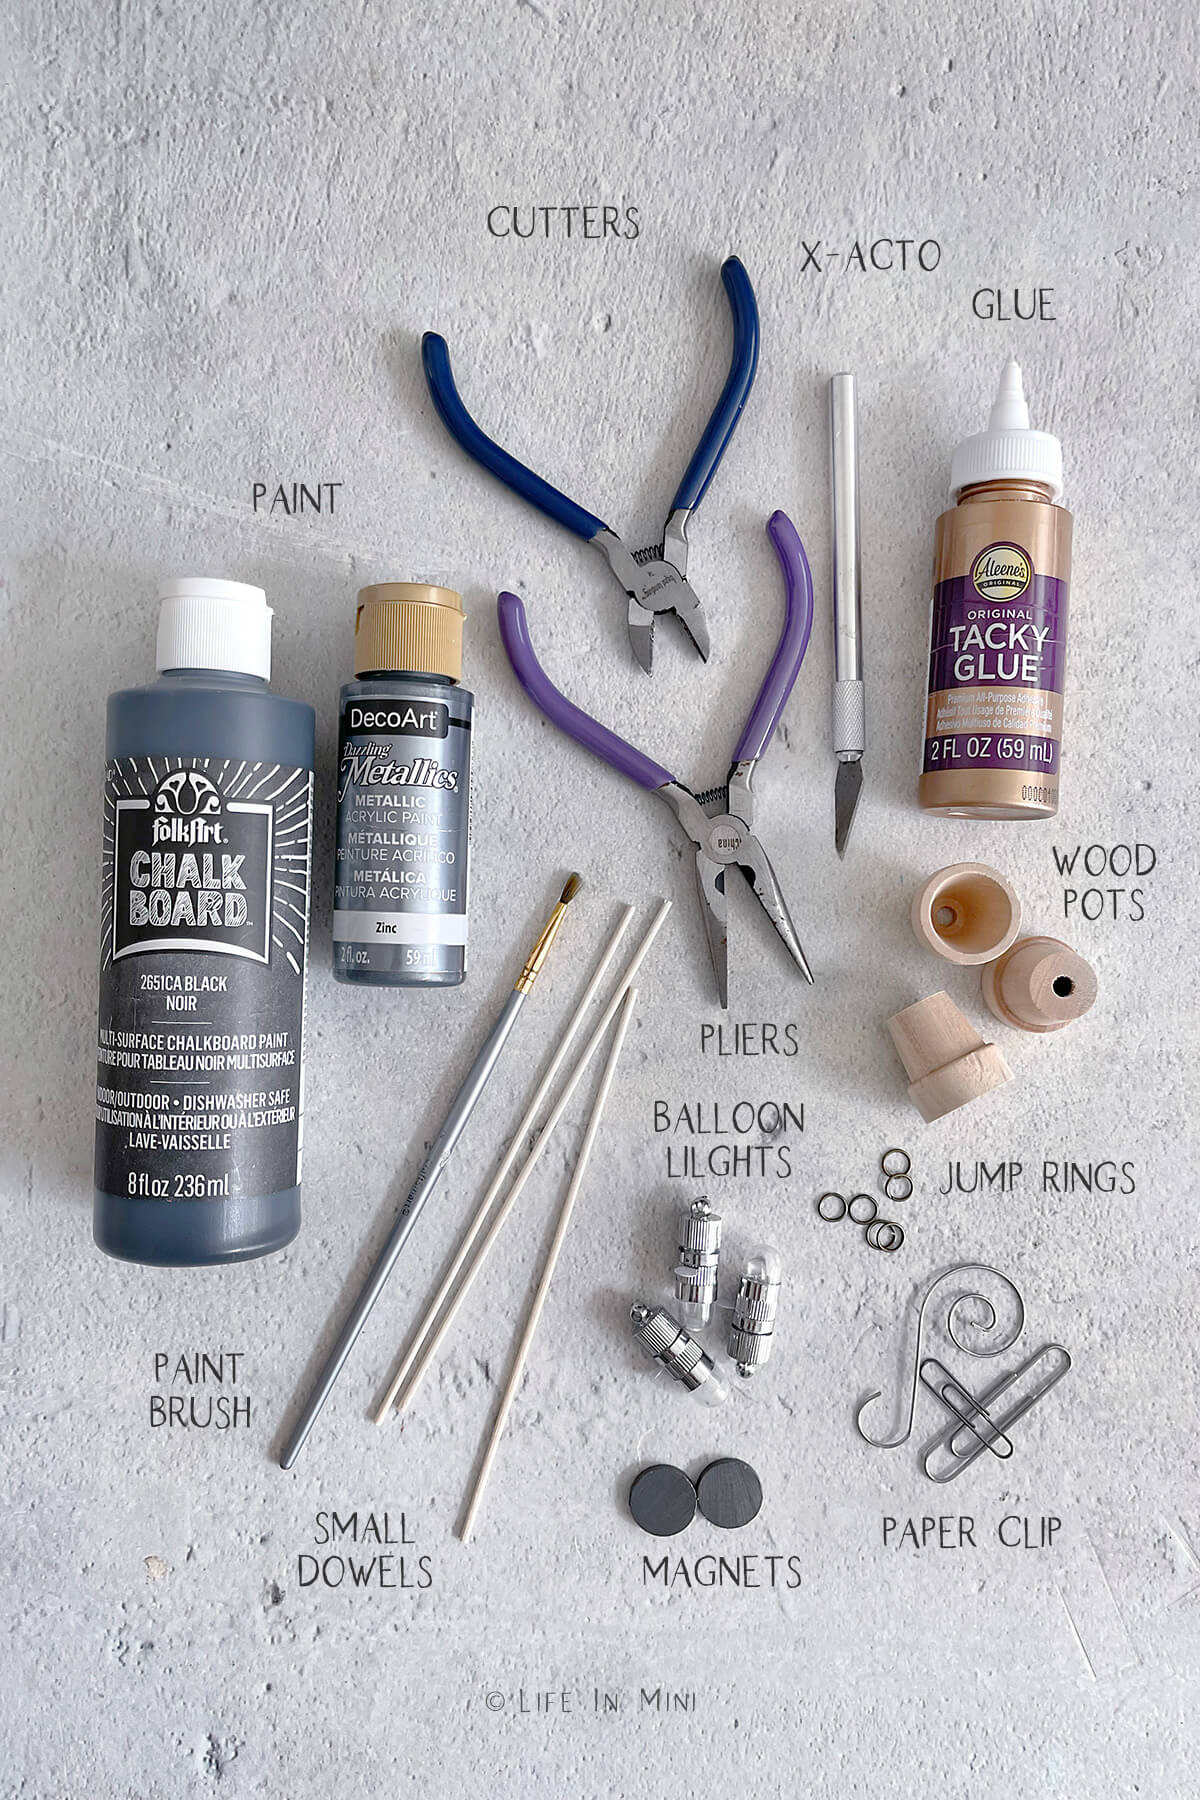
- Balloon lights: These mini lights turn on by twisting the base of the light. You can find them at craft stores on online. I used cool white since that was what I grabbed, but I think I prefer warm white, so will soon stock up on those, as well.
- Small wooden pots: I found these little wooden pots at Hobby Lobby. You can find them at any craft stores or on Amazon, too.
- Small wooden dowels: I used small dowels for the arms of the light. You can also use bamboo skewers.
- Jump rings: I used jump rings to attach the balloon lights to the dowel. You can also use paper cuts or other jewelry pieces that can be bent and shaped.
- Beads (not pictured): After I made the light, I thought it looked a little plain, so I added some beads to it to give it more details. This is optional. You can also embellish with some air dry clay or other baubles you might have hidden in the junk drawer.
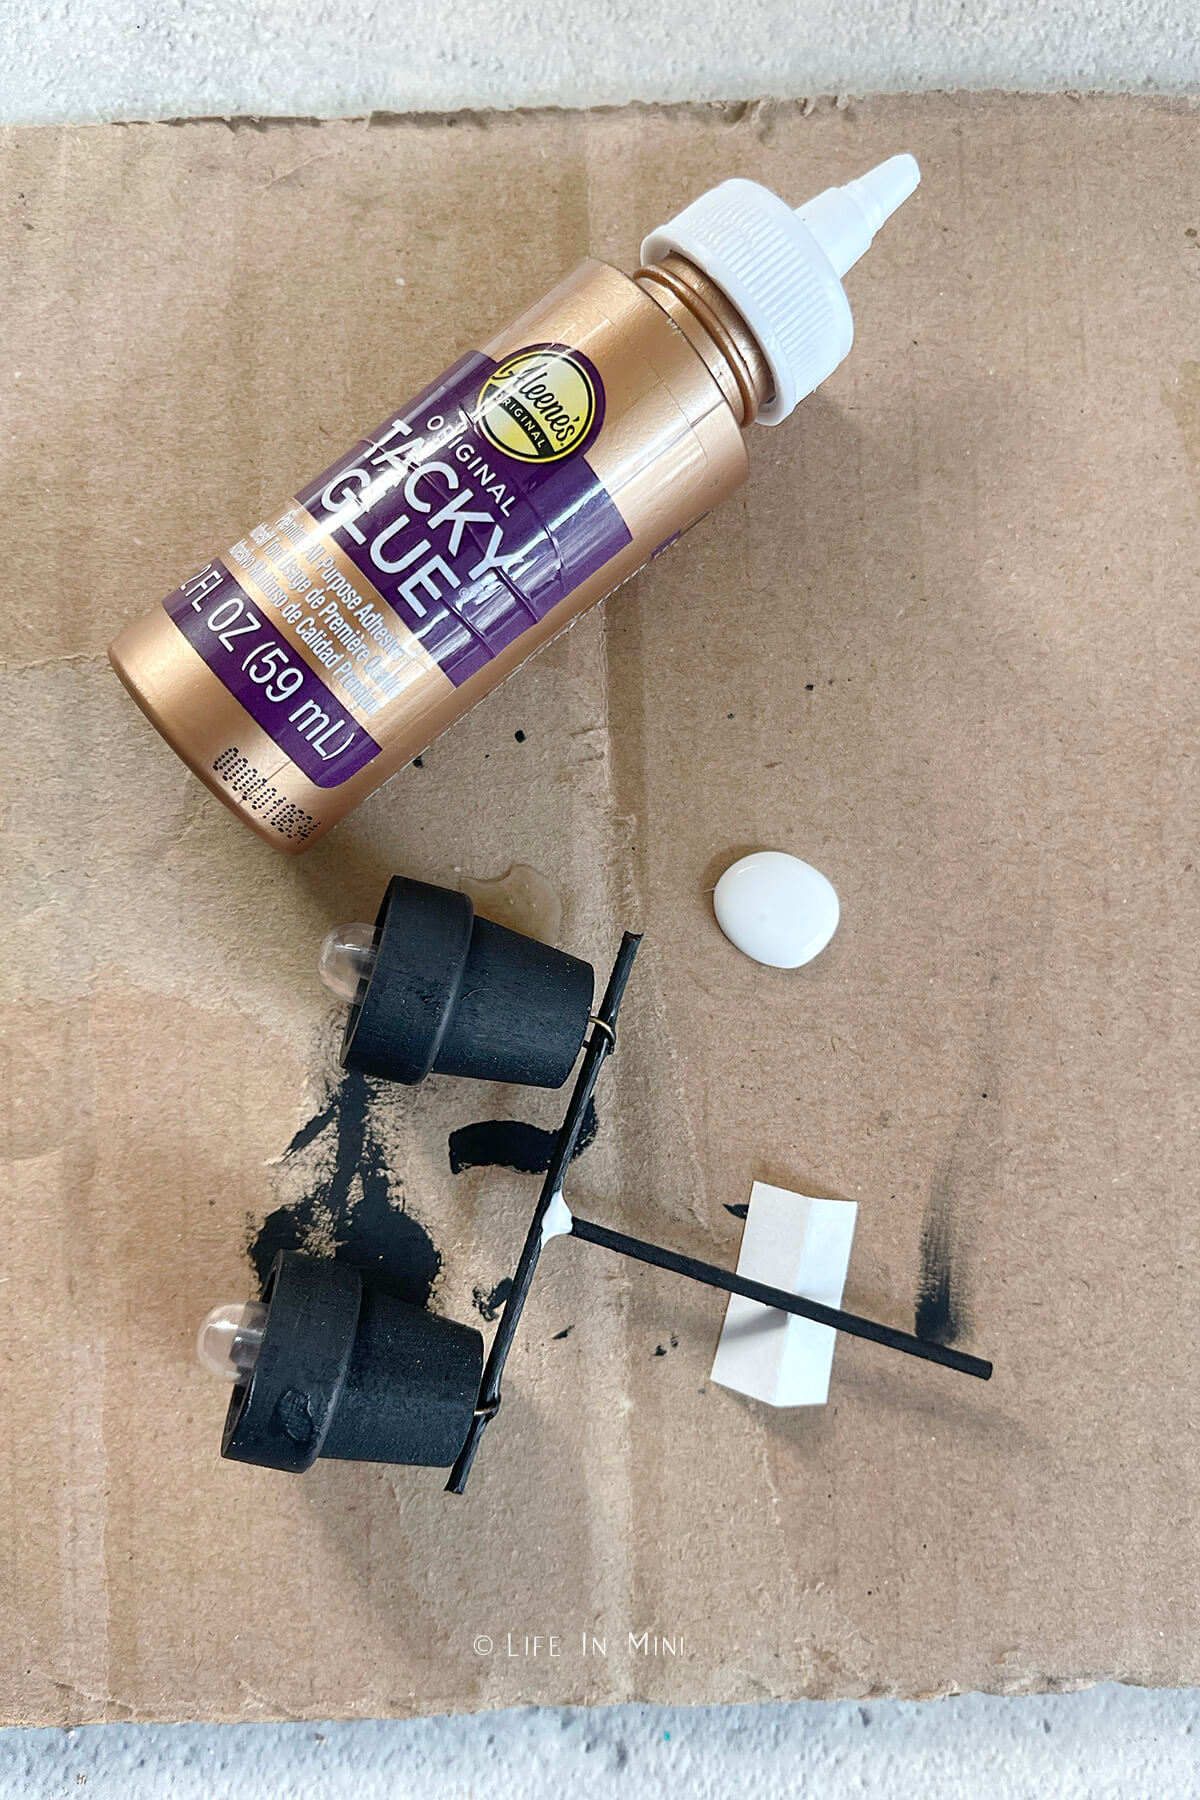
- Glue: I used both Aleene’s Tacky Glue but you can use any glue that dries clear.
- X-acto blade: I used an x-acto to widen the hole in the wooden pot for the balloon light.
- Wire cutters: I used small wire cutters to cut the dowels to size.
- Pliers: You will need small pliers to attach and fasten the jump ring around the balloon light.
- Paint: I used a combination of black chalk paint and metallic paint for the light. You will also need some small paint brushes.
- Magnets: To secure the light to the ceiling, I used cheap Dollar Tree magnets like these. It also makes it easy to switch out lighting.
Step-by-step directions
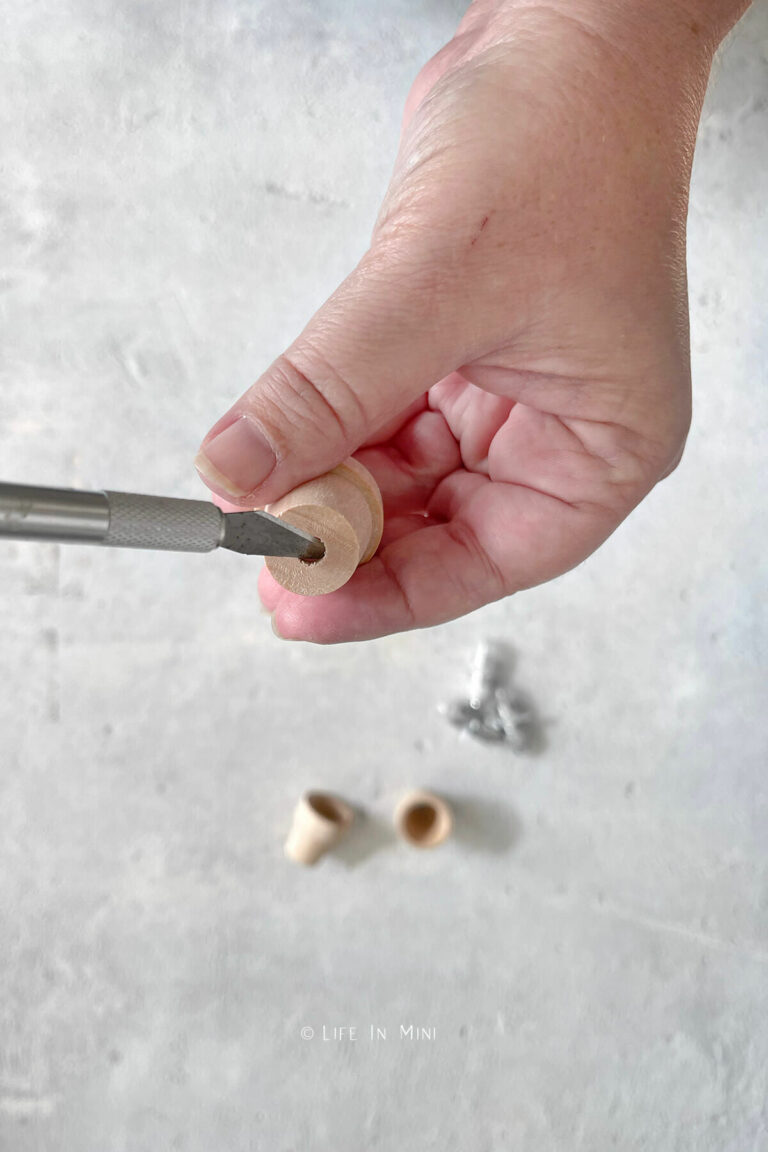
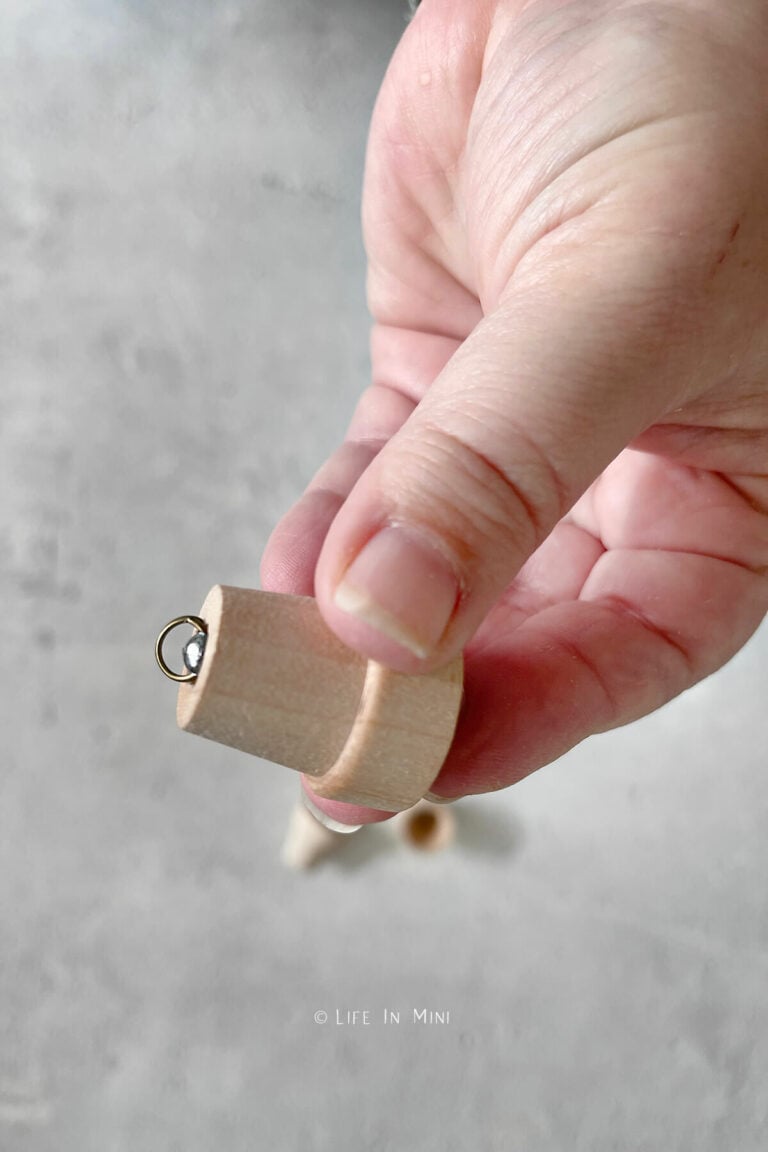
1. Using the tip of the x-acto blade, scrape alongside the small opening on the bottom of the wooden pot to widen the hole. You want the ring at the end of the balloon light to pop out of this hole.
2. Once this done, paint the pots (inside and out) and dowels with the desired color. I used black chalk paint first, then when it was finished, I touched it up with some metallic paint.
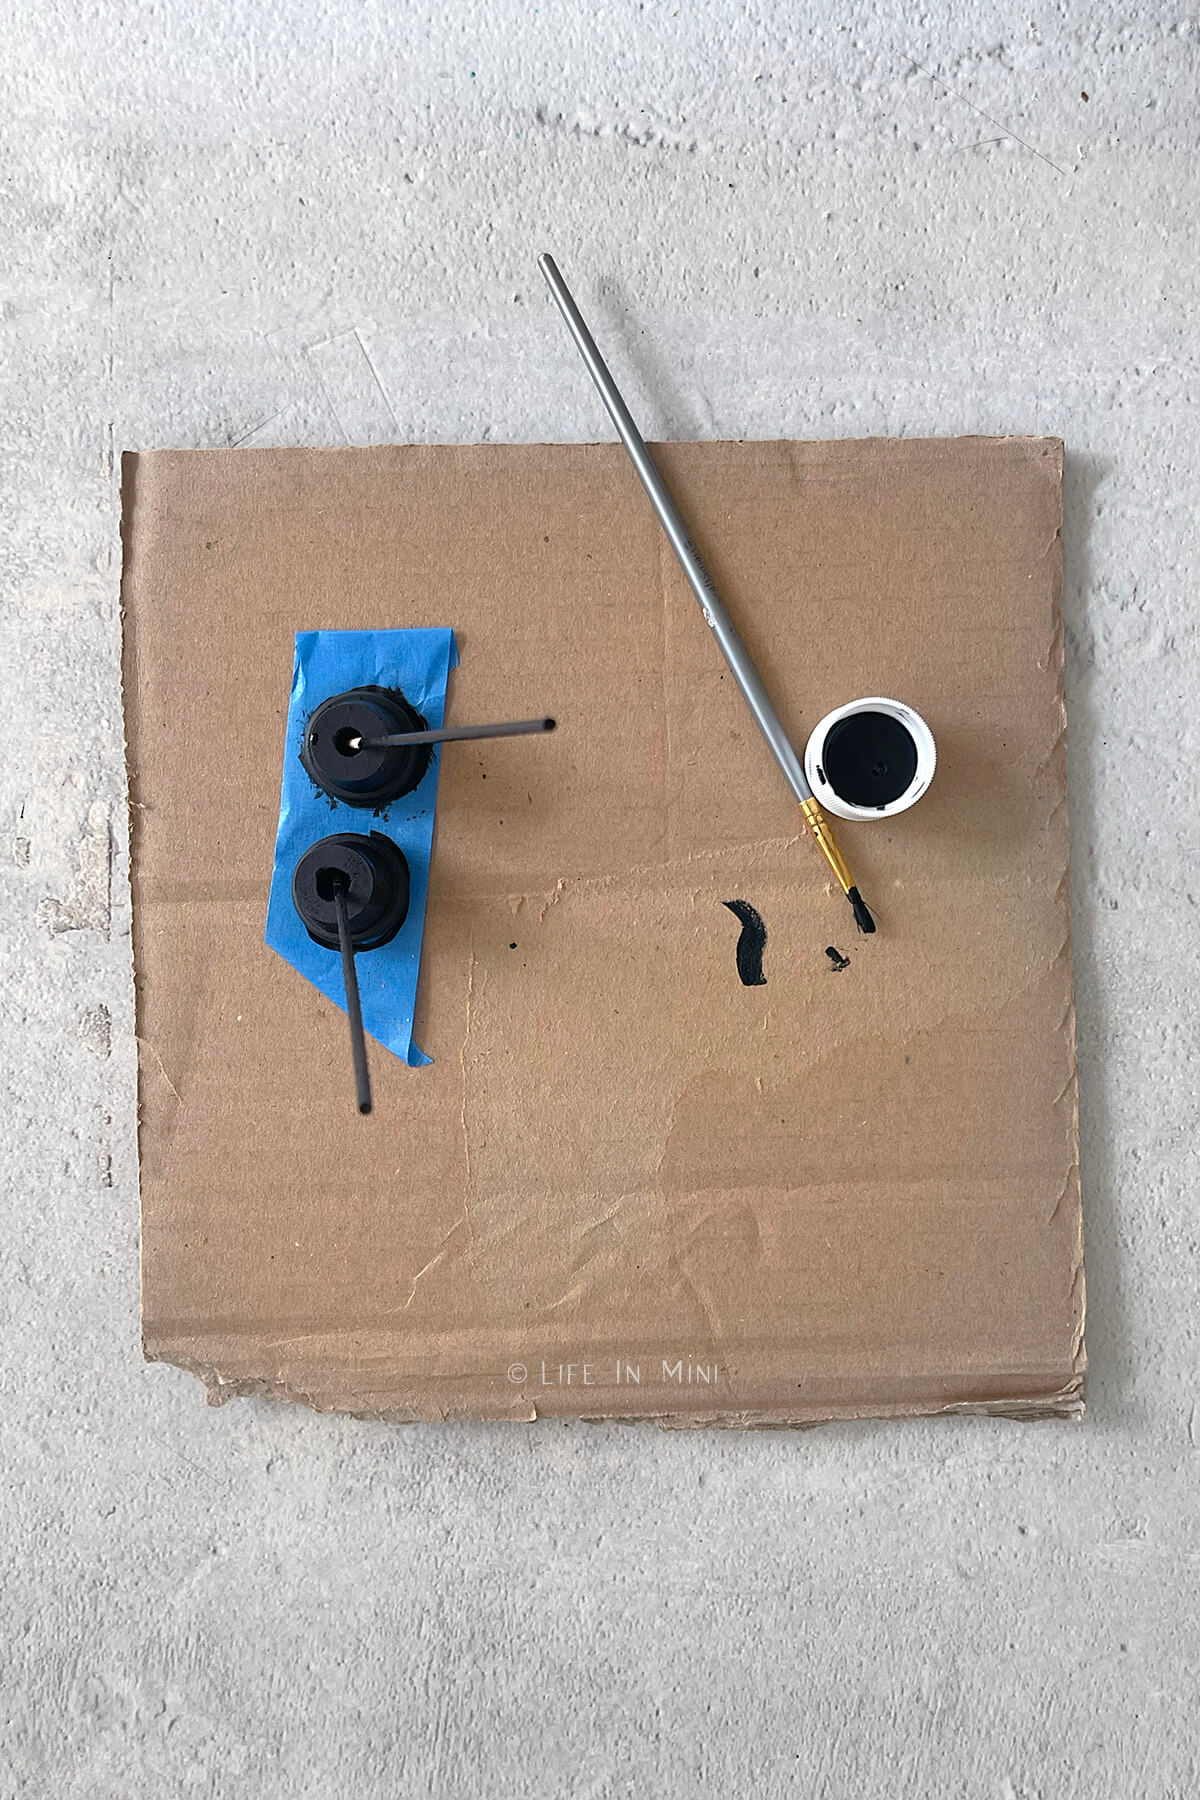
3. Once the paint is dry, cut one of the rods to width you want for your light. This is the crossbar. Cut the second rod to the length you want the light to hang from the ceiling of your dollhouse.
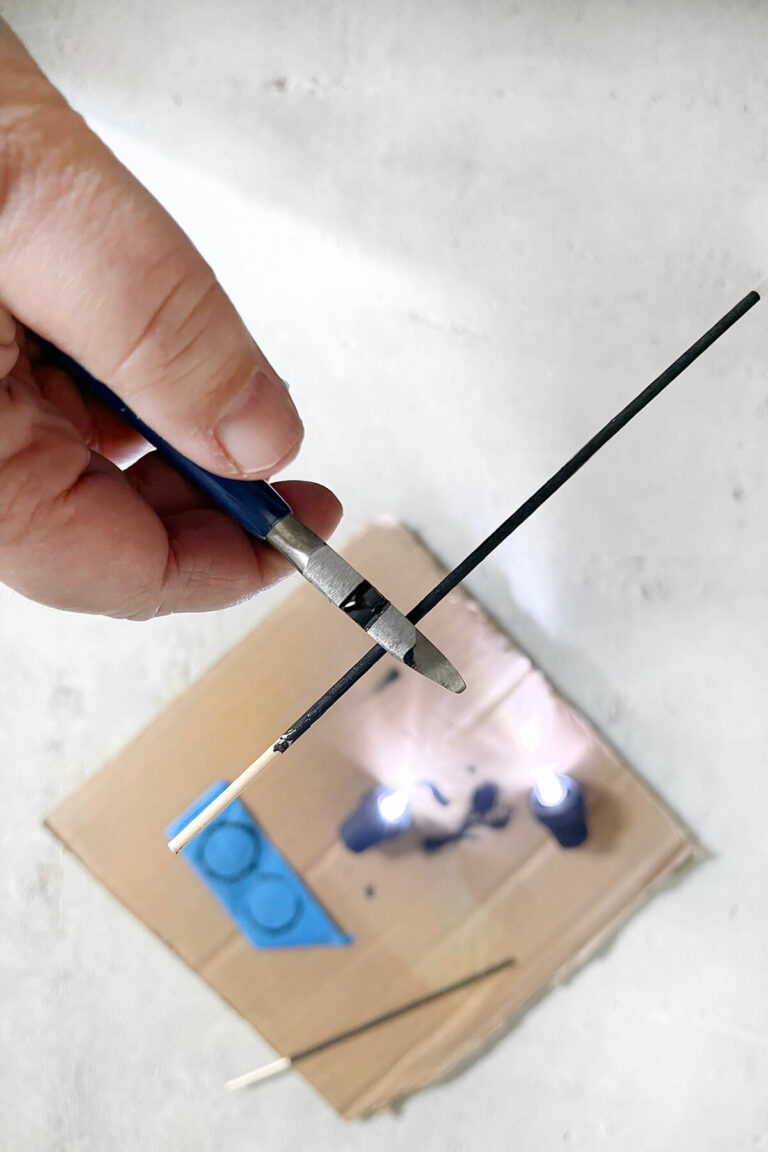
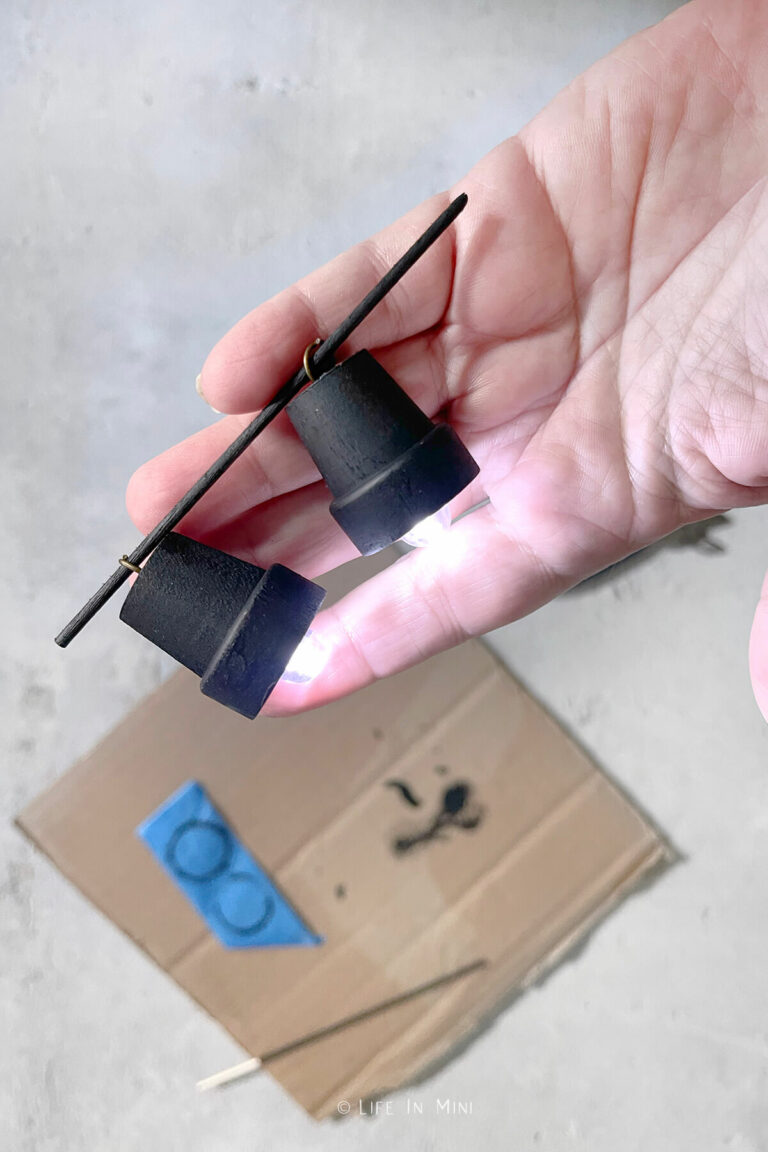
4. Fit a balloon light into each painted pot and secure with a jump ring. You can make a two light chandelier or a single pendant light. For the chandelier, I slid both lights on the rod and secured them with a dab of glue so they won’t slide around. I propped the rod on two small boxes so the light could hang and dry.
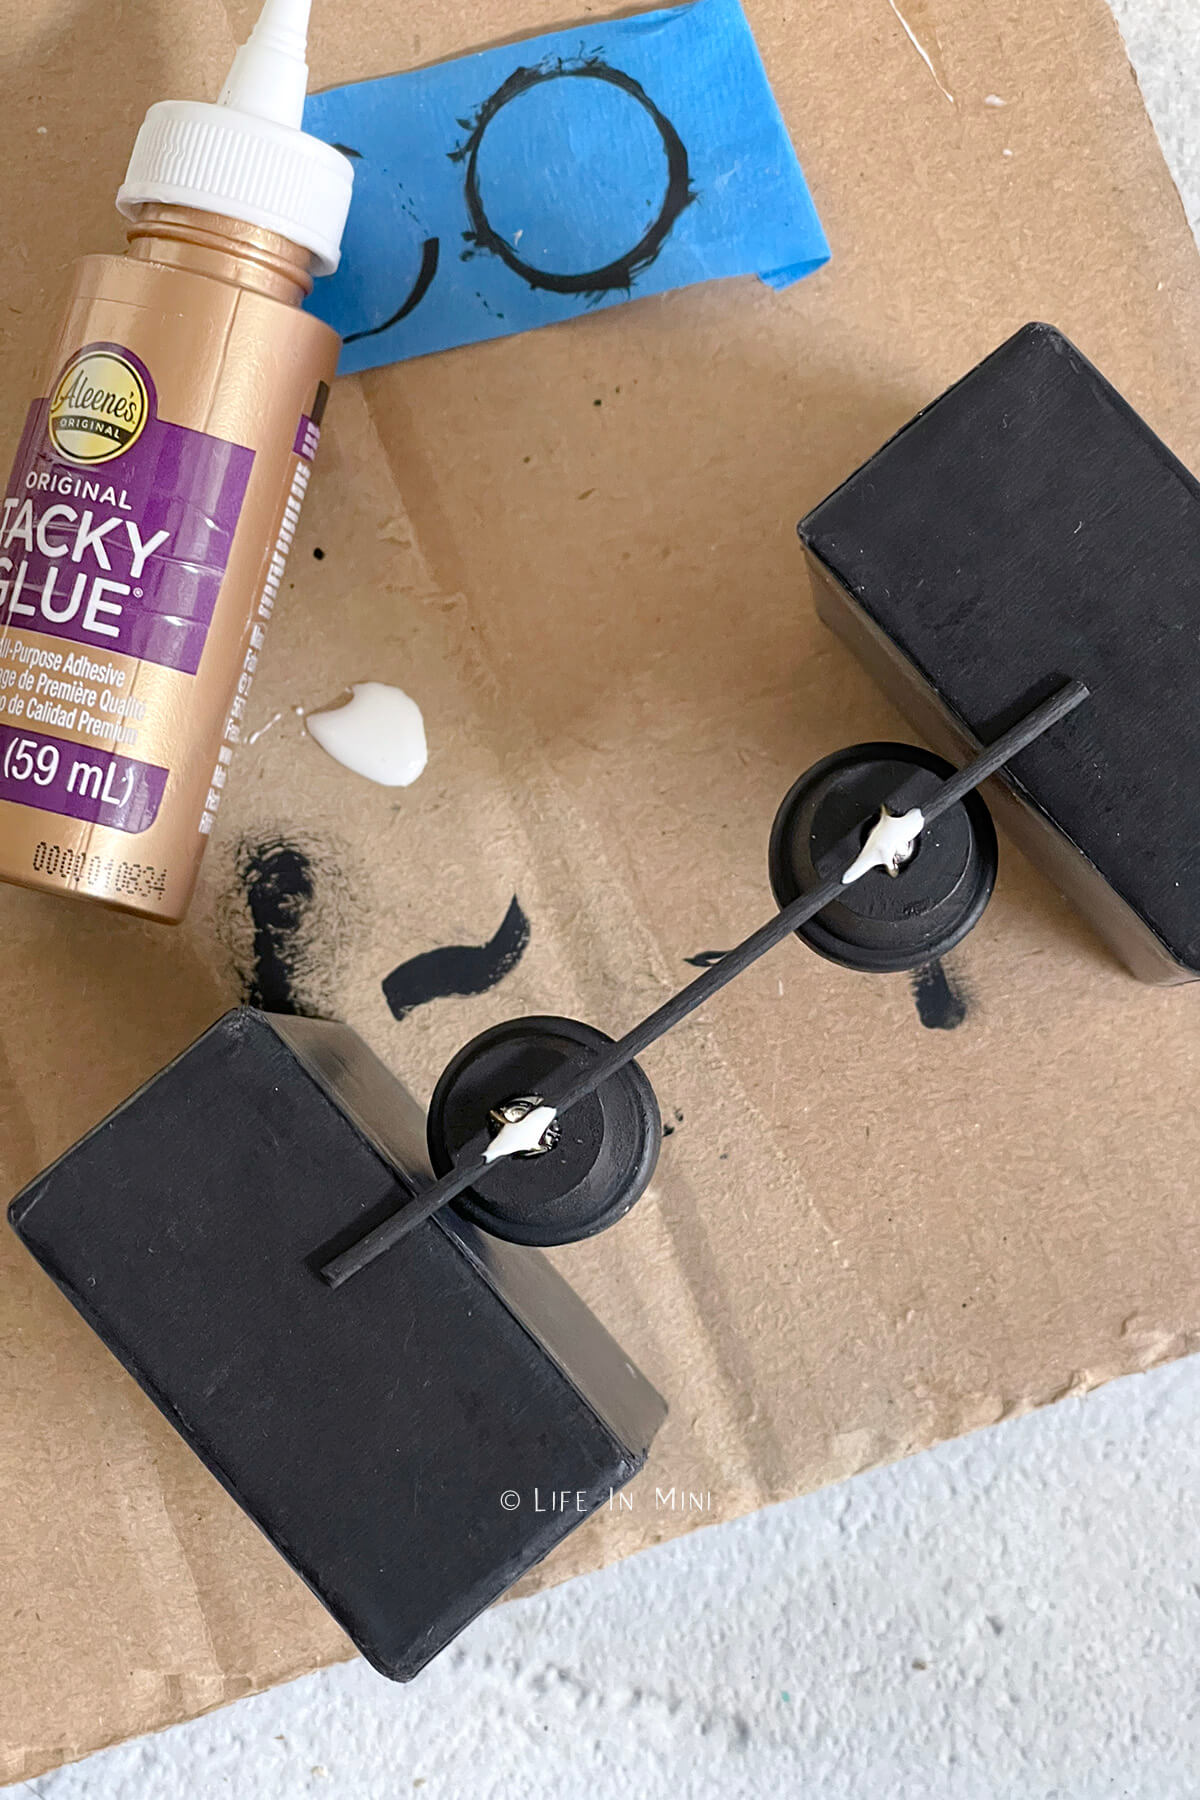
5. Once the glue dries, you need to secure the hanging bar at the center point of the crossbar. I used my favorite Tacky Glue and propped the rod on a folded piece of paper until it dried.
6. After everything dried, I thought the light looked a little plain. So I rummaged thru my bead boxes and added some beads. I secured all of them with glue.
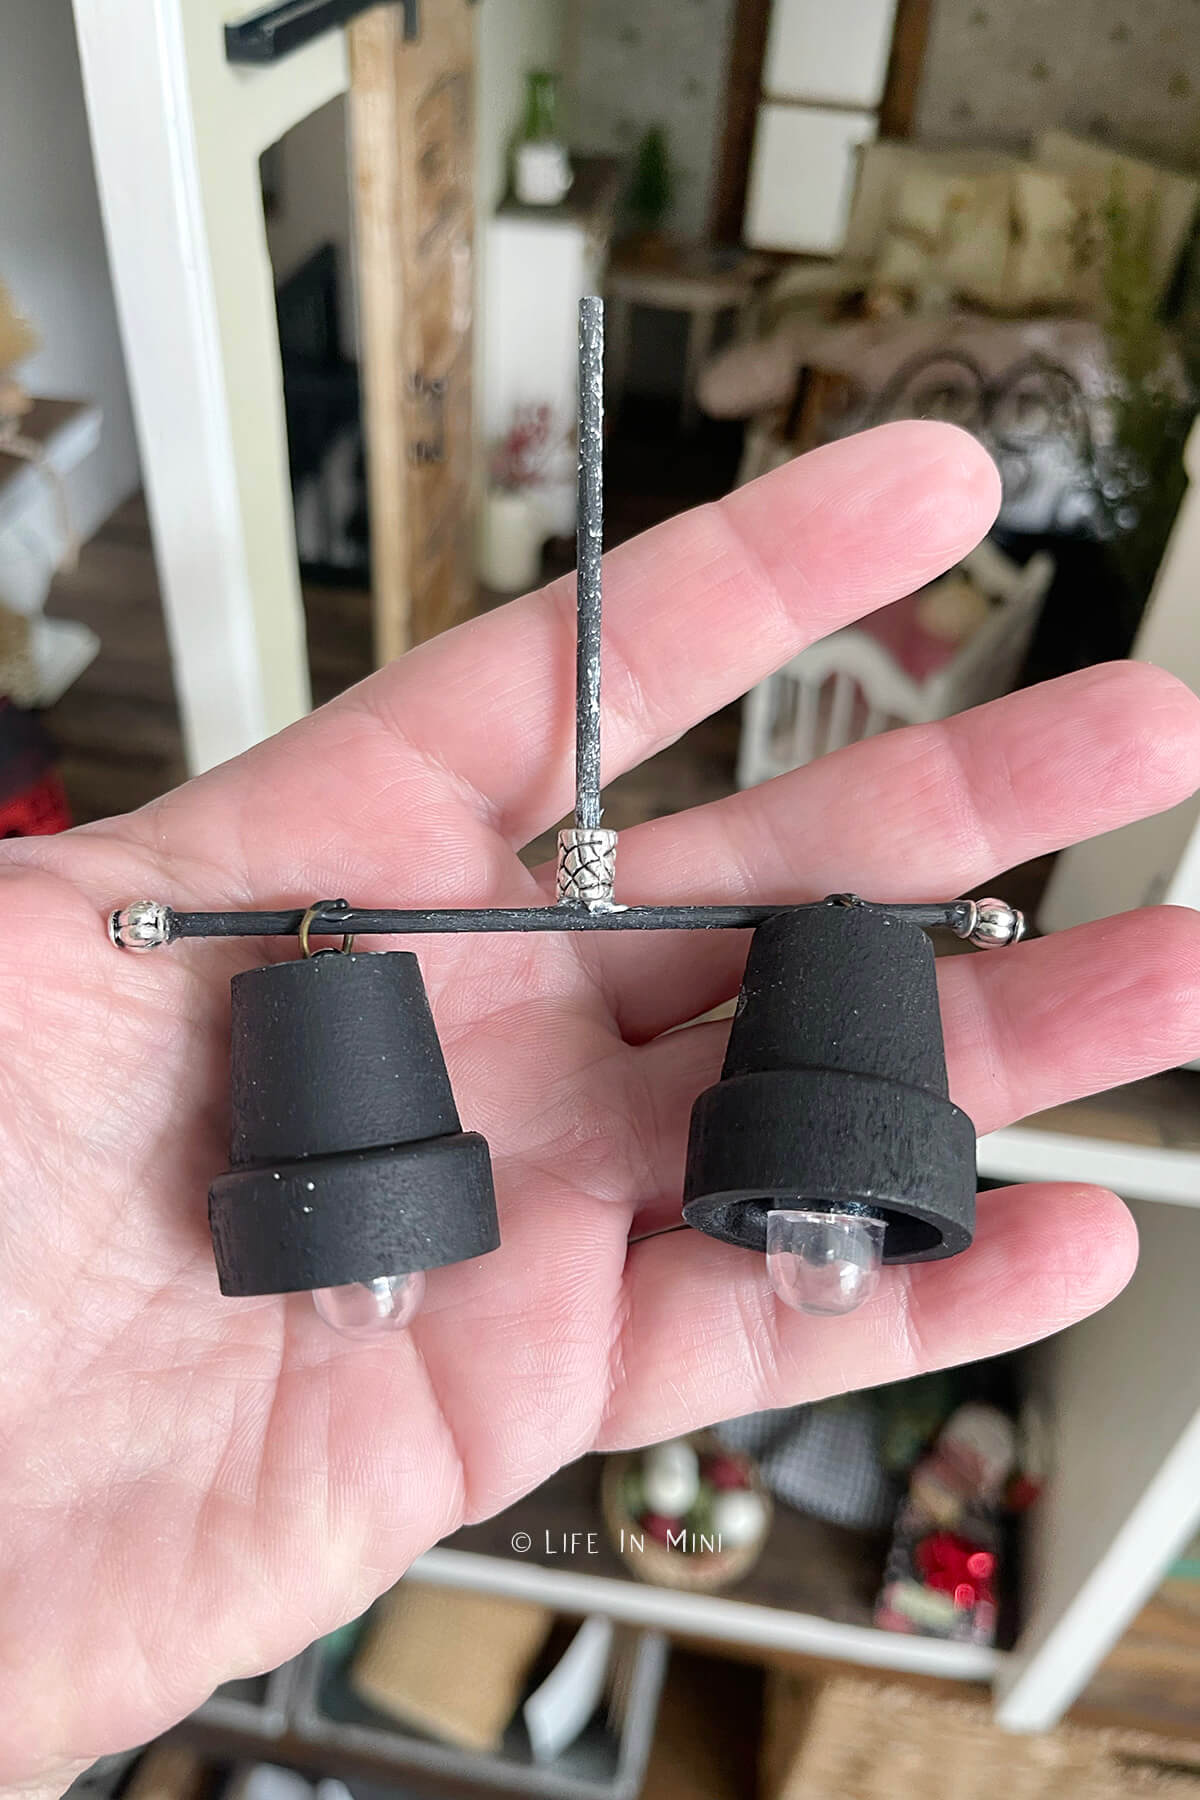
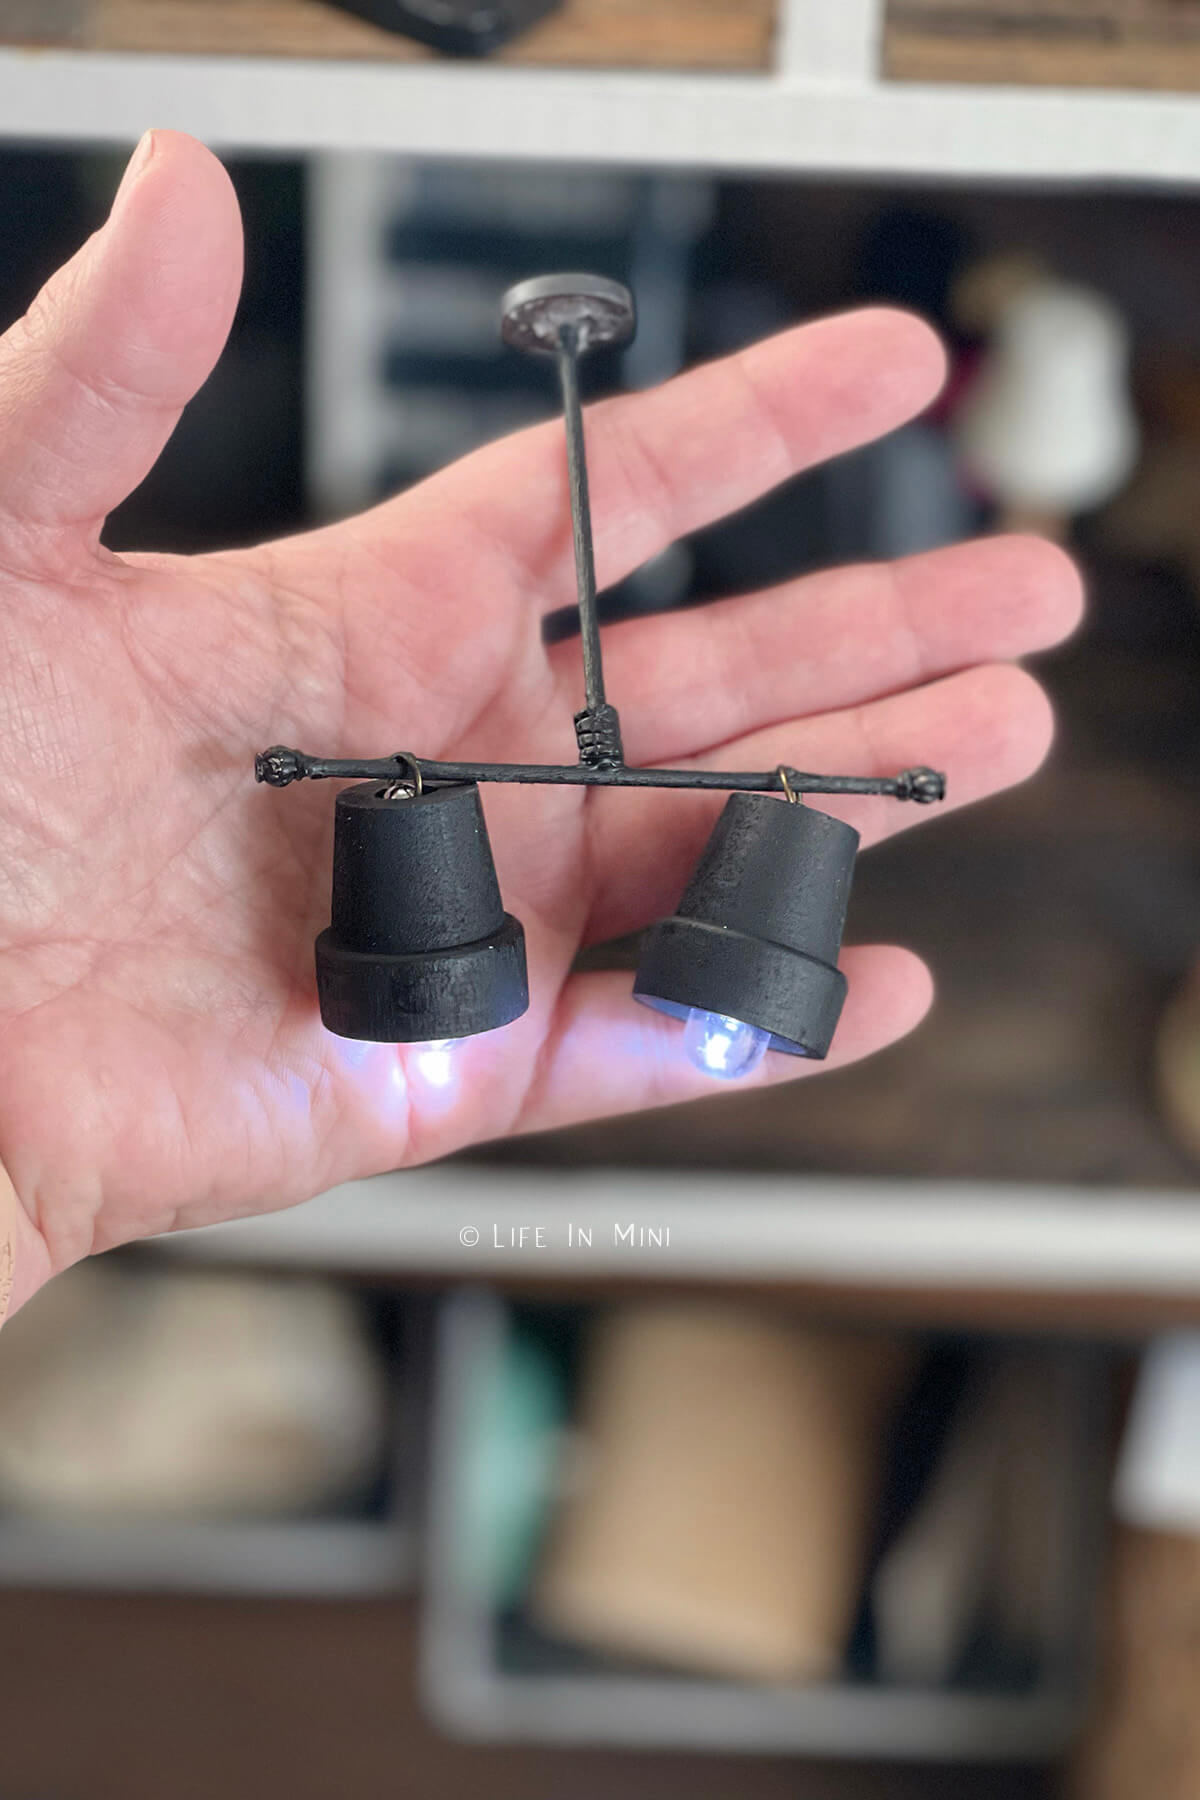
7. I touched up the paint and added a magnet at the end for easy hanging. The second magnet is on the ceiling so I can easily interchange my lights depending on my mood. To turn the lights on and off, simply twist each balloon light. Again they come in both cool white (pictured here) and warm white.
Project tips and FAQs
Once I added the beads, I fell in love with the simplicity of these lights. You can paint them with gold or bronze if you don’t like the all black. These can easily be modified for outdoor porch lights, too.
And the beauty of these lights is that they work for 1:12 and 1:6 dollhouses. Each balloon light uses three 1.5-volt mini cell batteries, which you can replace as needed.
You don’t need to be an electrician to wire your dollhouse. Many dollhouses are not hard wired. You can easily use battery operated lights to light your mini houses. These can be homemade or store bought.
If you are enjoying my blog, why not sign up for my newsletter so you won’t miss out on the mini adventures!
Dollhouse Chandelier Using Balloon Lights
By using balloon lights and mini wood pots, you can create a simple yet elegant dollhouse chandelier that works in 1:12 and 1:6 scale.
Materials
- 2 balloon lights
- 2 small wooden pots
- 2 small dowels
- 2 jump rings
- 1 set of small magnets
- Beads for embellishments (optioal)
- Paint
- Tacky glue
Tools
- X-acto blade
- Pliers
- Wire cutters
- Paint brushes
Instructions
- Using the tip of the x-acto blade, scrape alongside the small opening on the bottom of the wooden pot to widen the hole. You want the ring at the end of the balloon light to pop out of this hole.
- Once this done, paint the pots (inside and out) and dowels with desired color.
- Once the paint is dry, cut one of the rods to width you want for our light. This is your cross bar. Cut the second rod to hang from the ceiling of your dollhouse.
- Fit a balloon light into each painted pot and secure with a jump ring. You can make a two light chandelier or a single pendant light. For the chandelier, I slid both lights on the rod and secured them with a dab of glue. I propped this on two small boxes so the light could hang and dry.
- Once the glue dries, you need to secure the hanging bar at the center point of the crossbar. Do this with your glue and prop the rod on a folded piece of paper or piece of wood until it is dried.
- After it was done, I thought the light looked a little plain so I rummaged thru my bead boxes and added some beads. I secured all of them with glue.
- Touch up the paint, if needed, and glue a magnet at the end for easy hanging. The second magnet should be glued onto the ceiling. To turn the lights on and off, simply twist each balloon light.
Notes
You can paint the lights any color you like, even add touches of silver, gold or bronze. The balloon lights come in cool white and warm white. Cool white lights were used in this post.
PS If you try this craft, why not leave a star rating in the direction card right below and/or a review in the comment section further down the page? I always appreciate your feedback.
You can also follow me on Pinterest, Facebook or Instagram. Sign up for my eMail list, too!

Mirjami Aulio says
Thank you for the tutorial. I am planning a London pub roombox for my daughter, and have been worrying how to construct the ceiling light. I think this has solved my problem! Best regards from Finland.
Laura says
Hi Mirjami-
I’m so glad this tutorial is able to help you. Can’t wait to see what you create!
Laura
Tammy says
Thank you! I was just wondering about these lights and if they’d be difficult to use once added to a house. Perfect timing! Wonderful project.
Laura says
Hi Tammy-
I admit I was skeptical about using them for 1:12. I thought they were big and bulky. But for certain lighting projects, they really are easy to use and cheaper than buying pre-made lights. And honestly, this is definitely nicer than a plastic chandelier!
Laura
Gladys Negron says
wow this is amazine….I have been working on my doll house over a year. If you give free tutorial may God bless you.
Laura says
Hi Gladys-
Good luck with your dollhouse! I hope you enjoy the tutorial!
Laura