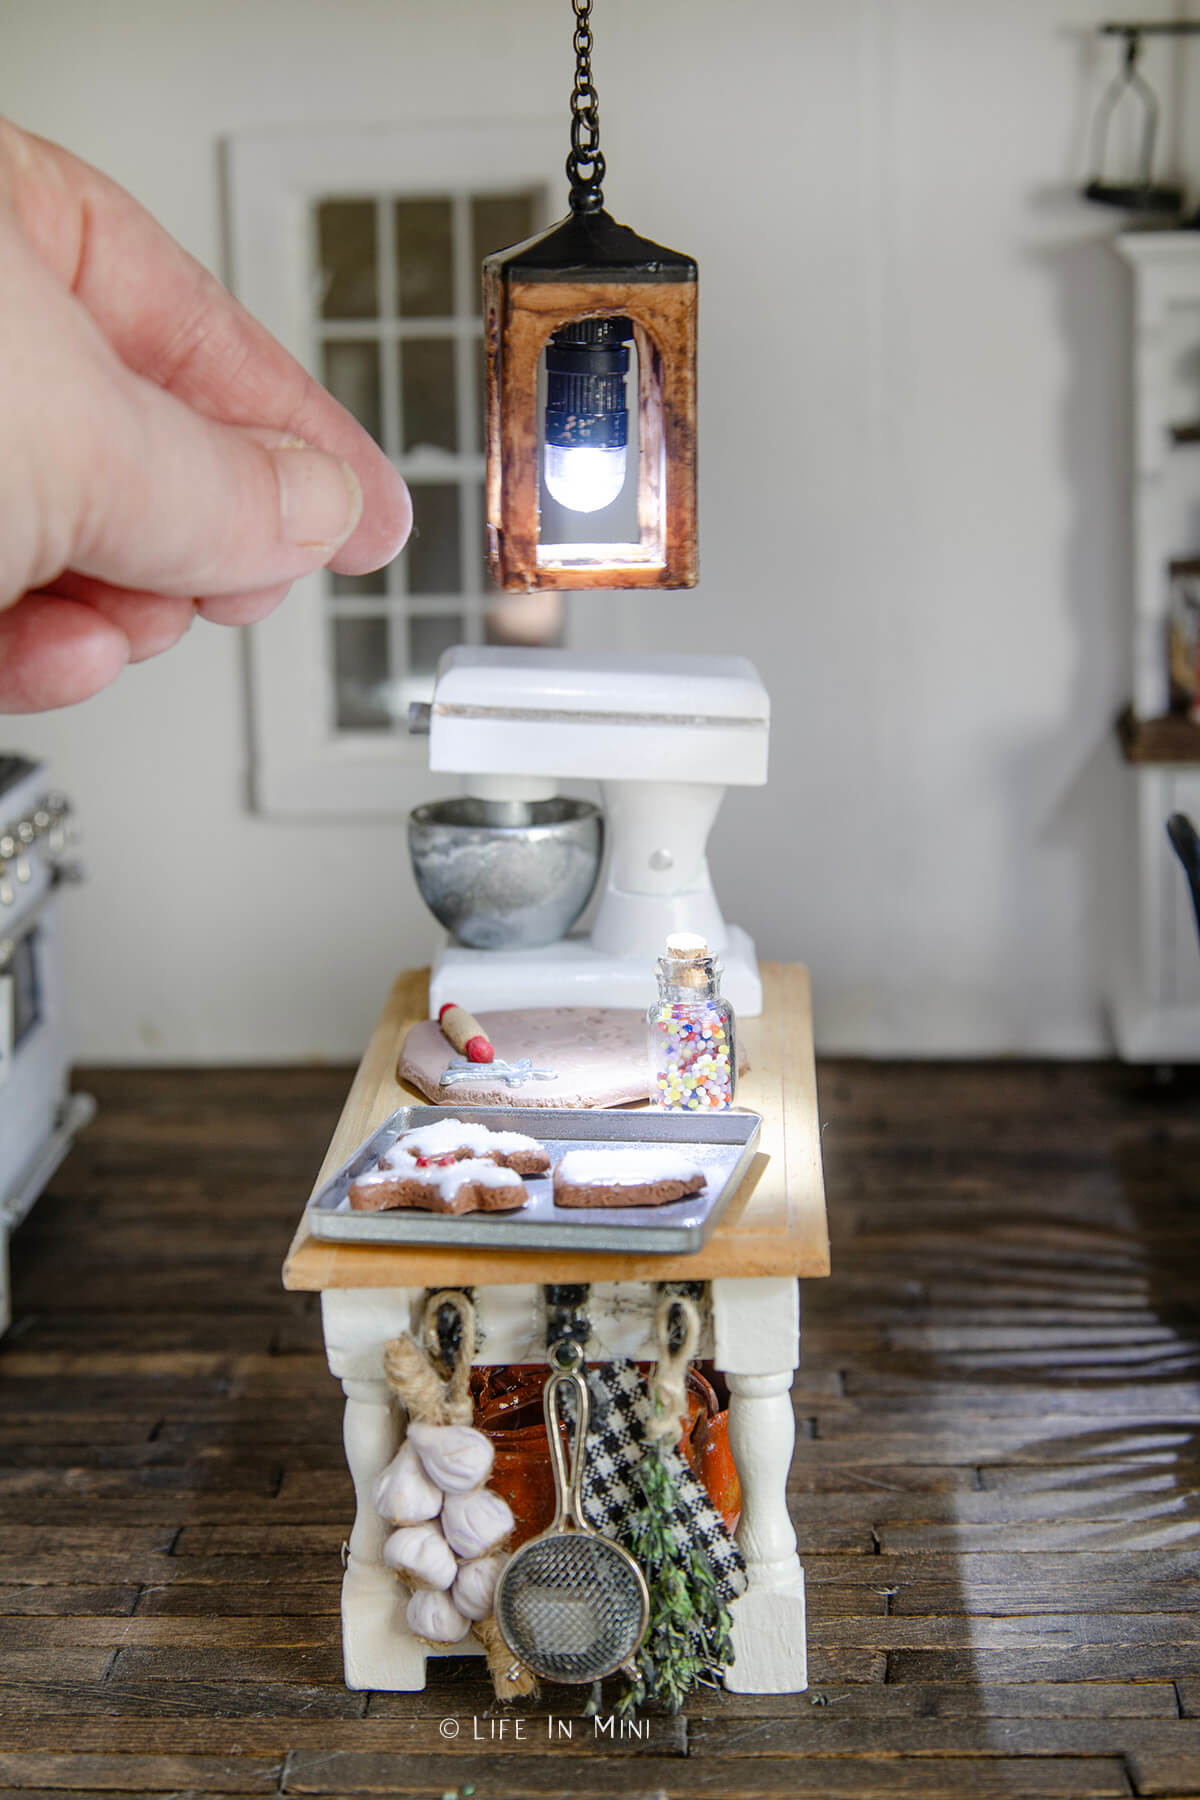
Balloon lights are a great way to make your own dollhouse lighting. This tutorial shows you how to make a pendant light with a miniature ornaments and a balloon light.
Since I have started back up with miniatures, I swear I find components for my dollhouse EVERYWHERE. My kids see me grab broken bits and baubles and stick them in my pocket ALL THE TIME.
In the beginning, they would look at me puzzled and then I would simply reply:
“This could be a mini mug!”
“This could help me make a mini scale!”
“Oooh, I can use this for my bathroom faucet!”
But now they are used to my quirks. They just accept me collecting my mini pieces of junk and just shake their heads with a smile.

Christmas time is the best time to collect mini things. As you unpack your decorations, look at the bottom of your bins. Got any fake snow or ice crystals that have broken off? You’ve got ice!
Broken ornaments? Save the caps! They are usually engraved and beautiful and make great jewelry boxes or bowls.
Bits of garland? Make mini plants or wreaths.
Many of them have mini pine cones, candy canes and other little embellishments that would fit perfectly in a dollhouse.

I also love searching through the Christmas ornaments in stores. There are so many mini ornaments you can collect. That’s when I stumbled upon these mini faux wood lantern ornaments. I found them at Wal-Mart (link below in the supply list) along with other great mini finds like mini signs, mini houses and mini kerosene lanterns.
I already shared my miniature chandelier that I made with balloon lights. I soon realized that I could use my balloon lights again and add a light to this cute lantern.
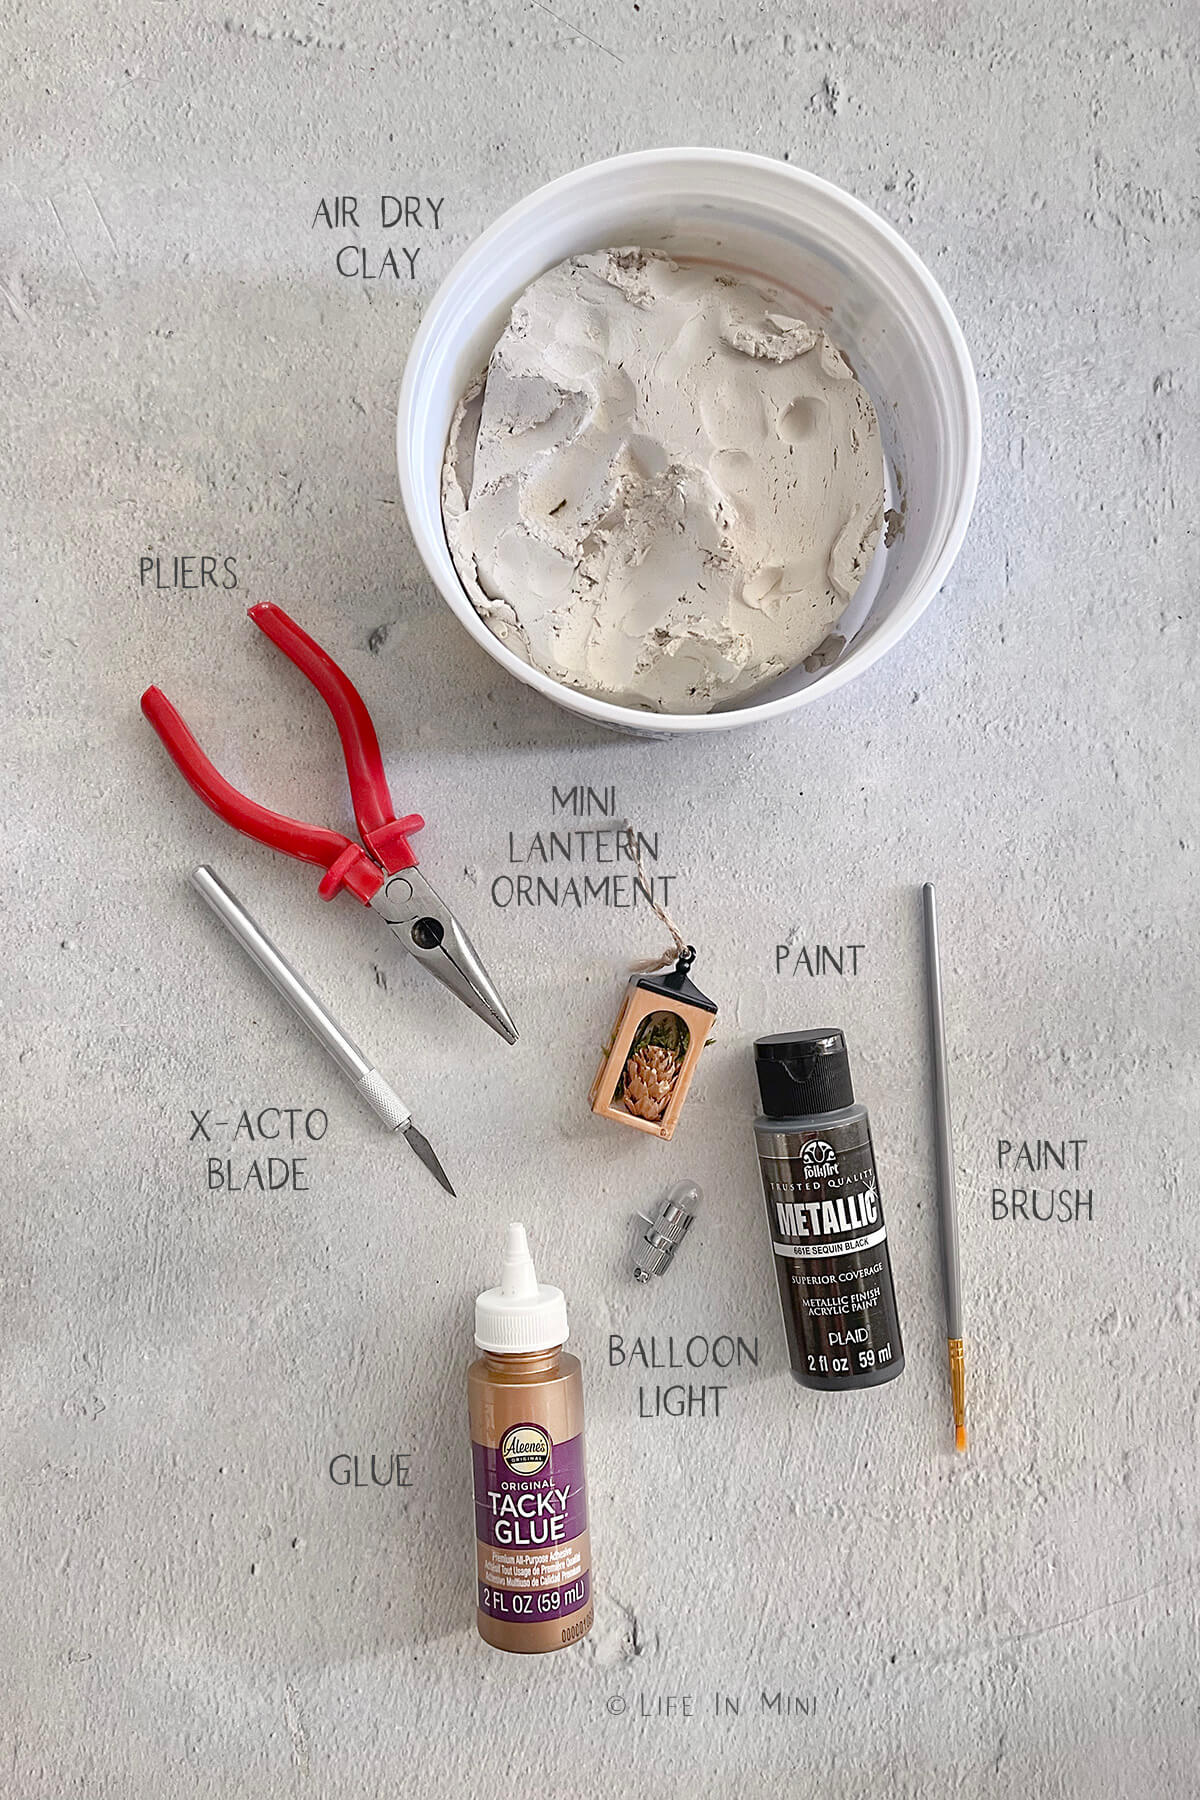
Supplies needed
This post contains some affiliate links for your convenience (which means if you make a purchase after clicking a link I will earn a small commission but it won’t cost you a penny more)! Read my full disclosure policy.
- Balloon lights: These mini lights turn on by twisting the base of the light. You can find them at craft stores on online. I used cool white since that was what I grabbed, but I think I prefer warm white, so will soon stock up on those, as well.
- Mini Lantern ornaments: I found these little beauties at Wal-Mart (3 for $2.48). This is the second year I’ve seen them so I am confident they’ll bring them back again next year. Wal-mart has a terrific mini ornament section every year for those small table top Christmas trees so be on the lookout for more great mini finds.
- Air dry clay: I used a little air dry clay to secure the balloon light inside the lantern.
- Glue: I used Aleene’s Tacky Glue but you can use any glue that dries clear.
- X-acto blade: I used an x-acto to cut out and remove the base of the lantern.
- Pliers: You will need small pliers to remove the base of the lantern and to attach and fasten the chain to the balloon light.
- Paint: I used black metallic paint to paint the balloon light casing and a brown glaze I had on hand to paint over the plastic wood. You can also thin out brown paint with water to make your own glaze. You will also need some small paint brushes.
- Metal chain (not pictured): You can use the twine that comes with the lantern to hang the light, but I ended up switching out with some inexpensive jewelry chain that my kids never used. If you use a chain, you might need a jump ring, as well.
- Magnets (not pictured): To secure the light to the ceiling, I like to use cheap Dollar Tree magnets like these. It also makes it easy to switch out lighting.
Step-by-step directions
1. Remove the greenery, pinecone and dried glue blob from the inside of the lantern. Save these for another miniature project!
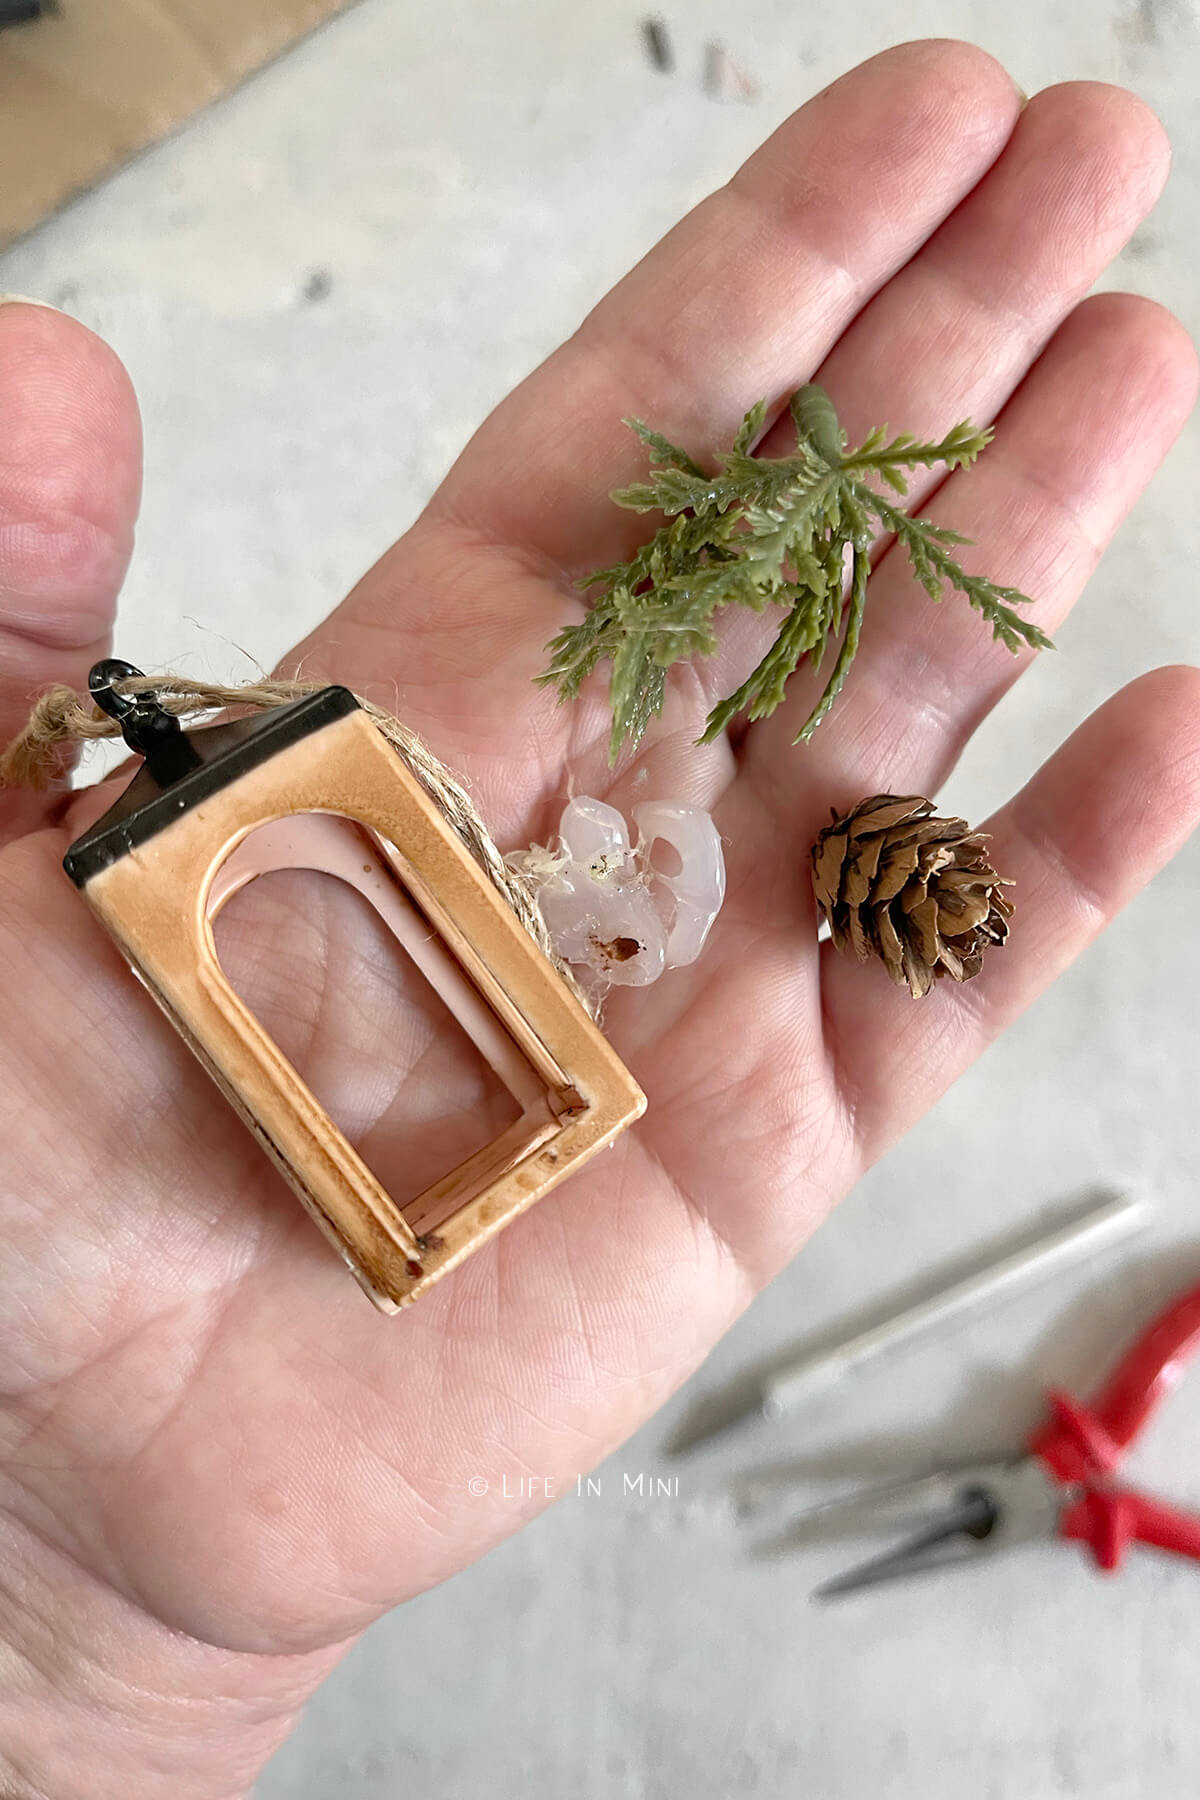
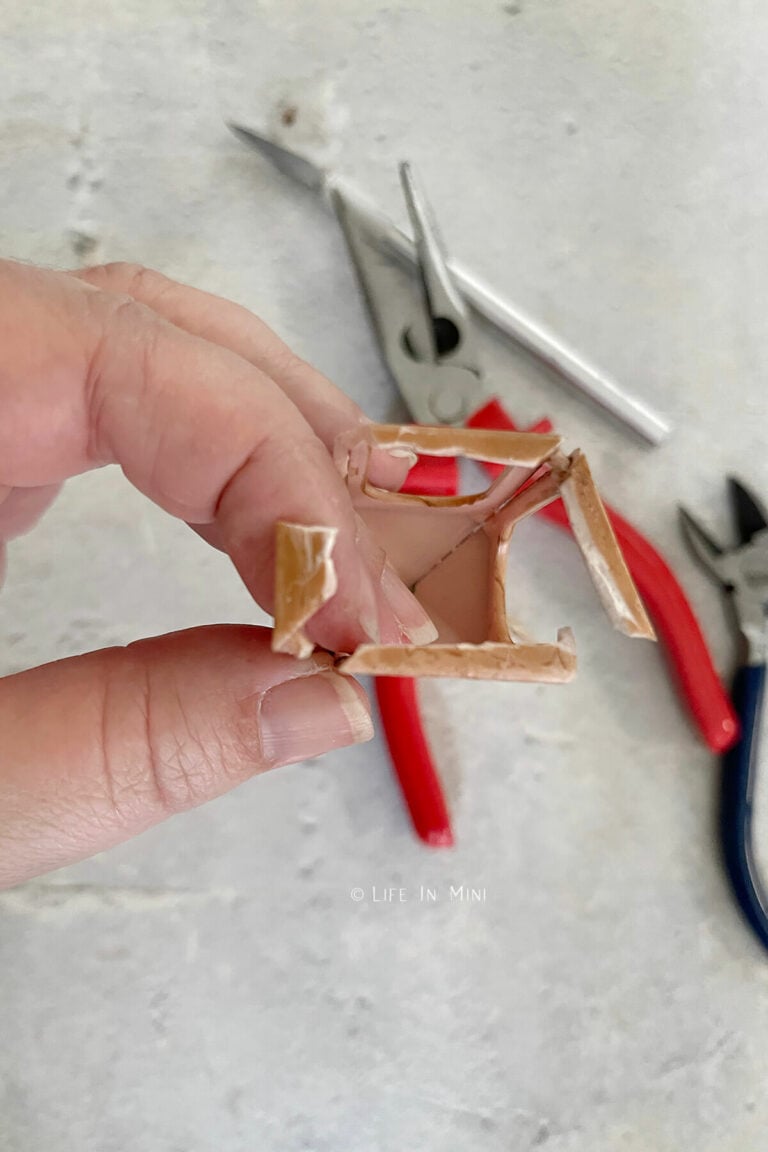
2. Using an x-acto or sharp scissors, carefully remove the square bottom from the lantern. This is easier said than done. I cracked the sides of the lantern, as you will see in the next step. It’s okay if this happens. Save the pieces!
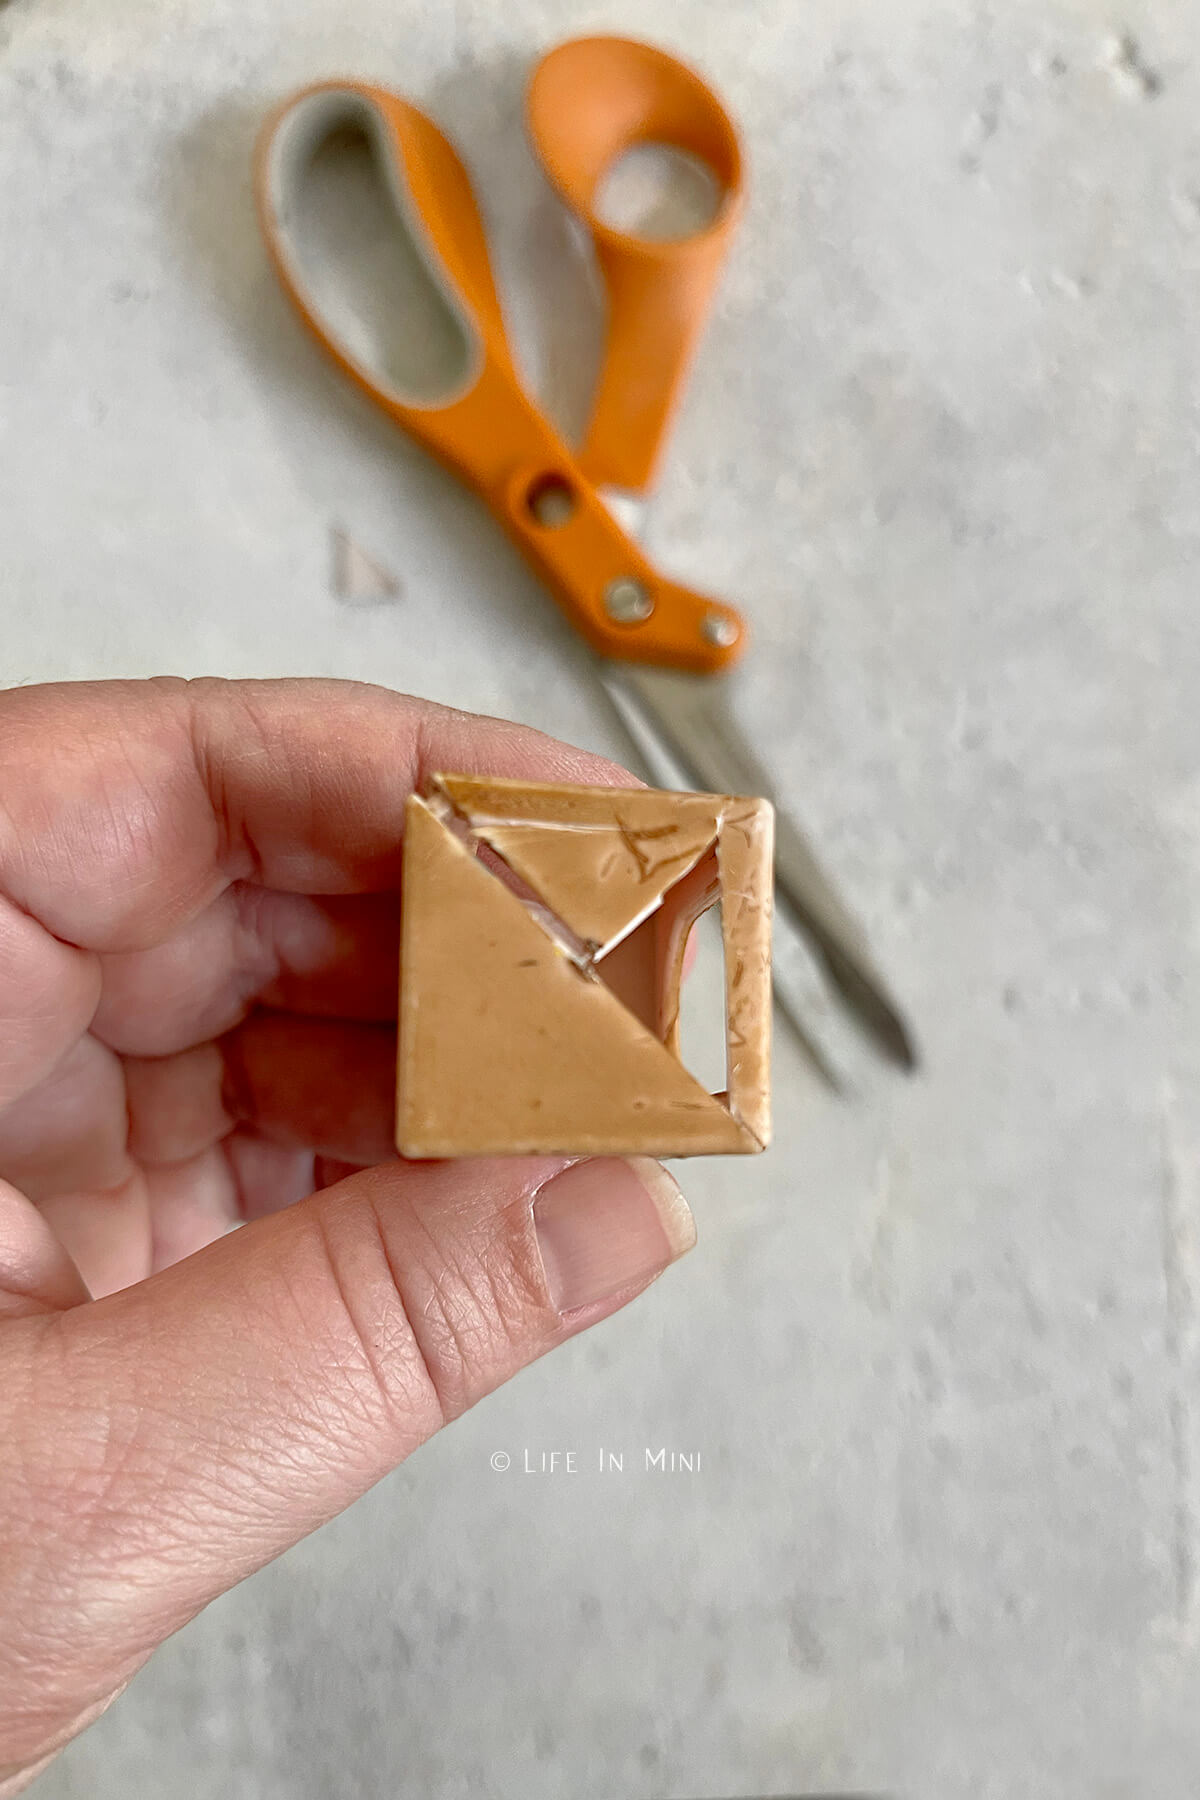
3. Maybe you will do a better job cutting this out than I did. But if your lantern did break, it is easily repairable with some glue. I actually used a lot of glue to make sure it would not come apart!
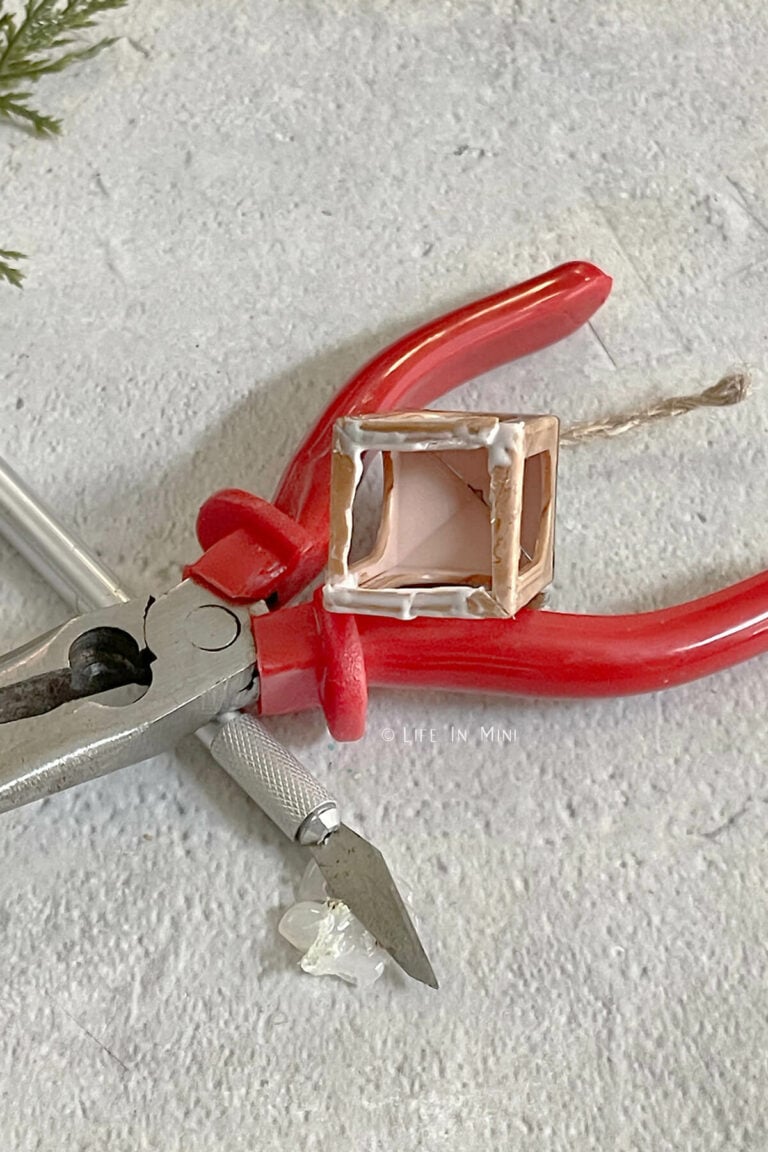
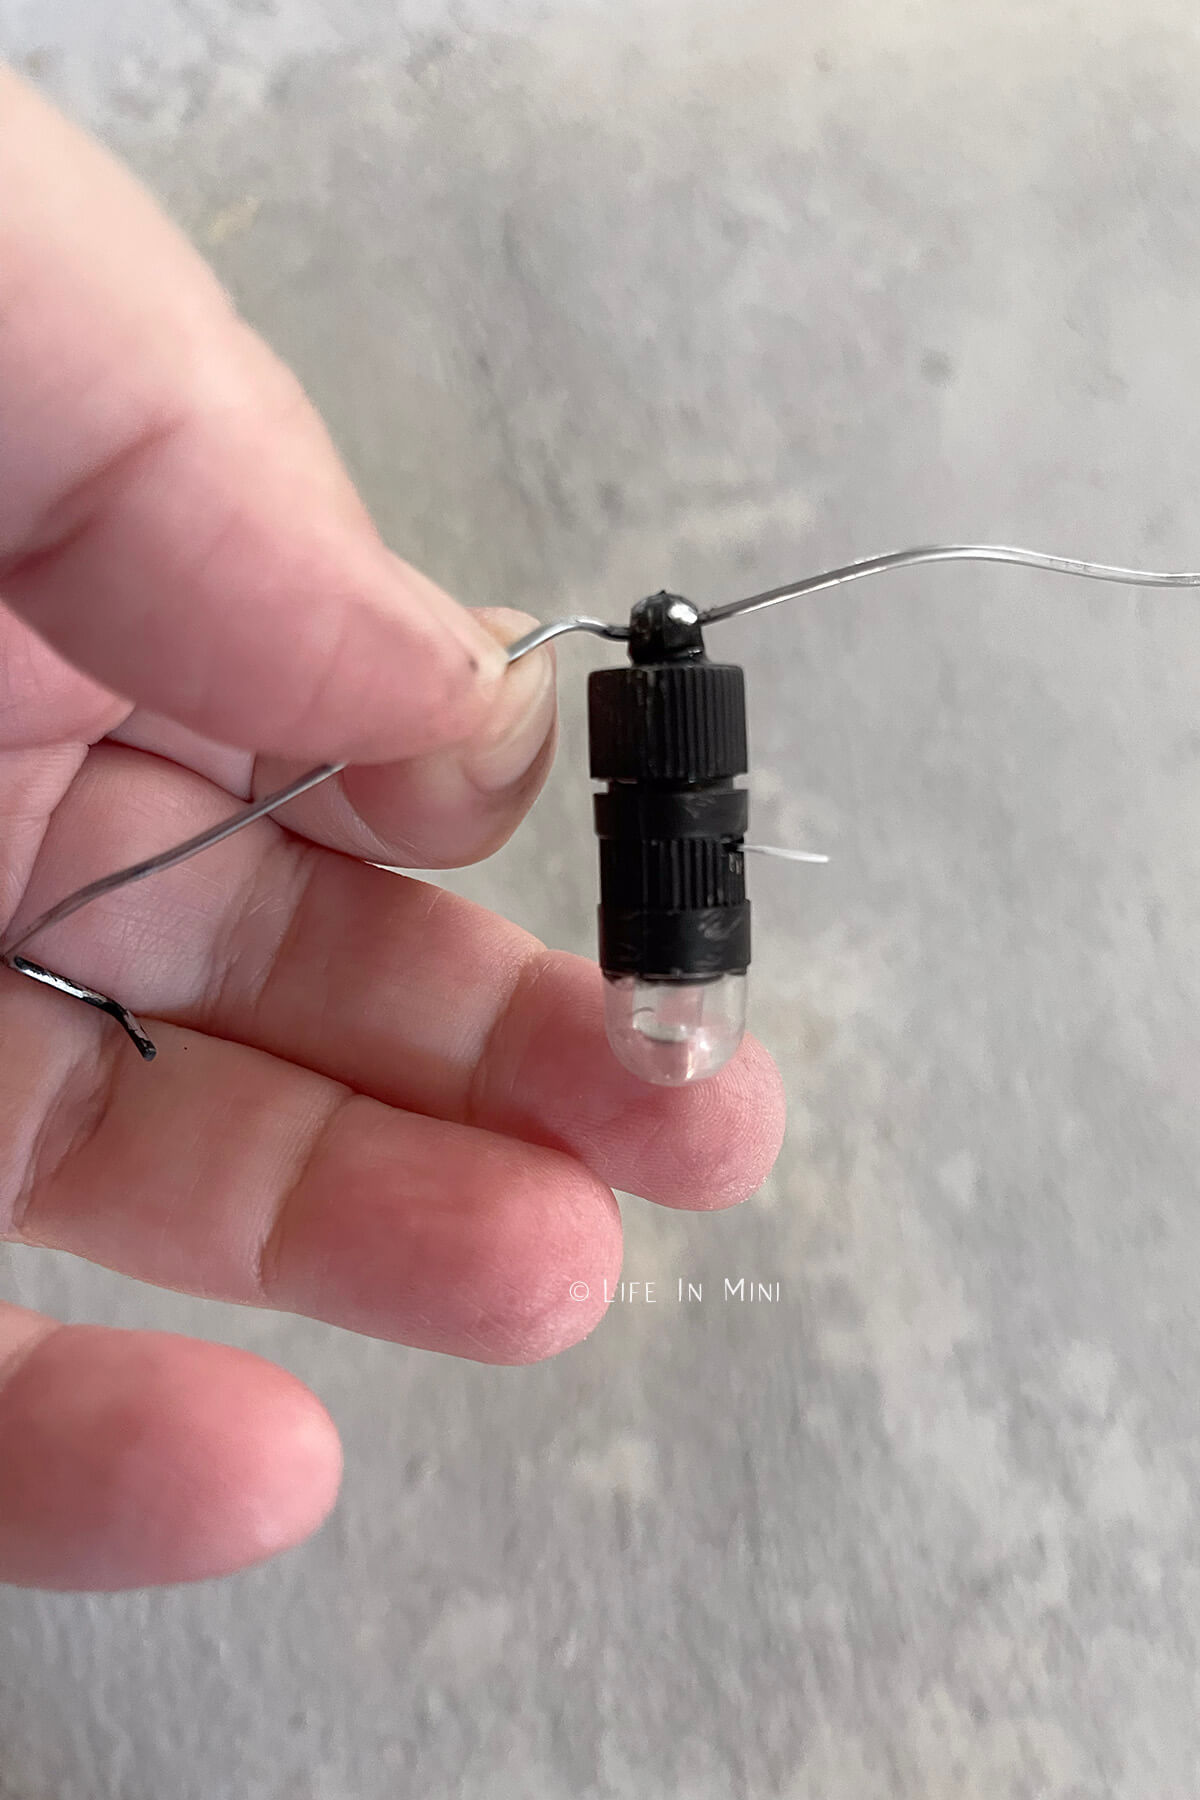
4. While the glue dries, paint the metal parts of the balloon light black. You can keep it silver metallic, if you want, or even paint it bronze or gold. Your preference.
I hung the light off a paper clip I opened up and propped it over a cup while it dries.
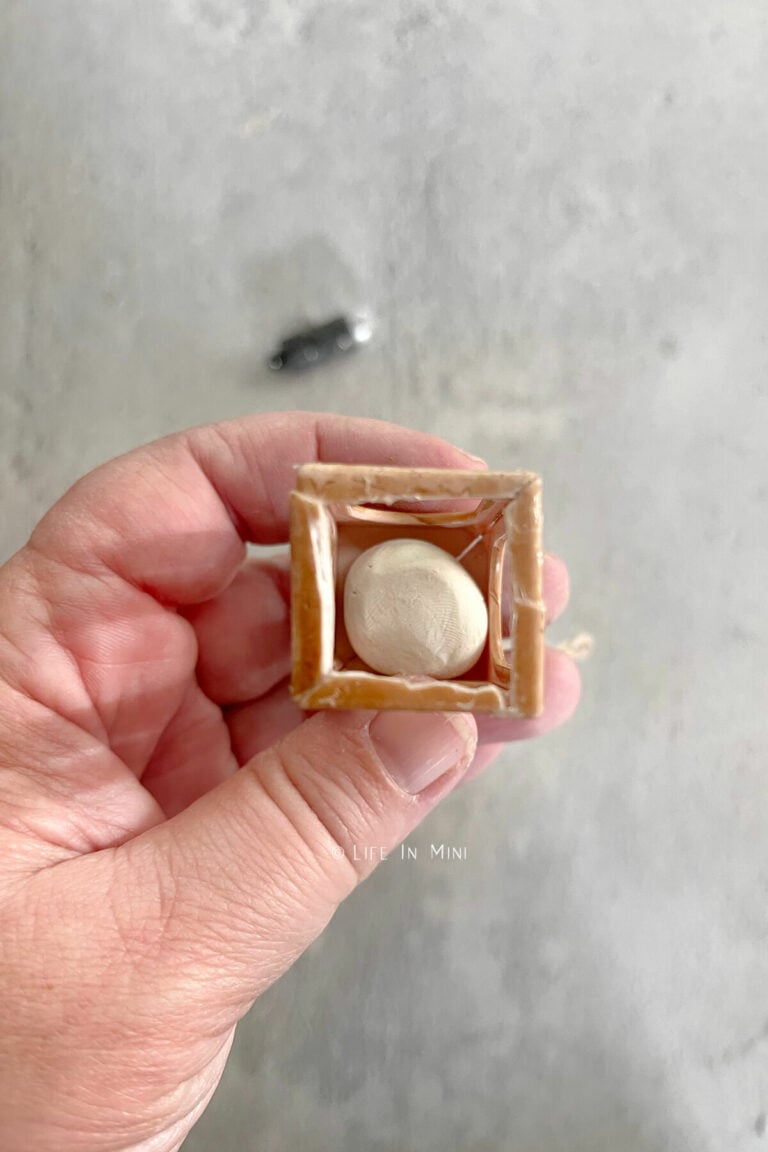
5. Once the glue is dry on your lantern and the paint is dry on the light, press a ball of clay inside the top roof of the lantern. You want enough to hold the balloon light but not too much as it might spill out of the lantern.
Press the balloon light into the soft clay and flatten and shape the clay around it to make it look neat and tidy.
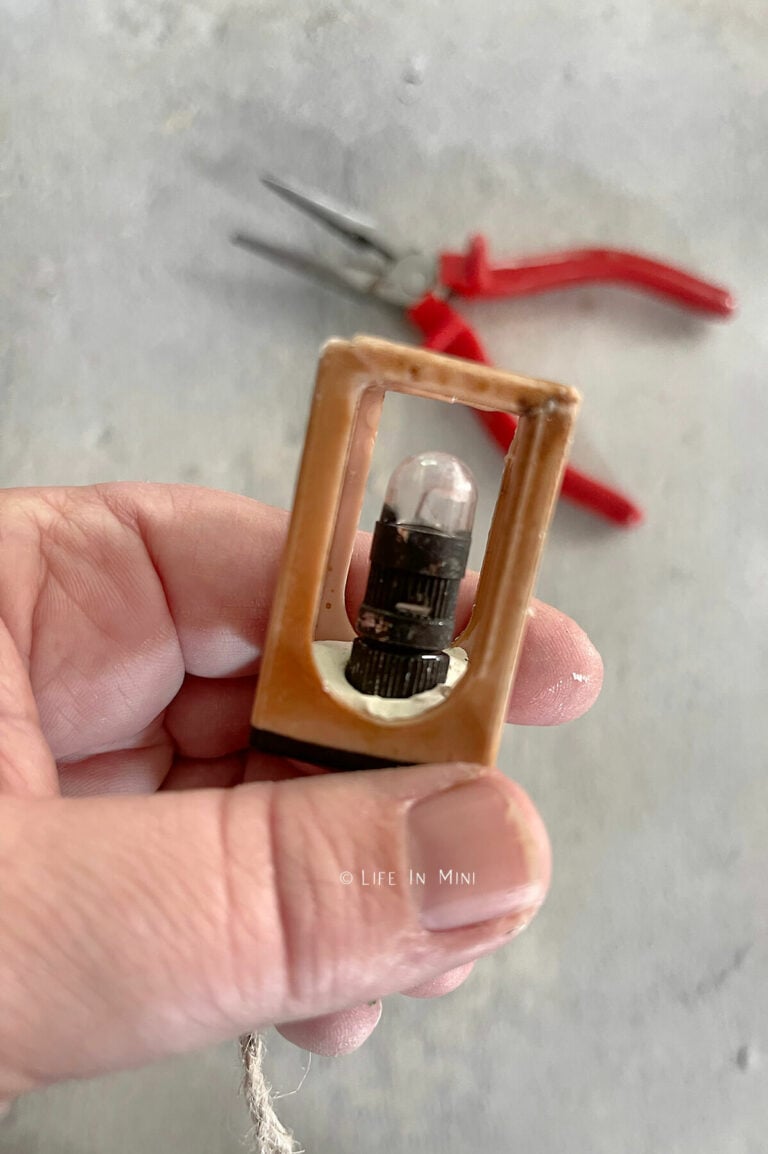
6. Wait a few hours for the clay to dry. Once dried, it will not stick to the plastic, but it should stick to the top half of the balloon light. Pull out the light, slather on some glue over the top of clay and press it back into the roof of the lantern to dry completely.
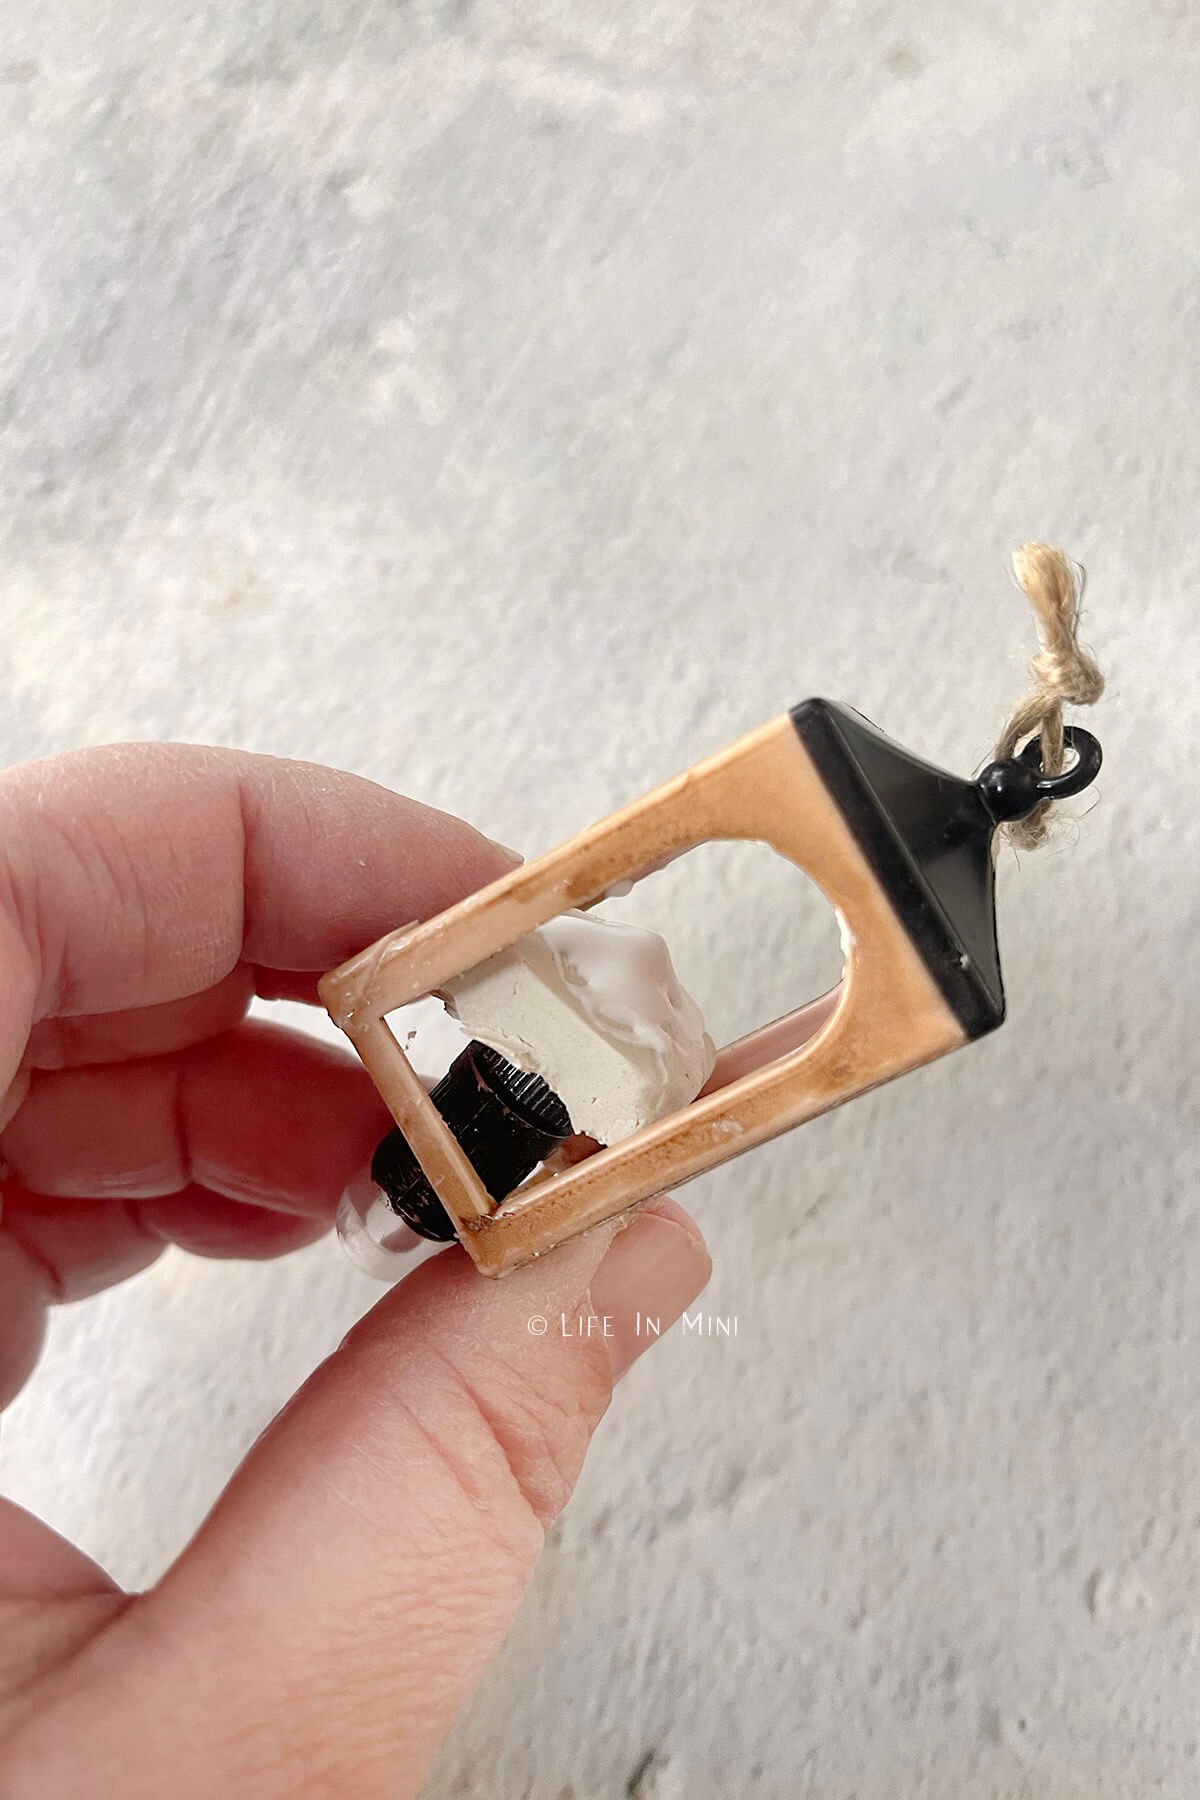
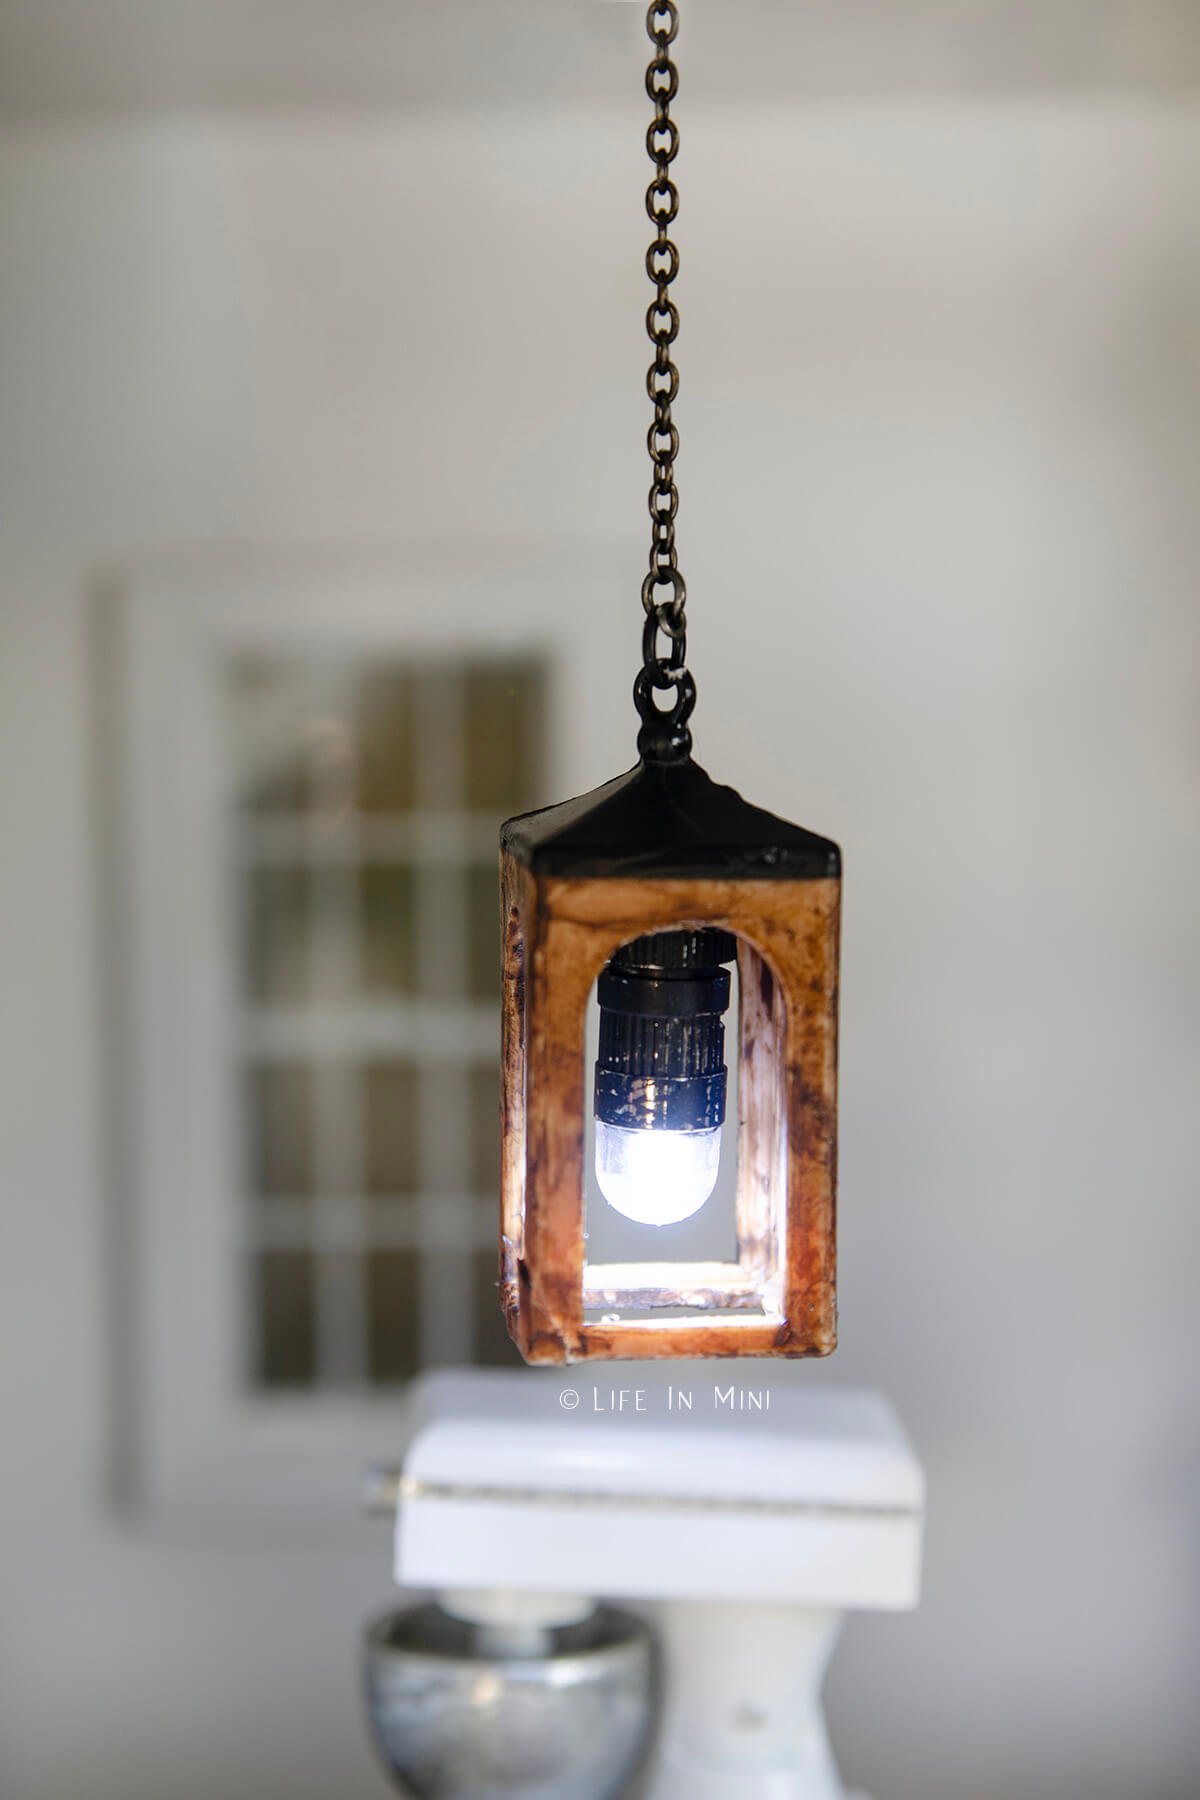
7. Originally I was just going to hang the light with the twine that came with it, but I changed my mind and used a broken chain I had found and used that instead. I also thought the plastic wood was lighter than I liked, so I added some dark brown glaze to it.
If you want to paint the lantern, it’s much easier to do it before adding the light! You can also paint the entire lantern black.
Expert tips and FAQs
Once you have your light affixed to your lantern, you can use it as a number of different ways:
- You can have it hang like a pendant like, as I did.
- Add two alongside your front door for outdoor lighting.
- Keep the bottom on and use it as a hand help lantern.
- Keep the bottom on, attach it to a pole and make it into a street light.
What are you going to do with yours?
If you are enjoying my blog, why not sign up for my newsletter so you won’t miss out on the mini adventures!
Miniature Lantern Pendant Light Made with Balloon Lights
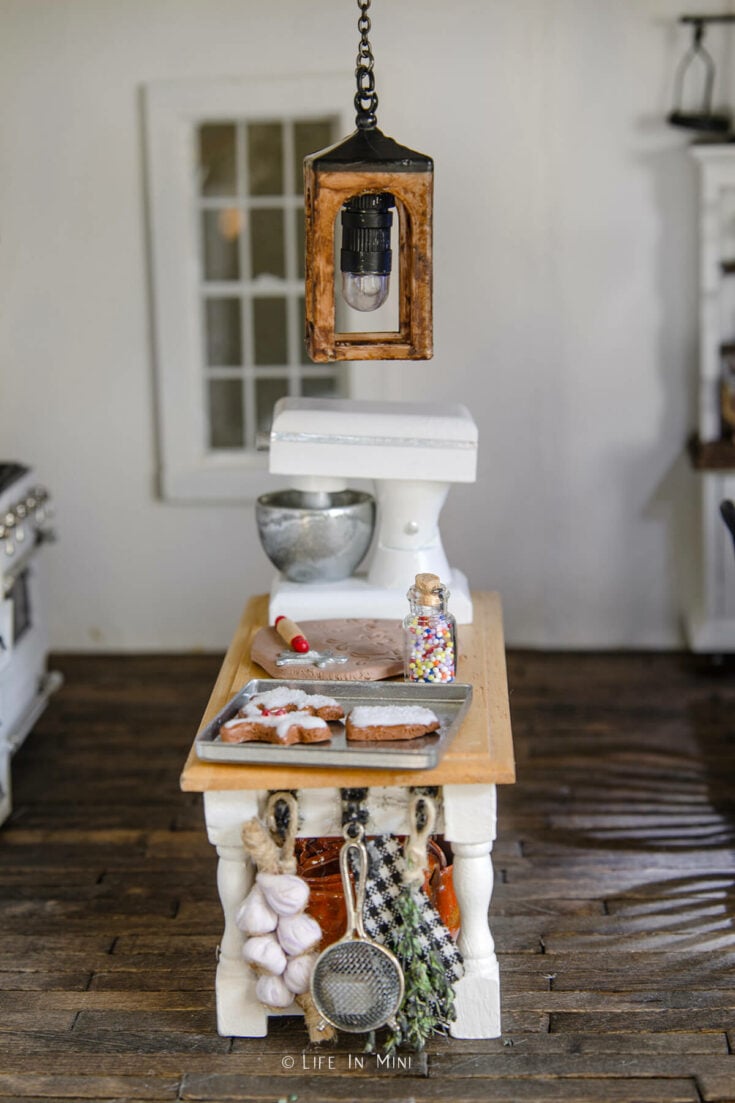
Balloon lights are a great way to make your own dollhouse lighting. This tutorial shows you how to make a pendant light with a miniature ornaments and a balloon light.
Materials
- Balloon lights
- Mini lantern ornament
- Air dry clay
- Aleene’s Tacky Glue
- Black and brown paint
- Metal jewelry chain
- Magnets
Tools
- X-acto blade
- Pliers
Notes
- Remove the greenery, pinecone and dried glue blob from the inside of the lantern. You can use these for another miniature project.
- Using an x-acto or sharp scissors, carefully remove the square on the bottom of the lantern. If it cracks or breaks, that's okay. It can easily be fixed.
- If you do crack of break your lantern did break, it is easily repairable with some glue. So patch it up and let the glue dry completely before moving on to the next step.
- While the glue dries, paint the metal parts of the balloon light black. You can keep it silver metallic, if you want or paint it bronze or gold. Be sure to remove the little tab in the light and twist to turn the light off before you paint. You can hand the light off an open paper clip and propped it over a cup while it dries.
- If you want to paint the lantern frame all black or dark brown, it is best to do it now before adding the light.
- Once the glue is dry on your lantern and the paint is dry on the light, press a ball of clay inside the top roof of the lantern. You want enough to hold the balloon light but not spill out of the lantern.
- Press the balloon light into the clay and flatten and shape the clay around it to make it look neat and tidy.
- Wait a few hours for the clay to dry completely. It will not stick to the plastic but it should stick to the top half of the balloon light. Pull out the light, slather on some glue over the top of clay and press it back into the roof of the lantern to dry completely.
- You can now hang the light with the twine it came with or add a chain.I used a jump ring and jewelry chain to hang my light.
PS If you try this craft, why not leave a star rating in the direction card right below and/or a review in the comment section further down the page? I always appreciate your feedback.
You can also follow me on Pinterest, Facebook or Instagram. Sign up for my eMail list, too!



Tammy says
I was wondering if you have found that the balloon lights burn out quickly. some reviews I’ve read say they can last as little as 15 mins.
Wendy says
Hi there Laura
Another wonderful little project that I’m going to do thank you 🙏🏻
But quick question are the balloon lights only a one time deal once they run out is there changing of a battery is there and on off switch please and thank you if you could let me know would appreciate that thank you 😊
Laura says
Hi Wendy-
The ones I have allows you to replace the batteries. I don’t like the one-and-done options. Such a waste!
Laura