Dollhouse trick-or-treating is not complete without these nostalgic miniature halloween pumpkin pails – made with supplies found at the 99¢ store!
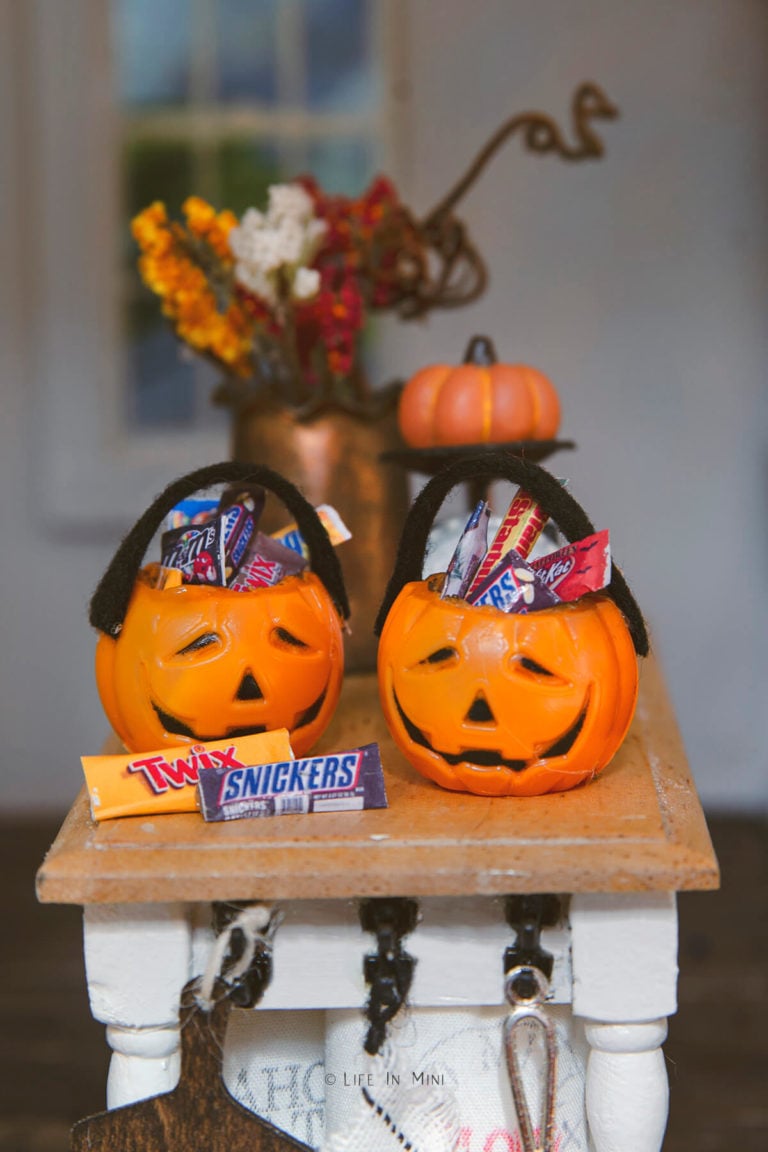
When I was a kid, trick-or-treating meant homemade costumes and wandering around the neighborhood with my friends until I was too tired to beg for more candy. I guess I am showing my age!
But hey, those were the 80’s in Houston, Texas. One thing that remained constant was that we all lugged those plastic pumpkin pails for our loot. So for me, those cheesy plastic buckets are the heart of some halloween fun.
I have gotten an early start decorating the dollhouse for halloween this year – mostly because my teenage daughter started decorating her room for the holiday once September arrived. I have already shared with you my halloween gnomes, but I was still on the prowl for more spooky inspiration.
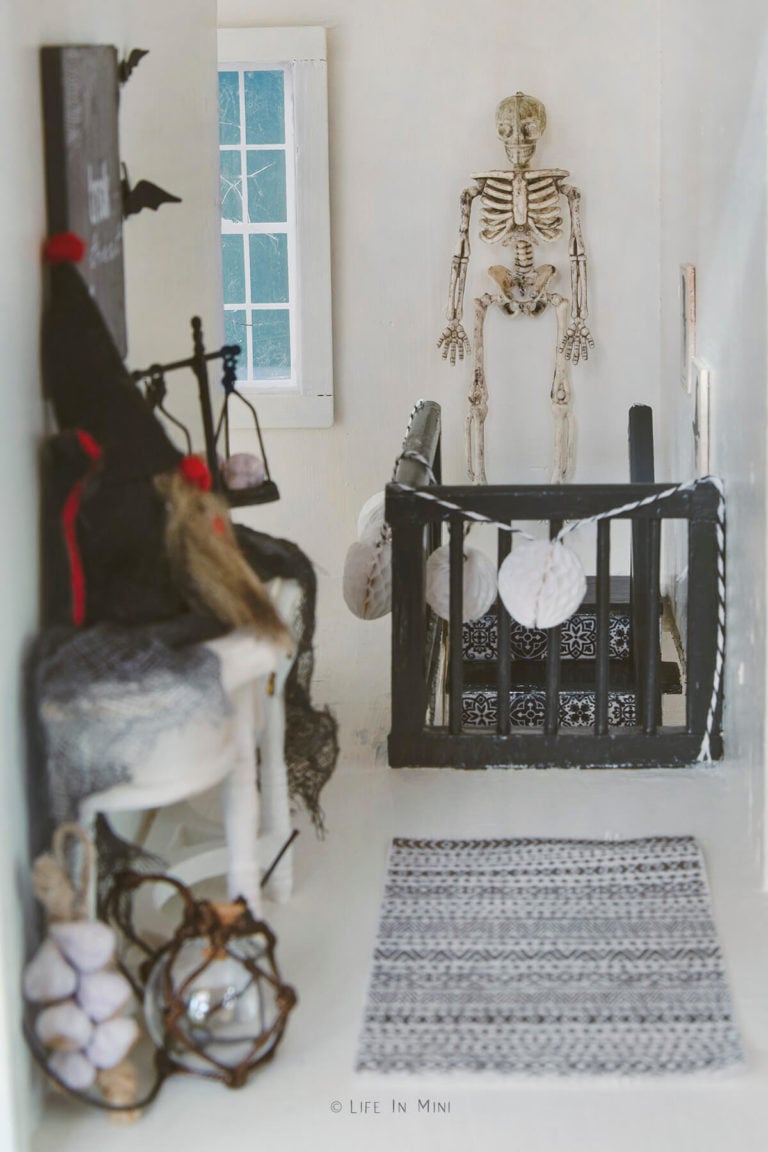
So I hit the dollar stores. Both The Dollar Tree and 99¢ Stores have great halloween decorations for cheap. And this is where I found the perfect miniature pumpkin pail for my mini trick-or-treaters.
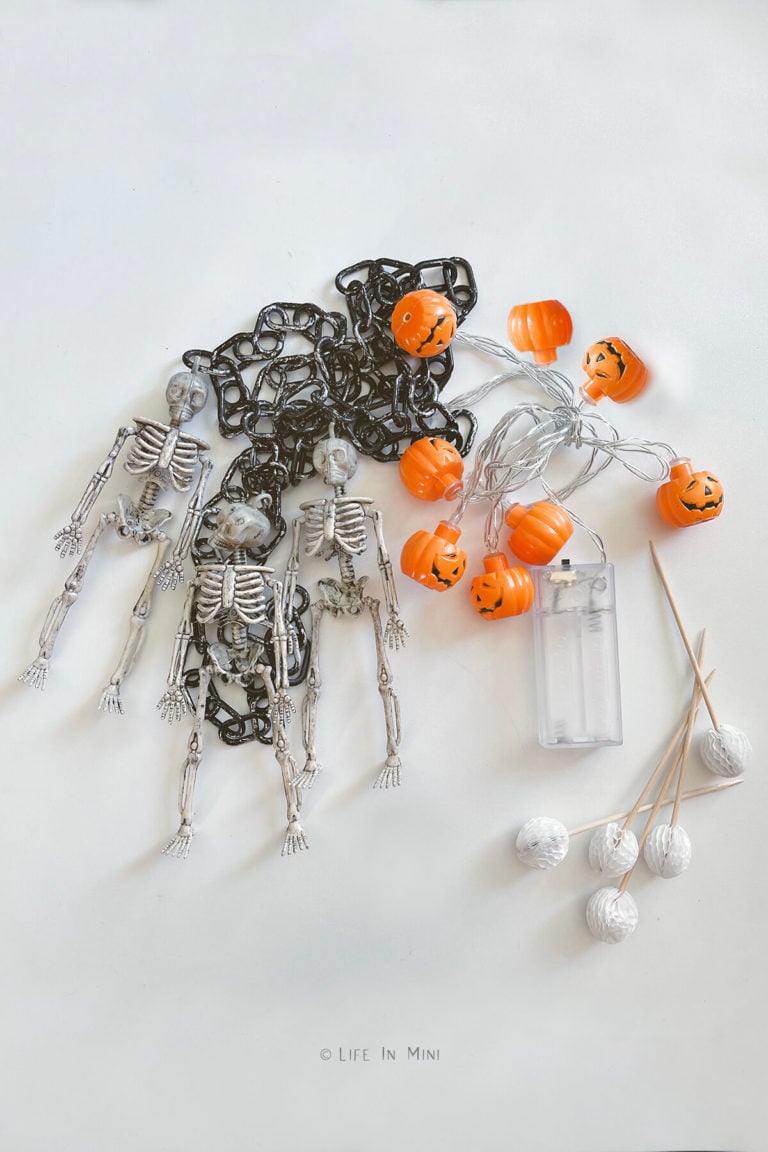
It was at the 99¢ Store where I found these cute jack-o-lantern mini lights. The plastic pumpkins were the perfect size for my mini pumpkin bins. One set of lights has 8 pumpkins for $1.49. Yeah, not everything here is 99¢, but still a good deal in my book.
I also found some miniature skeletons and some balloon toothpicks. Both would be perfect for my halloween dollhouse decor!
Supplies you need
This post contains some affiliate links for your convenience (which means if you make a purchase after clicking a link I will earn a small commission but it won’t cost you a penny more)! Read my full disclosure policy.
This tutorial is to make some mini pumpkin pails from the pumpkin lights I found at the 99¢ store.
- 1 set of pumpkin lights: I found these at the 99¢ store. They are similar to these I found on Amazon.
- Black felt: I used black felt for the handle, but you could also use black craft foam or card stock.
- Hot glue gun
- Xacto blade
- Lighter
Step-by-step directions
1. The plastic pumpkin are easy to remove from the string of lights. But, you have to remove the top part to make the opening of the pails.
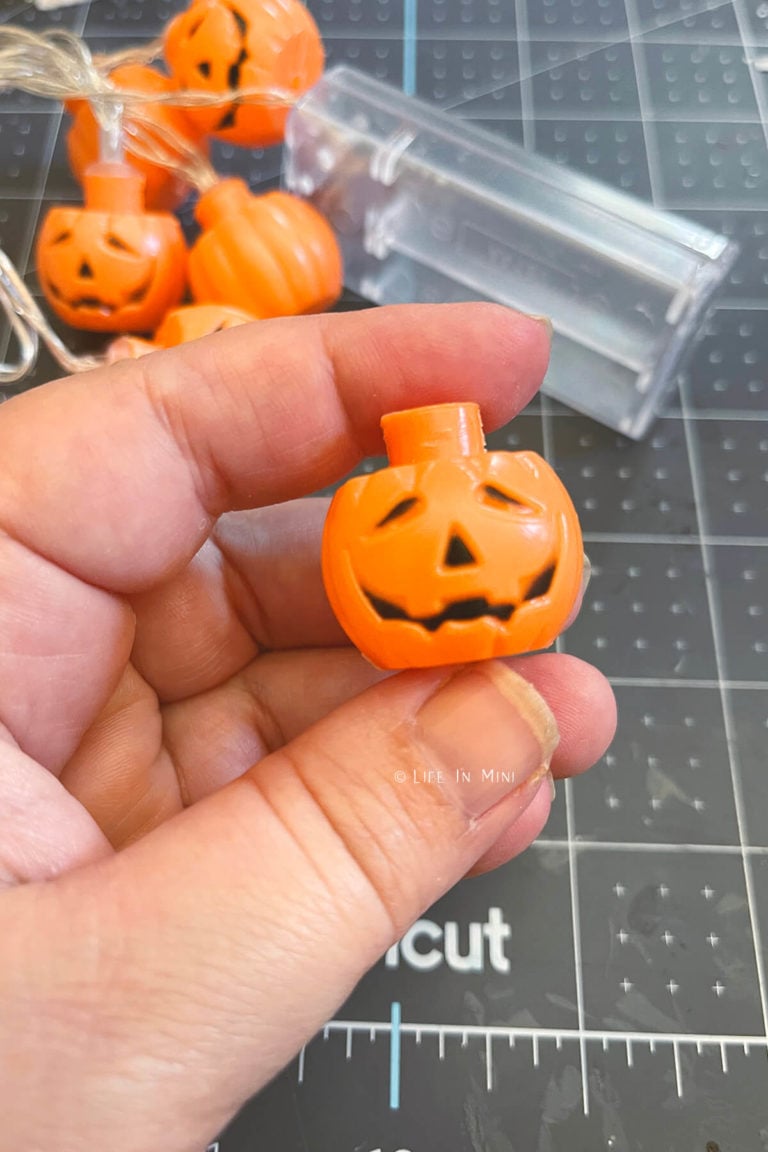
2. Heat your blade with your lighter, then gently cut around the top of your pumpkin with the hot blade. You will get about 2 cuts before you have to heat your blade again, so work slowly and don’t rush.
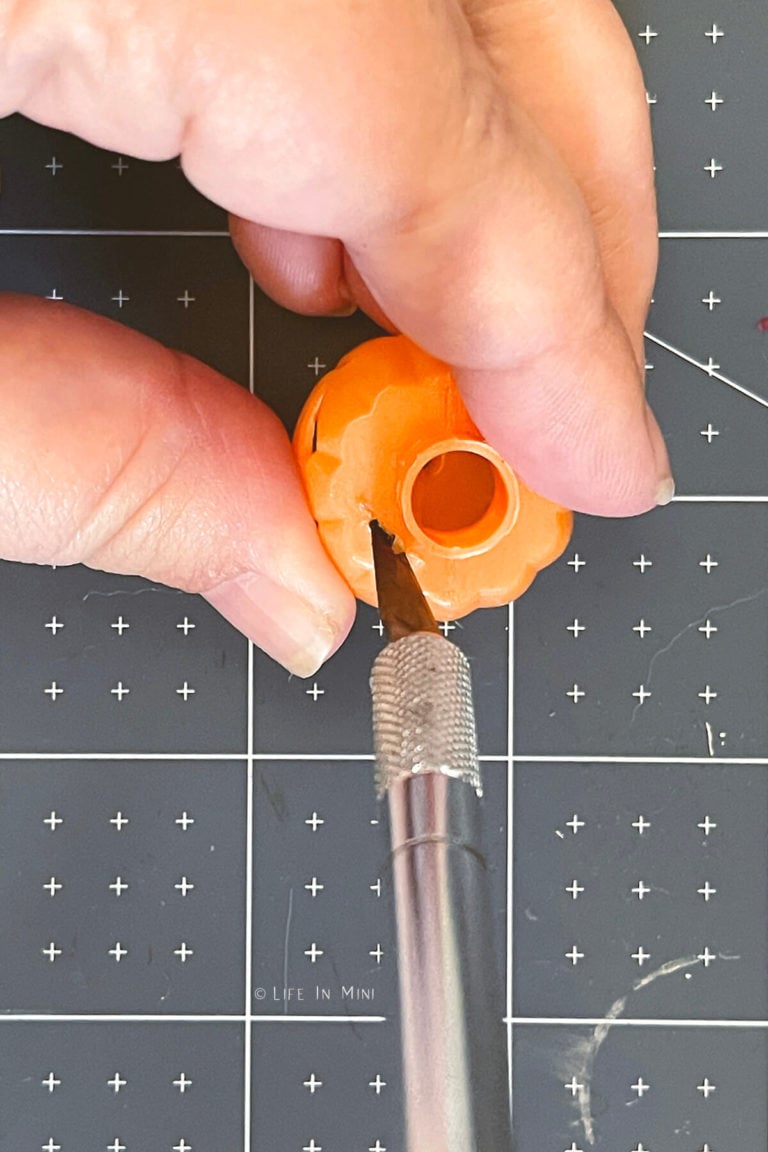
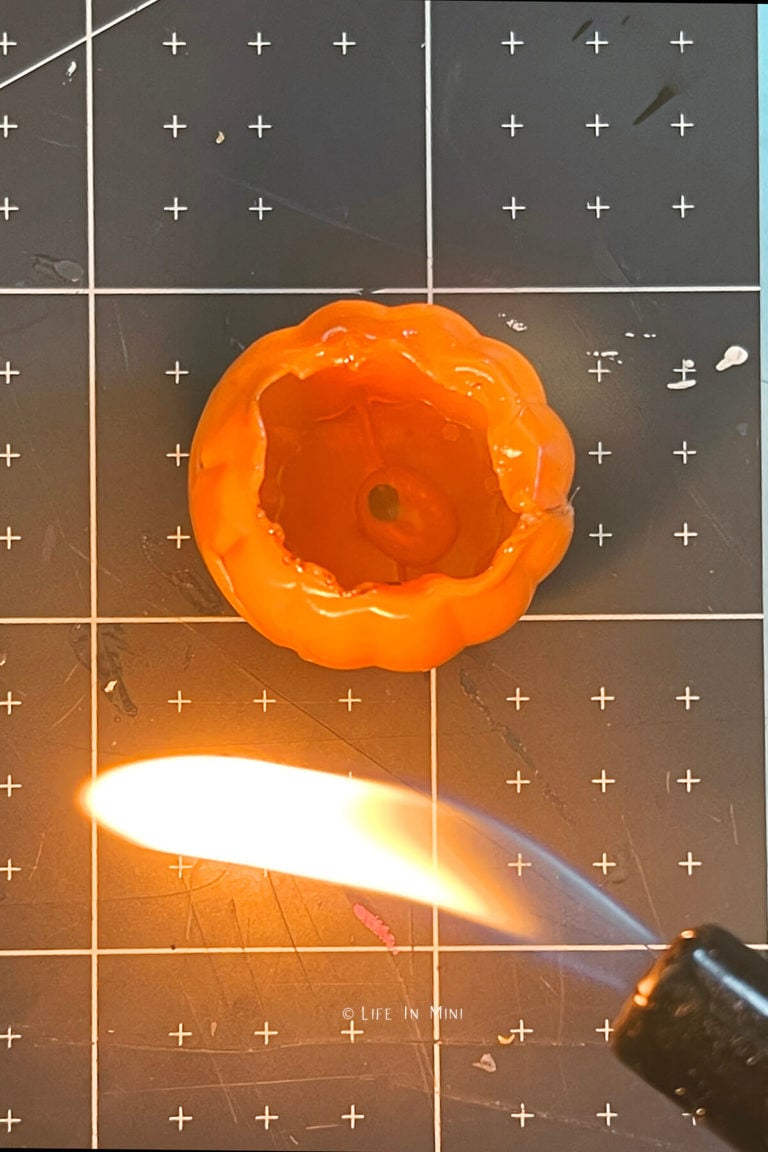
3. Continue heating your blade and cutting the top off your pumpkin until the top is removed. If you have jagged cuts, you can gently heat the cut opening. Once softened, press your knife against the jagged edge to press it down and smooth it. This is cheap plastic so don’t over heat it or inhale any fumes.
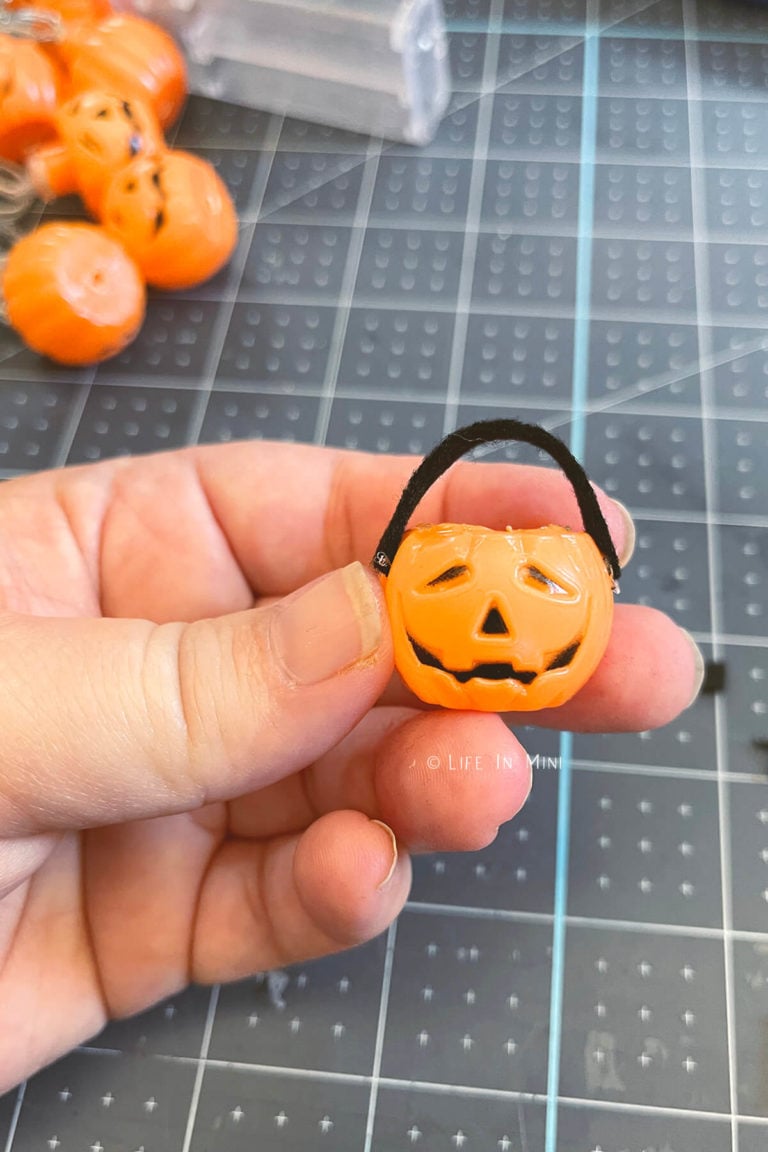
4. Once the opening is cut, you need to make handles. Cut a strip of black felt and hot glue it to your pumpkin. Mine were about 1.5-inches long. Also, the bottom of the pumpkin has a tiny hole. If you want to fill it up, add a dab of hot glue over it from the inside of the pumpkin.
Project tips and FAQs
This is such an easy project and it is the perfect Halloween accessory for your dollhouse or mini scene. Making the mini candy bars took WAY longer than these pails. I found the following candy printables below:
- Twix Bars (printable and video tutorial)
- Mentos (printable and video tutorial)
- Toblerone (printable and video tutorial)
- Snickers (printable and video tutorial)
- Assorted candies and chocolates (printable)
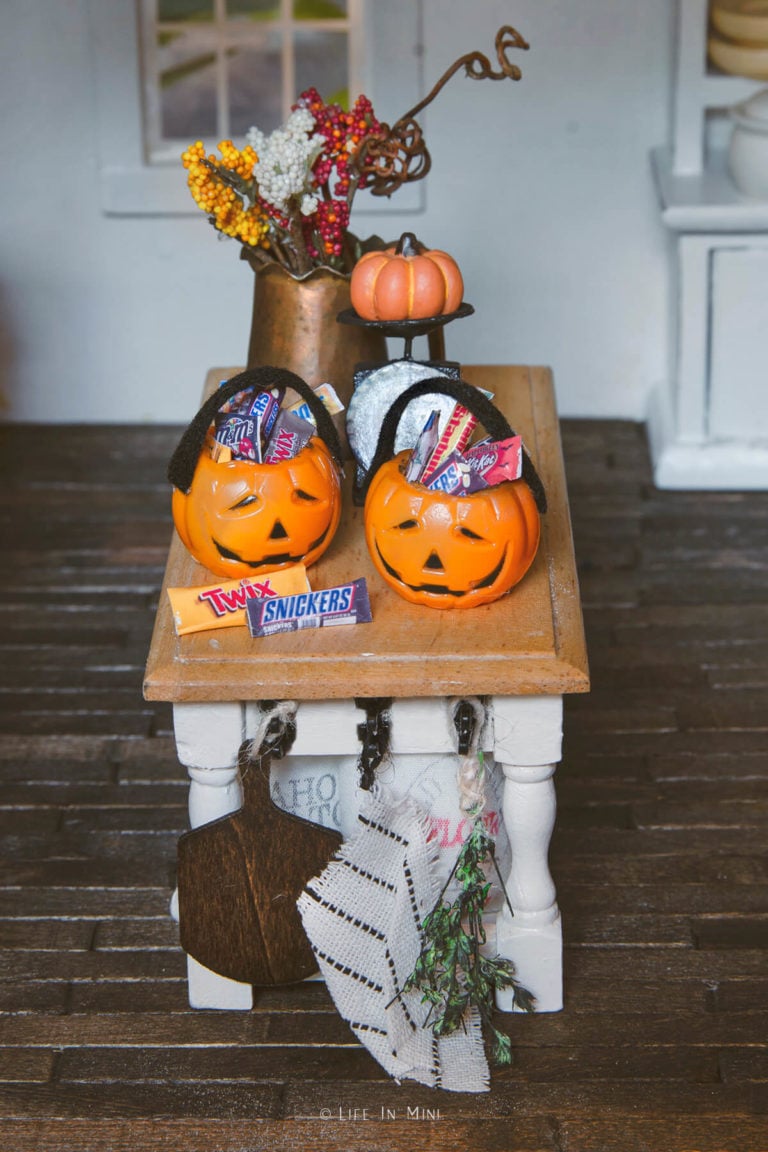
Print on glossy photo paper then cut out each wrapper. Use your xacto blade to cut into the edge of the paper so you can peel off the top glossy printout and discard the excess card stock. You can also print on regular paper then cover with clear packing tape.
I used Aleene’s Tacky Glue as the adhesive. I stuck broken bits of toothpicks inside for the candy bars. For the M&Ms, I used some tiny beads. I wasn’t planning on opening these candies, so I just wanted them to look full.
There are lots of video tutorials on how to make these miniature candy bars. Some of these are for Barbie (1:6) but you can easily resize it to 1:12.
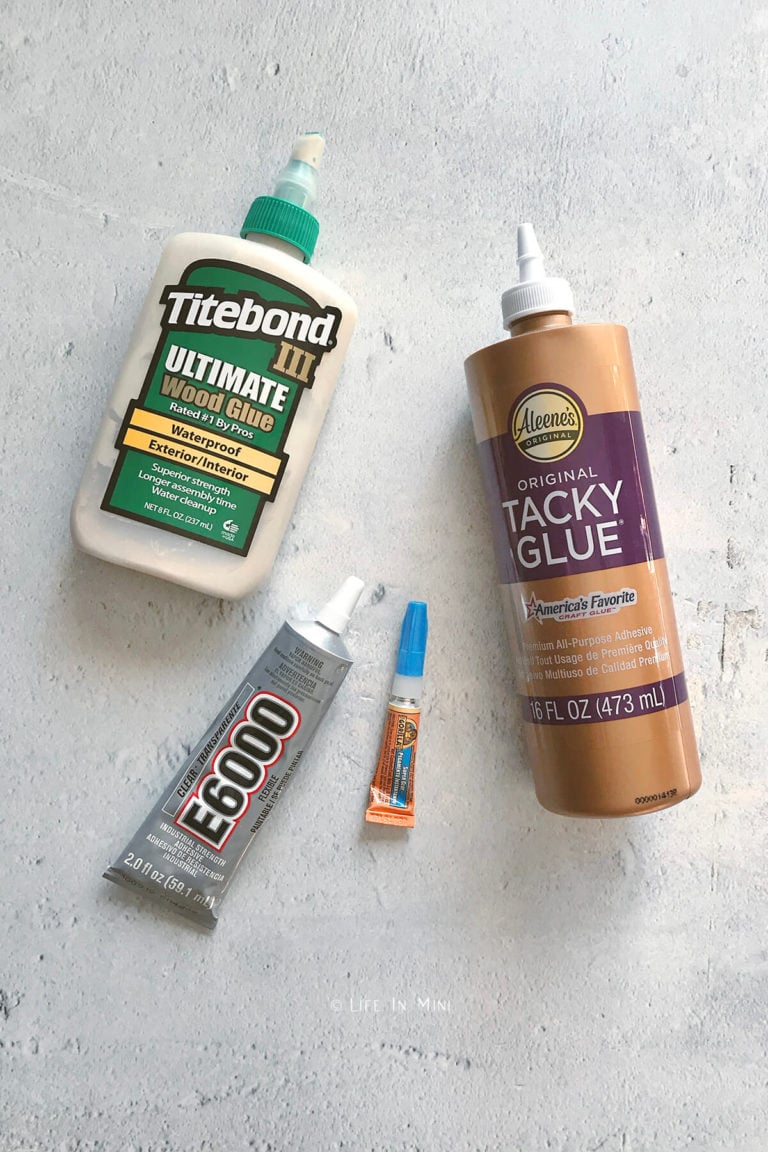
Laura’s Top Pick:
Having the right glue for the right project is important in mini making. My favorite glue for most any projects? Aleene’s Tacky Glue!
If you are enjoying my blog, why not sign up for my newsletter so you won’t miss out on the mini adventures!
Miniature Halloween Pumpkin Pails
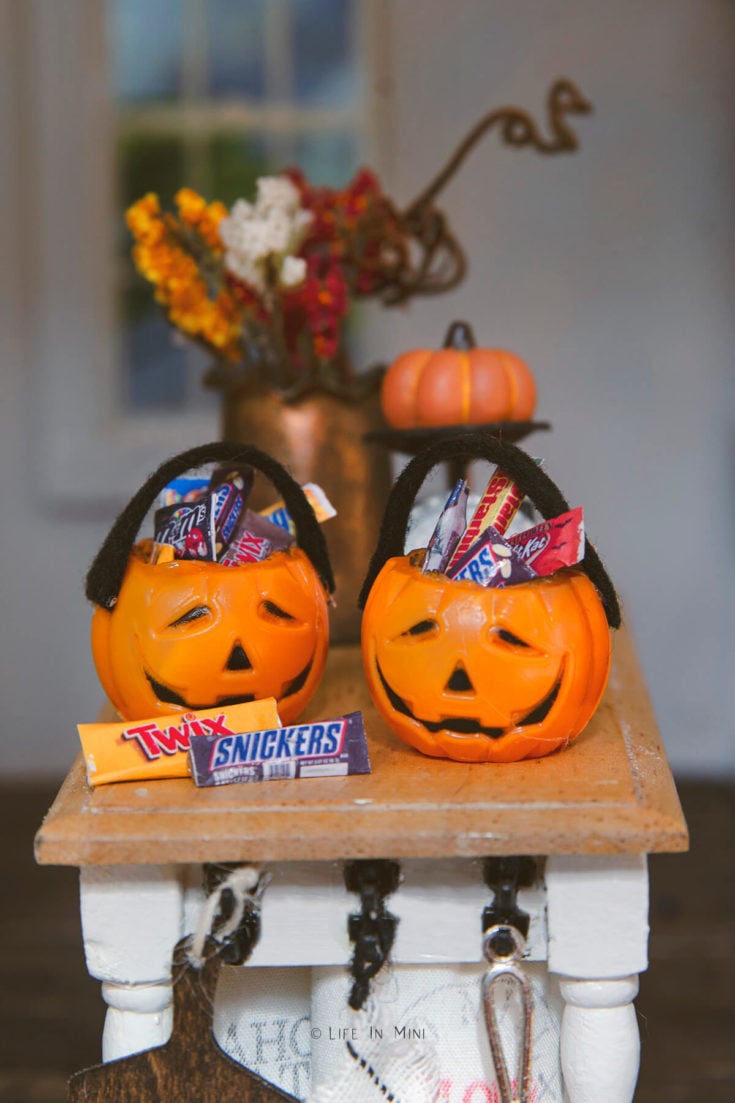
Dollhouse trick-or-treating is not complete without these nostalgic miniature halloween pumpkin pails - made with supplies found at the 99¢ store!
Materials
- String of mini pumpkin lights from the 99¢ store
- Black felt, card stock or craft foam
Tools
- Lighter
- Xacto blade
- Hot glue
Instructions
- Remove the plastic pumpkins from the string of lights.
- Heat your xacto blade with your lighter, then gently cut around the top of your pumpkin with the hot blade. You will get about 2 cuts before you have to heat your blade again, so work slowly and don't rush.
- Continue heating your blade and cutting the top off your pumpkin until the top is removed.
- If you have jagged cuts, you can gently heat the cut opening. Once softened, press your knife against the jagged edge to press it down and smooth it. This is cheap plastic so don't over heat it or inhale any fumes.
- To make handles, cut a strip of black felt and hot glue it to your pumpkin. Mine were about 1.5-inches long.
- The bottom of the pumpkin has a tiny hole. If you want to fill it up, add a dab of hot glue over it from the inside of the pumpkin. Once glue is cooled, you are ready to fill these pails up!
PS If you try this craft, why not leave a star rating in the direction card right below and/or a review in the comment section further down the page? I always appreciate your feedback.
You can also follow me on Pinterest, Facebook or Instagram. Sign up for my eMail list, too!



Leave a Reply