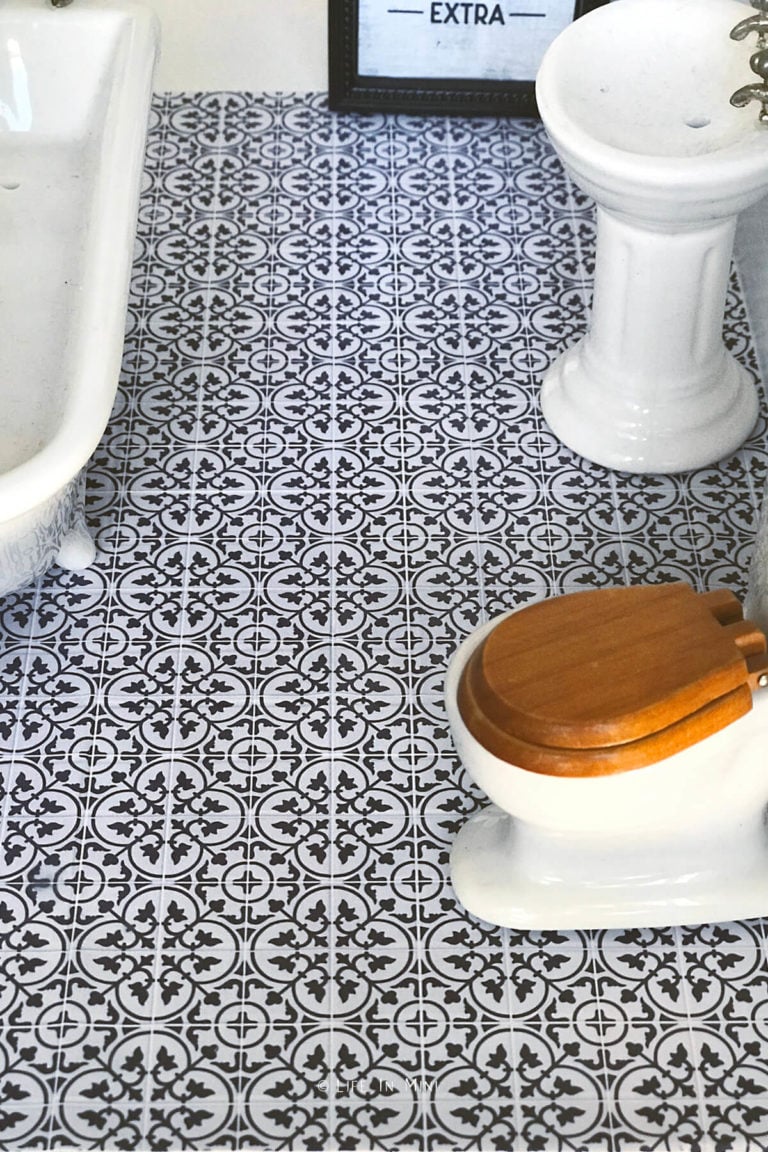
Create miniature tile flooring for your dollhouse or diorama using a simple technique of scoring photo paper. It is inexpensive and very realistic.
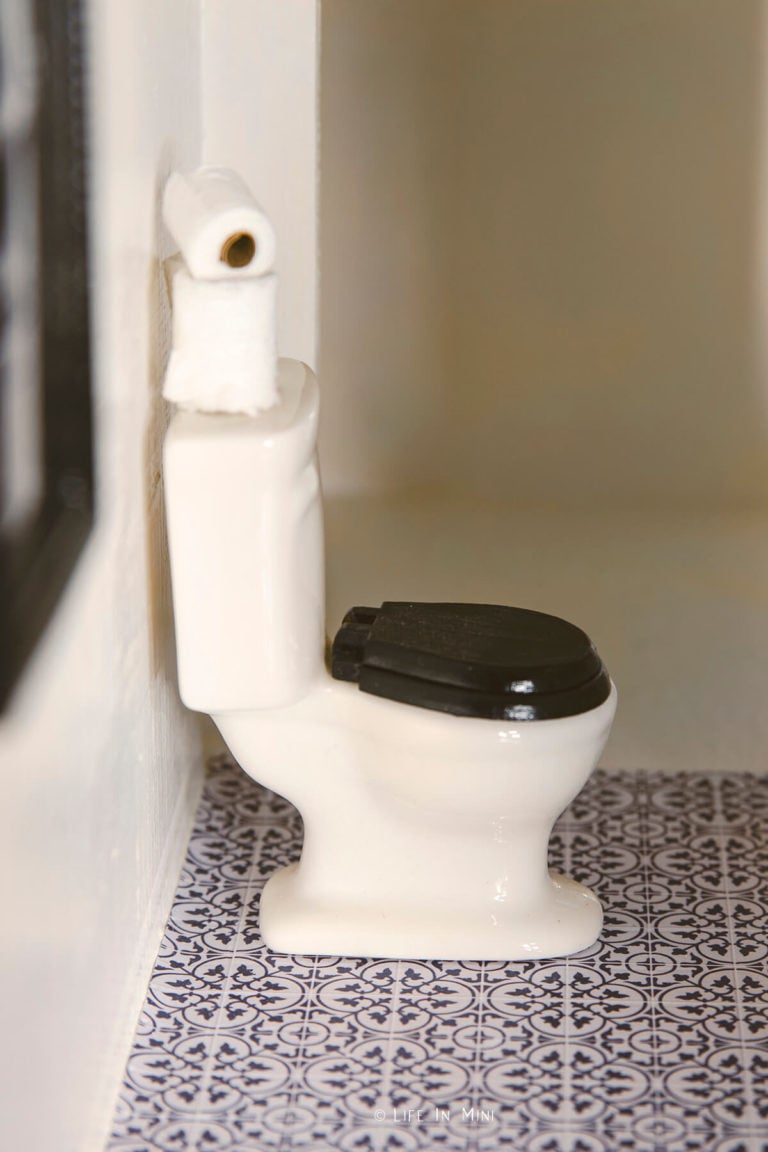
After I added the wood flooring to the downstairs of my dollhouse, I took a bit of a break. Okay, I got distracted playing with polymer clay and making mini foods and cakes. But in the meantime, I was scouring Pinterest and getting home decor inspiration.
I love Spanish and Moroccan tiles and wish I had them in my own house. So when I had to decide what to do for my dollhouse bathroom, I knew exactly which tile look I wanted to recreate.
Miniature tile flooring
I had previously made miniature tiles with paper for my staircase and found it very easy and very realistic. But bathroom tile is shiny and I wanted to mimic the grout lines in real tile work. Of course you could use small mosaic tiles to grout and install into your dollhouse, but that’s a whole lot of work, very permanent and much thicker than what I wanted to use.
You can create your own tile design of find the design you like online and create your own template. I used photoshop to create an 8.5×11 sheet with the tile image reduced to scale and repeated.
If you are not savvy with photoshop, you can purchase dollhouse tile sheets here on my blog. Let me know if you want me to do a photoshop tutorial for you and I’ll be happy to share that with you.
Some other people cut out the individual printed out tiles and glue them down to mimic tiles, too. The paper printouts can be glued onto sheets of foam to resemble tiles. You can also cut out squares of foam and paint them to resemble the tile design you like.
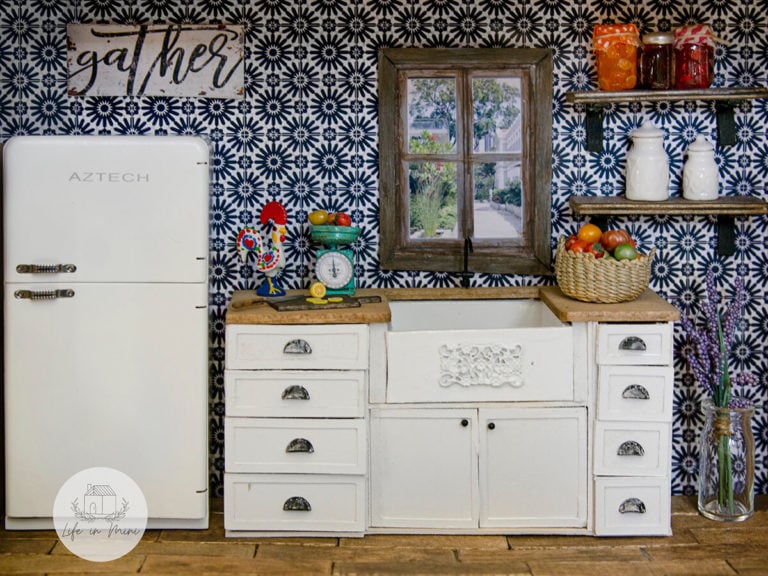
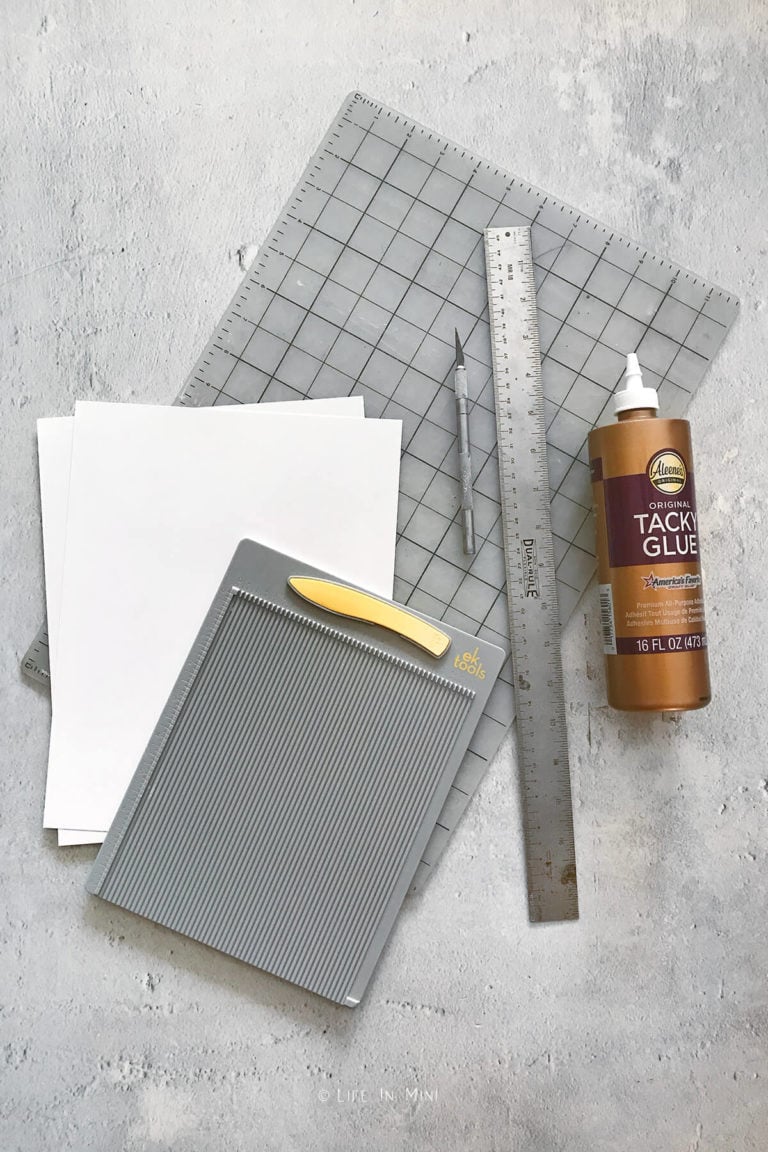
Supplies you need
This post contains some affiliate links for your convenience (which means if you make a purchase after clicking a link I will earn a small commission but it won’t cost you a penny more)! Read my full disclosure policy.
- Glossy photo paper: The high gloss paper gives the sheen I was looking for my tile flooring. Any brand photo paper will work.
- Scoring board and stylus: This makes scoring the paper so very easy. You can get one that is 8.5×11-inches or larger, depending on the size projects you use.
- Glue: I used this white glue to adhere the photo paper tile sheet onto the wooden dollhouse floor.
- Xacto knife: The xacto knife is a crafter’s best friend. I stopped borrowing my husband’s blade and bought myself a kit like this.
- Metal ruler: I use a metal ruler with cork backing when I do my cutting. I also use a cutting mat, but a piece of cardboard works, too.
- Crystal clear spray coating: Similar to polyurethane, this protects the image that was printed on the photo paper. Again, choose high gloss. This is optional.
Step-by-step directions
1. Find the tile image you like and pull it into photoshop. Most real tiles are 1-foot squares, so I made my tiles 1-inch squares. Copy and paste the image until you have a full sheet covered. You can also purchase tile sheets. I have a few dollhouse tile designs in my miniature shop. Print onto glossy photo paper and let it dry completely.
2. Once the photo sheet is dry, cut your tile sheet to fit in the space you are tiling. You can make a template of the floor space using scrap paper.
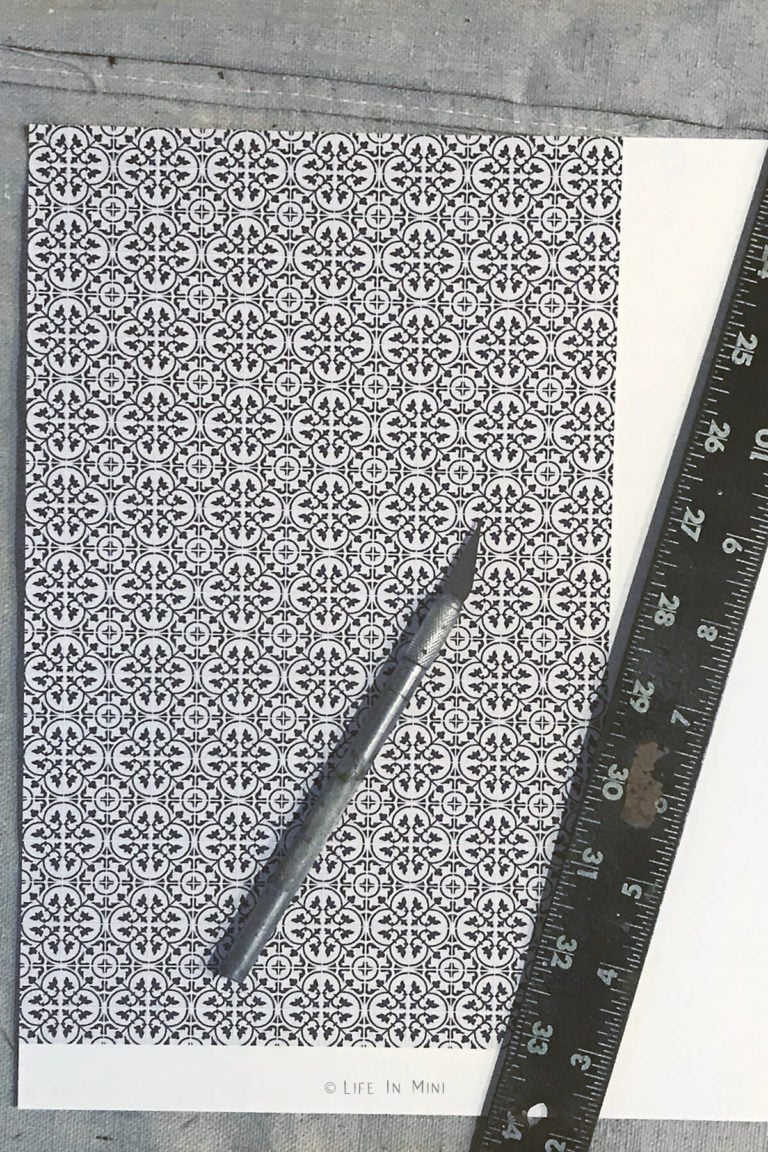
3. Place the tile sheet on your score board. Line the grout lines with the scoring lines and use the stylus to score the lines down the sheet.
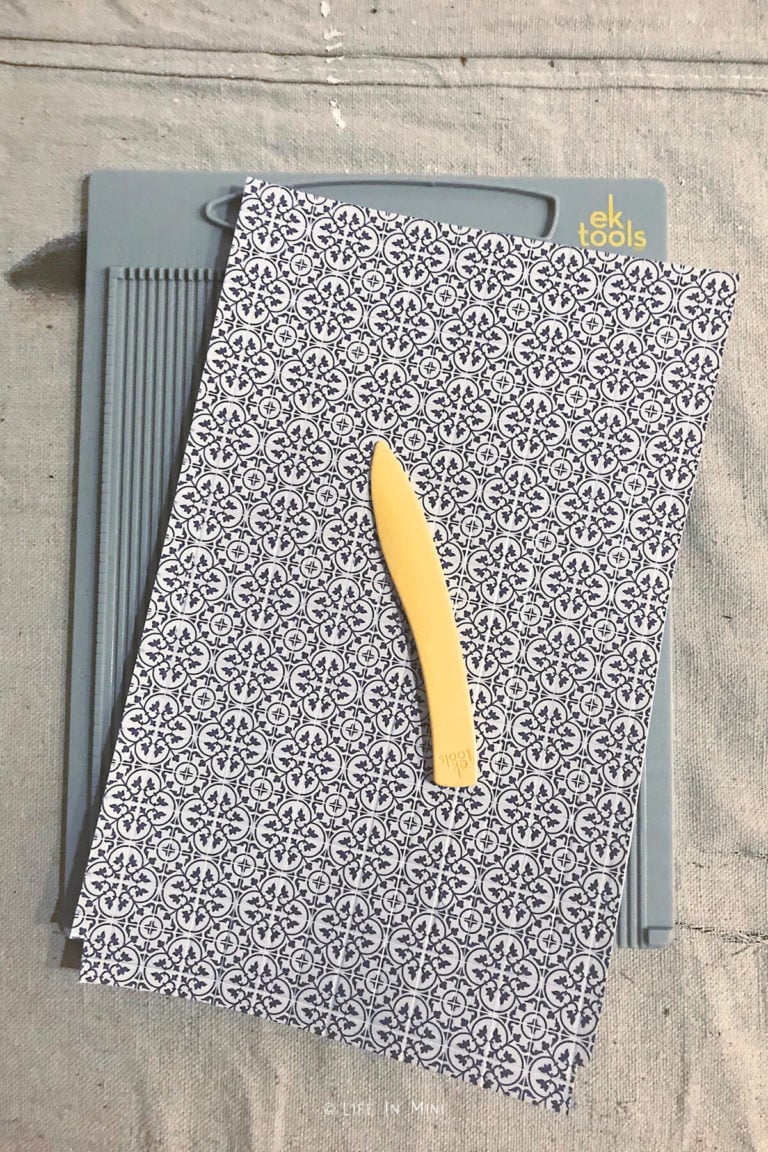
4. Turn the paper 90-degrees and score the grout lines in the other direction.
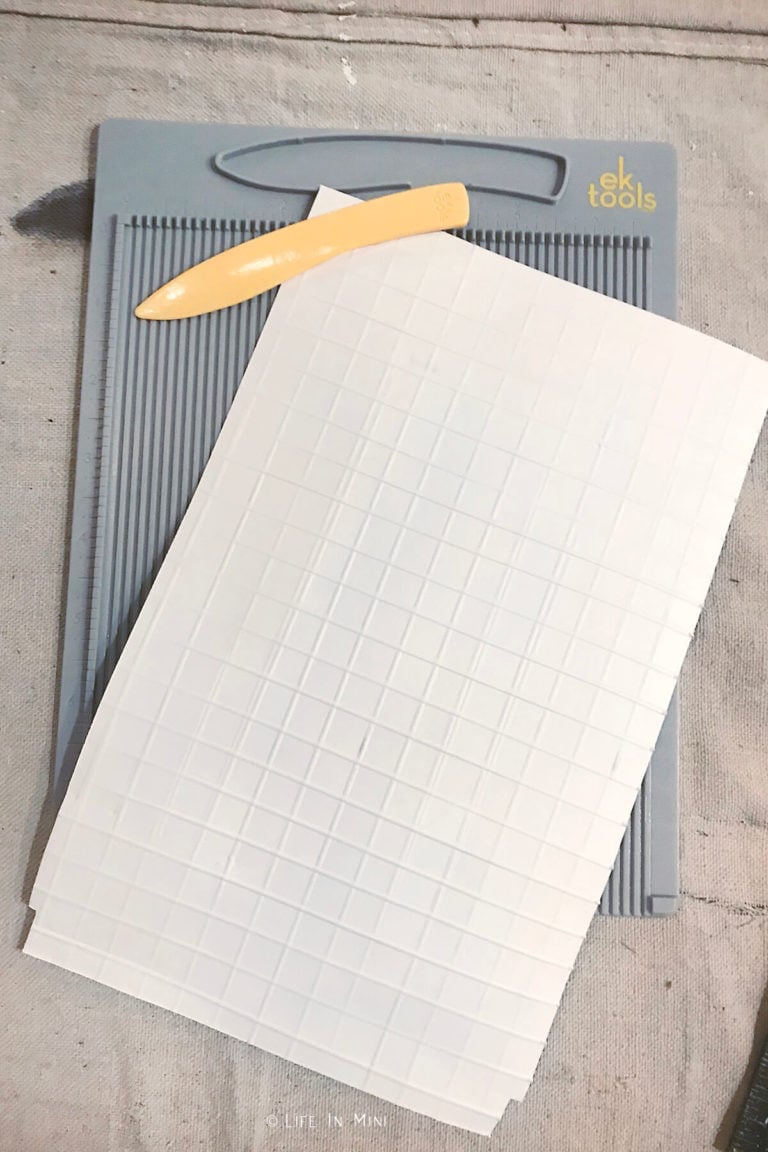
5. Give the tile sheet a spray of clear coat for added protection, if wanted. Adhere tile sheet to your dollhouse using white glue or wood glue. Place some heavy books or objects over it until glue dries completely.
If you are enjoying my blog, why not sign up for my newsletter so you won’t miss out on the mini adventures!
How to make miniature tile using photo paper
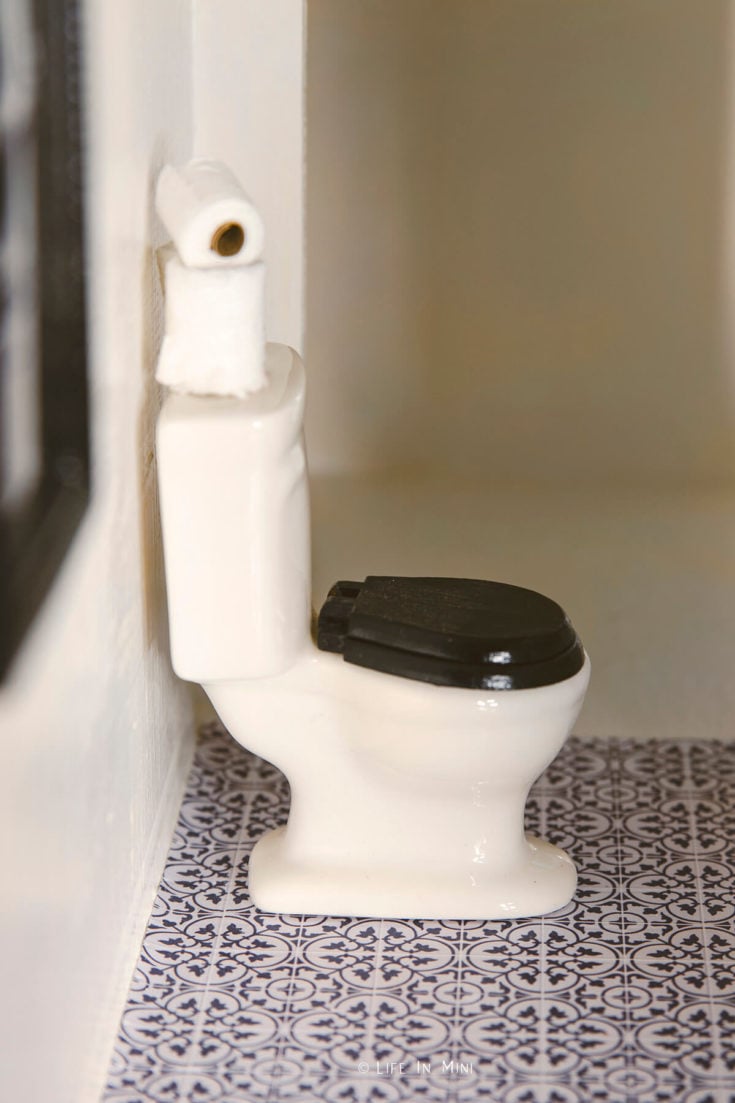
Create miniature tile flooring for your dollhouse or diorama using a simple technique of scoring photo paper. It is inexpensive and very realistic.
Materials
- Glossy Photo Paper
- White Glue
Tools
- Scoring board and stylus
- Xacto knife
- Rule
- Cutting mat
- Clear coat (optional)
Instructions
- Find the tile image you like and pull it into photoshop. Most real tiles are 1-foot squares, so I made my tiles 1-inch squares. Copy and paste the image until you have a full sheet covered. Print onto glossy photo paper and let it dry completely.
- Once the photo sheet is dry, cut your tile sheet to fit in the space you are tiling. You can make a template of the floor space using scrap paper.
- Place the tile sheet on your score board. Line the grout lines with the scoring lines and use the stylus to score the lines down the sheet.
- Turn the paper 90-degrees and score the grout lines in the other direction.
- Give the tile sheet a spray of clear coat for added protection, if wanted.
- Adhere tile sheet to your dollhouse using white glue or wood glue. Place some heavy books or objects over it until glue dries completely.
Notes
You can also use this technique using scrapbook paper or tile sheets you have purchased and downloaded online.
PS If you try this craft, why not leave a star rating in the direction card right below and/or a review in the comment section further down the page? I always appreciate your feedback.
You can also follow me on Pinterest, Facebook or Instagram. Sign up for my eMail list, too!

Katherine says
Hi! I checked your shop for the tile flooring you used in the bathroom (black and white design), but I can’t find it. Are you still selling it? Thanks!
Laura says
Hi Katherine-
I’m sorry for the delay in answering you. I didn’t get a notification about your comment. I don’t have this design in my store yet. I was working on it and then didn’t finish it. I’ll be sure to add it and let you know.
Laura
Lauren says
I love this! Do you have a pdf of the tile you used?
Laura says
Hi Lauren-
I apologize for the late response. I did not get a notification about your comment. I took a screen shot of an image I found online and worked it in photoshop. I can’t legally share what I used since it is someone else’s image. But there are lots of images for sale on etsy specifically for dollhouse flooring for you to purchase, if you can’t do this yourself on photoshop. I am developing some flooring images to sell myself. I’ll let you know when that is available.
Laura