


Bring some vintage charm to your dollhouse kitchen with this miniature spice village jar set. Includes step-by-step directions and a free printable.

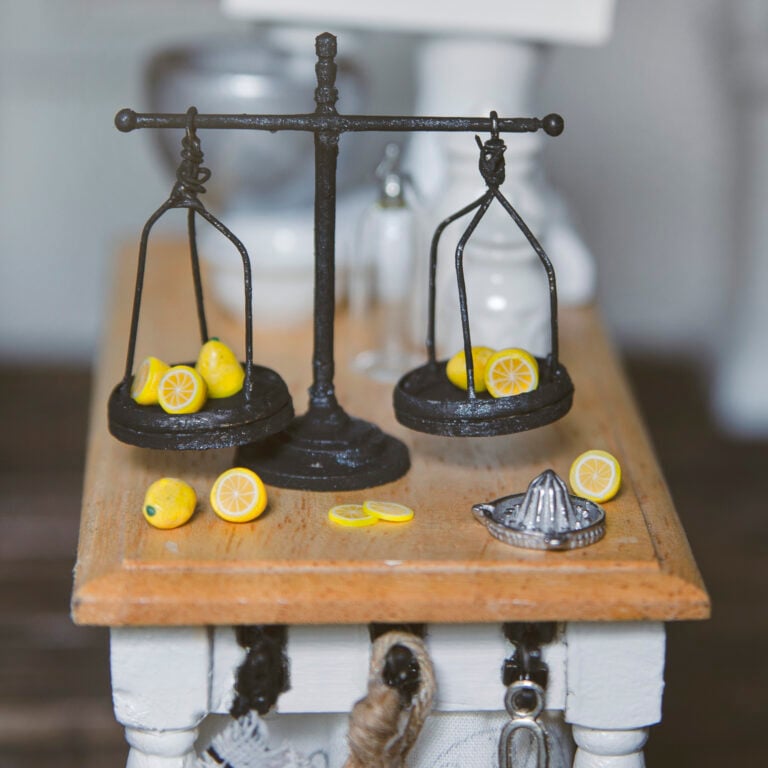
I have several hobbies that keep me happy and busy, besides miniatures. There’s my love for cooking, gardening and antique-ing. I love to rummage through thrift stores, swap meets and antique stores looking for hidden treasures and oddities.
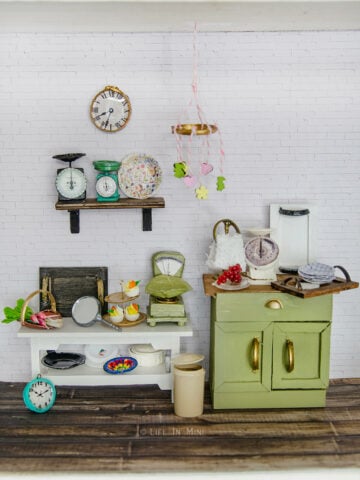
Over the years, I have a small antique scale collection, as well as other vintage kitchen items, like mason jars, wooden butter molds and pyrex bowls. My love for vintage also spills into my miniature realm, as I shared a tutorial on how to make a miniature antique scale (my dollhouse now has 5 mini scales!) and making miniature mason jars with UV resin.
But over the years, my escape on these treasure hunts have left me… unfulfilled. Although it is great to see Millennials and Gen Z showing an interest in thrifting, the prices have reached crazy limits.
Depending on the pattern, some vintage pyrex mixing bowl sets are selling for $150 or more. I saw a vintage egg scale selling for $80. My local Goodwill has prices on junk that cost as much as new items I can find brand new at Marshalls!

The latest vintage finds that are super trendy right now are those adorable Lenox spice village jars. Look at all those beautiful colors in Ashley’s kitchen! They look like little houses, so of course I fell in love with them.
These became so popular that Lenox brought them back. And the entire set can be yours for $300. Um, not in my budget!
Since I couldn’t afford the big set (and honestly, I have no where to put them!), I decided to make a mini spice set for my dollhouse. And I had all the supplies on hand, so it didn’t cost me anything extra!
Supplies you need

This post contains some affiliate links for your convenience (which means if you make a purchase after clicking a link I will earn a small commission but it won’t cost you a penny more)! Read my full disclosure policy.
- Air dry clay: I used air dry clay to make these minis, but you can totally use white polymer clay. If using polymer clay, you will have to bake it.
- Spice village printable: You can access the free spice village printable here. I have it sized for 1:12 and 1:6. Follow my tips for high resolution printing for miniatures. I used matte presentation paper and was happy to see that you can read the spice names on the tiny print out.
- Roller: You will need a small rolling pin to roll the clay flat, but you can also use flatten it with a small plate or the bottom of a glass.
- Parchment paper: To keep your air dry clay from sticking to your work surface you will need a silicone mat or parchment paper. For polymer clay, I like to work on a ceramic tile or a flat piece of glass and bake right on it.
- Clay cutter: A long blade to cut the rolled clay keeps your lines straight.
- X-acto knife: You can also use an x-acto to cut your clay. I used it to cut out the spice village pieces from clay. For the paper cutting, I found scissors easier to use.
- Sand paper: Some of my clay pieces were cut a little rough and a little bigger than I needed, so some sand paper helps smooth this out.
- Mod Podge: To give the spice jars some shine and to adhere the village print out, I used gloss Mod Podge. You can also use thinned out white glue. If using polymer clay, use satin glaze specifically meant for polymer clay or UV resin.
- Paint brush: You will need a small paint brush to apply the Mod Podge.
- Long handled tweezers: I found it useful to use tweezers to handle the tiny clay pieces while painting and gluing on the printouts.
- Magnifying glass: If you have bad eyes like me, you might need a magnifying glass to help you line everything straight.
- Acrylic paint: This is optional, but you can make your pieces look more real some small paint touch ups.
Step-by-step directions

- Cut out houses. Cut out one set of the houses from the print out. Wait to cut the second set as those tiny pieces can easily get jumbled up.
- Roll the clay. Roll and flatten your clay to about ½-cm thick.
- Cut the clay. Use a long blade to cut rows of clay, wide enough for the tallest spice house. Place one little house on a row of cut clay and use an x-acto knife to trace and cut out each house. Keep the printout over the cut clay house so you can keep track of which belonged to which.
- Let it dry. Let the clay harden and dry completely. If using polymer clay, bake it per package directions and let it cool completely.
- Paint. Since air dry clay isn’t bright white, you can paint the clay surface white to help blend any white of the paper with the clay. This is totally optional.
- Apply the artwork. Once the paint is dry, brush on a layer of mod podge and place the printout over it. Tweezers help make this job go easier. Add a layer of mod podge over the paper and let it dry completely before doing the same thing to the other side. If you don’t care if the back side has the same village image, you can skip this step.
- Sand. Once everything is dry, examine your pieces to see if you need to sand or trim some of the extra clay off. You might have some paper pieces sticking out and you can trim them off now.
- Finishing touches. Again, painting is optional, but I did paint the tops of the spice jars the same color as each roof tops. I also adding some white paint to the sides and bottom. Add a final coat of mod podge on the edges and you’re done!

Project tips and FAQs
I made the spice rack using wooden coffee stir sticks for the shelves and sides. The back was a scrap piece of basswood I found. I secured the spice jars with adhesive putty so they don’t fall off the shelf.
This doesn’t have to make this for your dollhouse, either. You can glue the spice jars on the rack, slap a magnet on the back and it can make a cute refrigerator magnet!
Confession time. I made a few sets of these spice jars as I was not happy with my previous tries. The first set I cut the clay pieces by eye-balling it. I ended up cutting them too big, had to trim off the extra dried clay and still was not happy with the results.
My second set were cut better, but I did not use my magnifying light and later realized that some of the printouts were glued on crooked – after it was dry. DOH!
So third time’s the charm! They aren’t perfect, but they are handmade and super cute.
What do you think? Now, if you don’t feel like making these and have the budget, you can buy this beautiful miniature spice village set from Melvin’s Miniatures.

If you are enjoying my blog, why not sign up for my newsletter so you won’t miss out on the mini adventures!
Miniature Spice Village Set

Bring some vintage charm to your dollhouse kitchen with this miniature spice village jar set. Includes step-by-step directions and a free printable.
Materials
- Air dry clay or white polymer clay
- Gloss Mod Podge
- Matte presentation paper
- Acrylic paints (optional)
Tools
- Roller
- Parchment paper
- Long clay blade
- X-acto blade
- Small paint brush
- Sand paper
- Long handled tweezers
- Magnifying glass
Instructions
- Get your free printable and print out your village images. Be sure to follow my tips on high resolution printing for miniatures so they come out crisp and clear.
- Cut out one set of the houses. The printout gives you images for both sides of your spice containers. In order to know how to cut your clay pieces, it is best to cut out one set of images you are going to use.
- Place your clay on parchment paper and roll it flat, about ½-cm thick. You can also place another piece of parchment paper over your clay and press it flat with a small plate or the bottom of a glass.
- Use a long blade to cut rows of clay that are wide enough for the tallest spice house. Place one little house on this row of cut clay and use an x-acto knife to trace out and cut the shape from the clay.
- Keep the printout over the cut clay house so you can keep track of which belonged to which since each house is a slightly different shape. Let the clay harden and dry completely. If using polymer clay, bake it per package directions and let it cool completely.
- This is optional, but since air dry clay is not bright white, you can paint each house white. This helps blend in with any white of the paper showing. Let paint completely dry.
- Brush mod podge over one side of a clay house and place the printout over it. Tweezers help make this job go easier and you can straighten the image, as needed. Add a layer of mod podge over the paper and let it dry completely before doing the same thing to the other side. If you don't care if the back side has the same village image, you can skip this step.
- Once everything is dry, examine your pieces to see if you need to sand or trim some off any extra clay. Also cut and trim off an excess paper that might be sticking out.
- Again, painting is optional. You can paint the tops of the houses to match each roof colors. Also, paint the sides and bottom white.
- Once the paint is dry, give the edges a coat of mod podge and you're done!
Notes
You can make a wall shelf for your spice village using wooden coffee stir sticks for the shelves and sides. A small piece of basswood cardboard is all you need for the backing.
PS If you try this craft, why not leave a star rating in the direction card right below and/or a review in the comment section further down the page? I always appreciate your feedback.
You can also follow me on Pinterest, Facebook or Instagram. Sign up for my eMail list, too!

Judith says
These look very sweet. Thankyou for the printie. Gonna give it a try. I do remember when these were first out. It was very expensive for the whole set. Never got them so now I can have a bit of vintage! :o)
Laura says
My mom has collected those small blue and white houses. I believe they were gifts from the airline, KLM. I don’t remember ever seeing these Lenox versions though.
Jasmin says
these are really cute!
and unique, I haven’t seen them in other doll houses.
thank you for sharing. 🙂
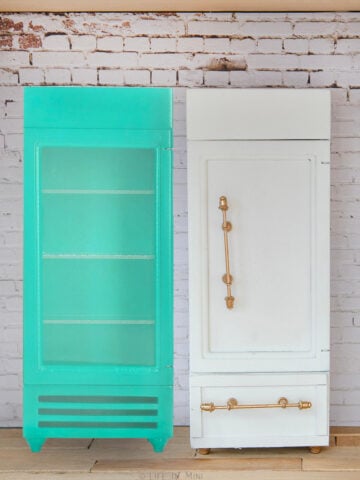
btw the link you sent out in the email for these actually leads to the refrigerator tutorial.
Laura says
Hi Jasmin-
I’m so glad you like this project! And thank you for the heads up on the wrong link. I thought I double checked it! I just resent it to everyone – just in case.
Laura