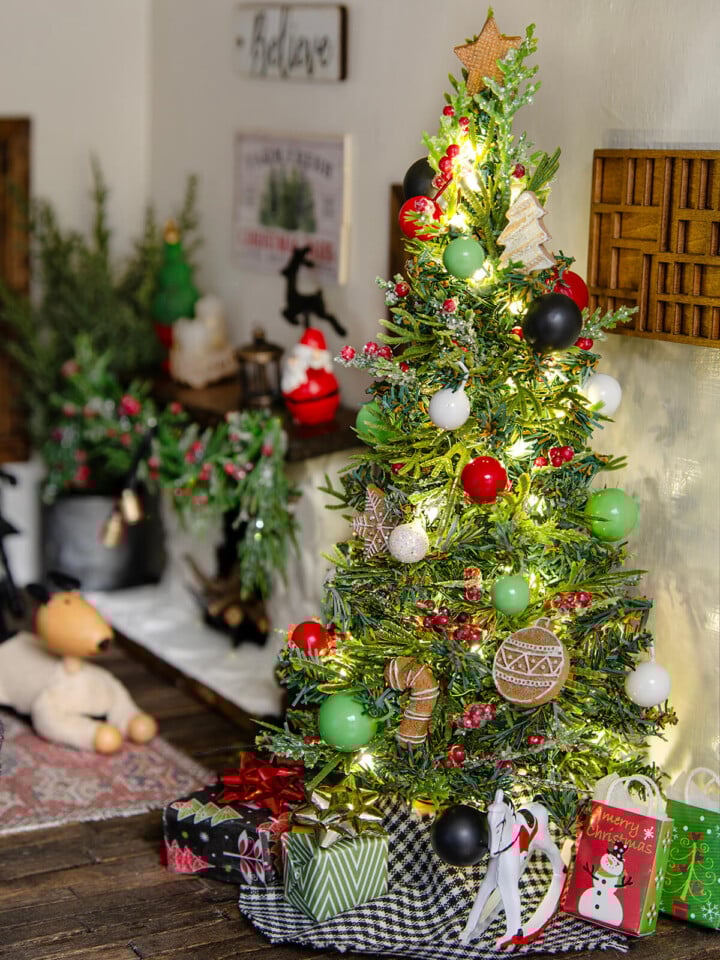
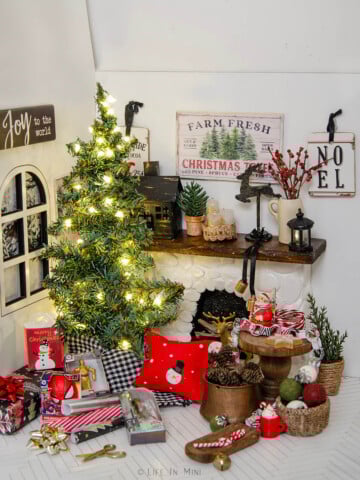
Add some farmhouse decor to your dollhouse miniatures collection by making some miniature cotton stems using items you already have on hand.
Farmhouse is all the rage in real homes and even dollhouses. I remember first seeing cotton stems in a home decor boutique many years ago and couldn’t believe how expensive they were: $20+ for one stem! Now you can find them at craft stores and online for only a few dollars.
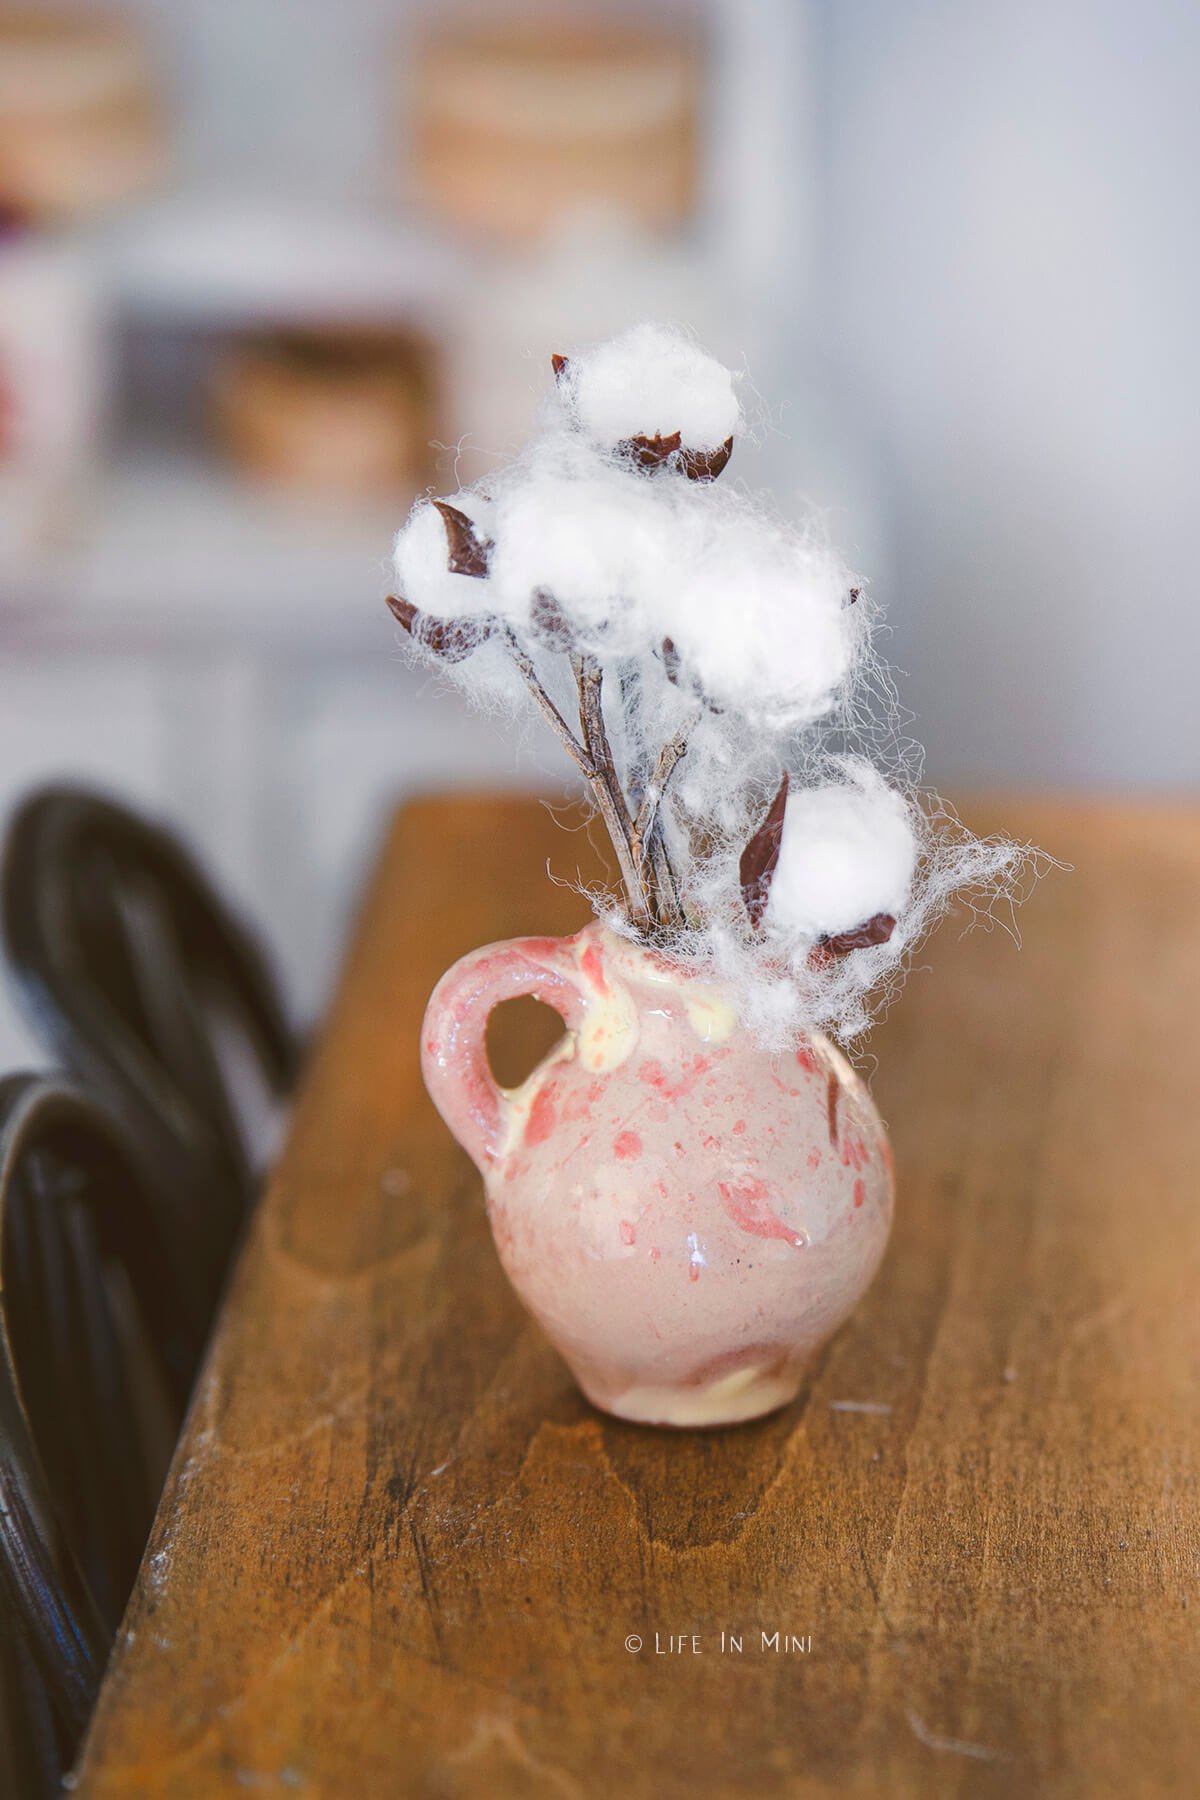
I love showing off fresh flowers in my house and don’t care too much for faux florals. But there is something cozy about a vase of cotton stems. So I decided I would make some mini cotton stems for farmhouse dollhouse.
The beauty of this project is that you can make these using what you already have at home. Making miniature flowers and plants require so much more time and skill. And patience. Boy are there days where we don’t have enough of that!
I have shared with you how to make miniature red berry branches and these cotton stems, and these cotton stems are even easier to make.
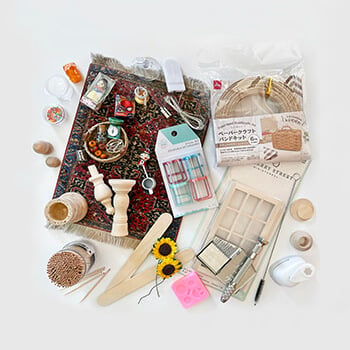
Supplies you need

This post contains some affiliate links for your convenience (which means if you make a purchase after clicking a link I will earn a small commission but it won’t cost you a penny more)! Read my full disclosure policy.
- Cotton balls: I barely used one cotton ball to make 2-3 mini cotton stems, so you don’t need much.
- Twigs: Rummage through your yard or park and look for thin twigs that can be the base of your cotton stems. You can make the twigs as long or as short as you like.
- Brown polymer clay: I use this to make the outer cotton husk. You can also use some thick paper you paint brown or brown card stock. If using polymer clay, you will need a roller to roll it flat.
- Sharp blade: I used my x-acto blade to cut my twigs and help position the cotton balls. You can also use a pointy tool or long tweezers. The blade also cuts the clay or paper.
- Glue: You can use Aleen’s tacky glue or super glue to glue everything together.
Step-by-step directions
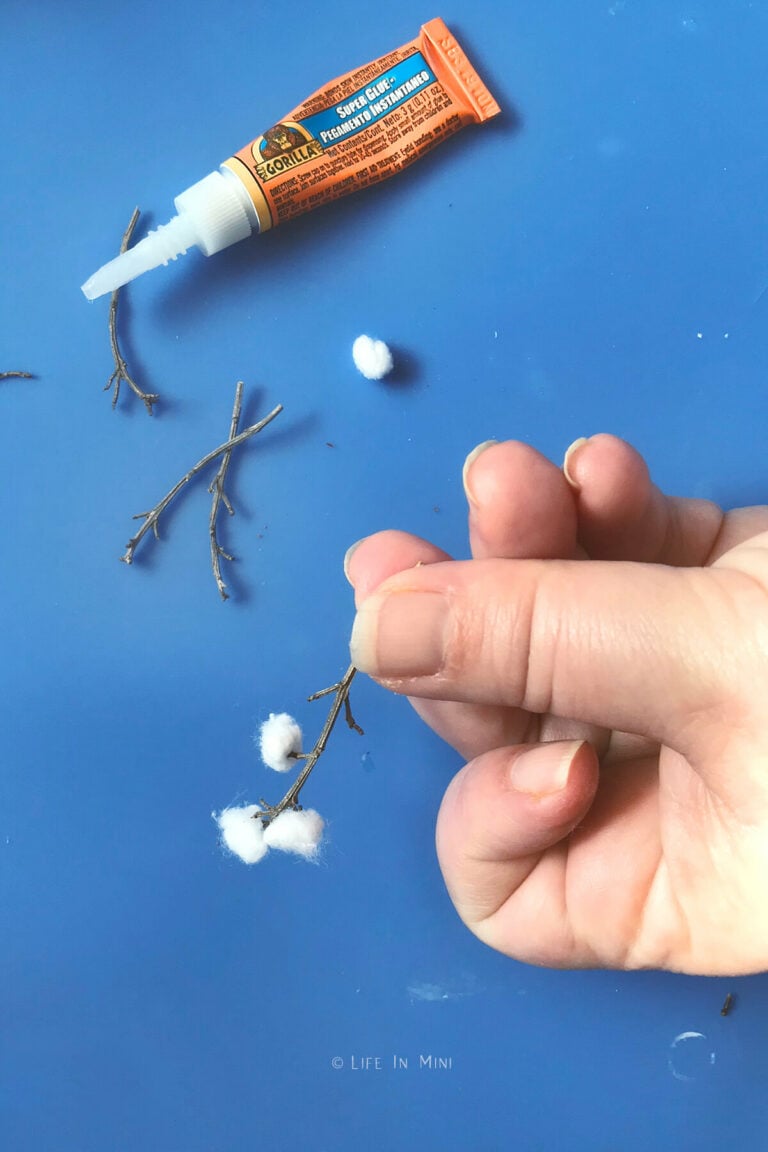
1. Pull off a small amount of cotton and roll into a ball. Mine were about ½-cm wide in diameter. Continue rolling mini cotton balls as you need them.
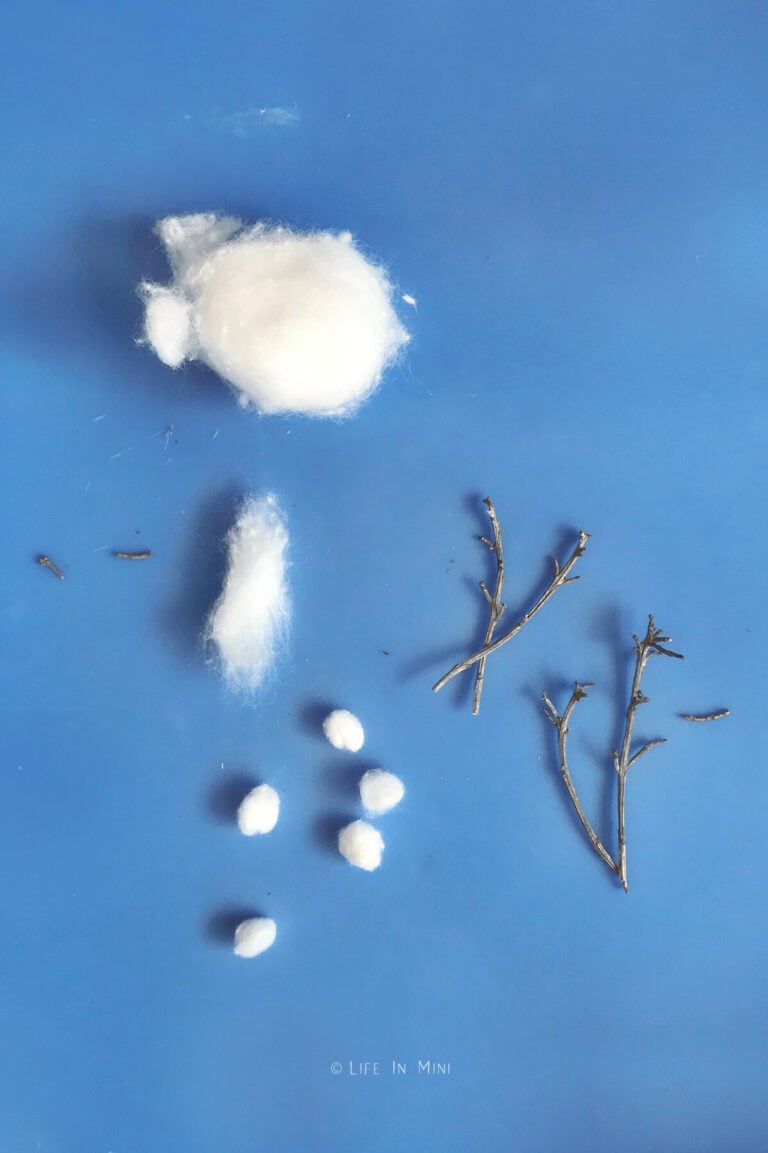
2. Add a small dab of glue to the bottom of your mini cotton ball and press it onto a twig. Hold it for a few seconds to make sure it sticks and does not fall off.
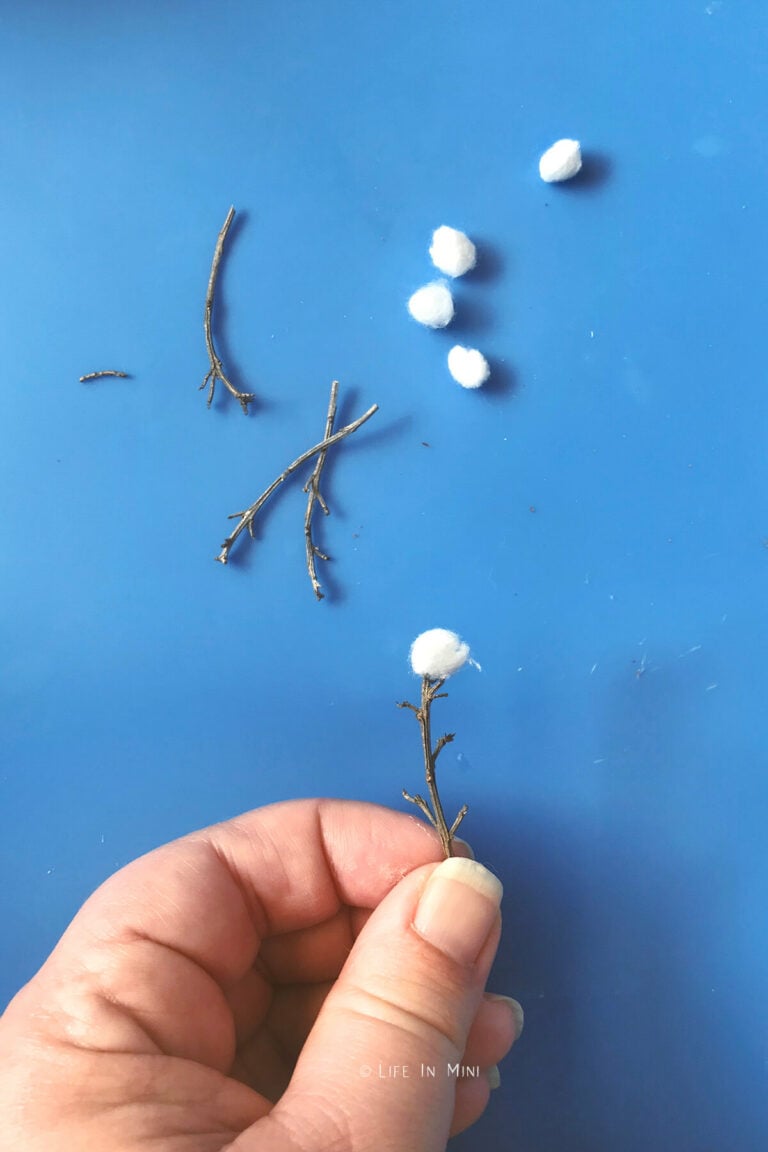
3. Continue gluing your mini cotton balls onto your twigs. Some twigs can hold several while others just one.
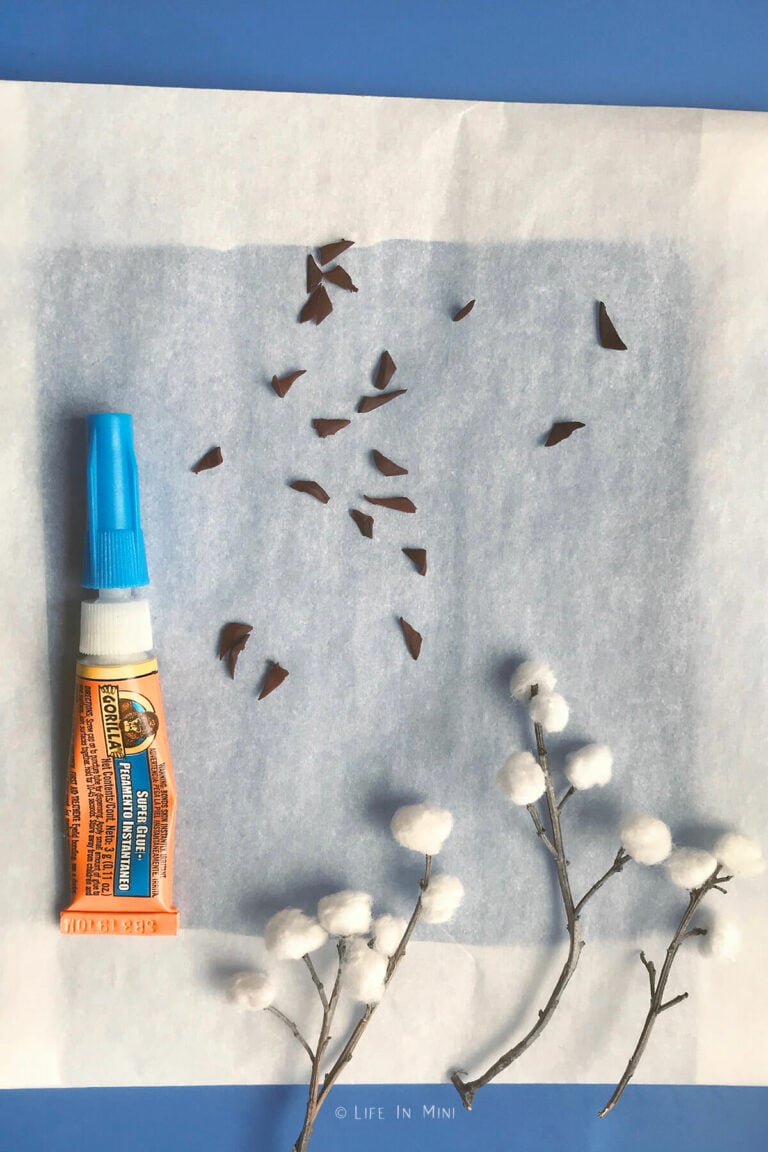
4. While the glue dries, it’s time to make the husks. Roll out your brown clay and cut out random small triangles. Place them on a tile or parchment paper and bake per package directions until done.
If using card stock, cut small triangles then roll them a little with a bamboo skewer or pointy tool so they aren’t completely flat.
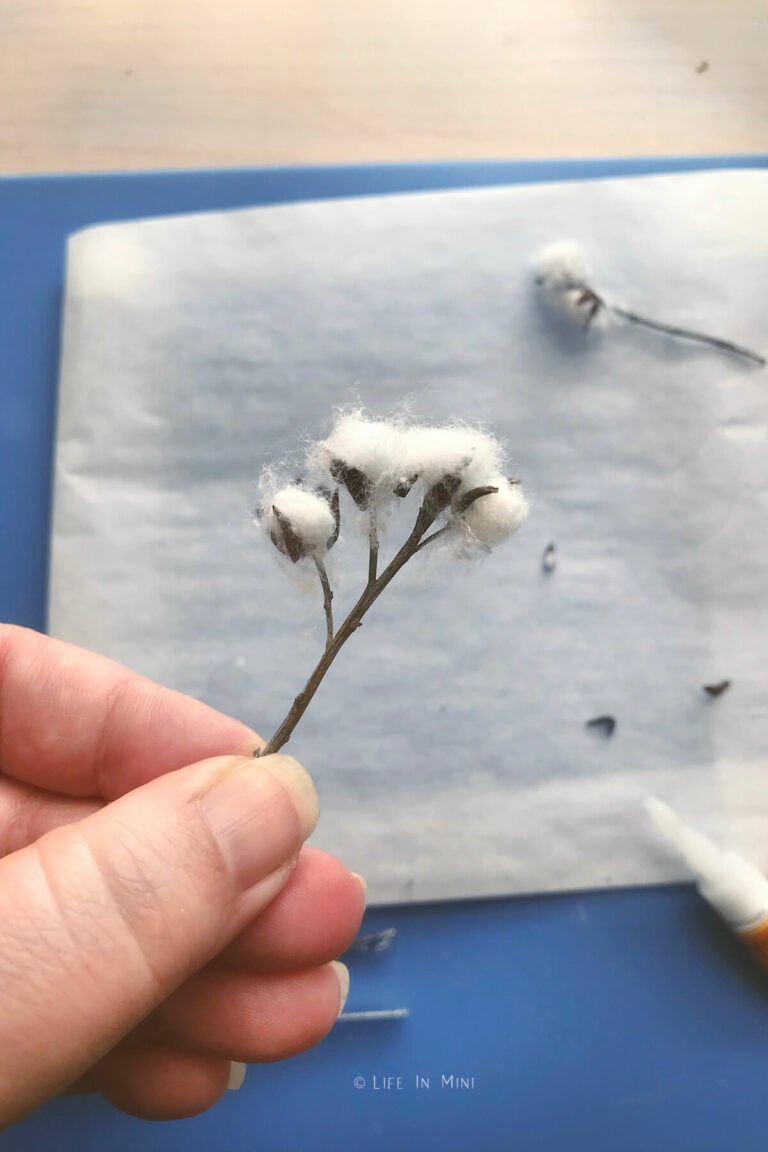
5. When clay triangles are baked and cooled, begin gluing the brown triangles to the twigs. You will need 3 triangles for every cotton ball.
If you are enjoying my blog, why not sign up for my newsletter so you won’t miss out on the mini adventures!
Miniature Cotton Stems

Add some farmhouse decor to your dollhouse miniatures collection by making some miniature cotton stems using items you already have on hand.
Materials
- Cotton balls
- Twigs
- Brown polymer clay
- Glue
Tools
- X-acto blade
- Pointy tool or bamboo skewer
- Long tweezers
Instructions
- Pull off a small amount of cotton and roll into a ball. Mine were about ½-cm wide in diameter. Continue rolling mini cotton balls as you need them.
- Add a small dab of glue to the bottom of your mini cotton ball and press it onto a twig. Hold it for a few seconds to make sure it sticks and does not fall off.
- Continue gluing your mini cotton balls onto your twigs. Some twigs can hold several while others just one.
- While the glue dries, it’s time to make the husks. Roll out your brown clay and cut out random small triangles. Place them on a tile or parchment paper and bake per package directions until done.
- If using card stock, cut small triangles then roll them a little with a bamboo skewer or pointy tool so they aren’t completely flat.
- When clay triangles are baked and cooled, begin gluing the brown triangles to the twigs. You will need 3 triangles for every cotton ball.
PS If you try this craft, why not leave a star rating in the direction card right below and/or a review in the comment section further down the page? I always appreciate your feedback.
You can also follow me on Pinterest, Facebook or Instagram. Sign up for my eMail list, too!
Brooke Jones says
Really cool ideas. I consider myself decent at creating dollhouse miniatures and I am impressed with what you have done. I love your tutorials. Thank you.
Laura says
Hi Brooke-
You are too kind! I’m happy to share what I learn.
Laura