There are a number of ways you can create dollhouse rugs. This tutorial shows you how to print out your own designs to create custom dollhouse flooring.
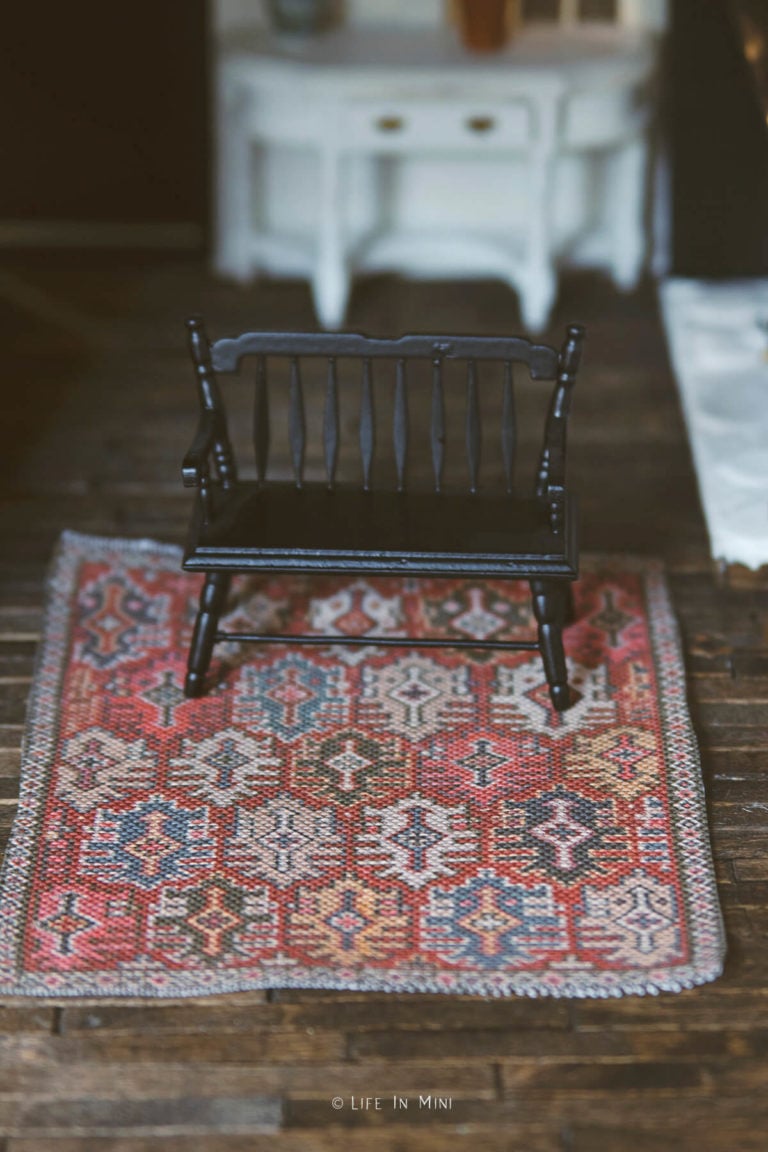
I can’t seem to get past the first floor of my dollhouse! I’m lost in accessorizing and building new cabinets for the kitchen. It really is a fun room to work on and I get to build my dream kitchen – in mini.
Although the dollhouse is sporting these lovely hardwood popsicle flooring, I have been on the hunt for mini rugs to show off in the family room and dining room. I have tried different ways to create my own dollhouse rugs, but this technique is by far my favorite.
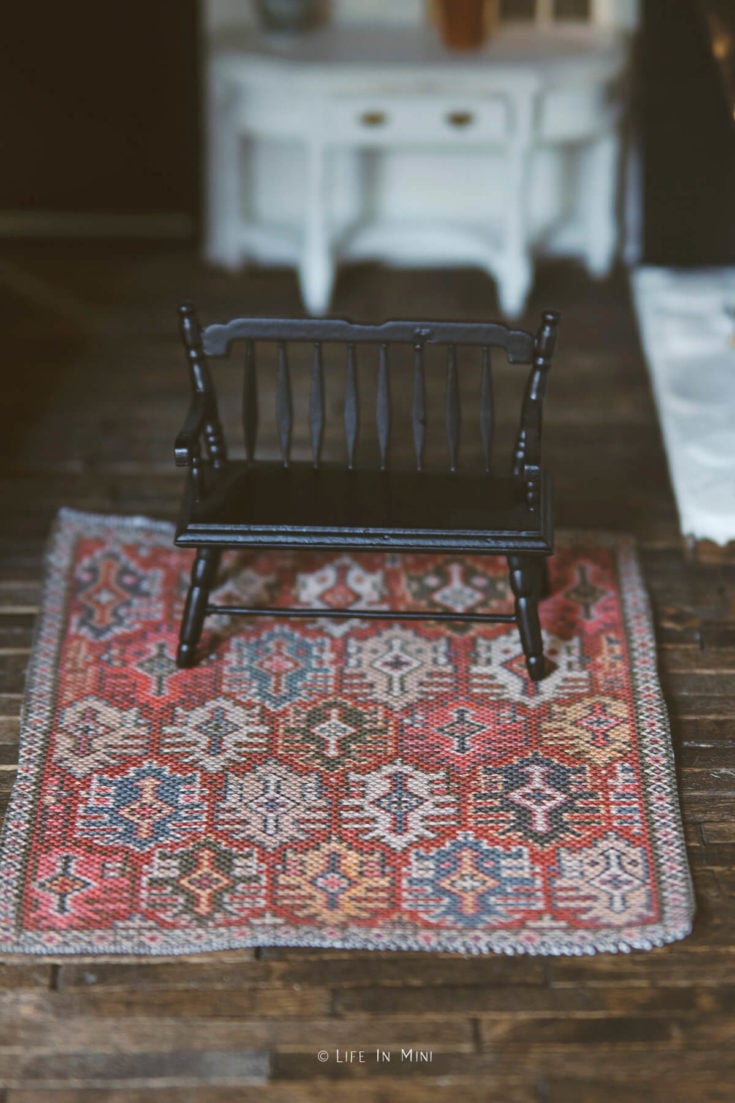
I print my favorite rug designs onto cross stitch fabric. This gives a fabulous woven quality to the rugs and reminds me of the kilims we have in my real house.
My dollhouse has a bit of a farmhouse-spanish-persian-old-world style to it, so I quickly began researching and printing out miniature rugs.
This post contains some affiliate links for your convenience (which means if you make a purchase after clicking a link I will earn a small commission but it won’t cost you a penny more)! Read my full disclosure policy.
Supplies you need
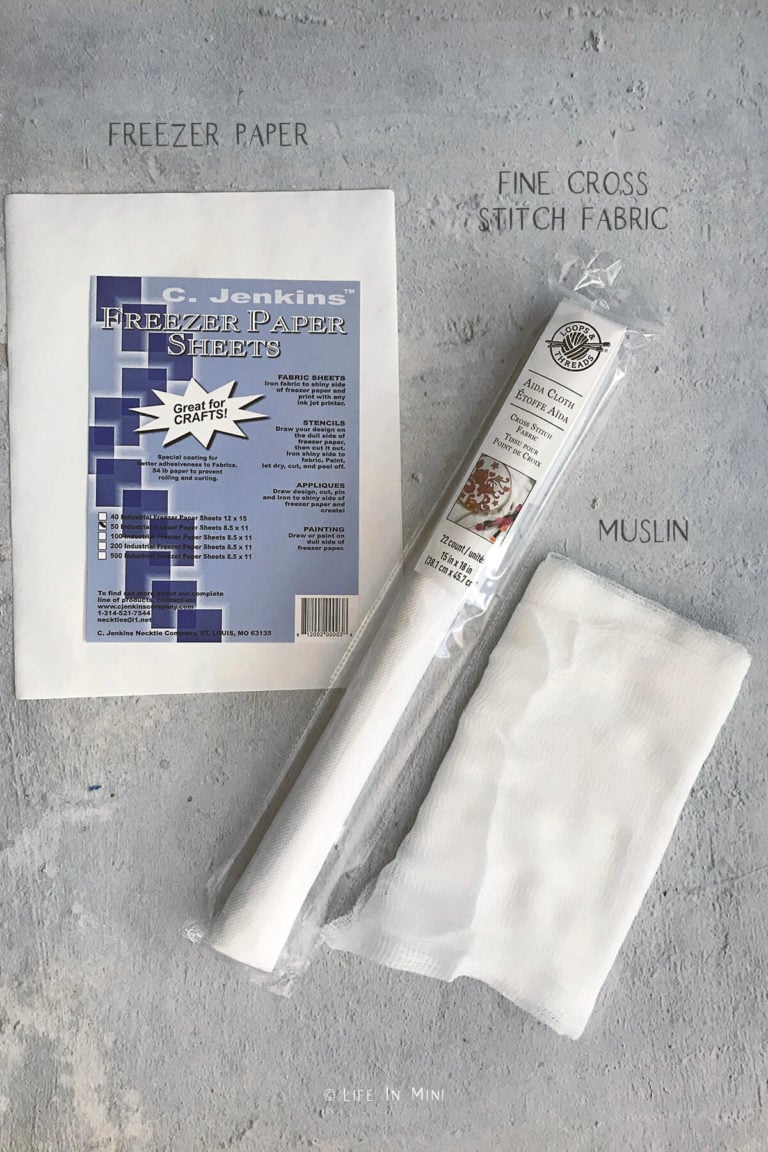
- Freezer paper: This paper allows you to adhere the fabric onto it using a hot iron. These freezer paper sheets are already cut to 8.5×11-inch sheets, making them perfect to slide into your printer.
- Cross stitch fabric: I printed my rugs onto cross stitch fabric. There are many varieties to choose from so be sure to use the ones with the smallest holes. I used 22 count in this example, but you can find smaller count like this 28 count fabric.
- Muslin fabric: Some people shared that they were able to use this same technique using muslin. I have not tried this yet, but I believe you can print more intricate designs is using this fabric.
- Scissors
- Ruler
- Ink jet printer
- Iron
Step-by-step directions
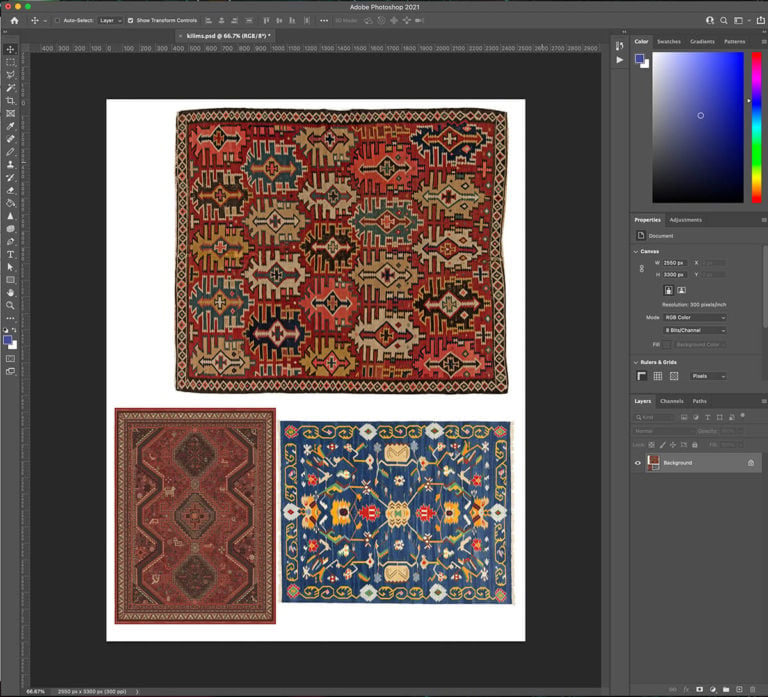
1. Select the rug images you want to use and size them to fit on an 8.5×11-inch sheet. You will want a print quality of 300 dpi. Small intricate images will not show up well so choose bigger designs. Be sure to increase the color saturation for these images as the rugs print out rather dull onto the fabric.
2. Cut your fabric to fit within an 8.5×11-inch sheet of freezer paper. Your printer will be grabbing the freezer paper so you need to make sure that the fabric does not go beyond the paper’s edge.
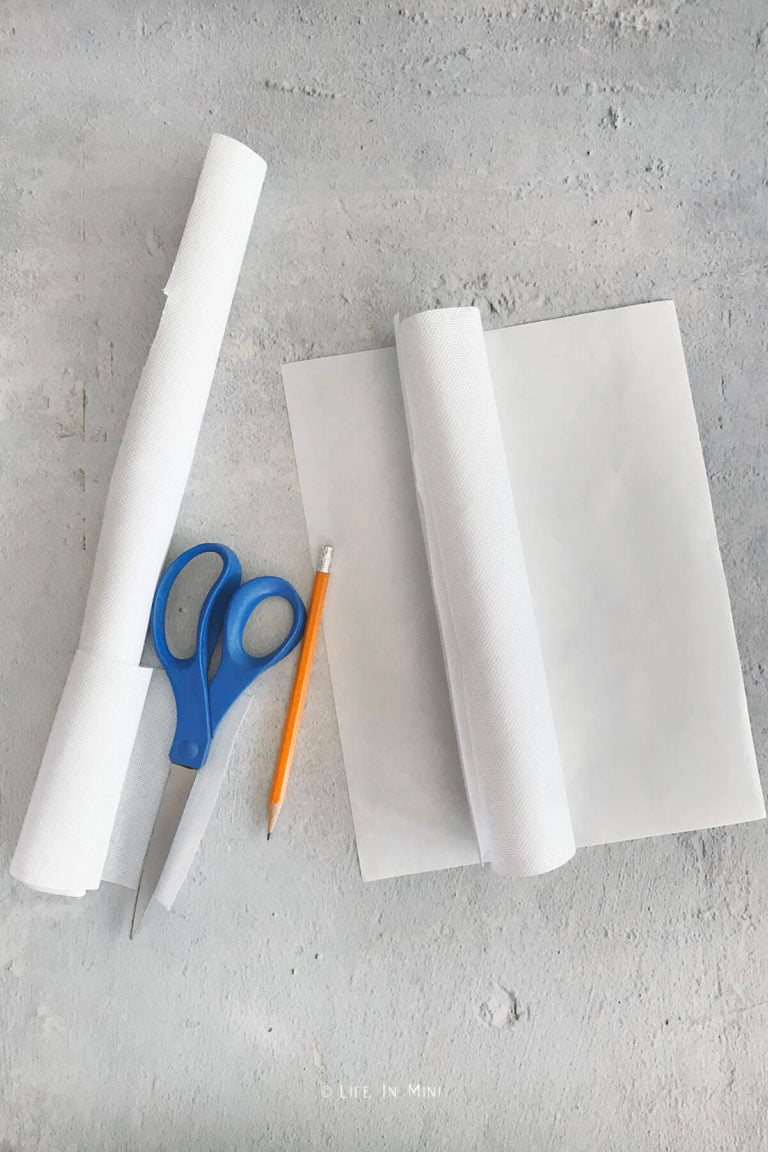
3. Set the iron to the cotton setting for heat. You want dry heat. Iron the freezer paper onto the fabric, shiny side towards the fabric. Spend extra time pressing the edges, especially the top edge that will feed into the printer.
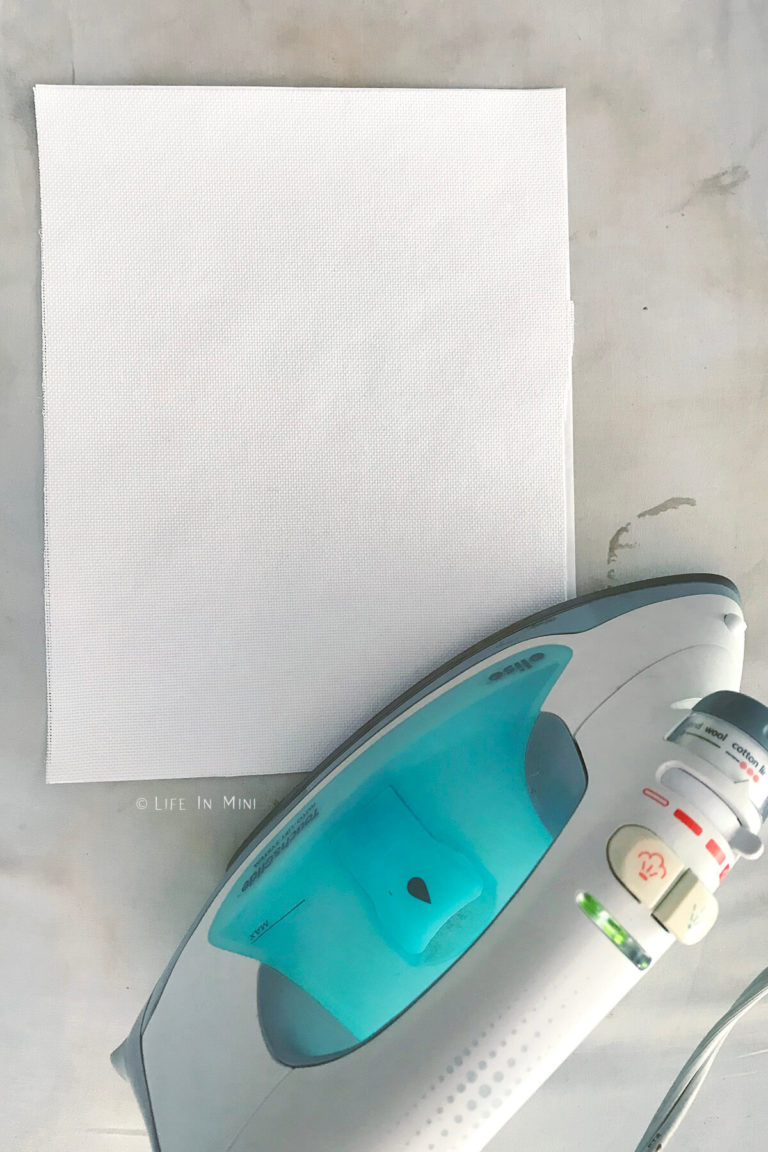
4. When my paper-fabric cooled, it started to curl and would not stay flat. So I ironed it flat before placing it into the printer paper tray, fabric side down. You want to make sure the fabric is facing the right direction. Some hand fed printers will need to have the fabric side facing up, so be sure to feed your paper in correctly. Have your image ready to print. Set your printing settings to best quality printing and then hit print.
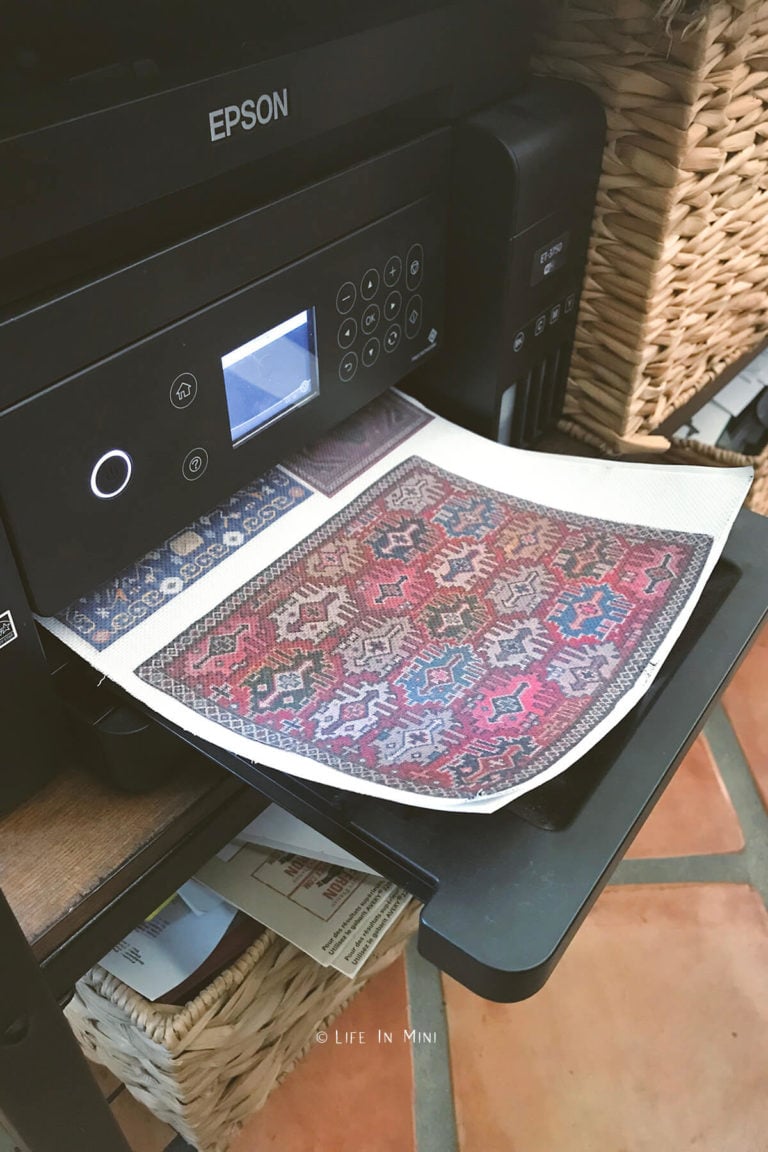
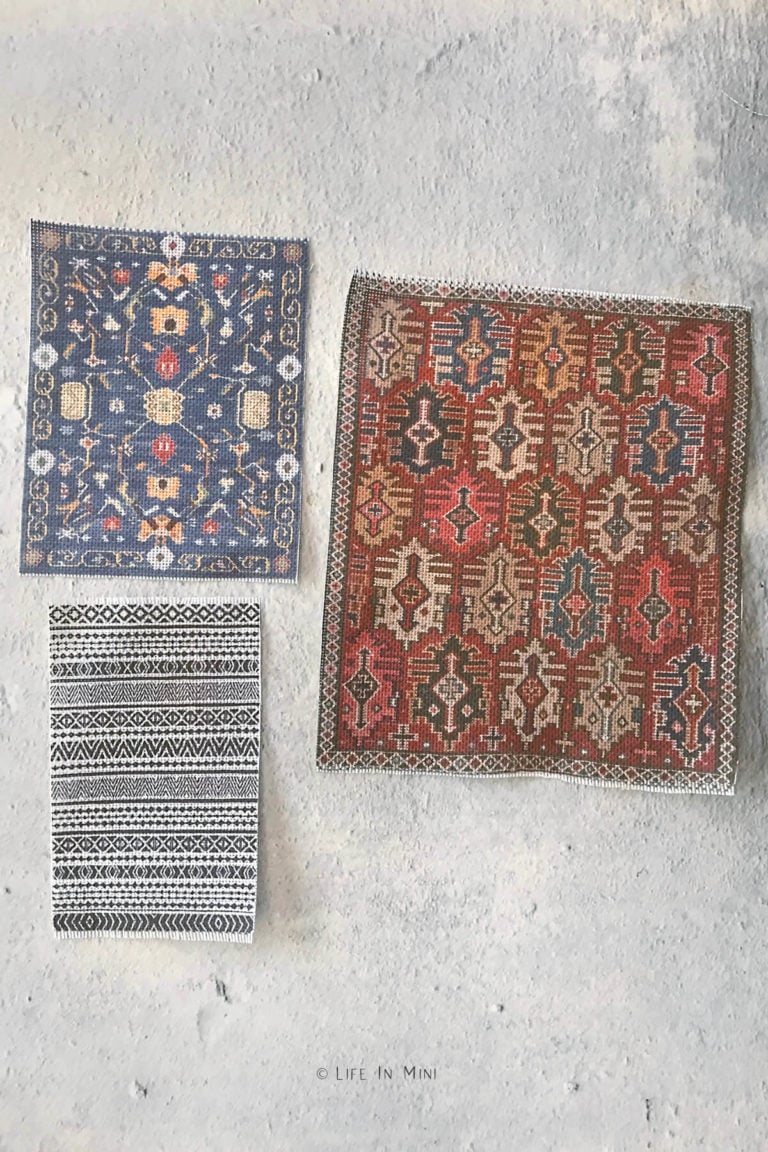
5. Once printed, carefully peel the fabric off the freezer paper backing. As you can see below, the fine intricate detailed rug did not work as nicely as the bigger patterns.
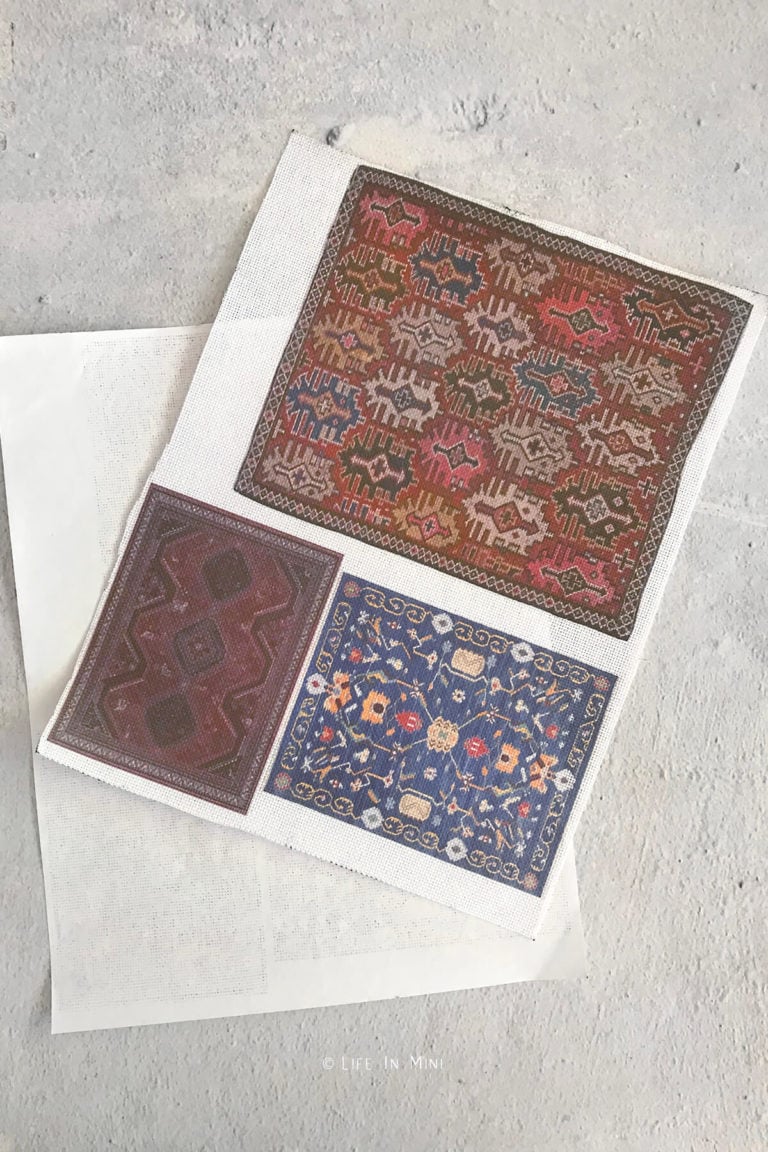
6. Cut the rugs out from the fabric. For the string edges, I left a bit of white attached to the top and bottom of the rug. Then I carefully pulled and removed the horizontal fabric string, leaving stray vertical strings as fringes.
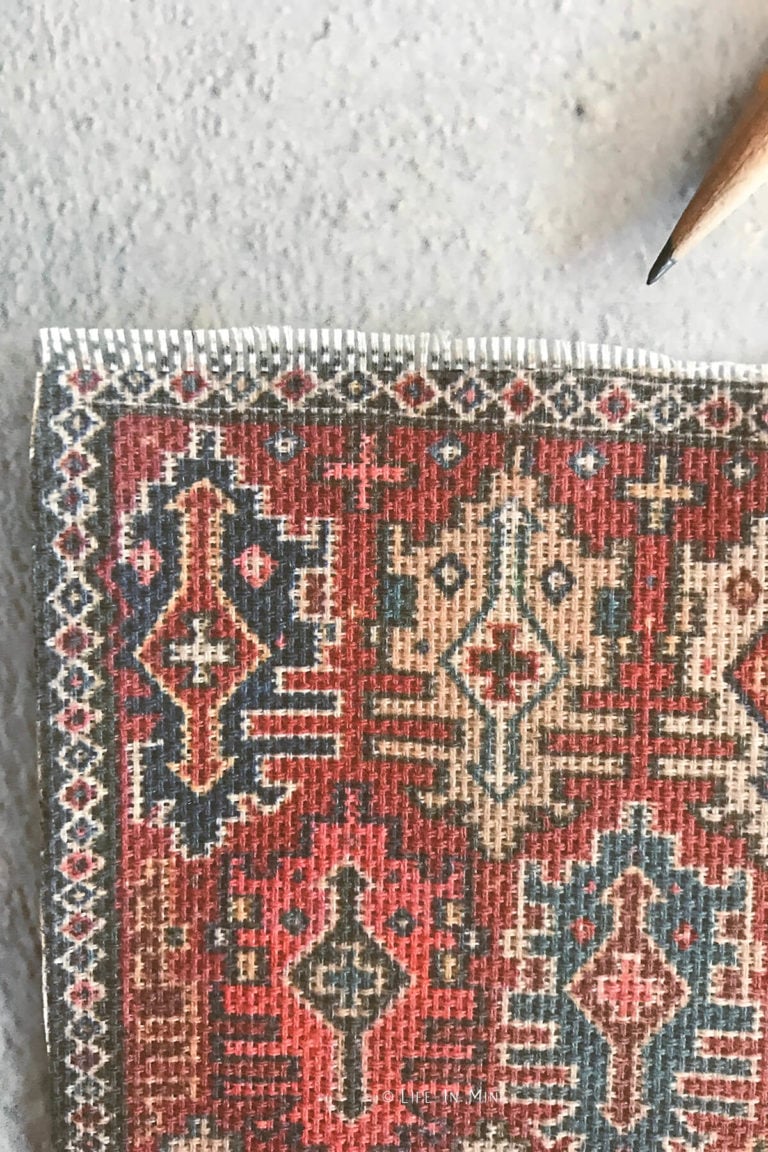
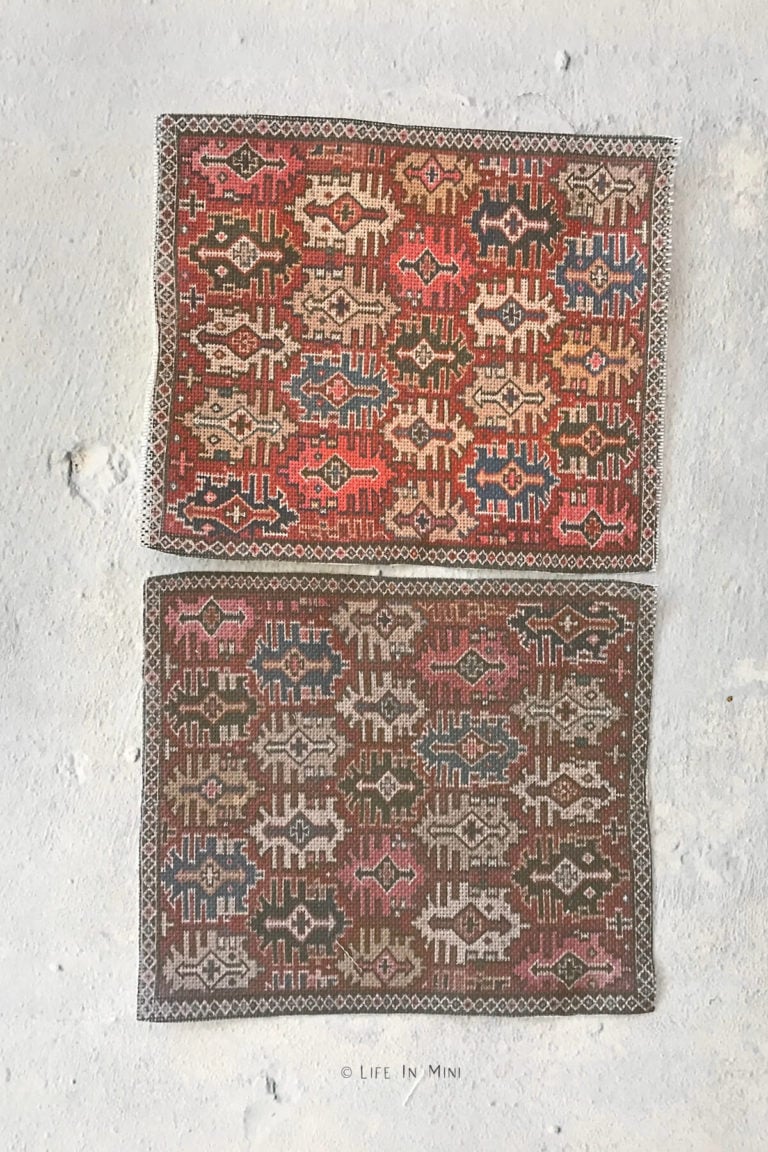
7. The first rugs I printed were a a bit drab in color. The fabric soaks up a lot of the ink. So be sure to increase the color saturation to obnoxious cartoon intensity if you want a more vibrant rug. You can see the differences below.
8. Some people like to spray a matte clear coating to their rugs to keep the color intact. I will see how my untreated rug lasts over time and let you know!
Project tips and FAQs
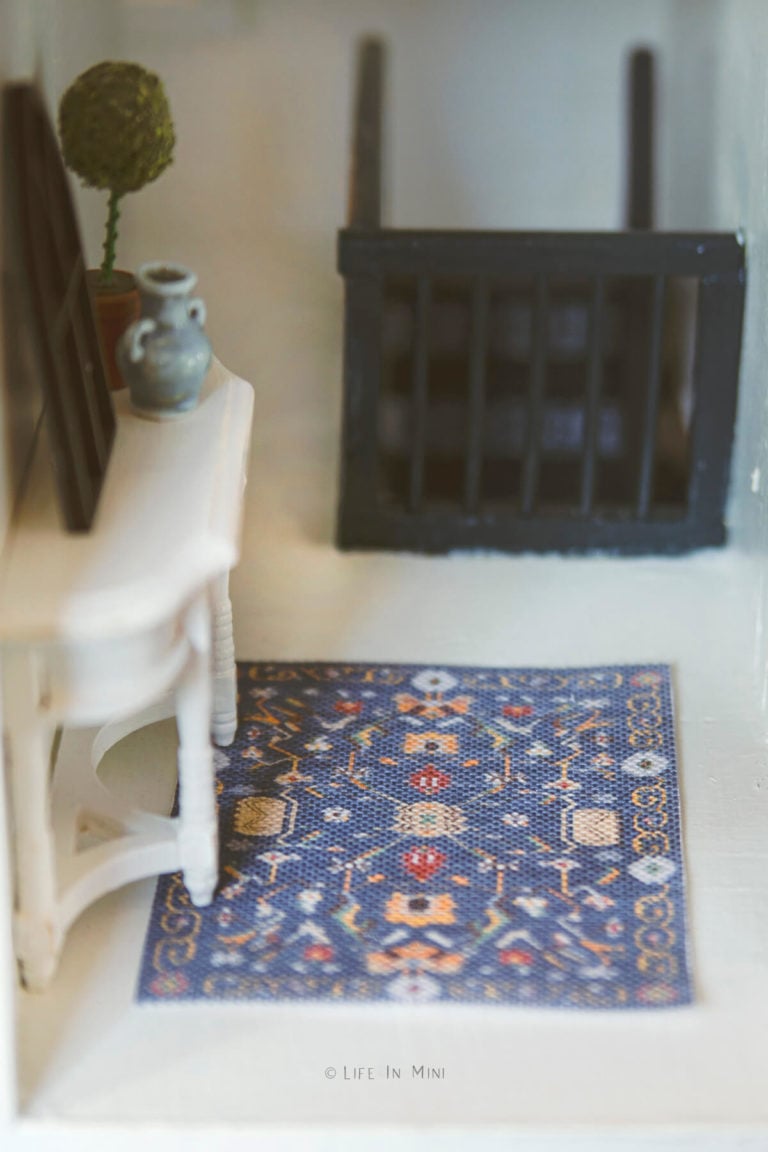
As you can see from the closeup shot of the rug, this makes a coarser rug similar in texture to Turkish kilim style of rugs. This is why I chose these particular rug patterns. I will share with you another diy dollhouse rug tutorial if you want a more pile carpet.
To recap, here are some tips on how to print and make your own beautiful dollhouse rugs:
- If using cross stitch fabric, use bigger rug designs and avoid small intricate patterns.
- Before you print, increase the saturation of the rug images as they print out rather dull.
- If you want a thicker rug, adhere your rug to a piece of felt, cotton fabric or card stock.
- You can also glue embroidery floss around the edges of your rug for a more formal effect.
- You can try this technique using other fabrics, as well. Cotton tends to print the best quality.
If you are enjoying my blog, why not sign up for my newsletter so you won’t miss out on the mini adventures!
DIY Dollhouse Rugs
There are a number of ways you can create dollhouse rugs. This tutorial shows you how to print out your own designs to create custom dollhouse flooring.
Materials
- Freezer paper
- Cross stitch fabric
Tools
- Scissors
- Ruler
- Ink jet printer
- Iron
Instructions
- Select the rug images you want to use and size them to fit on an 8.5×11 sheet of paper. You will want a print quality of 300 dpi. Small intricate images will not show up well so choose bigger images.
- Increase the color saturation for these images as the rugs print out rather dull onto the fabric.
- Cut your fabric to fit within an 8.5×11 inch sheet of freezer paper. Your printer will be grabbing the freezer paper so you need to make sure that the fabric doesn’t go beyond the paper’s edge.
- Set the iron to the cotton setting for heat. You want dry heat so no water or steam. Iron the freezer paper onto the fabric, shiny side towards the fabric. Spend extra time pressing the edges, especially the top edge that will feed into the printer.
- When my paper-fabric cooled, it started to curl and would not stay flat. So I ironed it flat before placing it directly into the printer paper tray, fabric side down. Place the fabric facing the side that is getting printed.
- Be sure to have your image ready to print. Set your printing settings to best quality printing and hit print.
- Once printed, carefully peel the fabric off the freezer paper backing.
- Cut the rugs out from the fabric. For the string edges, I left a bit of white attached to the rug. Then I carefully pulled and removed the horizontal fabric string, leaving stray fringes.
- Some people like to add a matte clear coating to their rugs to keep the color intact.
Notes
If using cross stitch fabric, use bigger rug designs and avoid small intricate patterns.
Before you print, increase the saturation of the rug images as they print out rather dull.
If you want a thicker rug, adhere your rug to a piece of felt, cotton fabric or card stock.
You can also glue embroidery floss around the edges of your rug for a more formal effect.
You can try this technique using other fabrics, as well. Cotton tends to print the best quality.
PS If you try this craft, why not leave a star rating in the direction card right below and/or a review in the comment section further down the page? I always appreciate your feedback.
You can also follow me on Pinterest, Facebook or Instagram. Sign up for my eMail list, too!


Miranda says
I want to try this technique with upholstery fabric. That way my miniature can have all the $$$$ luxury fabrics I love at little cost plus they will be to scale!
Laura says
Hi Miranda-
Sorry, I didn’t get a notice about your comment. I love that you will use fancy fabrics for your minis. I wish I was more handy with sewing.
Laura
Kathy says
Hi de ho neighbor, this looks super fun. I can’t wait to try it!!!
The absolute best regards,
Kathy 😁
Laura says
Kathy-
Have fun with it and I can’t wait to see what you create!
Laura
Robin says
This is adorable! I love the way the finished product looks. Thank you so much for sharing your tutorial. I can’t wait to give this a try 💜
Laura says
Hi Robin-
I’m so glad you liked it. The rugs really turned out great.
Laura