In this post I share my tips and tricks on how to make silicone molds for dollhouse miniatures by using silicone putty. The molds can be used to make minis using polymer clay, air dry clay or UV resin.
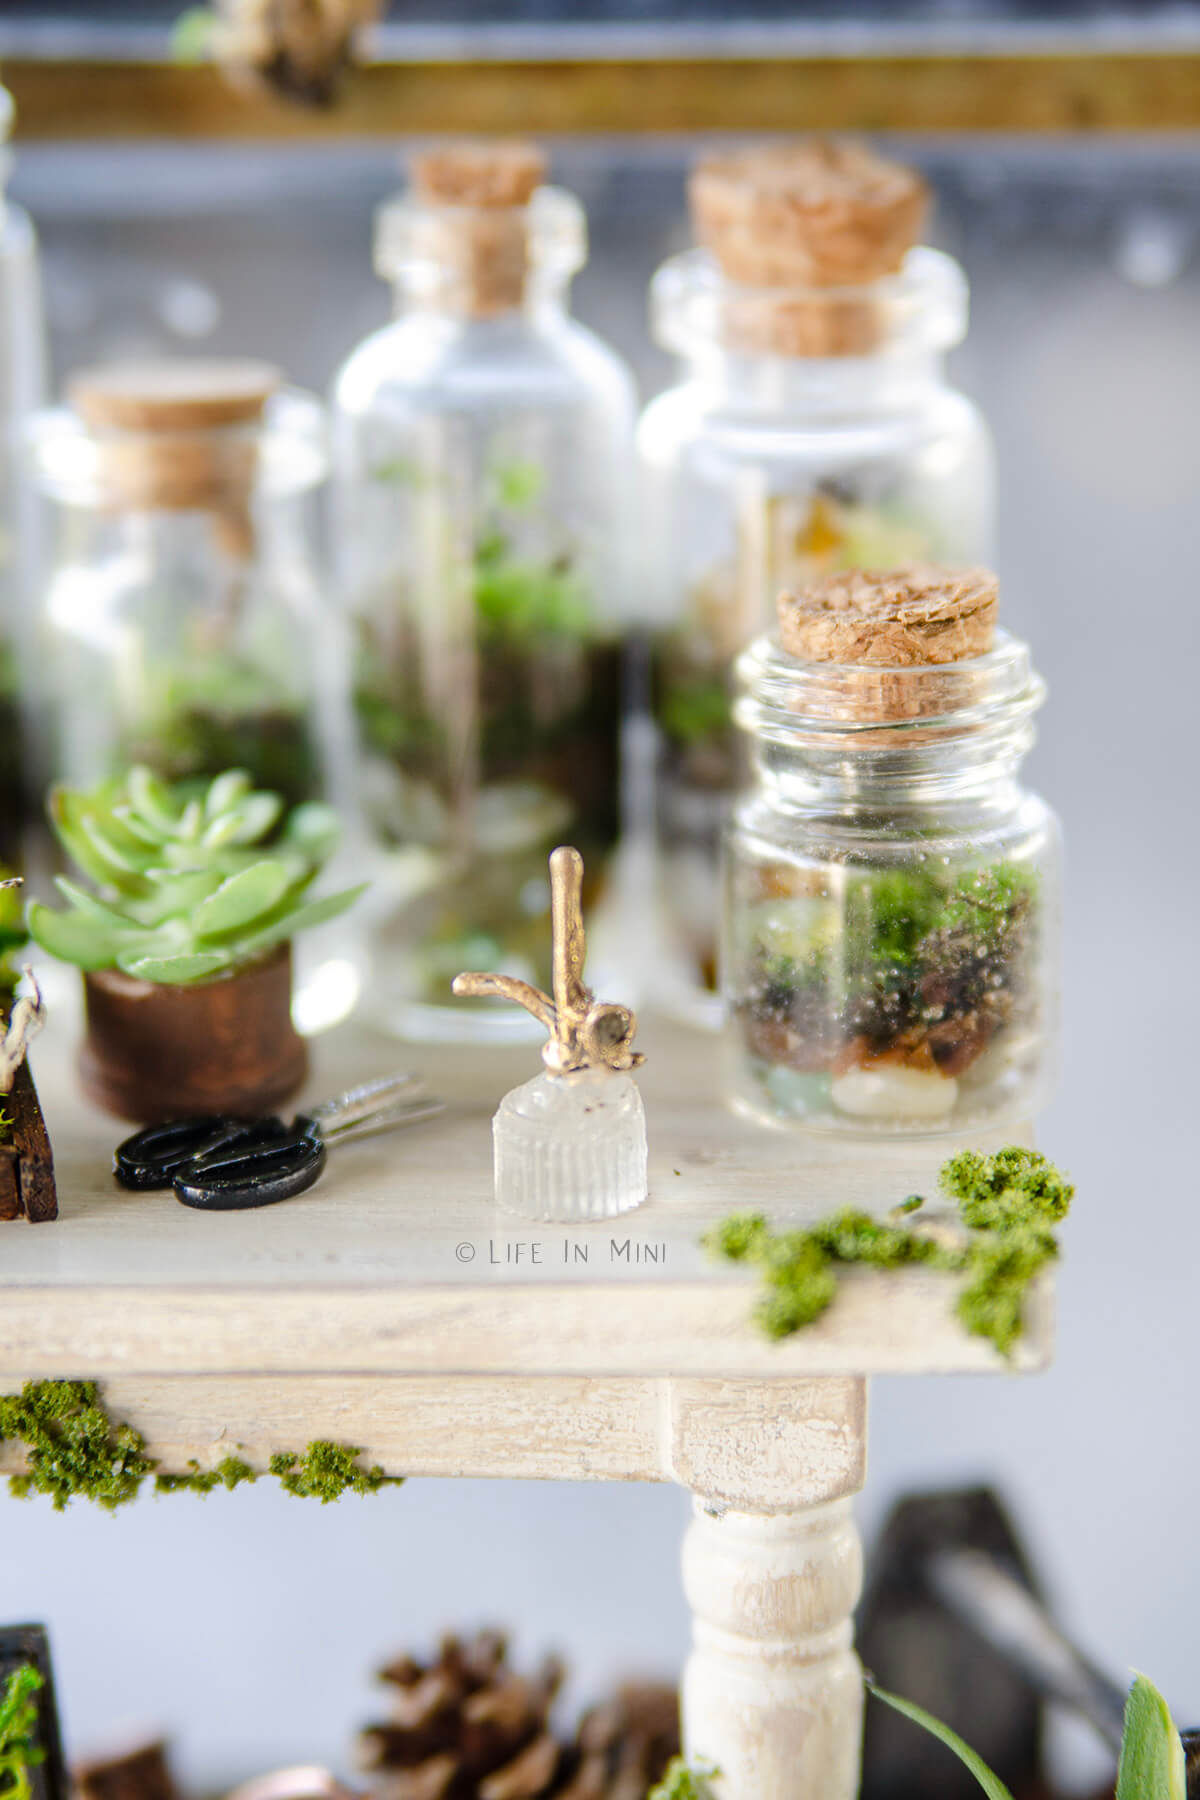
When I was making mini terrariums featured in my previous post, a small project turned into a fun and elaborate greenhouse scene I made in a glass lantern. Although I am far from being a master gardener, I do love gardening and plants.
As I began setting up the scene, I found that I couldn’t just photograph the mini terrariums alone or just on a table. I kept making and adding more gardening accessories until I could imagine myself working in a greenhouse like I was creating.
I often spiral down this rabbit hole when I am creating a scene, don’t you?!
It was during this time that I realized that I wanted to make a mini plant mister – a necessity when planting succulents and small plants. I started rummaging through the drawers of my parents’ house (since I’m still living here), looking for beads, bits of junk and anything that I could use for the bottle.
The answer was simple and was sitting on my desk the whole time. The cap of a tire tube was in a coaster with a bunch of other bits. I had just ordered a tire gauge for my car and it came with several extra caps so of course, they ended up on my coaster!
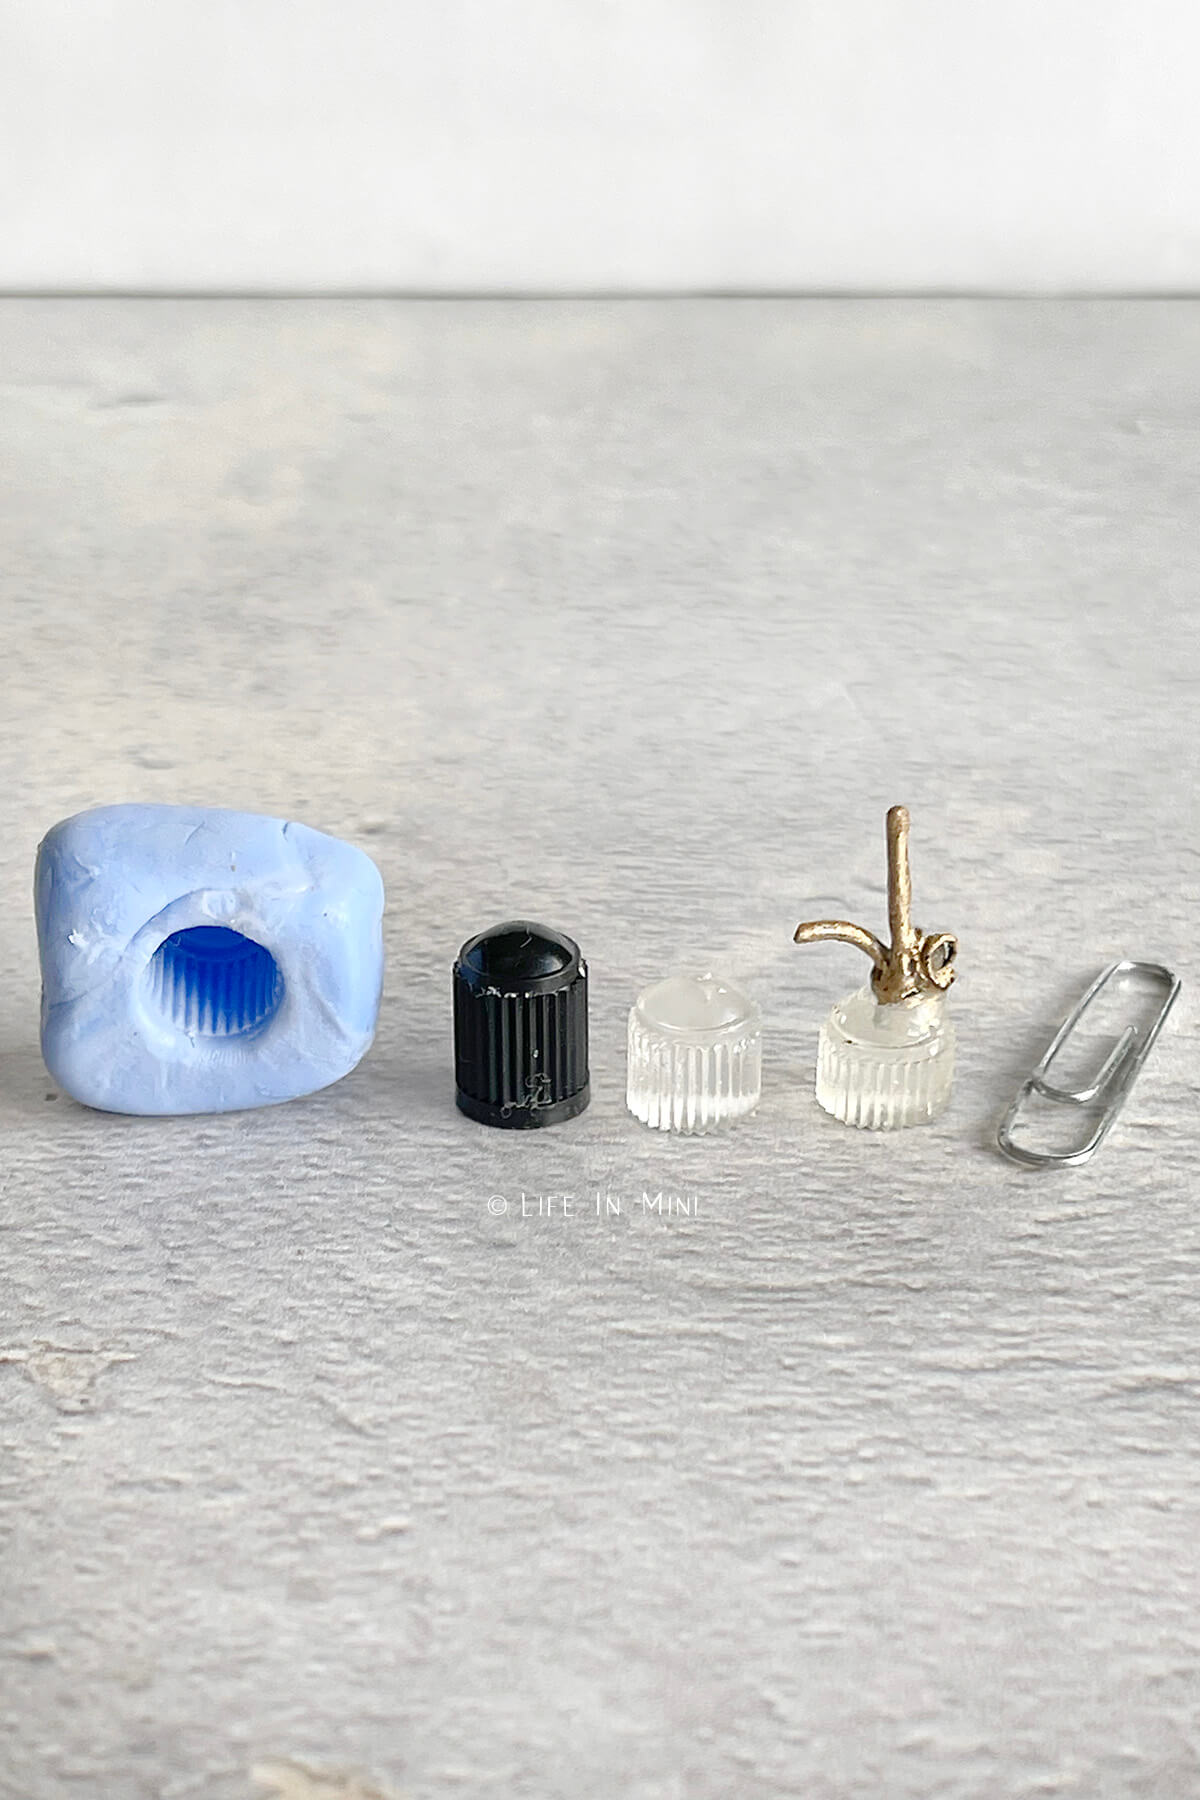
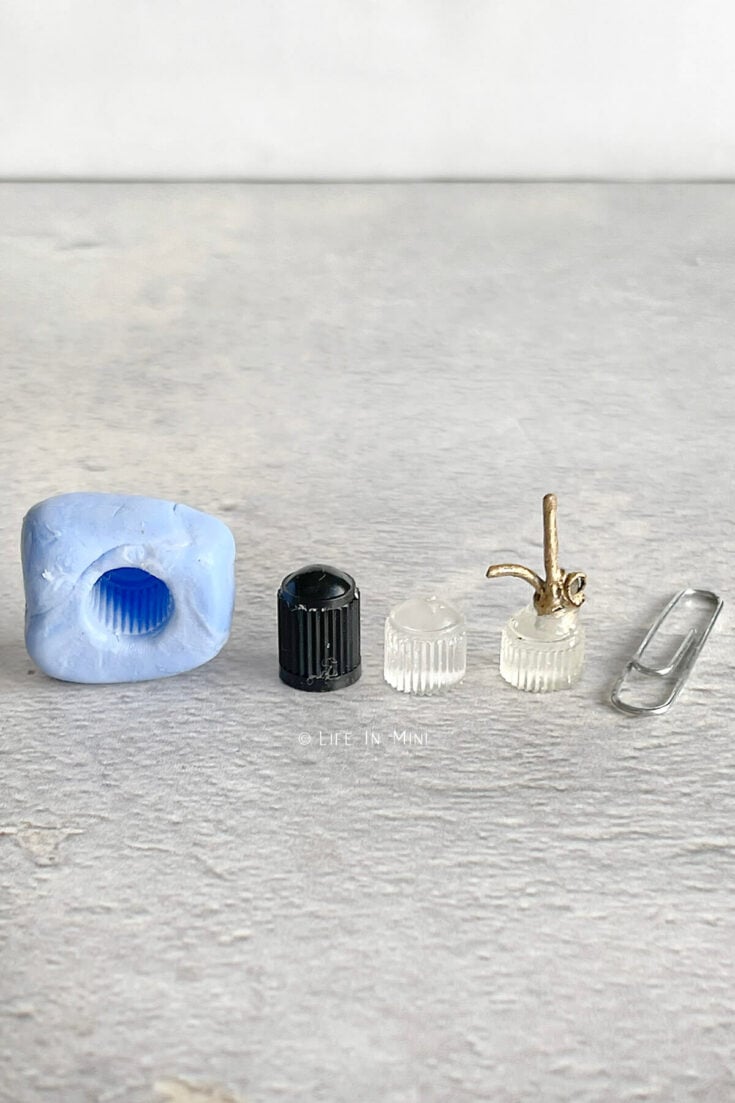
I picked it up and turned it upside down. It had the exact shape I was looking for and it had these great ridge details all around it. I was excited about my hidden treasure and used some molding putty to make a resin mold for me to use.
Out of the whole mini greenhouse scene, this tiny little plant mister gave me the biggest smile. It was the perfect tiny finishing touch.
Supplies you need
This post contains some affiliate links for your convenience (which means if you make a purchase after clicking a link I will earn a small commission but it won’t cost you a penny more)! Read my full disclosure policy.
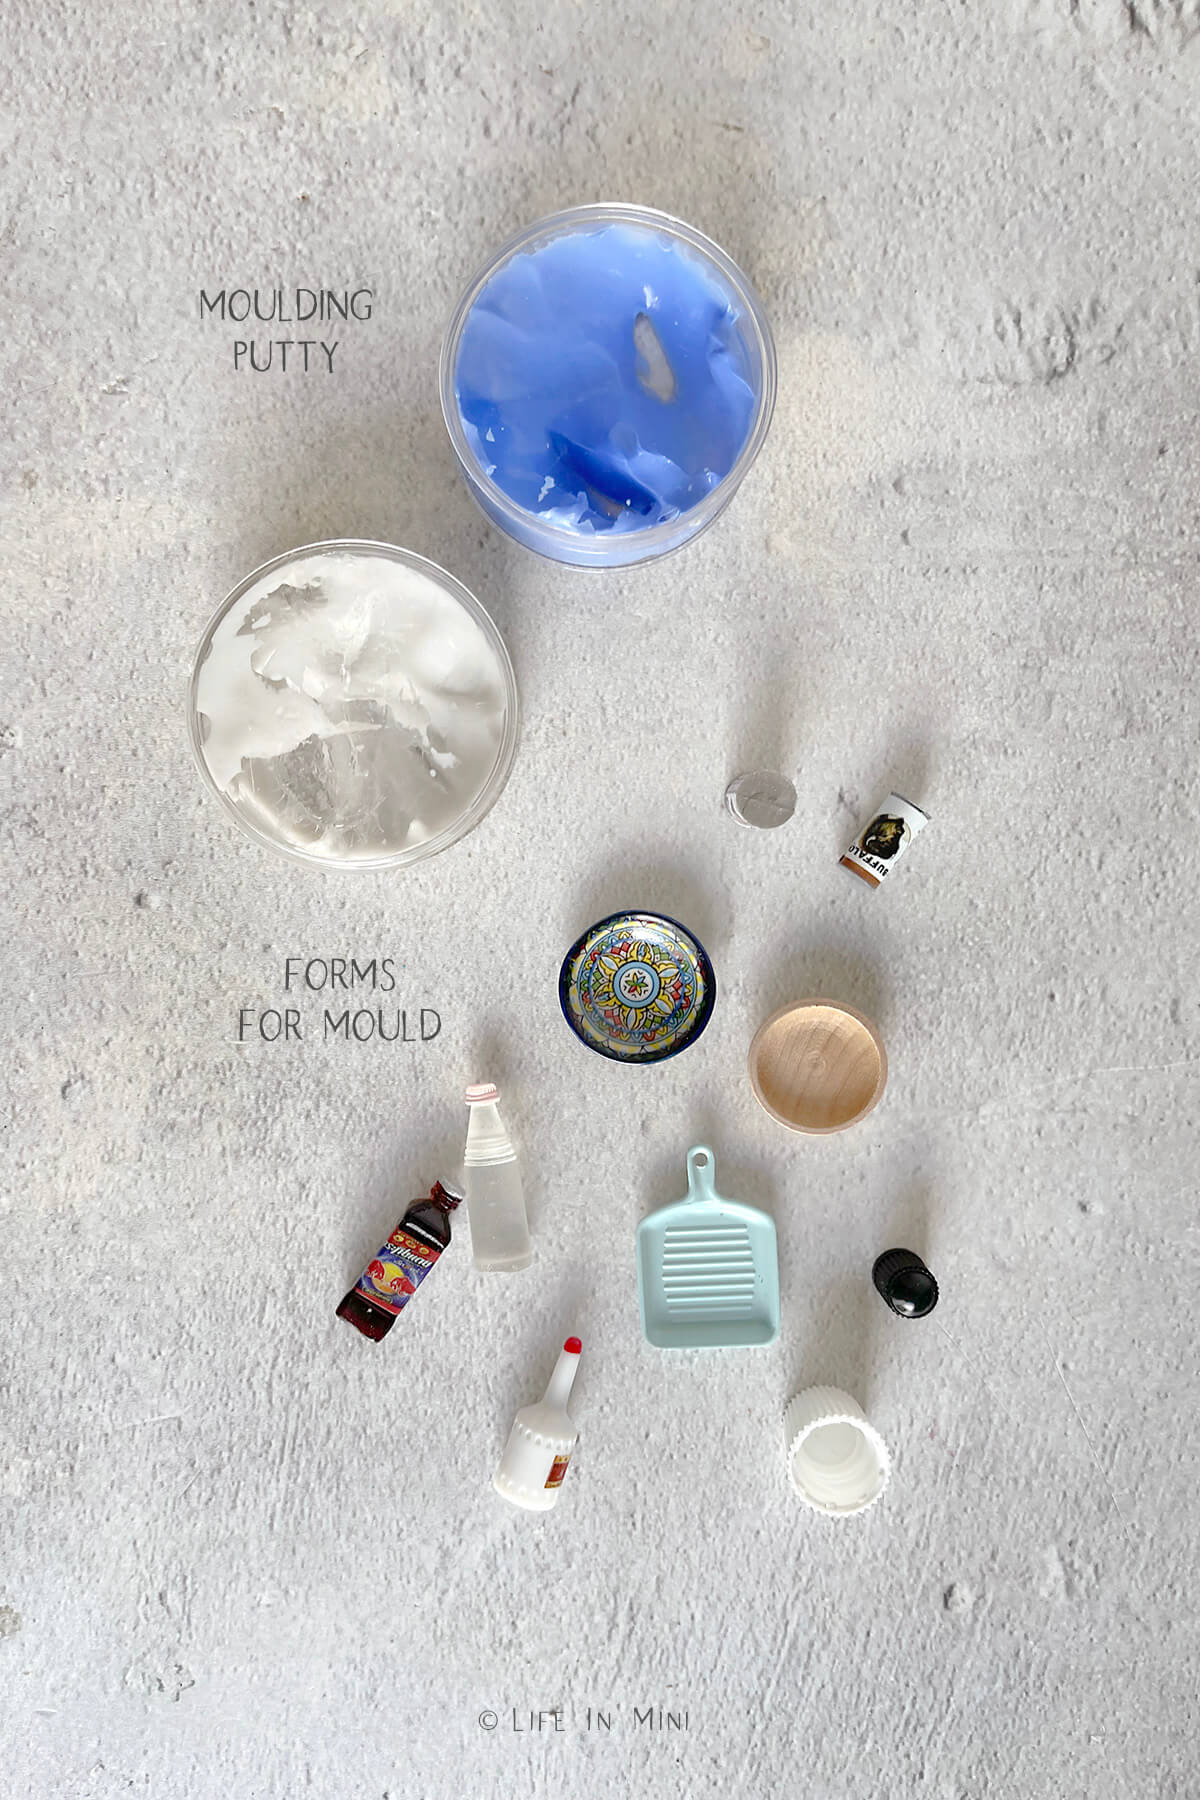
You do not need much to make your own silicone molds.
- Silicone putty: It is also known as moulding putty or moulding paste. This is a two-part putty that when combined will hold its shape after a few minutes. The final result is a rubbery mould, making it easy to pop out the final resin or clay object you made.
- An object you want to mold: This is whatever object or shape you want to duplicate. It can be a store-bought miniature, hardened clay piece you created or some random household object.
For this example, I am making a miniature plant mister, the kind you spray water onto plants. I used this for my mini greenhouse. Here are the supplies needed for that specific project.
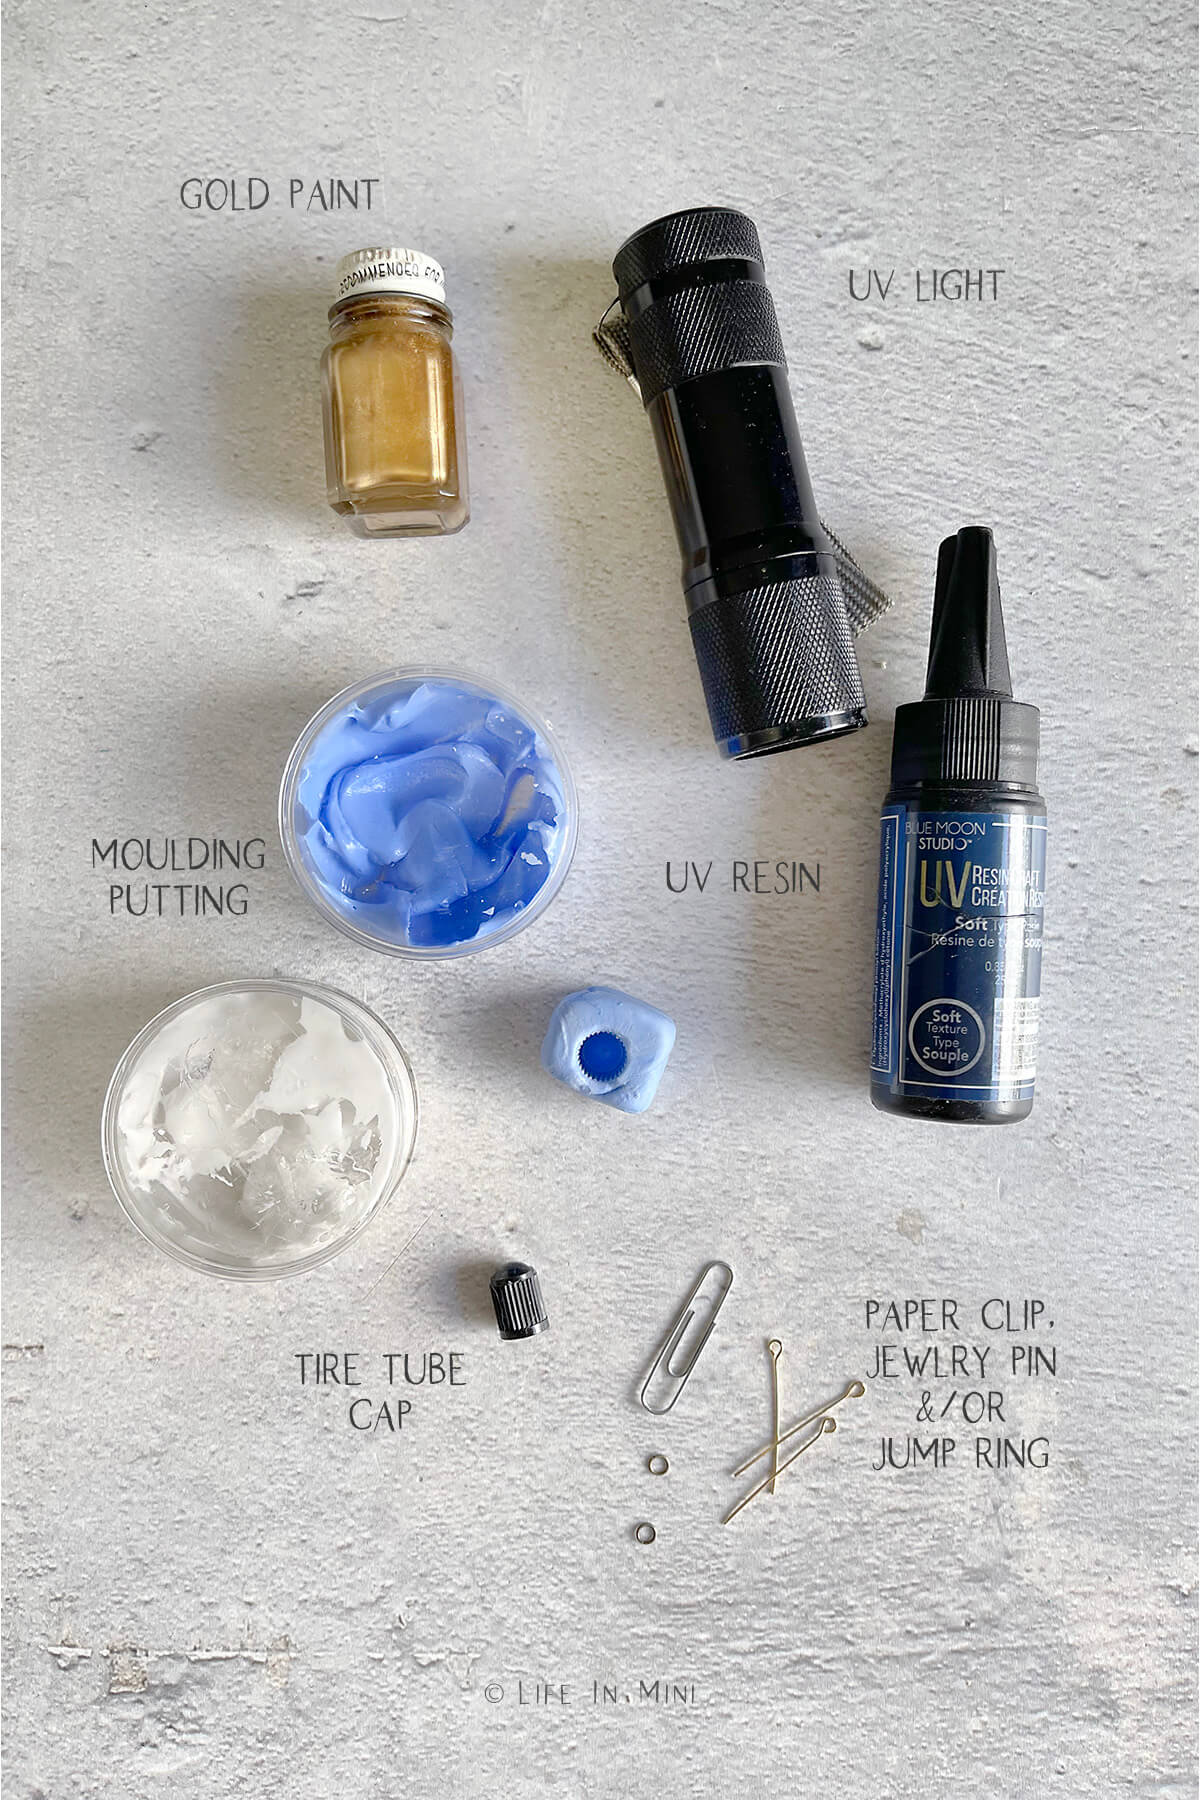
- Silicone putty: You will make your mold for the body of the “glass” mister.
- Tire tube cap: Yes you read that right! I used the small plastic tire cap for the form I was making a mold of for the mister. You can also use a bead.
- UV resin: Choose a crystal clear UV resin to use.
- UV light: My big UV light (the one for nails) is packed away for the big move. I had this small UV flashlight and it worked great for this project.
- Paper clip: When I first made this mister, I took a simple paper clip and used small pliers to twist it and shape it for the metal top of the mister. You can also use jewelry items like a jewelry eye pins can or jump rings, if you have them. They come in gold and bronze colors and won’t need to be painted.
- Gold paint: Since I used a paper clip, I painted it gold. I raided my dad’s garage and found some of his gold enamel paint from his molding railroading supplies. Thanks, Dad!
- Other tools: Sand paper, jewelery pliers, wire cutters and small paint brush.
Step-by-step directions
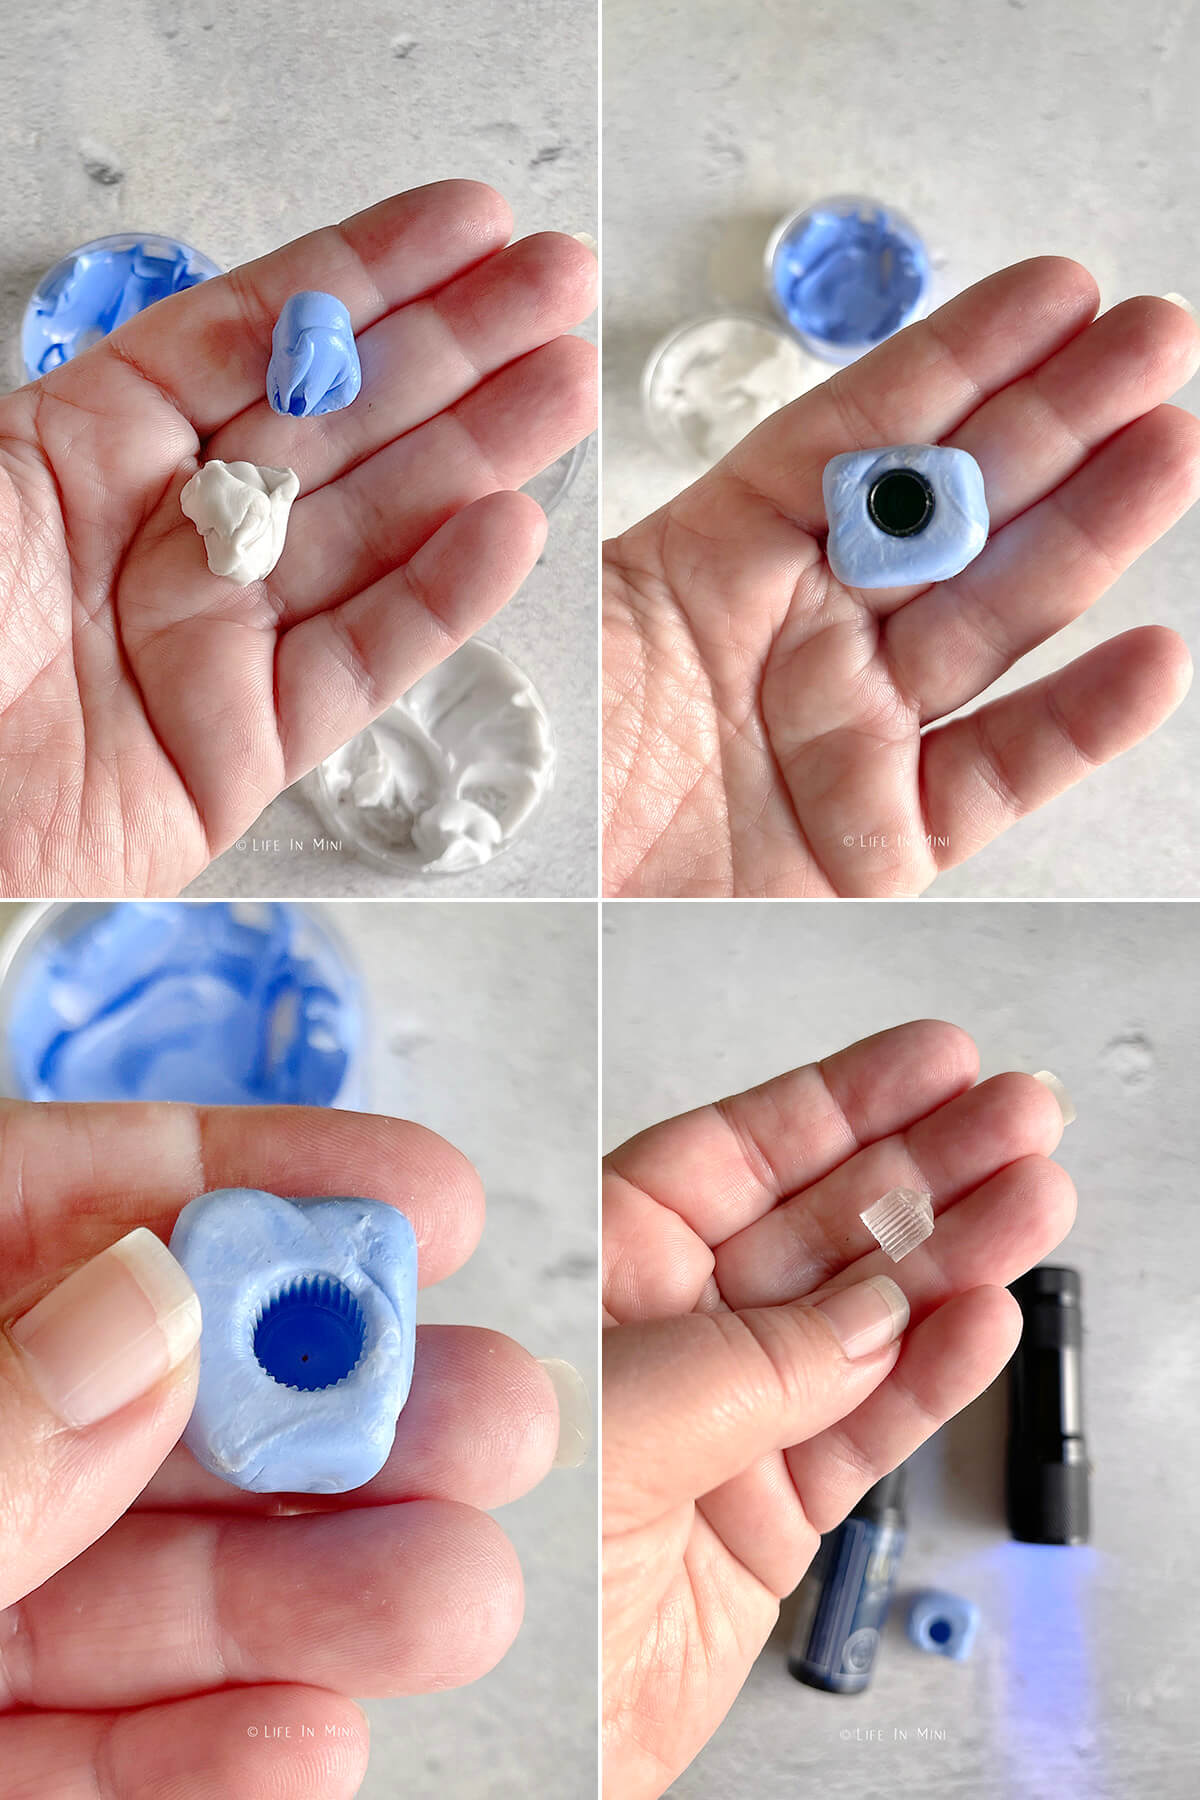
- Mix the two putties. Scoop out equal portions of the two silicone putties (for mine, one is blue and one is white) and mix them together until uniform in color. You want enough combined putty to hold the shape of the object you are trying to replicate. So it is better to use a little more putty than less.
- Press your object in. Once your putty is mixed, immediately press your object into the silicone putty and let it sit 5-minutes (or however long your putty directions states) until the putty has hardened. For the plant mister, I pressed the tire cap’s rounded side first into the putty and stopped until the open bottom was flushed with the top of the mold.
- Let it harden. Once the molding putty has hardened (it will still be rubbery, but not completely stiff), gently pry out and remove your original object. For the plant mister, I poked a tiny hole thru the mold for where the pin will come out of the rounded end of the mold. You can skip this step and just use glue or more resin to attach to attach the metal pieces.
- Use your mold. Now that you have your mold, you can use it for clay or resin. My plant mister is going to be made with UV resin, as I wanted a glass effect. I began by adding layers of resin, curing it and then continuing to add/cure more layers of resin until the bottle was done.
- This technique helps insure that the whole piece will cure properly. Once done, gently pry out the finished piece. At this stage I usually let it sit under some UV light some more just to insure that it has completely cured.
- Your piece might need some light sanding to flatten the bottom more evenly or to simply remove any little bits that were formed.
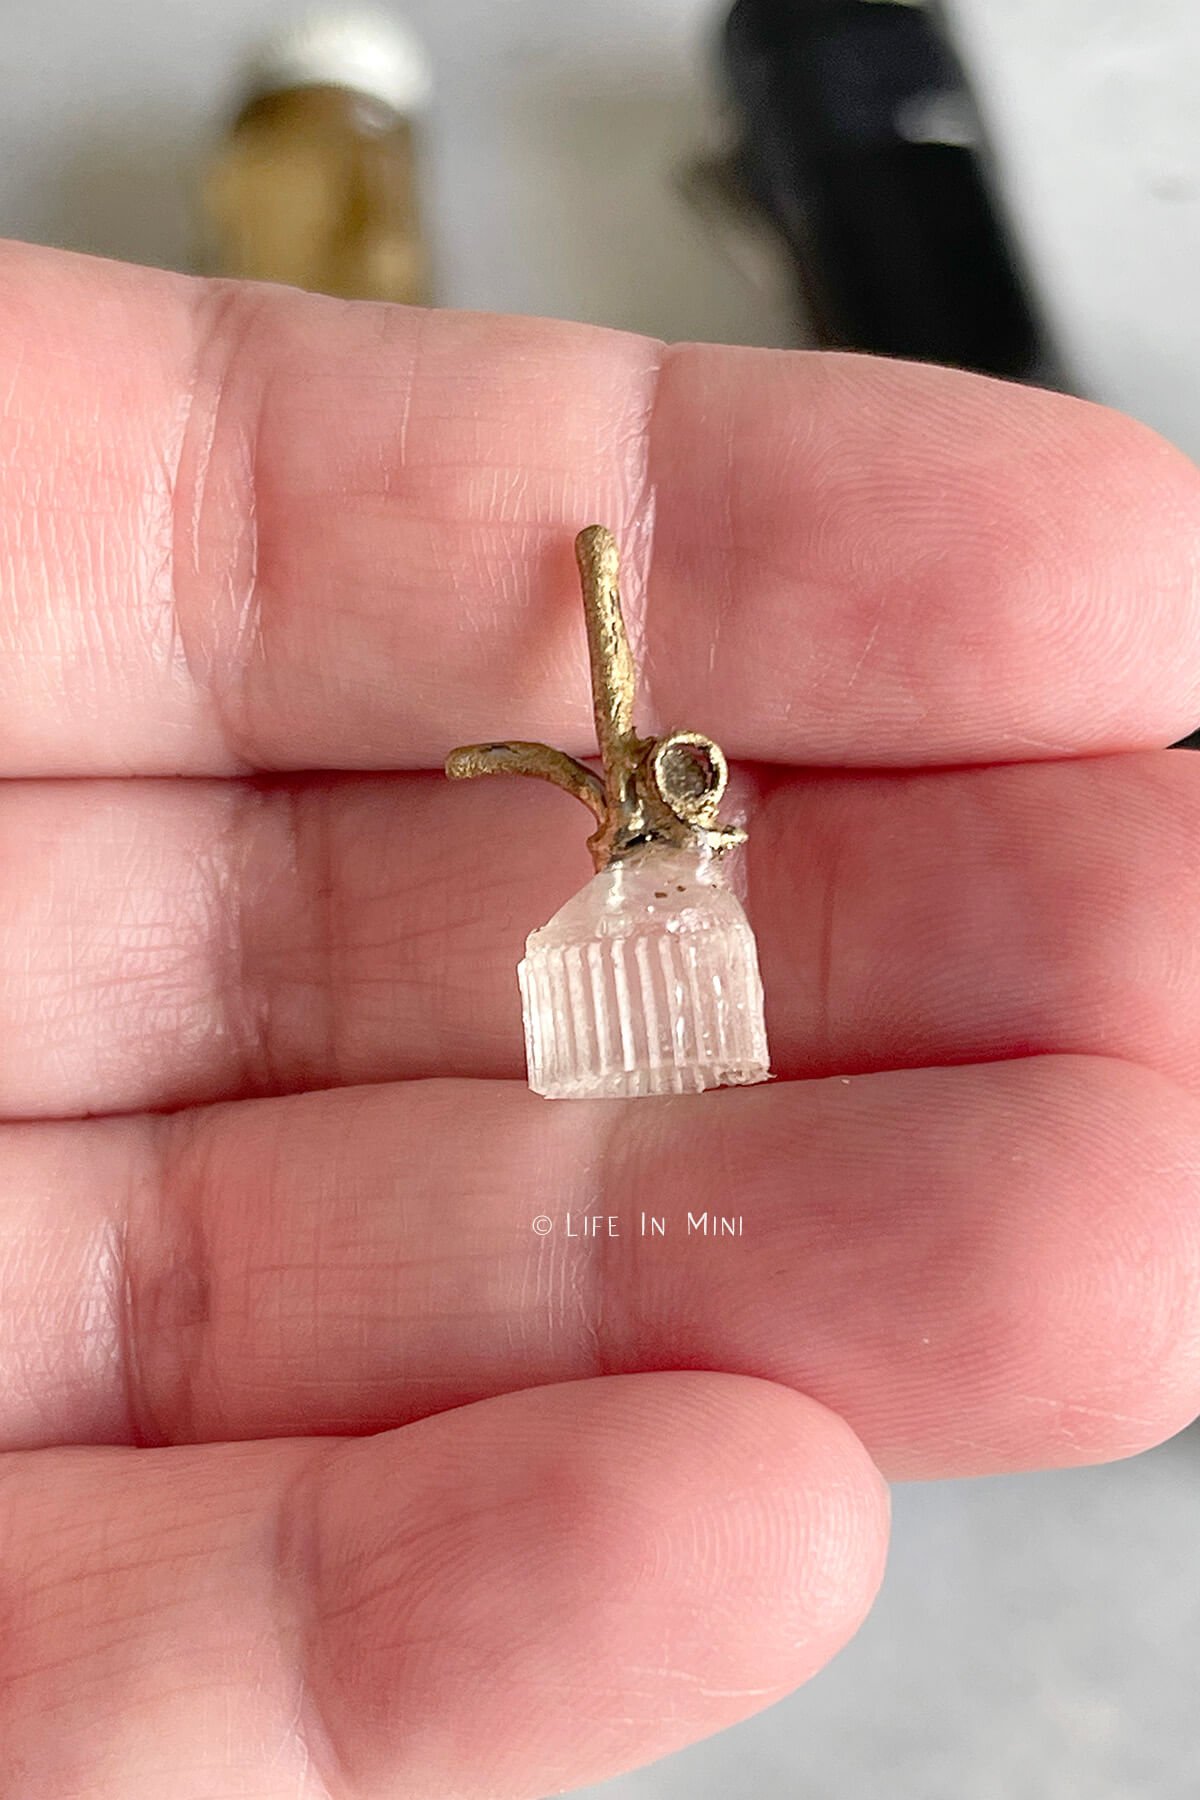
- Add the handle. For my mini water mister, I needed a straight piece of metal for the main pump, a small curved piece for the spout and a ring for the handle/trigger. I formed all of these from one paper clip, but you can also use straight pins or jewelry bits to create the same thing.
- For the base that they will all attach to, I added a small blob of resin and cured it with the metal pieces in it. Once I was happy with everything, I painted the top with gold paint.
- Enamel paint is thicker than acrylic paint so it gave a nice rough effect to the final piece.
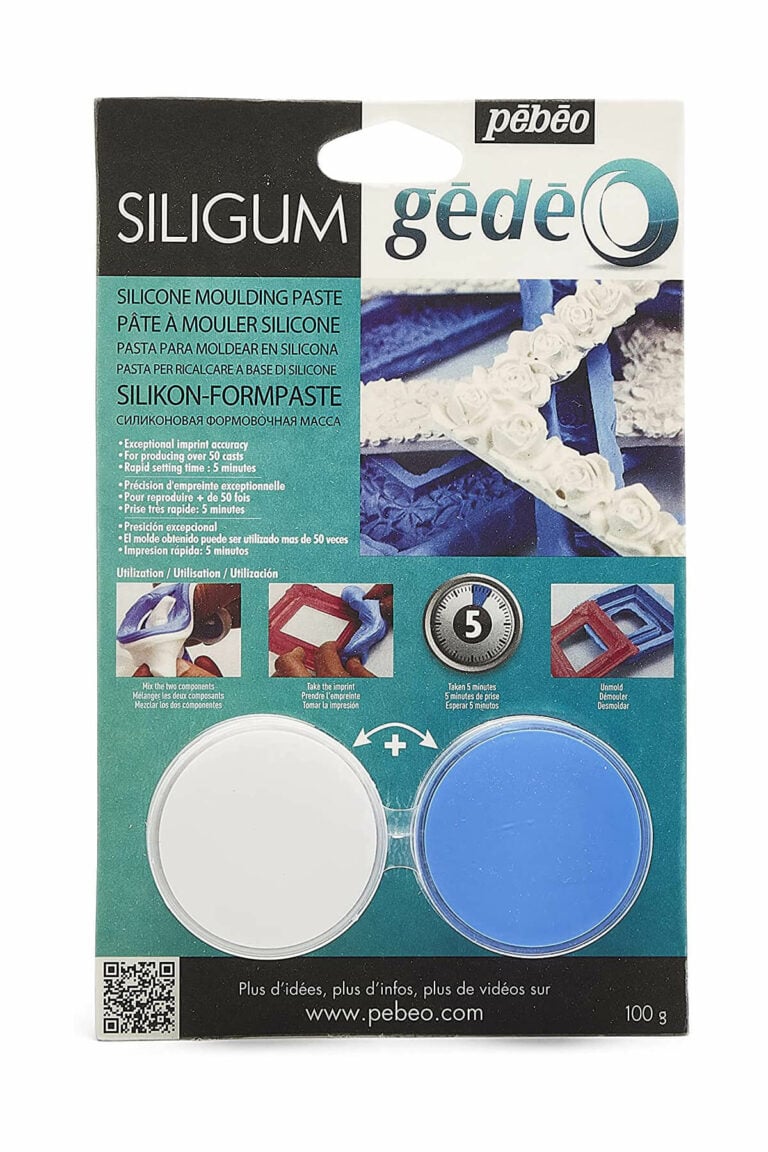
Laura’s Top Pick:
This is the silicone putty (moulding paste) that I have been using. Because I use it primarily for miniatures, it doesn’t take much to make a mold. If you are making larger objects you will need more quantity of putty
Project tips and FAQs
When you first start making silicone molds you might make some mistakes. But as you can see, it is a very simple process. Now you can make molds out of anything you find from buttons to cut pieces of cardboard to tube caps!
If you are using your new silicone molds for polymer clay, read your molding putty instructions to see if the final mold can bake in the oven or not. I usually press the clay into the mold and then gently remove it onto a tile to bake on.
If the molds are for air dry clay, you easily let it dry in the mold or remove it like polymer clay.
If you find that the clay is sticking to your mold, dust the mold with a little cornstarch or baking powder first, then press in your clay. This insures an easy release from the mold.
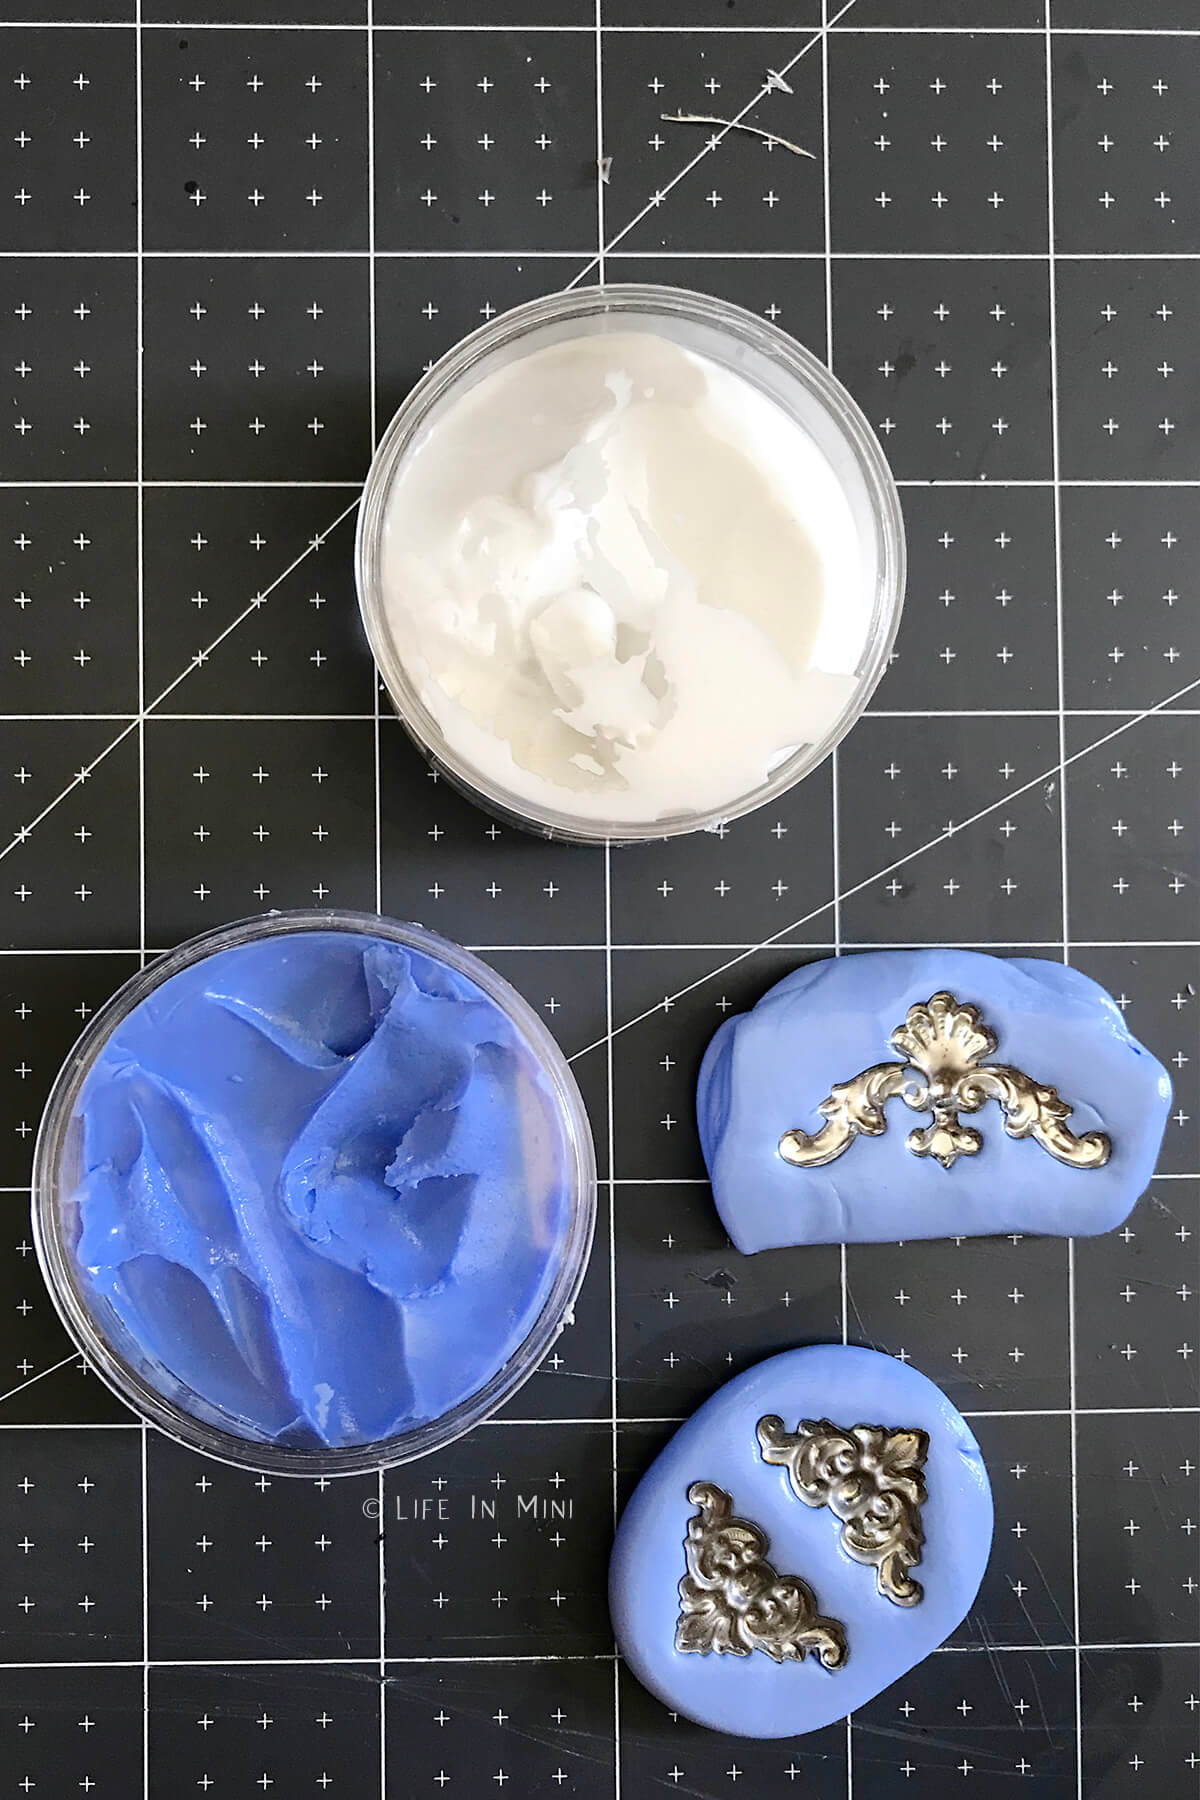
Silicone molds are easy to make and help you create just one item or as many as you want. Some molds do deteriorate over time, but I am not factory producing 1000s or mini items.
Well, not yet!
For this particular project, the silicone mold help me use the shape of a black plastic tire cap to create a clear resin bottle. I use silicone molds to make multiples of the same thing, to insure they all look the same.
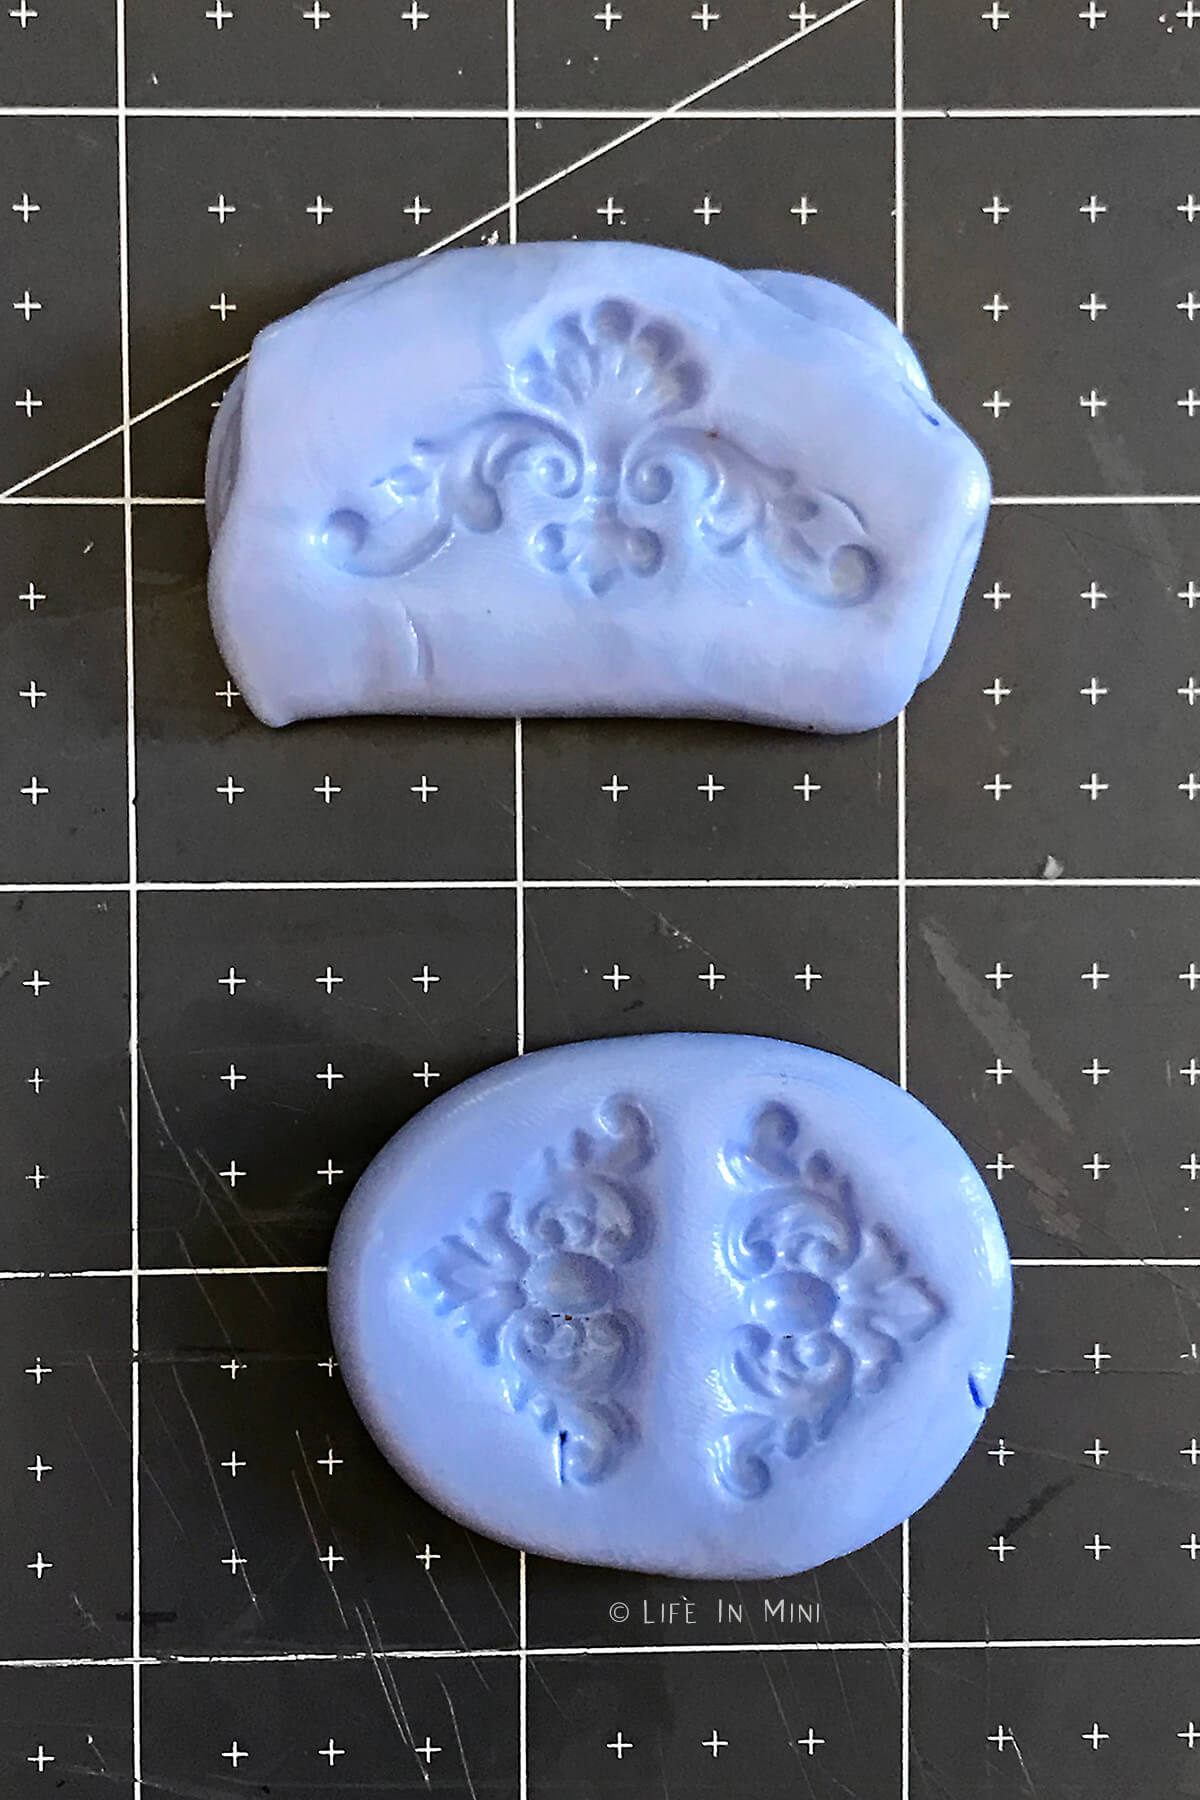
This could be clay dollops of whipped cream on a polymer cake or mini raspberries. You find many silicone molds online, but sometimes you want to make something unique and specific to your project.
These silicone molds makes it super easy. Although the molding putty I bought cost $25, you don’t need much putty to make a resin mold for miniatures. I have only used about half of the putty so far and I have already made 4-5 molds.
If you are enjoying my blog, why not sign up for my newsletter so you won’t miss out on the mini adventures!
How to make silicone molds
In this post I share my tips and tricks on how to make silicone molds for dollhouse miniatures by using silicone putty. The molds can be used to make minis using polymer clay, air dry clay or UV resin.
Materials
- Silicone putty
- An object to mold
Additional supplies needed for mini plant mister
- UV Resin
- Paper clip, eye pin or jumper ring
- Gold paint
Tools
Tools needed for mister
- UV light
- Jewelry pliers
- Wire cutters
- Sand paper
- Small paint brush
Instructions
- Scoop out equal portions of the two silicone putties (for mine, one is blue and one is white) and mix them together until uniform in color. You want enough combined putty to hold the shape of the object you are trying to replicate. So it is better to use a little more putty than less.
- Once your putty is mixed, immediately press your object into the silicone putty and let it sit 5-minutes (or however long your putty instructions say) until the putty has hardened.
- For the plant mister, I pressed the tire cap’s rounded side first into the putty and stopped until the open bottom was flushed with the top of the mold. Since I am making this for UV resin, I shaped the outside of the mold into a cube so it could stand on its own.
- Once the molding putty has hardened (it will still be rubbery, but not completely stiff), gently pry out and remove your original object.
- For the plant mister, I poked a tiny hole thru the mold for where the pin will come out of the rounded end of the mold. You can skip this step and just use glue or more resin to attach to attach the metal pieces.
- Now that you have your mold, you can use it for clay or resin.
- My plant mister is going to be made with UV resin, as I wanted a glass effect. So, I began by adding layers of resin, curing it and then continuing to add/cure more layers of resin until the bottle is done. This technique helps insure that the whole piece will cure properly.
- Once done, gently pry out the finished piece. At this stage I usually let it sit under some UV light some more just to insure that it is completely cured.
- Your piece might need some light sanding to flatten the bottom more evenly or to simply remove any little bits that were formed.
- Now you will need a straight piece of metal for the main pump, a small curved piece for the spout and a ring for the handle/trigger. I formed all of these from one paper clip, but you can also use straight pins or jewelry bits to create the same thing.
- For the base that they will all attach to, I added a small blob of resin and cured it with the metal pieces in it.
- Once I was happy with everything, I painted the top with gold paint. Enamel paint is thicker than acrylic paint so it gave a nice rough effect to the final piece
Notes
If you are using your new silicone molds for polymer clay, read your molding putty instructions to see if the final mold can bake in the oven or not. I usually press the clay into the mold and then gently remove it onto a tile to bake on.
If the molds are for air dry clay, you easily let it dry in the mold or remove it like polymer clay.
If you find that the clay is sticking to your mold, dust the mold with a little cornstarch or baking powder first, then press in your clay. This insures an easy release from the mold.
PS If you try this craft, why not leave a star rating in the direction card right below and/or a review in the comment section further down the page? I always appreciate your feedback.
You can also follow me on Pinterest, Facebook or Instagram. Sign up for my eMail list, too!
Written by Laura Bashar
I’m a food blogger and cookbook author that loves miniatures and crafting. I started this blog to share my passion for minis, including tutorials and free printables.


Diane Targowski says
😍😍
Norman C Rosen says
The gold enamel you used is probably 50 years old, which is why it is thick. It probably could have been thinned for a smoother effect…..
Laura says
Ha ha! Thanks, Dad!
Kimberly Loyd says
LOVE this. This comment brings a tear to my eye. My dad (grandfather) was a hobbyist and this could well have been our conversation.
Laura says
Hi Kimberly-
My dad also emails me when he finds my typos – ha ha!
xoxo
Laura