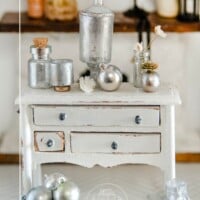

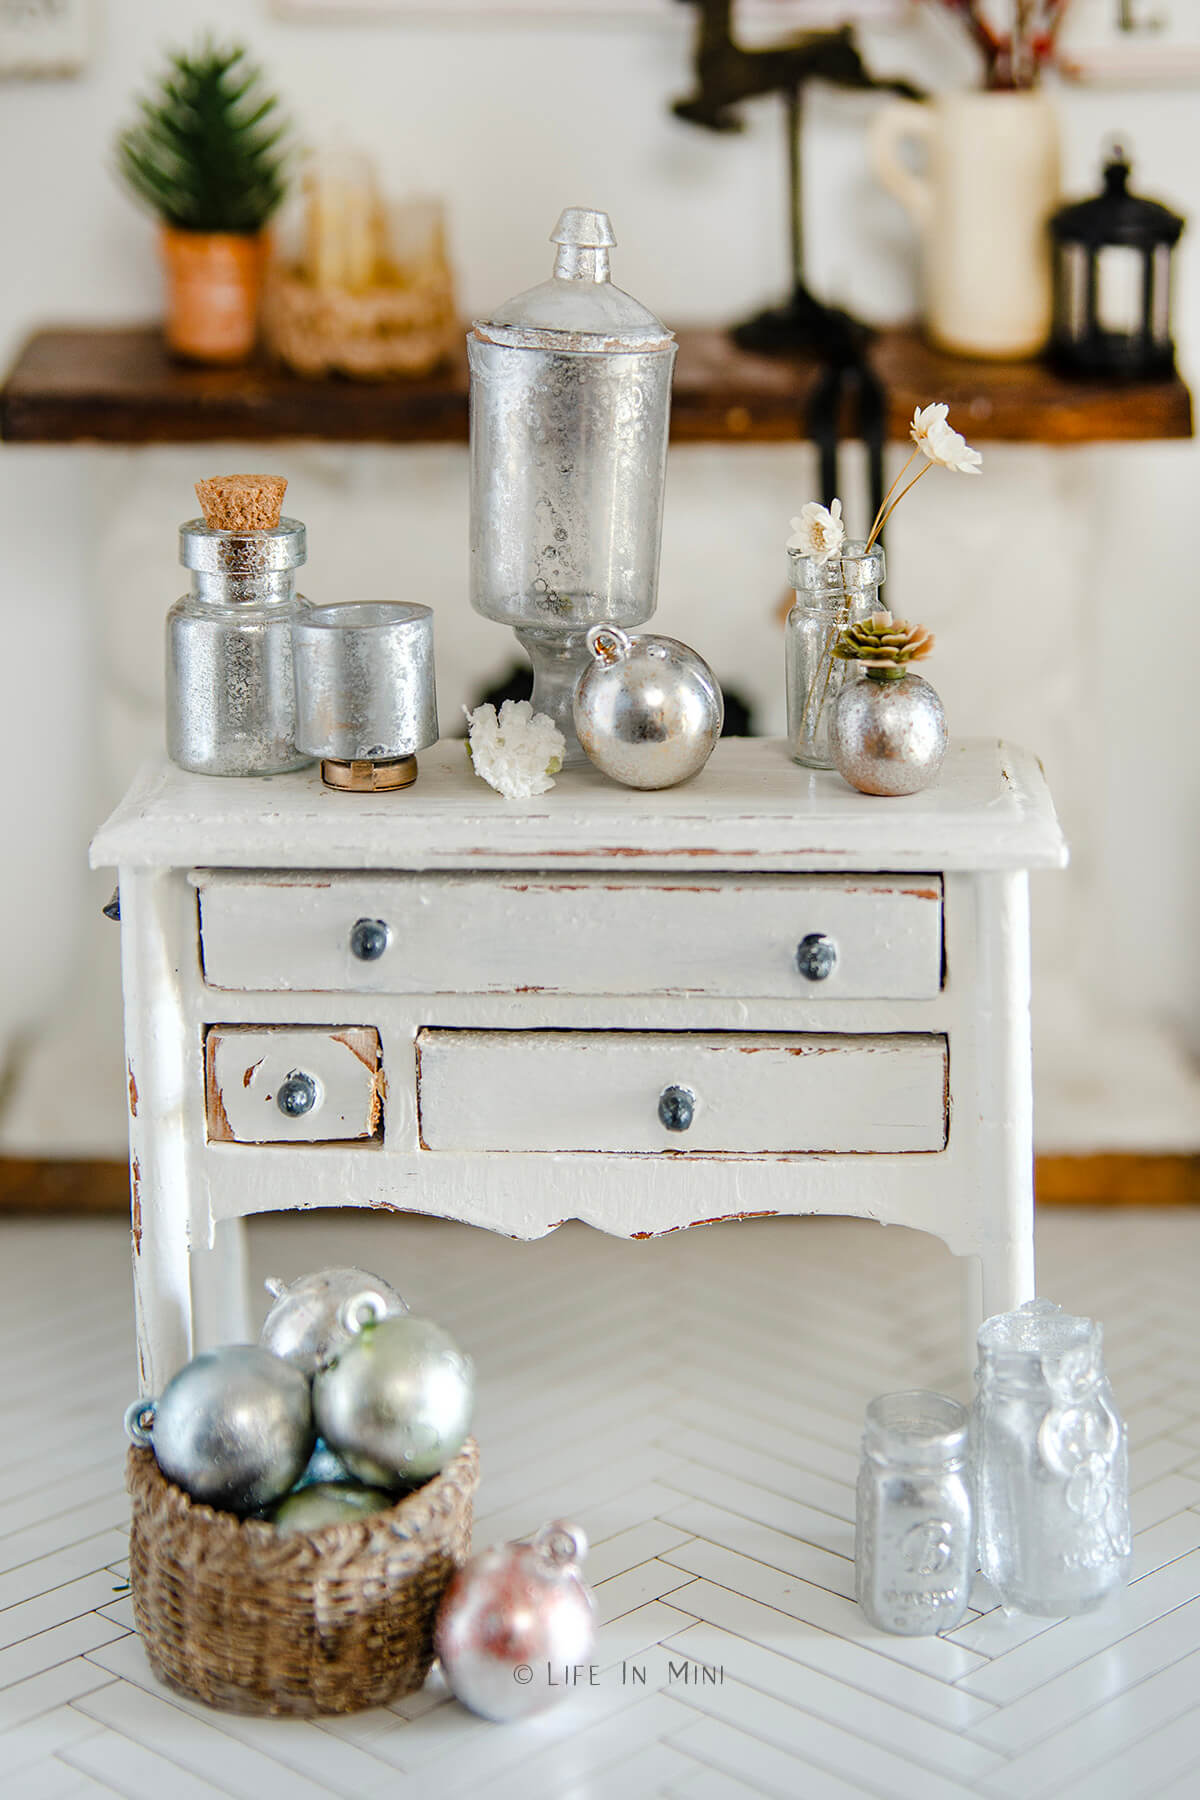
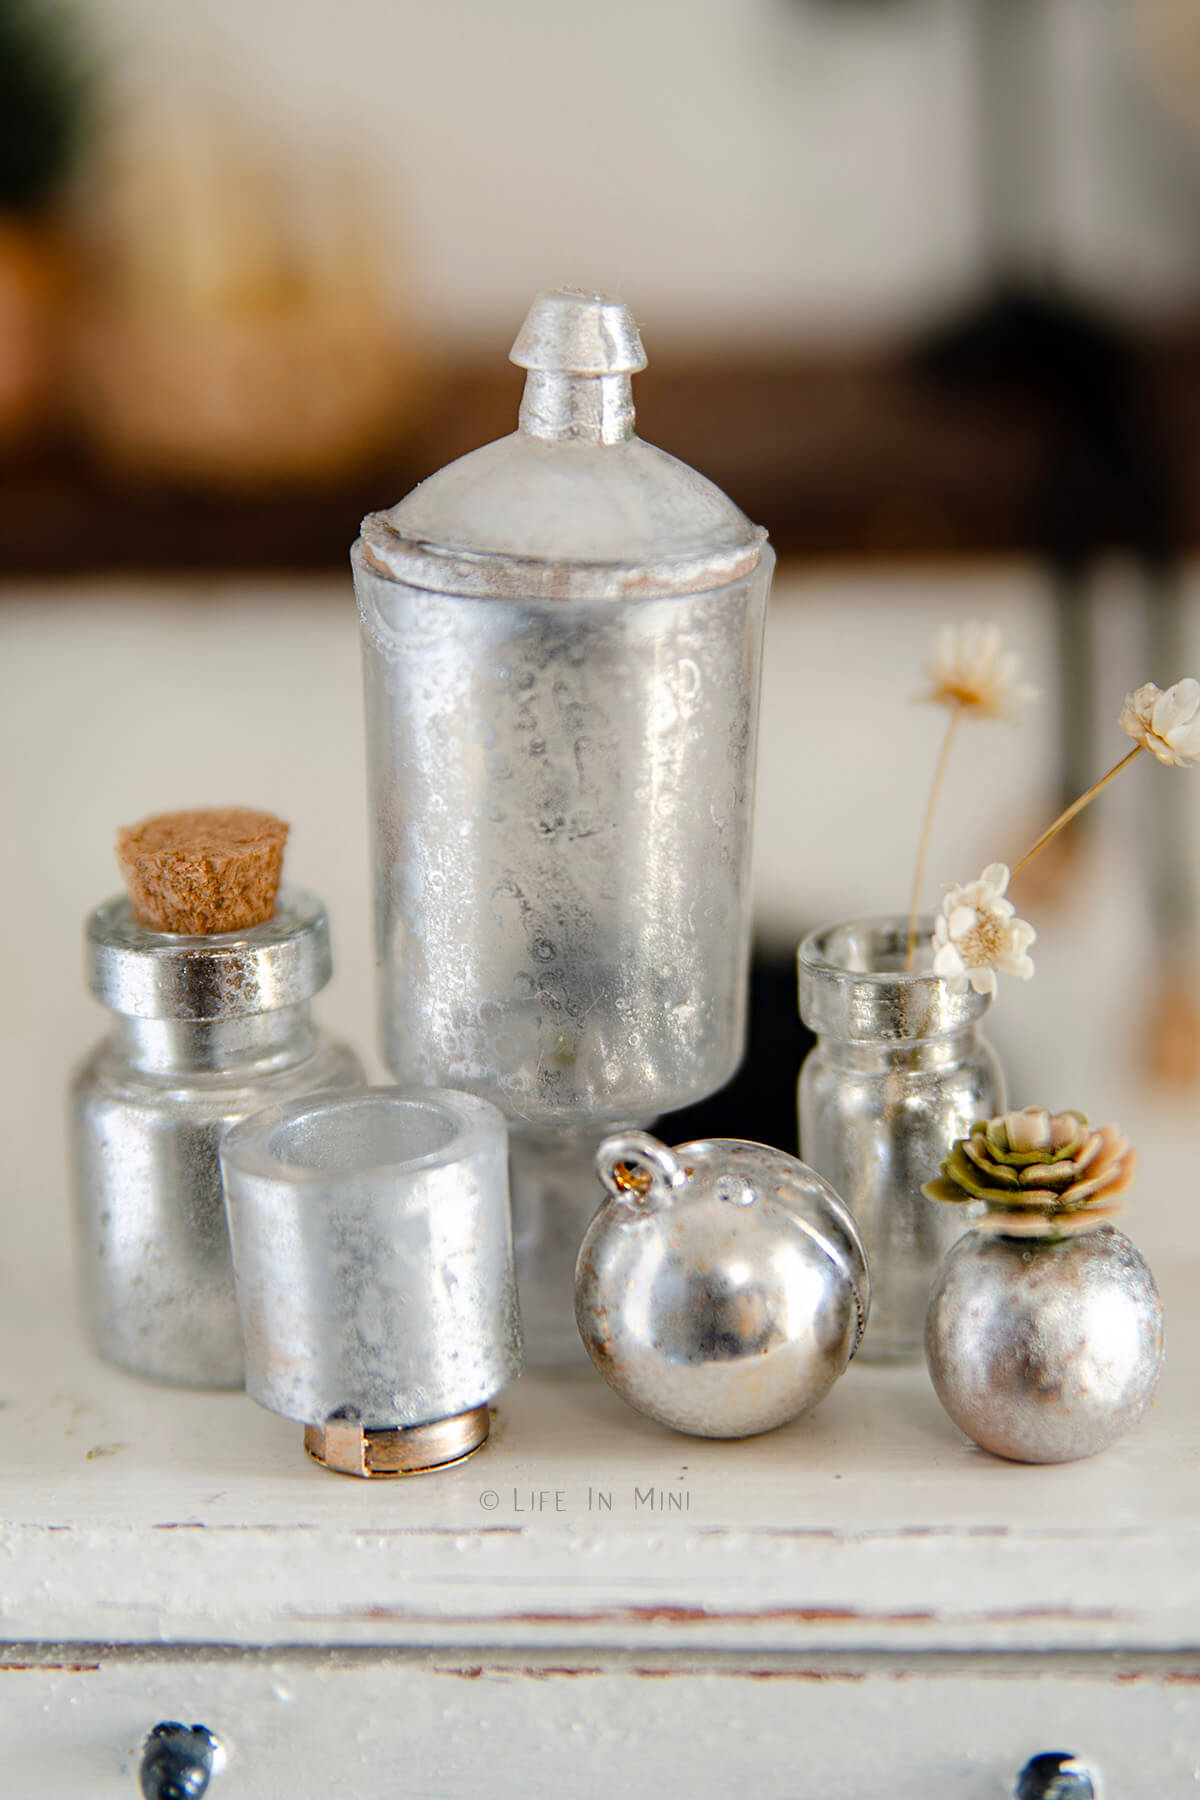
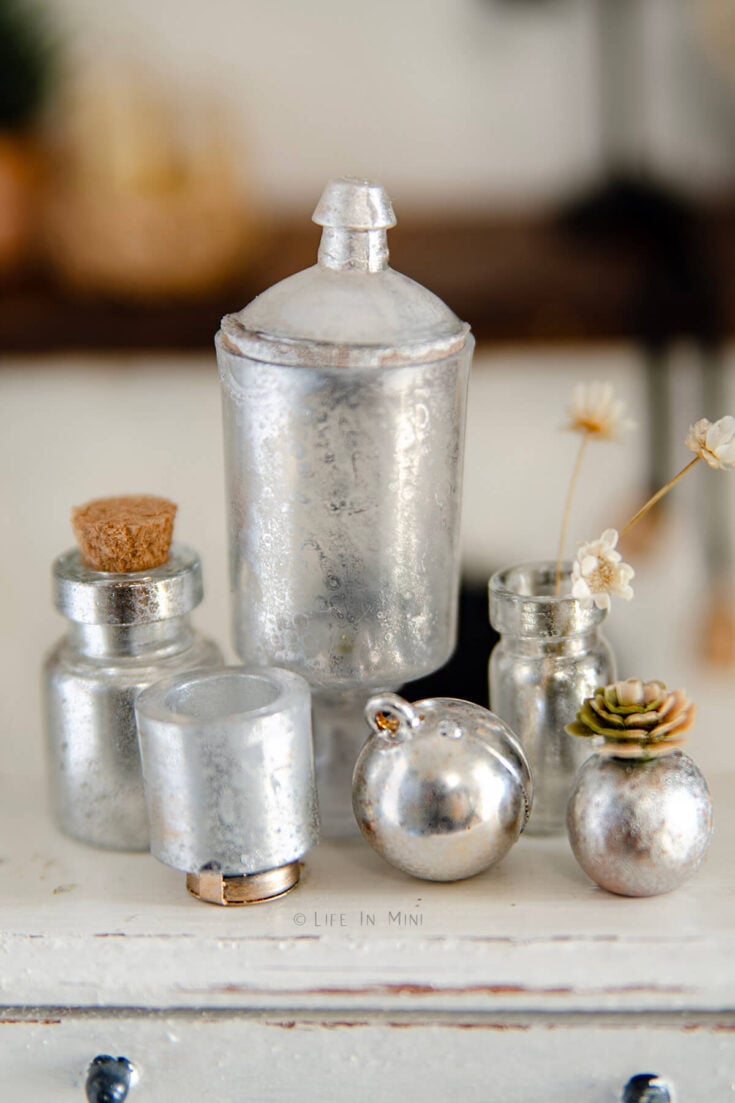
You can add some antique charm to your dollhouse accessories by making silvered glass miniatures using this easy mercury glass DIY.
I love learning new paint effects to try on some DIY projects around my house. I especially love trying these same painting effects on my miniature builds to see if I can replicate it.
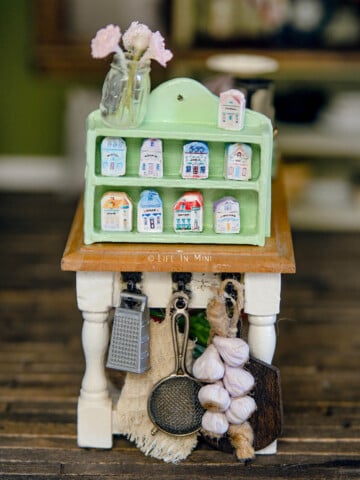
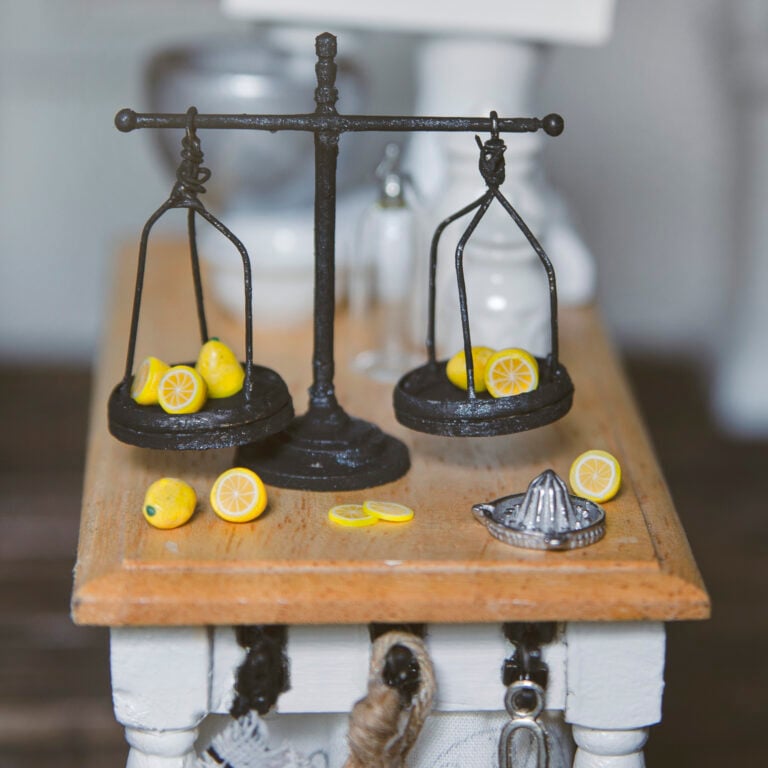
Today I talking about how to DIY mercury glass, also known as silvered glass. I have already shared with you my love for vintage items and how I try to make them in miniature, like my mini spice village jar set and my miniature kitchen scales.
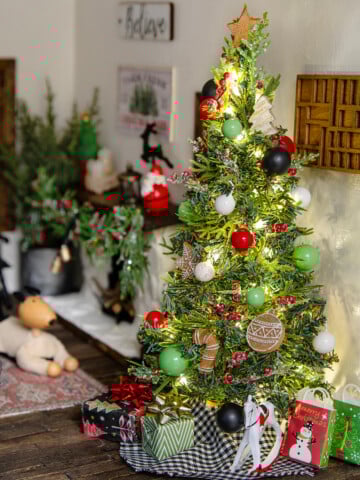
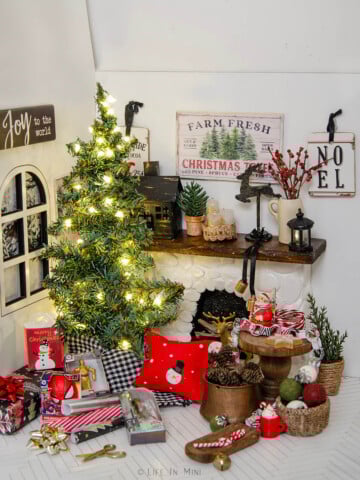
With the holidays approaching, I am starting to pull out my Christmas decorations and found that I really love the look of mercury glass. I have a small collection of beautiful mercury glass ornaments that brings me a lot of joy.
Supplies you need
This post contains some affiliate links for your convenience (which means if you make a purchase after clicking a link I will earn a small commission but it won’t cost you a penny more)! Read my full disclosure policy.
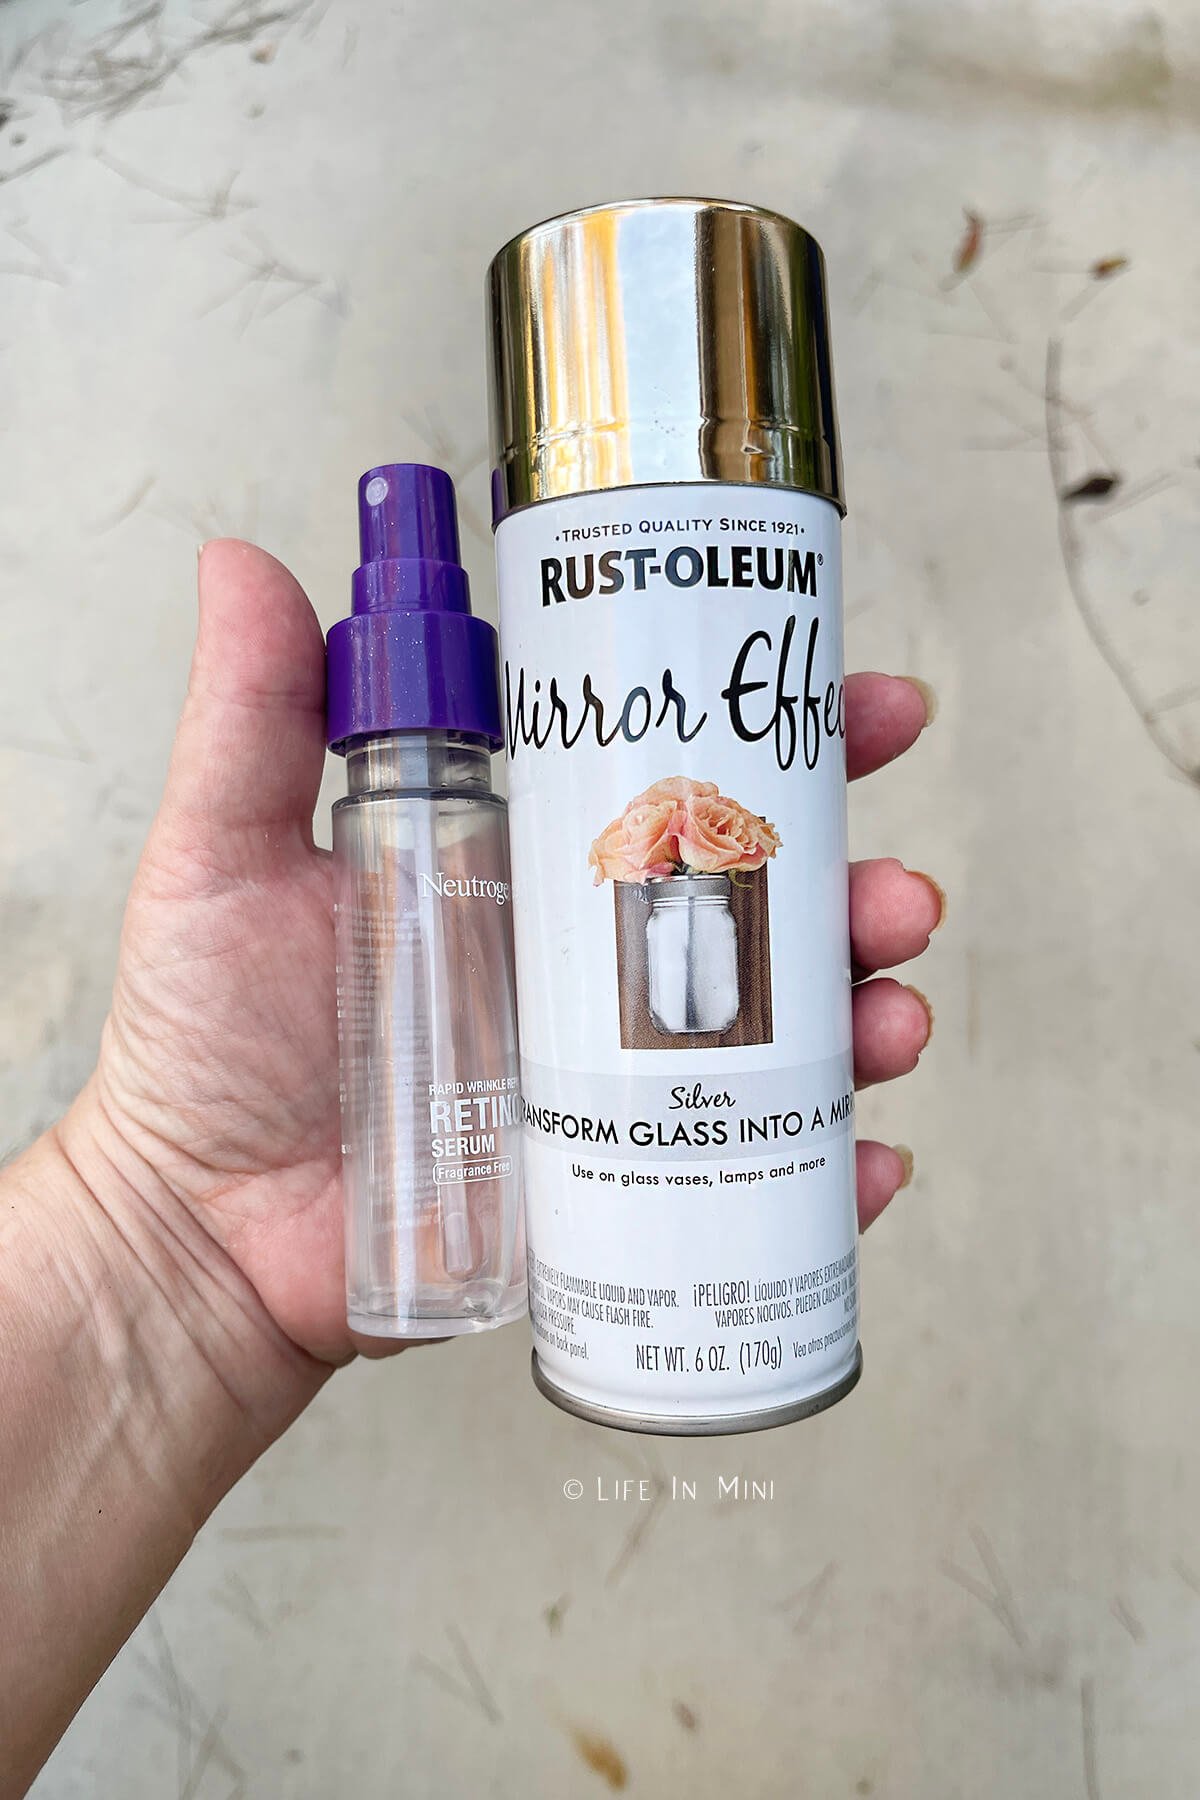
- Mirror spray paint: I used the silver paint, but it also comes in gold, if you like that effect and even use both colors.
- Vinegar: Regular white distilled vinegar is all that is required, but you can use any vinegar.
- Spray bottle: Because we are dealing with tiny things, you want a fine mist spray bottle. I ended up rigging a small spray bottle from leftover hair products.
- Other items you might need: Masking tape, toothpicks, styrofoam, a box.
- Objects to paint: You can use this paint effect on glass, plastic or anything that is smooth. If painting wood, add a primer first, otherwise the spray paint gets absorbed and the effect won’t be the same.
Step-by-step directions
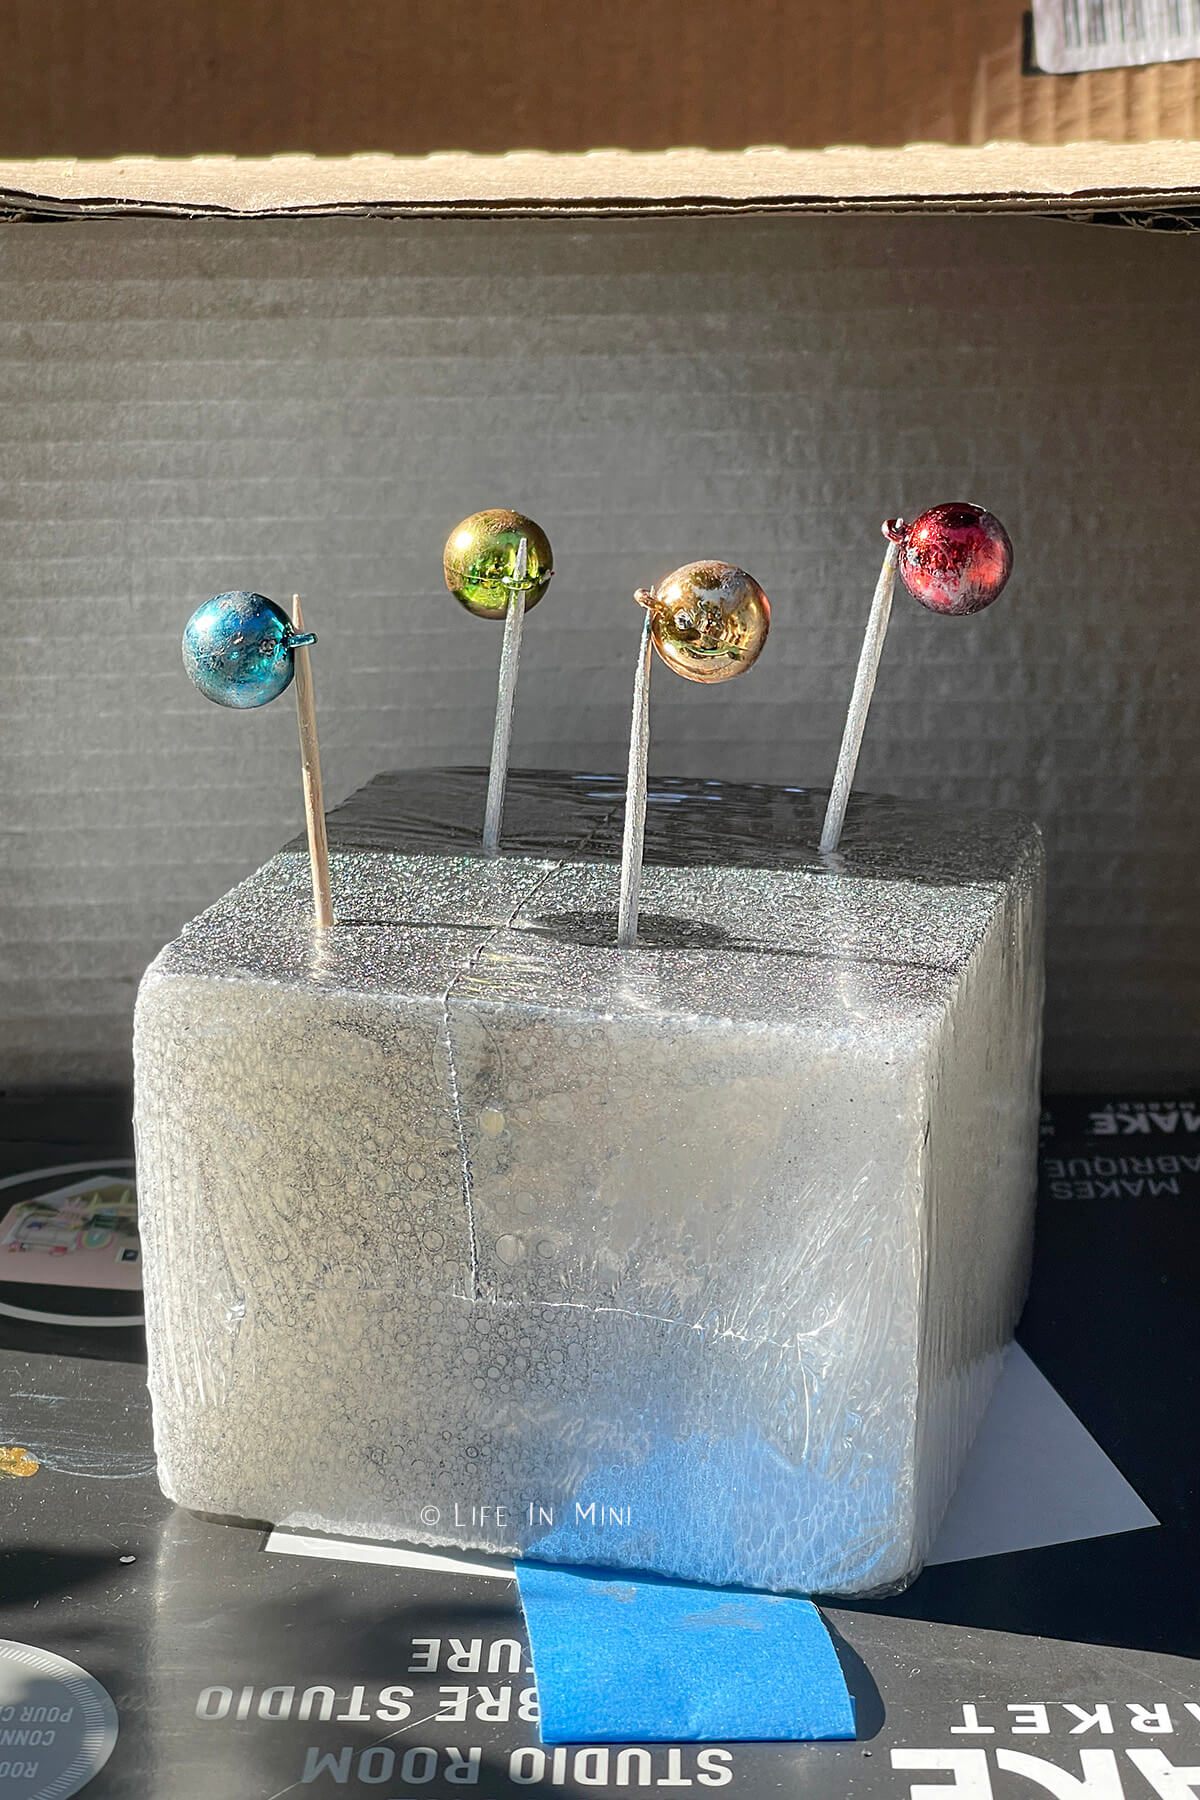
- Prep your objects. Since you are painting tiny objects, you need to secure them for spray painting. You can secure them with masking tape or hold them with a toothpick stuck in styrofoam. Place these things inside a box propped on its side to contain the spray paint spatter.
- Spray with vinegar. Lightly spray your baubles with vinegar.
- Spray with paint. Immediately lightly spray with your mirror paint. Because these items are tiny and you don’t want them evenly coated with paint, lightly spray with vinegar while the paint is wet.
- Layer as needed. Let your bauble dry and decide if you want to add more layers. Continue with the vinegar-spray painting until you get the desired effect.
Project tips and FAQs
Choose items that have a smooth surface for this technique. Plastics and glass work really well. Clear plastics resemble glass really well.
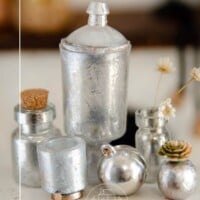
I had some bright metallic mini ornaments that I painted, but chose not to completely cover up the color underneath. I like how the color barely peeks through the mercury glass paint.
Resist the urge to blast your minis with paint while spraying. You want to thinly layer on the paint to get the full mercury glass effect. Glass and clear glass only need a one, possibly two sprays, as you still want it to be see thru.
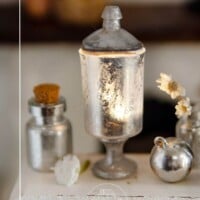
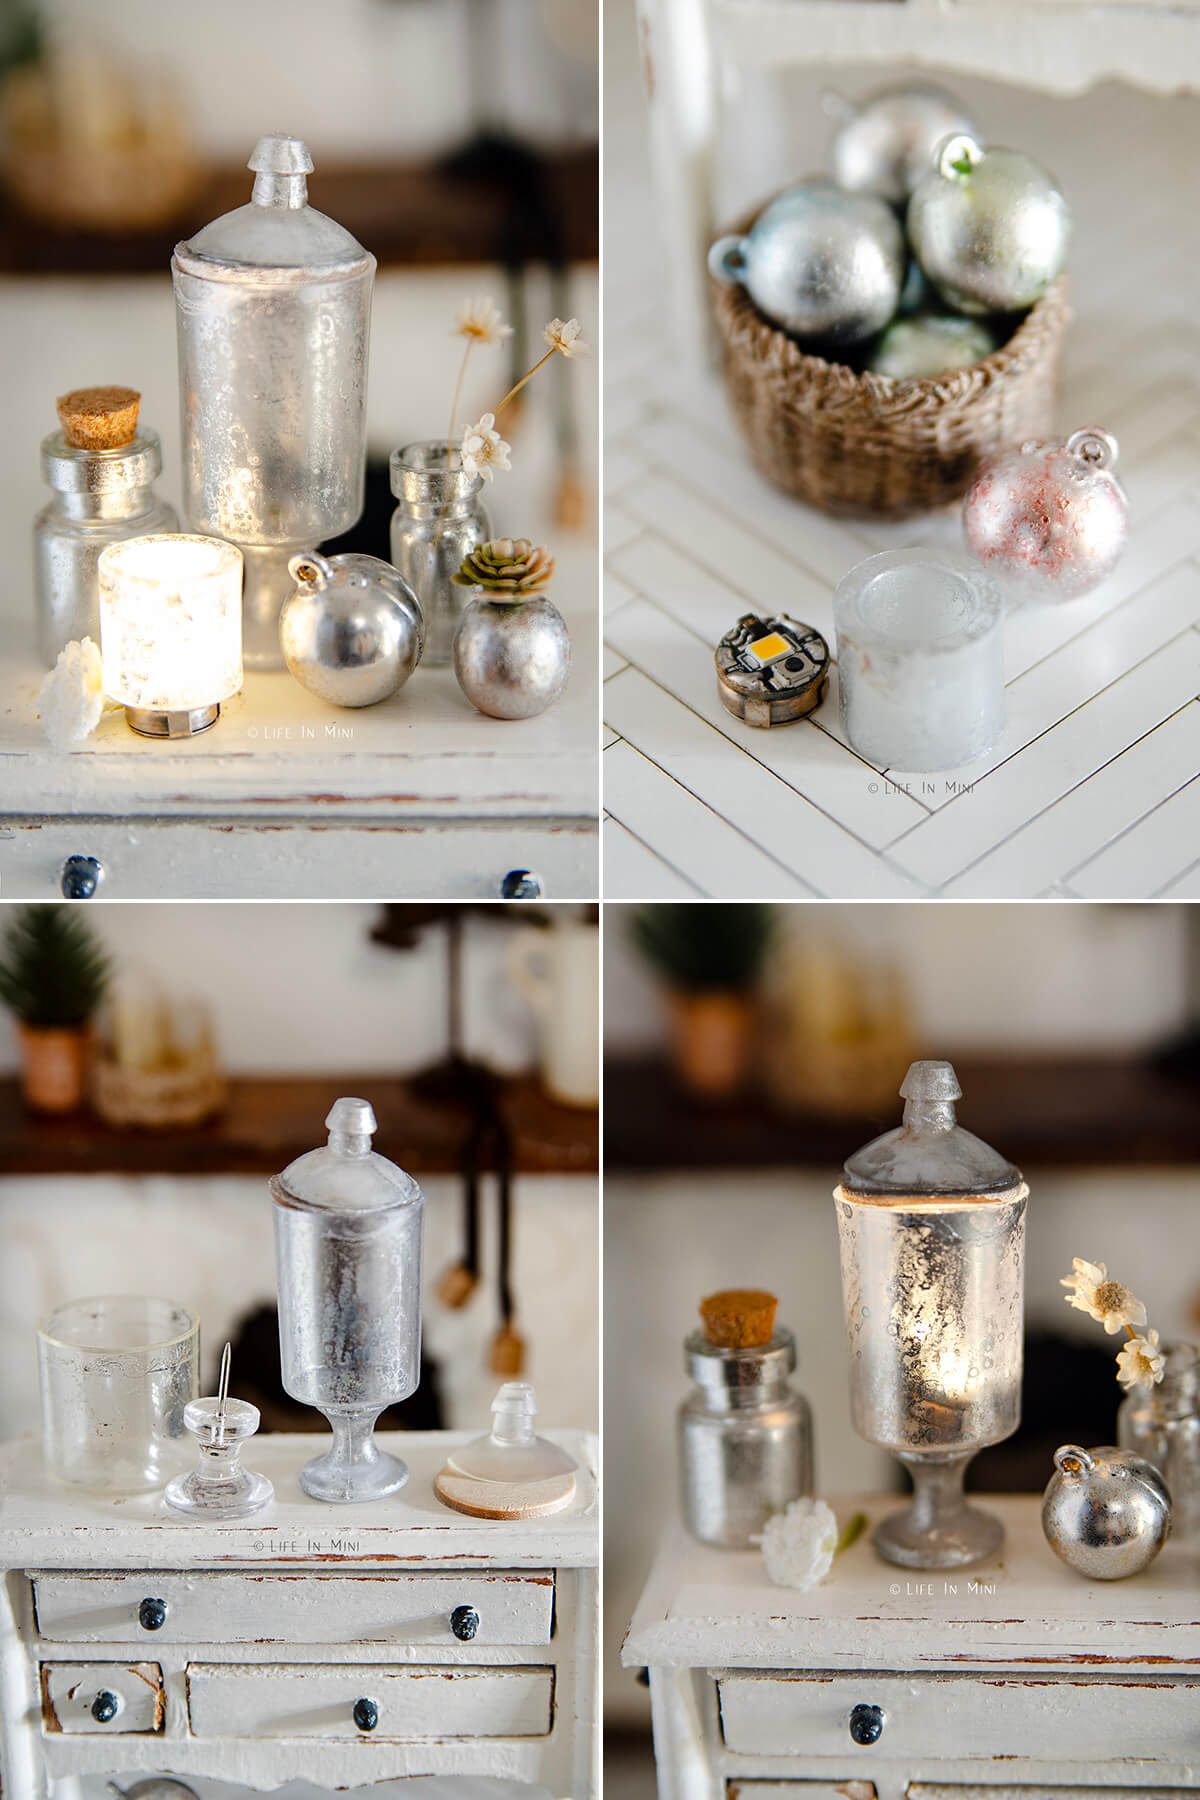
I found these mini battery lights on Ali Express and love how they look in these faux glasses. I will share more about the mini lights in another post.
To make the hurricane glass, I used a hair gel cap, push pin, suction cup and a wooden circle. The small light is a nylon spacer, the same ones I use to make my dollhouse candle chandelier.
I only used one color (silver) to make these minis. I love the look of using both gold and silver, as shown in this mercury glass tutorial so I might have to try that out too!
You can try using acrylic paints and paint brushes to dry brush this technique, but I found using the spray paint and vinegar to be much faster and easier.

If you are enjoying my blog, why not sign up for my newsletter so you won’t miss out on the mini adventures!
DIY Mercury Glass Miniatures
You can add some antique charm to your dollhouse accessories by making silvered glass miniatures using this easy mercury glass DIY.
Materials
- Mirror spray paint (silver or gold or both)
- White distilled vinegar
- Minis to paint
Tools
- Spray bottle for the vinegar
- Masking tape
- Toothpicks
- Styrofoam
- A box to paint in
Instructions
Notes
You can use this paint effect on glass, plastic or anything that is smooth. If painting wood, add a primer first, otherwise the spray paint gets absorbed and the effect won't be the same.
PS If you try this craft, why not leave a star rating in the direction card right below and/or a review in the comment section further down the page? I always appreciate your feedback.
You can also follow me on Pinterest, Facebook or Instagram. Sign up for my eMail list, too!
Written by Laura Bashar
I’m a food blogger and cookbook author that loves miniatures and crafting. I started this blog to share my passion for minis, including tutorials and free printables.
Dinah Robertson says
Thank you for such a wonderful tutorial! You always encourage me to get out of my comfort zone and think “outside the box”. You are a Thanksgiving blessing!
Laura says
Hi Dinah-
You are so sweet, thank YOU! If I didn’t have so many people enjoying these tutorials, I don’t think I would get out of MY comfort zone, either!
Laura
Jenni says
Such a great effect, and who knew it would be so easy?! Thanks, Laura!
Laura says
Hi Jenni-
I’ve had this spray paint for a couple of years and never tried it out. Soooooo easy! I don’t know why I waited so long!
Laura